5-Star Black Forest Cheesecake (Creamy Chocolate & Cherries!)
5-Star Black Forest Cheesecake (Creamy Chocolate & Cherries!): Indulge in the Ultimate Dessert Experience
Prepare yourself for a dessert experience that transcends the ordinary. Our 5-Star Black Forest Cheesecake masterfully blends the rich, decadent flavors of classic chocolate and cherry cake with the creamy luxury of a New York-style cheesecake. This show-stopping dessert is perfect for any special occasion, promising to impress with its layers of chocolate cookie crust, velvety chocolate cheesecake, and a luscious cherry topping. If you’re a fan of the traditional German gateau, you’ll be delighted by this unique interpretation that takes the beloved flavors of the Black Forest Cheesecake to a new level of indulgence, especially with that hint of black forest cherry cheesecake essence.
Recipe Card will be inserted here.
Quick Glance Summary
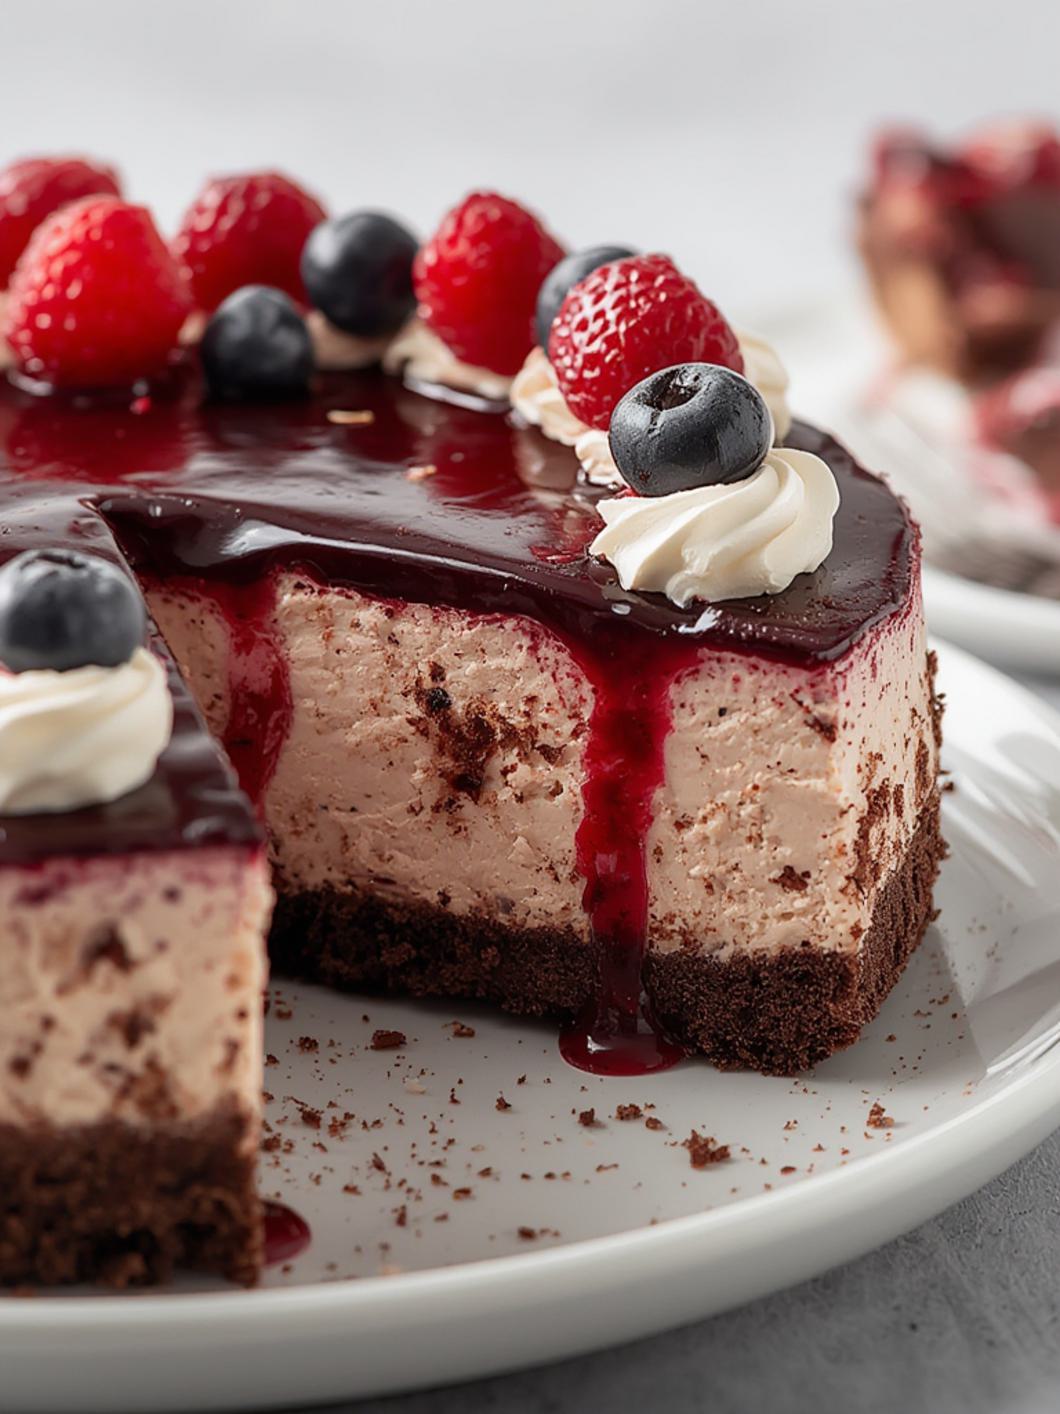
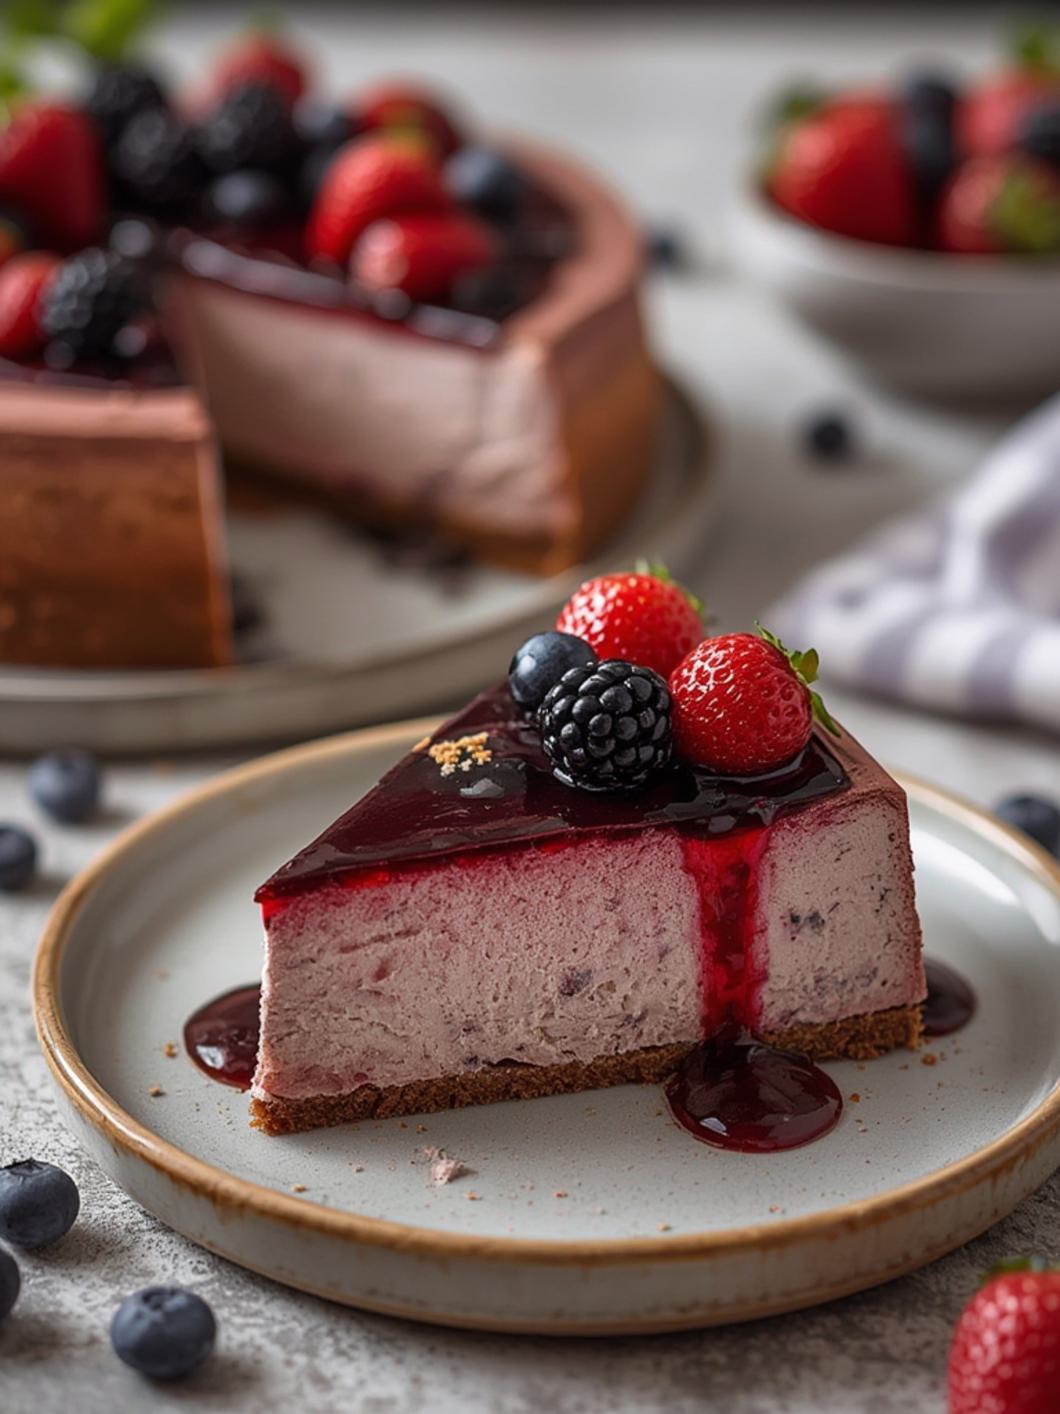
This 5-Star Black Forest Cheesecake features a rich Oreo cookie crust, a dense and creamy chocolate cheesecake filling, and is generously topped with a sweet-tart cherry compote, all finished with elegant chocolate shavings. It’s a truly sophisticated dessert that brings together the best of both worlds – cheesecake and Black Forest cake – in one stunning presentation.
What You’ll Need
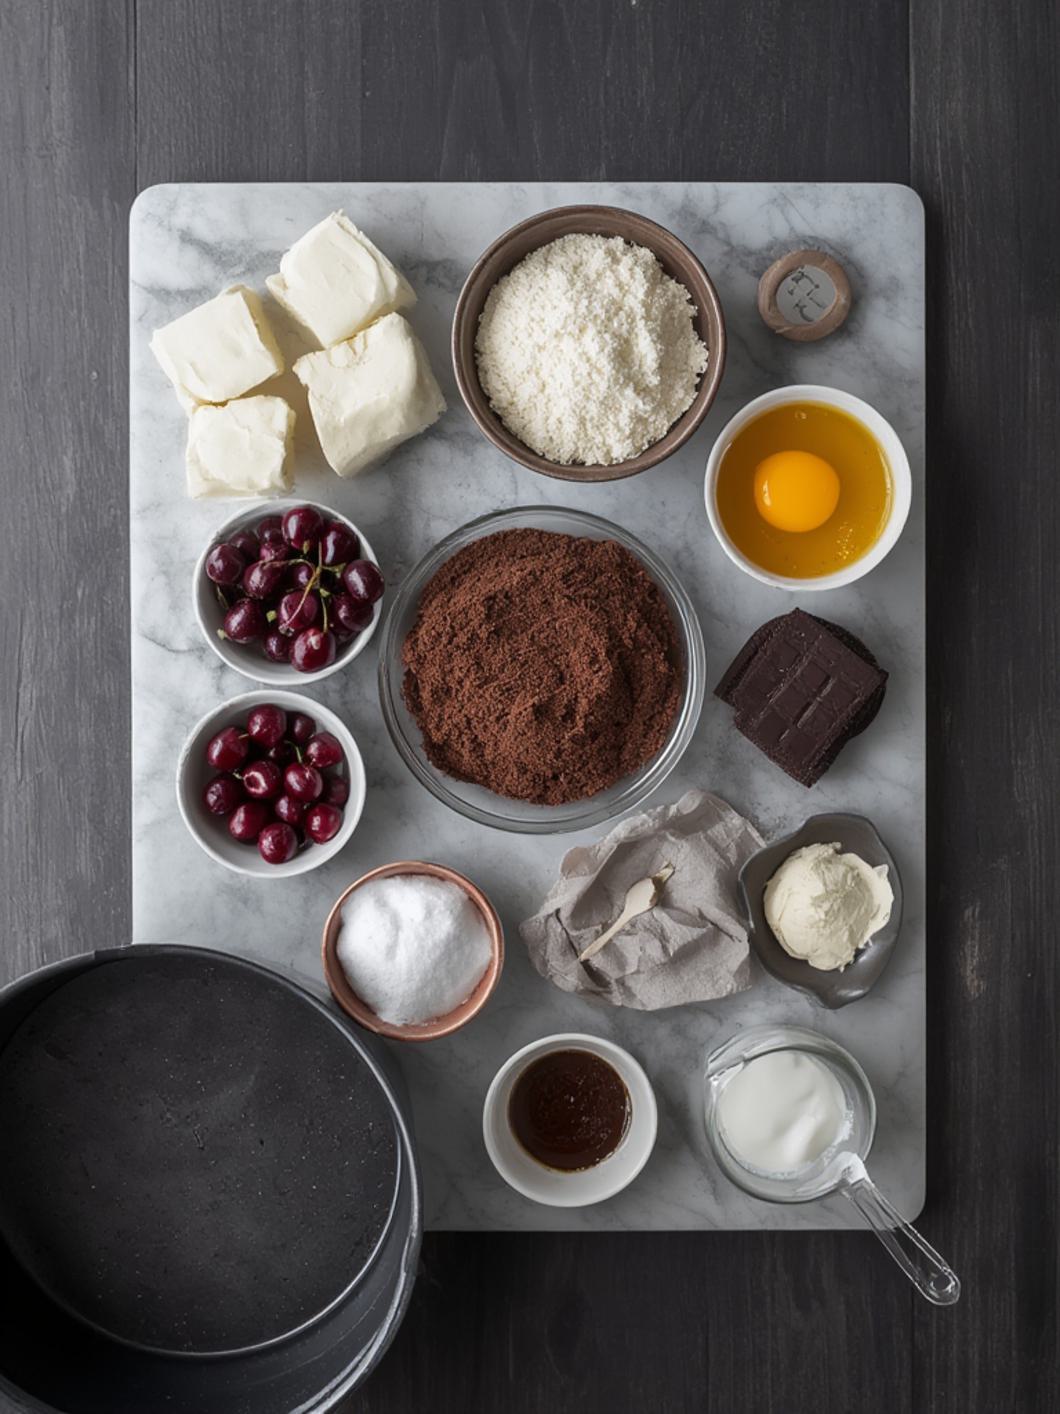
Gathering your ingredients beforehand ensures a smooth and enjoyable baking process. Here’s everything you’ll need for this decadent cheesecake:
For the Crust:
- ✦ 1 ½ cups (about 18) Oreo cookie crumbs
- ✦ ¼ cup (4 tablespoons) unsalted butter, melted
For the Chocolate Cheesecake Filling:
- ✦ 32 oz (four 8-oz blocks) full-fat cream cheese, softened
- ✦ 1 ½ cups granulated sugar
- ✦ 4 large eggs, at room temperature
- ✦ 1 cup sour cream, at room temperature
- ✦ 1 teaspoon vanilla extract
- ✦ ½ cup unsweetened cocoa powder
For the Cherry Topping:
- ✦ 2 (15-ounce) cans pitted dark sweet cherries in light syrup, drained (reserve ½ cup syrup)
- ✦ ½ cup granulated sugar
- ✦ 2 tablespoons cornstarch
- ✦ ¼ cup water
- ✦ 1-2 tablespoons Kirsch (cherry brandy), optional but highly recommended for authentic black forest cherry cheesecake flavor
For Garnish:
- ✦ Chocolate shavings or curls
- ✦ Fresh cherries (optional)
Preparation Instructions
Follow these detailed steps to create your magnificent 5-Star Black Forest Cheesecake, ensuring each layer is perfect. Taking your time with each stage will result in a truly unforgettable dessert that captures the essence of a classic Black Forest Cheesecake.
1. Prepare the Crust: Preheat your oven to 350°F (175°C). In a medium bowl, combine the Oreo cookie crumbs and melted butter until well mixed. Press the mixture firmly into the bottom of a 9-inch springform pan. Bake for 8-10 minutes, then remove from the oven and let cool slightly while you prepare the filling. Reduce oven temperature to 325°F (160°C).
2. Make the Cheesecake Filling: In a large bowl, using an electric mixer, beat the softened cream cheese on medium speed until smooth and creamy, about 2-3 minutes. Gradually add the granulated sugar and continue beating until fully incorporated and light.
3. Add Eggs and Wet Ingredients: Beat in the eggs one at a time, mixing just until each is combined before adding the next. Do not overmix. Stir in the sour cream and vanilla extract. Sift in the cocoa powder and mix on low speed until just combined and no streaks remain.
4. Bake the Cheesecake: Pour the cheesecake batter over the cooled crust in the springform pan. Place the springform pan into a larger roasting pan. Carefully pour hot water into the roasting pan, creating a water bath, until the water comes halfway up the sides of the springform pan.
5. Bake and Chill: Bake for 60-75 minutes, or until the edges are set but the center still jiggles slightly. Turn off the oven, crack the door open, and let the cheesecake cool in the water bath for 1 hour. Remove from the water bath, take off the springform sides (if using a removable bottom, leave the bottom on), and cool completely on a wire rack. Once cool, cover and refrigerate for at least 6 hours, or preferably overnight. This long chill time is crucial for the cheesecake to firm up and develop its creamy texture, a hallmark of a great black forest cherry cheesecake.
6. Prepare the Cherry Topping: While the cheesecake chills, combine the reserved cherry syrup, ½ cup sugar, cornstarch, and water in a medium saucepan. Whisk until smooth. Bring to a boil over medium heat, stirring constantly, until the mixture thickens. Remove from heat and stir in the drained cherries and optional Kirsch. Let cool completely, then refrigerate until ready to use.
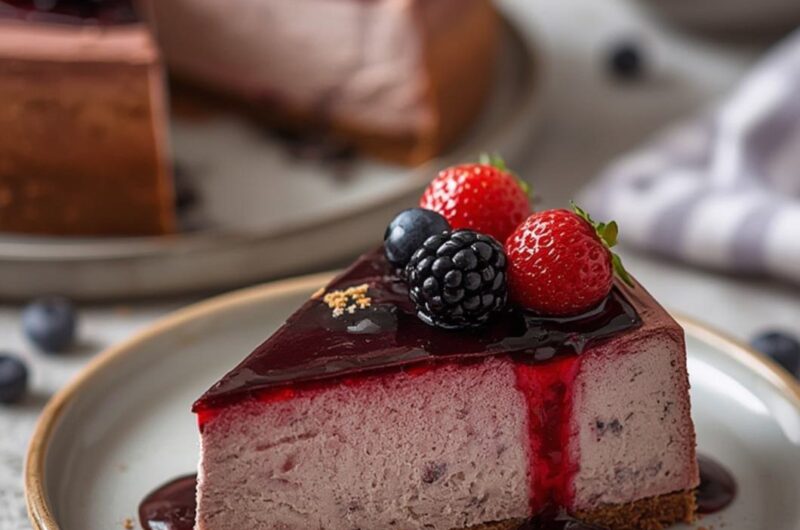
7. Assemble and Serve: Once the cheesecake is thoroughly chilled, spread the cooled cherry topping evenly over the top. Garnish with chocolate shavings or curls and fresh cherries, if desired. Slice and serve!
Fun Twists & Serving Ideas
- ✦ Dark Chocolate Drizzle: Before adding the cherry topping, drizzle melted dark chocolate over the cheesecake for an extra layer of chocolatey goodness.
- ✦ Whipped Cream Swirls: Serve each slice with a generous dollop of freshly whipped cream to enhance the classic Black Forest flavor profile.
- ✦ Almond Crust: Replace a quarter of the Oreo crumbs with finely ground almonds for a nutty undertone in the crust.
- ✦ Boozy Cherries: If you love the Kirsch flavor, marinate the fresh cherries in a small amount of Kirsch for an hour before using them as garnish.
- ✦ Mini Cheesecakes: For individual portions, bake the cheesecake in a muffin tin lined with paper liners for 20-25 minutes. Adjust baking time accordingly.
Reviews
Sarah M. (5 Stars): “Absolutely divine! This cheesecake is everything I hoped for and more. The chocolate is so rich, and the cherry topping is perfectly tart. A true showstopper for my dinner party!”
David L. (5 Stars): “I’m a huge fan of Black Forest cake, and this cheesecake takes it to a whole new level. The texture is incredibly creamy, and the balance of flavors is spot on. My new favorite dessert!”
Jessica P. (4 Stars): “Fantastic recipe! The instructions were clear, and the result was delicious. My only comment is that I might add a little more Kirsch next time for an extra kick. Still, a solid 5-star experience!”
FAQ
Q: Can I use fresh cherries for the topping?
A: Yes! If using fresh cherries, pit about 4 cups of cherries. Cook them down with ½ cup sugar and 2 tablespoons cornstarch dissolved in ¼ cup water until thickened, then add the Kirsch.
Q: How do I prevent cracks in my cheesecake?
A: Overmixing the batter, sudden temperature changes, and not using a water bath are common causes of cracks. Ensure ingredients are at room temperature, mix just until combined, and let the cheesecake cool slowly in the oven before refrigerating.
Q: Can I make this cheesecake ahead of time?
A: Absolutely! This cheesecake actually tastes better the next day after the flavors have had time to meld. It can be prepared up to 2-3 days in advance and stored covered in the refrigerator.
Q: What if I don’t have a springform pan?
A: While a springform pan is ideal, you can use a 9-inch regular round baking pan. Line it with parchment paper, leaving an overhang on two sides to create “handles” for lifting the cooled cheesecake out.
Q: Is Kirsch essential for the topping?
A: Kirsch adds an authentic, slightly boozy cherry flavor that is characteristic of traditional Black Forest desserts. However, it is optional. If you prefer not to use alcohol, simply omit it.
Conclusion
This 5-Star Black Forest Cheesecake is more than just a dessert; it’s an experience. The decadent blend of rich chocolate, a crunchy cookie crust, and the vibrant, sweet-tart cherry topping creates a symphony of flavors that will captivate anyone who tries it. Whether you’re celebrating a special occasion or simply indulging in a moment of pure bliss, this recipe promises to deliver. It truly elevates the concept of a Black Forest Cheesecake, making it a guaranteed crowd-pleaser and a standout among desserts. Enjoy the magic of a perfectly executed black forest cherry cheesecake in this luxurious form!
Recipe Note
For the best texture and flavor, ensure all your cream cheese, eggs, and sour cream are at room temperature before mixing. This helps create a smooth, lump-free batter and a perfectly creamy cheesecake.
🍴 Black Forest Cheesecake 🍴
🌍 International Cuisine | 🥣 Main Dish
45 mins
65-75 mins
12-16
550
🛒 Ingredients
- 🥄 2 cups chocolate cookie crumbs (from approx. 24 chocolate sandwich cookies, scraped if desired)
- 🥄 1/4 cup granulated sugar (for crust)
- 🥄 1/2 cup unsalted butter, melted
- 🥄 4 (8-ounce) packages cream cheese, softened to room temperature
- 🥄 1 1/2 cups granulated sugar (for filling)
- 🥄 1/4 cup unsweetened cocoa powder
- 🥄 1/4 cup sour cream or full-fat plain Greek yogurt
- 🥄 1 teaspoon vanilla extract
- 🥄 1/4 teaspoon salt
- 🥄 4 large eggs, room temperature
- 🥄 1/2 cup semi-sweet chocolate chips or finely chopped dark chocolate
- 🥄 1 can (21 ounces) cherry pie filling
- 🥄 1-2 tablespoons Kirsch (cherry brandy), optional
- 🥄 1 1/2 cups heavy cream (for topping)
- 🥄 1/4 cup powdered sugar (for topping)
- 🥄 1 teaspoon vanilla extract (for topping)
- 🥄 Chocolate shavings or curls, for garnish
- 🥄 Fresh cherries, for garnish (optional)
📝 Instructions
1
Preheat oven to 350°F (175°C). Wrap the bottom and sides of a 9-inch springform pan tightly with heavy-duty aluminum foil, creating a watertight seal for the water bath. If using Kirsch, gently stir it into the cherry pie filling and set aside.
2
In a medium bowl, combine the chocolate cookie crumbs, 1/4 cup granulated sugar, and melted butter. Press the mixture evenly into the bottom of the prepared springform pan. Bake for 8-10 minutes. Remove from oven and let cool slightly on a wire rack.
3
Reduce oven temperature to 325°F (160°C). In a large bowl, using an electric mixer, beat the softened cream cheese on medium speed until smooth and creamy, about 2-3 minutes. Gradually add the 1 1/2 cups granulated sugar, then the cocoa powder, beating until just combined and smooth, scraping down the sides of the bowl as needed.
4
Beat in the sour cream, 1 teaspoon vanilla extract, and salt until just combined. Add the eggs one at a time, beating on low speed after each addition just until the yolk disappears. Do not overmix once the eggs are added.
5
Gently fold in the semi-sweet chocolate chips or chopped chocolate. Pour about half of the cheesecake batter over the cooled crust. Dollop half of the cherry pie filling over the batter and gently swirl with a knife. Carefully pour the remaining cheesecake batter over the cherry swirl. Dollop the remaining cherry pie filling on top and swirl again.
6
Place the foiled springform pan into a larger roasting pan. Carefully pour hot water into the roasting pan until it comes about halfway up the sides of the springform pan. Bake for 65-75 minutes, or until the edges are set but the center still jiggles slightly when gently shaken.
7
Turn off the oven, leave the cheesecake in the water bath, prop the oven door open slightly, and let cool in the oven for 1 hour. This slow cooling helps prevent cracks. Remove the cheesecake from the water bath, remove the foil, and let cool completely on a wire rack at room temperature.
8
Once completely cool, cover the cheesecake loosely with plastic wrap and refrigerate for at least 6-8 hours, or preferably overnight, to allow it to set completely.
9
To prepare the topping, in a large bowl, beat the heavy cream, powdered sugar, and 1 teaspoon vanilla extract with an electric mixer on high speed until stiff peaks form. Spread or pipe the whipped cream over the chilled cheesecake.
10
Garnish with chocolate shavings/curls and fresh cherries (if using). Carefully remove the sides of the springform pan before slicing and serving.