Butter Candle: 5 Butter Candle Uses Under 55!
Illuminate Your Dining Table with a Butter Candle: 5 Butter Candle Uses Under 55!
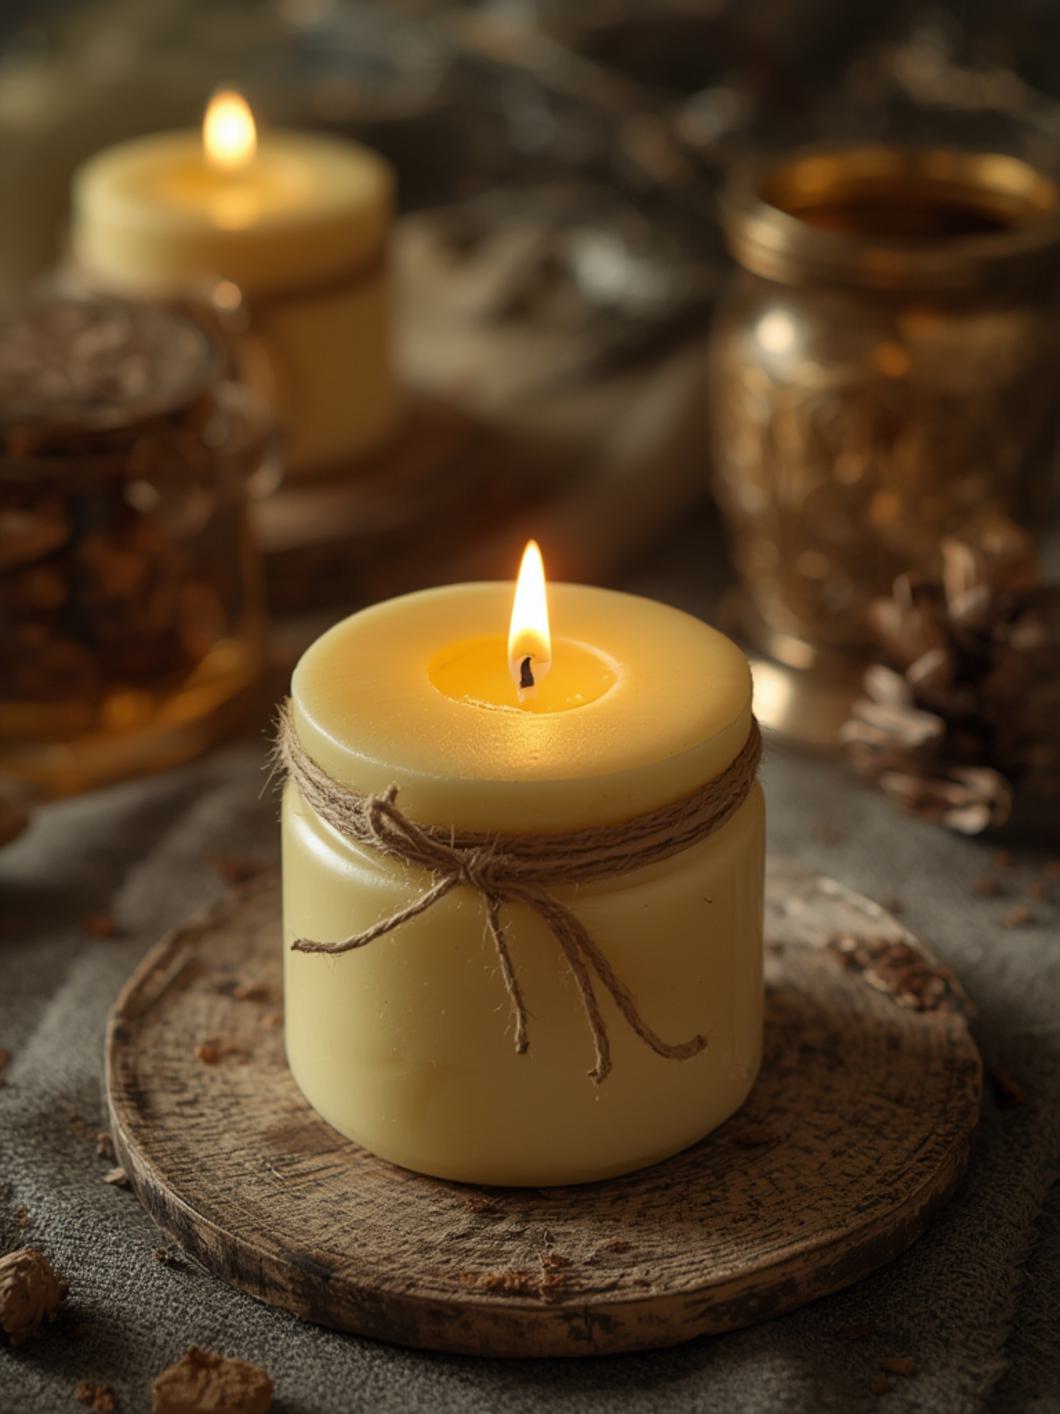
Prepare to revolutionize your entertaining with a culinary marvel that’s as delightful to behold as it is to taste: the Butter Candle. This ingenious creation combines the warmth of candlelight with the rich, savory indulgence of flavored butter, perfect for dipping crusty bread or elevating any meal. Forget plain butter dishes; this elegant, edible centerpiece brings an immediate wow factor to your table, captivating guests with its gentle glow before melting into a luscious, spreadable condiment. It’s a sophisticated twist on a traditional favorite, transforming ordinary butter into a functional, beautiful, and utterly delicious Dairy-Based Candle that promises to be the talk of your next gathering.

What You’ll Need
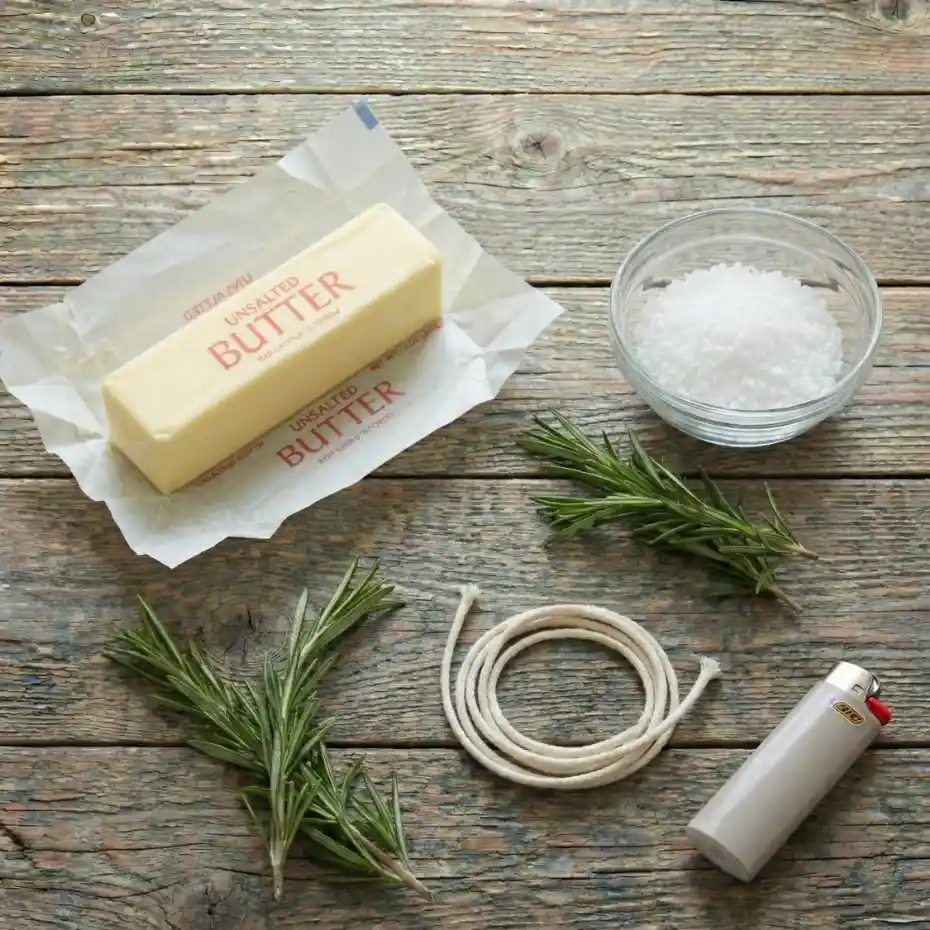
Creating your own mesmerizing Butter Candle is surprisingly simple, requiring just a few staple ingredients and a touch of creativity. Gather these items to craft your edible centerpiece:
1 cup (2 sticks) unsalted butter, softened
1 small food-safe cotton wick (available online or at craft stores) or thick kitchen twine
1-2 cloves garlic, minced (optional)
1 tablespoon fresh rosemary or thyme, finely chopped (optional)
Pinch of sea salt (optional, if using unsalted butter)
Small heat-safe ramekin or mold (e.g., a small ceramic dish, silicone mold)
Preparation Instructions
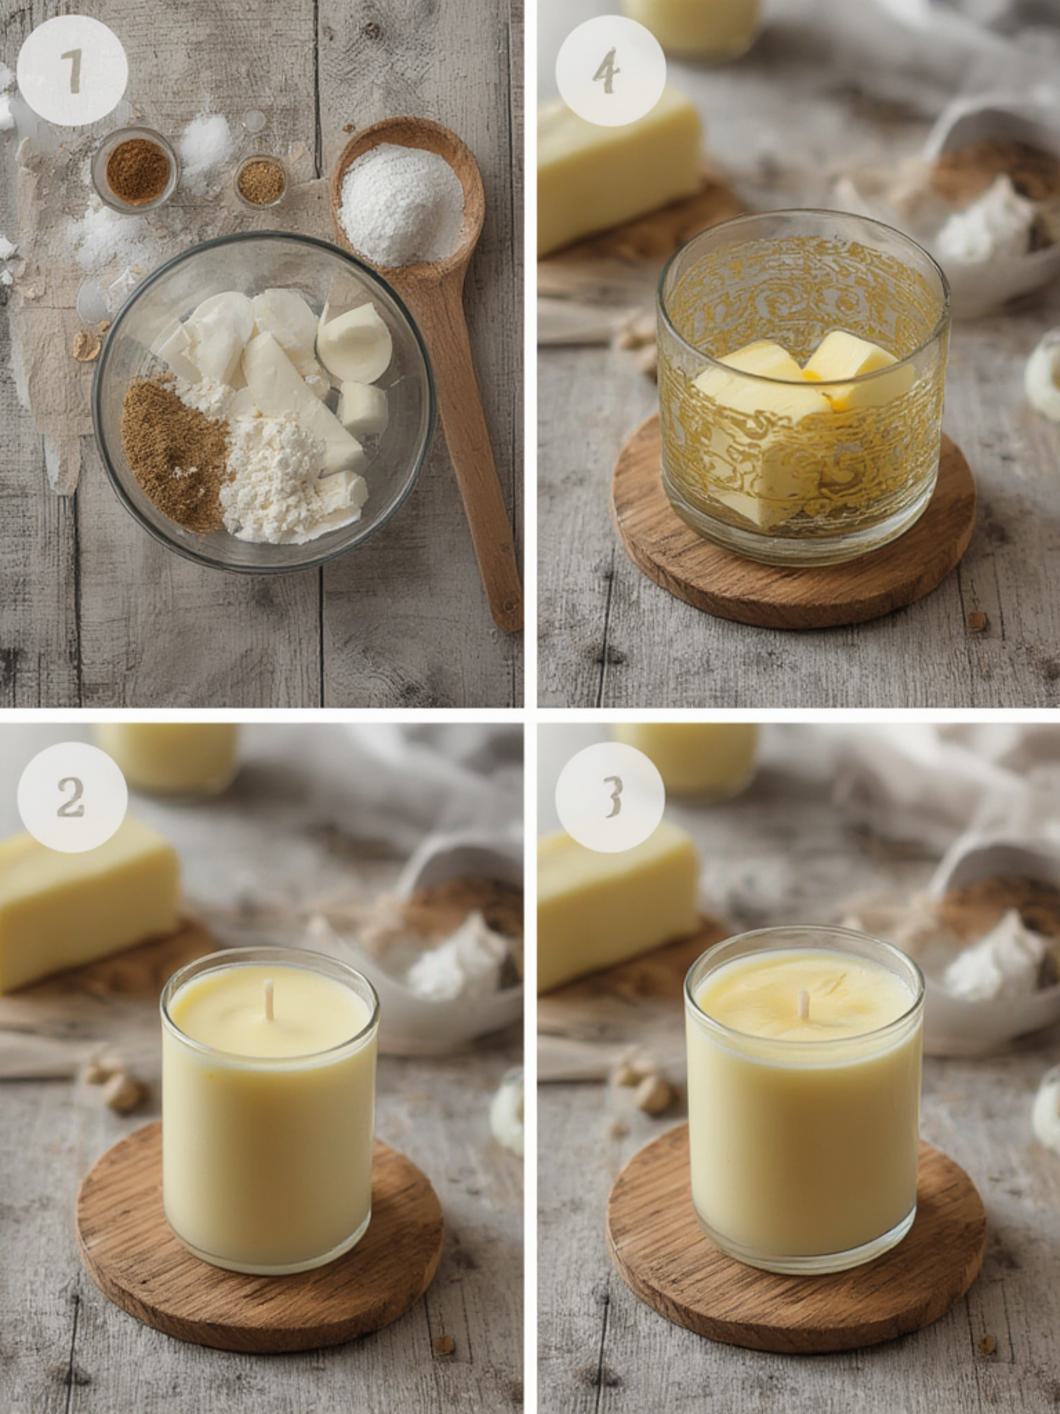
Crafting a Butter Candle is an art that’s surprisingly easy to master. Follow these steps to create your glowing, gourmet centerpiece.
1. Soften the Butter: Ensure your butter is at room temperature and very soft. If it’s too firm, gently microwave it in 10-second intervals until pliable, but not melted.
2. Infuse Flavors (Optional): In a small bowl, combine the softened butter with minced garlic, chopped herbs, and a pinch of sea salt. Mix thoroughly until all ingredients are evenly distributed.
3. Prepare the Wick: Cut your food-safe cotton wick or kitchen twine to be about 1-2 inches taller than your chosen ramekin or mold. If using twine, you can dip it in melted butter or beeswax and let it stiffen slightly for better handling, though this isn’t strictly necessary.
4. Assemble the Candle: Place the wick upright in the center of your heat-safe ramekin or mold. Begin carefully spooning the flavored butter around the wick, pressing it down gently to remove any air pockets. Ensure the wick remains perfectly centered as you fill the mold.
5. Chill and Firm: Once the mold is filled, transfer it to the refrigerator. Chill for at least 2-4 hours, or until the butter is completely firm and holds its shape.
6. Trim and Serve: Once firm, remove the butter candle from the fridge. If using a mold, gently unmold it onto a serving dish. Trim the wick to about ¼ to ½ inch above the butter’s surface. Your elegant Dairy-Based Candle is now ready to impress!
Fun Twists & Serving Ideas
Spicy Kick: Add a pinch of red pepper flakes or a dash of hot sauce to the butter mixture for a fiery flavor.
Sweet Sensation: For a dessert version, mix softened butter with cinnamon, brown sugar, and a touch of maple syrup. Serve with apple slices or sweet bread.
Mediterranean Herb: Incorporate finely chopped oregano, basil, and a squeeze of lemon zest for a vibrant, aromatic candle.
Smoky Flavor: Add a tiny bit of smoked paprika or a drop of liquid smoke to the butter for a deep, smoky profile.
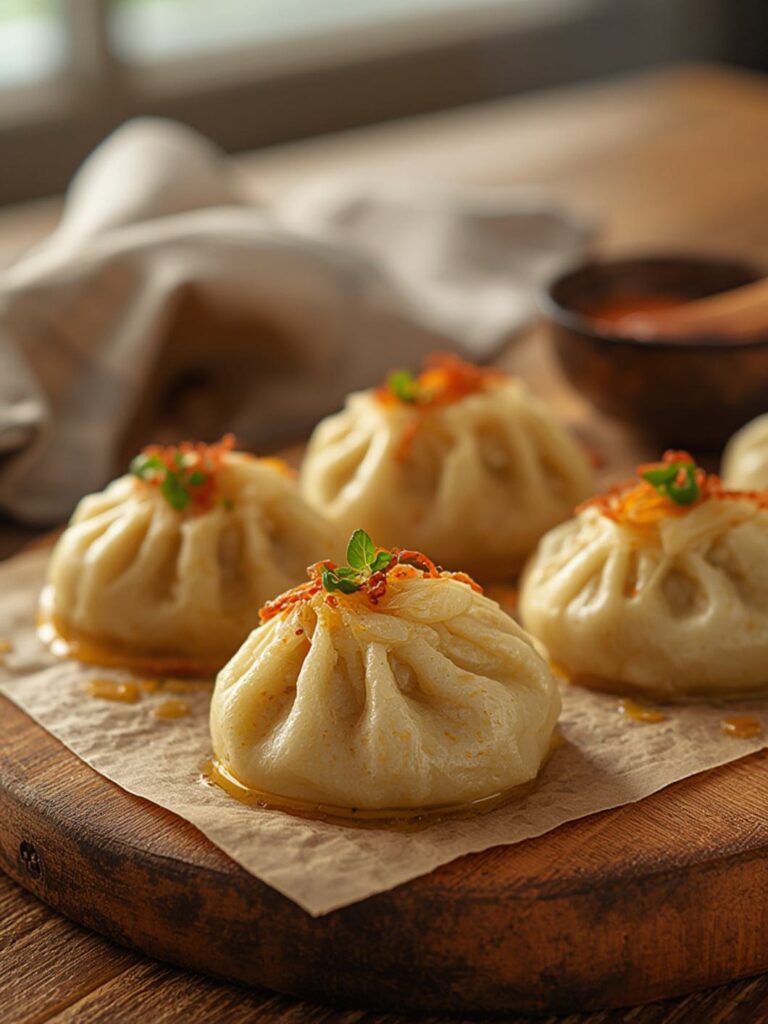
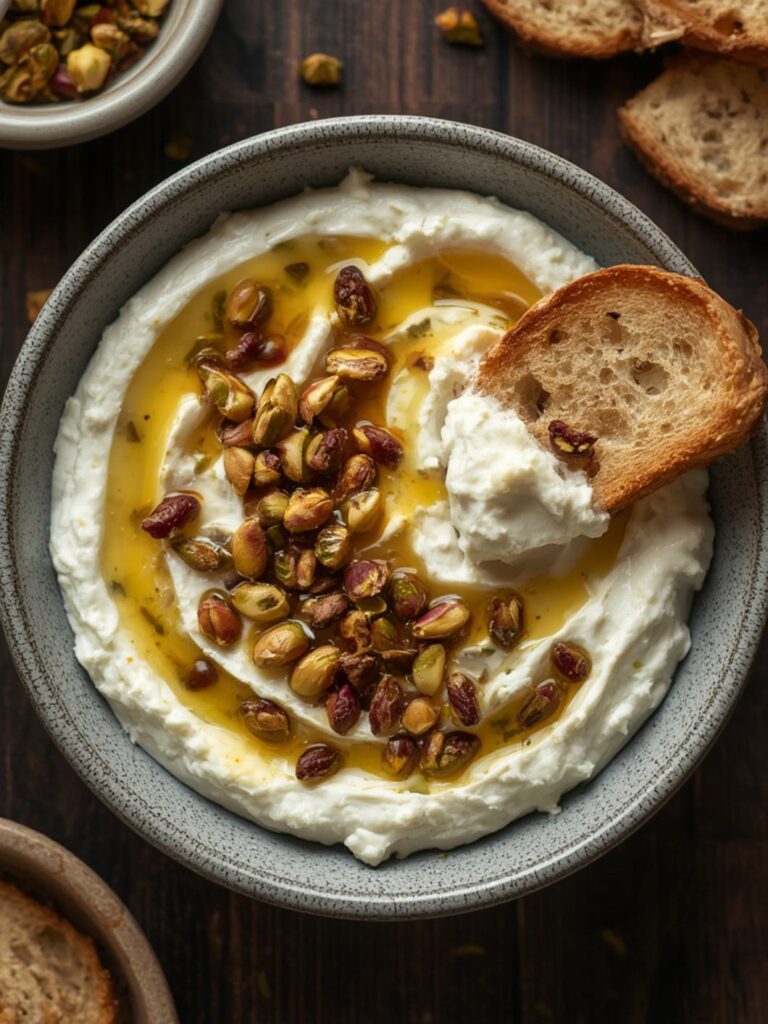
Presentation Perfection: Serve your Butter Candle alongside a selection of artisan breads, crostini, or roasted vegetables for dipping. Place it on a heat-safe plate to catch any drips.
Reviews
- Sarah L. – ⭐⭐⭐⭐⭐
“This Butter Candle was an absolute showstopper at my dinner party! Everyone was so intrigued, and the garlic-herb butter was divine with crusty baguette. So much fun to make and serve!” - Mark T. – ⭐⭐⭐⭐”I made this for a brunch, and it was a huge hit. The novelty alone gets five stars, but the rich, melty butter with fresh rosemary was just perfect for dipping sourdough. Will definitely make again!”
- Jessica P. – ⭐⭐⭐⭐
“Easy to follow instructions and it looks so elegant! My only small critique is ensuring the wick stays centered, but once chilled, it was beautiful. The kids thought it was magic!”
FAQ
Q: What kind of wick should I use for a Butter Candle?
A: Use a food-safe cotton wick or natural, unwaxed kitchen twine. You can find food-grade wicks online or at specialty craft stores. Avoid wicks with metal bases or chemical treatments.
Q: How long does a Butter Candle typically burn?
A: The burn time depends on the size of your candle and the thickness of the wick. A small ramekin-sized butter candle can burn for 30 minutes to over an hour, providing ample time for dipping.
Q: Can I prepare the Butter Candle in advance?
A: Absolutely! You can prepare and chill your butter candle up to 2-3 days in advance. Keep it stored in the refrigerator until about 15-30 minutes before you plan to light it, allowing the butter to slightly soften at room temperature for an easier light.
Q: Is it safe to eat the butter after it’s been lit?
A: Yes, as long as you use food-safe materials (wick, mold) and the butter hasn’t been burning for an excessively long time, it is perfectly safe to eat. The heat from the wick will melt the butter, creating a warm, delicious dipping pool.
Q: Can I use salted butter?
A: Yes, you can use salted butter. However, if you add additional salt or other savory seasonings, you might want to taste the mixture before chilling to ensure the salt level isn’t too high for your preference.
Conclusion
The Butter Candle is more than just a novelty; it’s a brilliant fusion of culinary artistry and practical design that elevates any dining experience. From casual family meals to elegant dinner parties, its gentle glow and rich, melting flavors provide an unforgettable centerpiece that invites interaction and pure enjoyment. This creative approach transforms simple ingredients into something extraordinary, proving that even the most humble components can become conversation starters. So go ahead, light up your table with this enchanting Dairy-Based Candle and watch as your guests delight in its charm and deliciousness.
Recipe Note
For the best results and a clean burn, ensure your wick is trimmed to about ¼ to ½ inch before lighting. A shorter wick helps prevent excessive flickering and promotes a more even melt, keeping your butter perfectly warm for dipping.

Butter Candle
Cook Time: N/A
Total Time: 1 hour 15 minutes
Course: Appetizer
Servings: 4-6
Calories: 250-350 per serving
Ingredients
- 1 cup (2 sticks) unsalted butter
- 2-3 cloves garlic, minced
- 1 sprig fresh rosemary, finely chopped
- 1 sprig fresh thyme, finely chopped
- 1/2 teaspoon flaky sea salt, plus more to taste
- 1/4 teaspoon black pepper, freshly ground
- 1 food-safe candle wick (untreated cotton or hemp) or 6 inches of untreated cotton butcher’s twine
- 1 small heatproof ramekin (4-6 oz capacity)
Instructions
1.If using butcher’s twine, fold it in half and twist tightly to create a sturdy wick. If using a pre-made wick, ensure it’s food-safe.
2. In a small saucepan, melt the butter over medium-low heat. Add the minced garlic, chopped rosemary, chopped thyme, sea salt, and black pepper. Stir gently and allow to infuse for 2-3 minutes, taking care not to burn the garlic.
3. Carefully pour the infused butter into the small heatproof ramekin.
4. Allow the butter to cool slightly for about 5 minutes, then carefully insert the prepared wick into the center of the butter, ensuring it stands upright. You may need to hold it in place for a moment until the butter starts to set slightly around it.
5. Transfer the ramekin to the refrigerator and chill for at least 1 hour, or until the butter is completely firm.
6. Once solid, the butter candle is ready to be lit. Trim the wick to about 1/4 inch before lighting. Place on a heat-safe surface and light the wick. As the butter melts, it will create a warm, flavorful dipping oil. Serve immediately with crusty bread, crackers, or vegetables for dipping. Always extinguish the flame when not actively dipping and never leave unattended.
Chef’s Notes: Ensure to use a food-safe wick (untreated cotton or hemp) or untreated cotton butcher’s twine for safety. This makes an excellent interactive appetizer, perfect for dipping crusty bread, crackers, or vegetables. For best results, chill until completely firm before lighting. The flame should be small and controlled. Always place on a heat-safe surface and never leave a burning candle unattended. Extinguish the flame when not actively dipping.