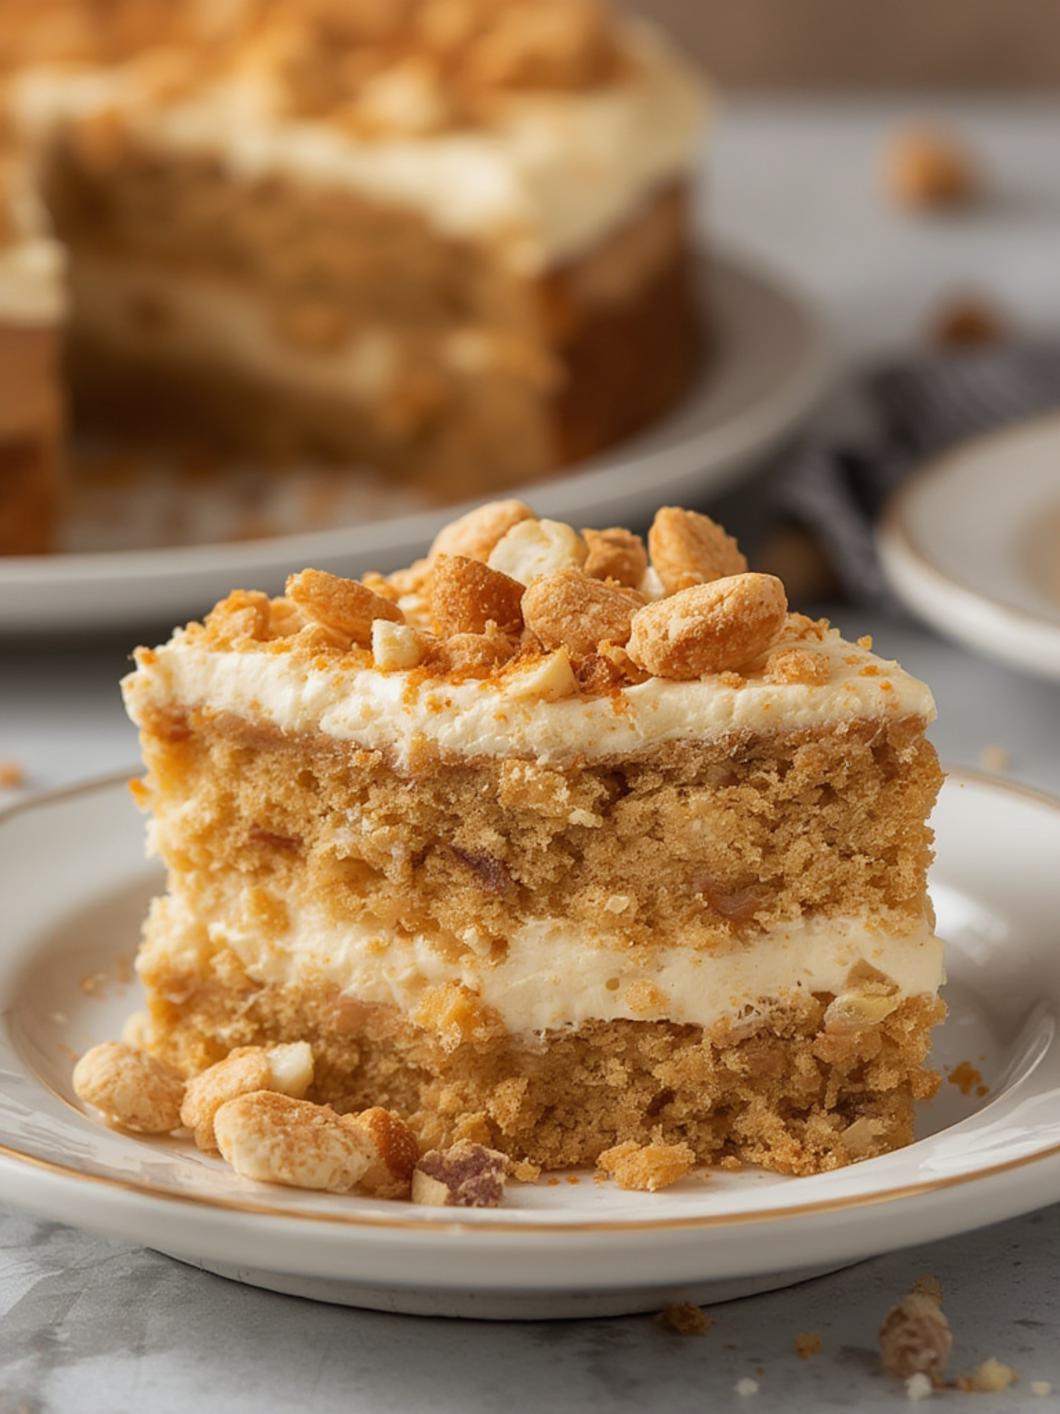
Butterfinger Poke Cake: 1 Butterfinger Poke Cake!
Decadent Delights: The Ultimate Butterfinger Poke Cake for Every Sweet Craving!
Prepare yourself for an explosion of flavor and texture that will captivate your senses! This Butterfinger Poke Cake is more than just a dessert; it’s a nostalgic trip to your favorite candy bar, transformed into an irresistibly moist and creamy cake. If you’re searching for show-stopping butterfinger dessert recipes that are surprisingly easy to make, you’ve hit the jackpot. From the tender cake to the luscious caramel and the iconic crunchy Butterfinger topping, every bite promises pure bliss. Get ready to impress everyone with this fantastic creation!
What You’ll Need
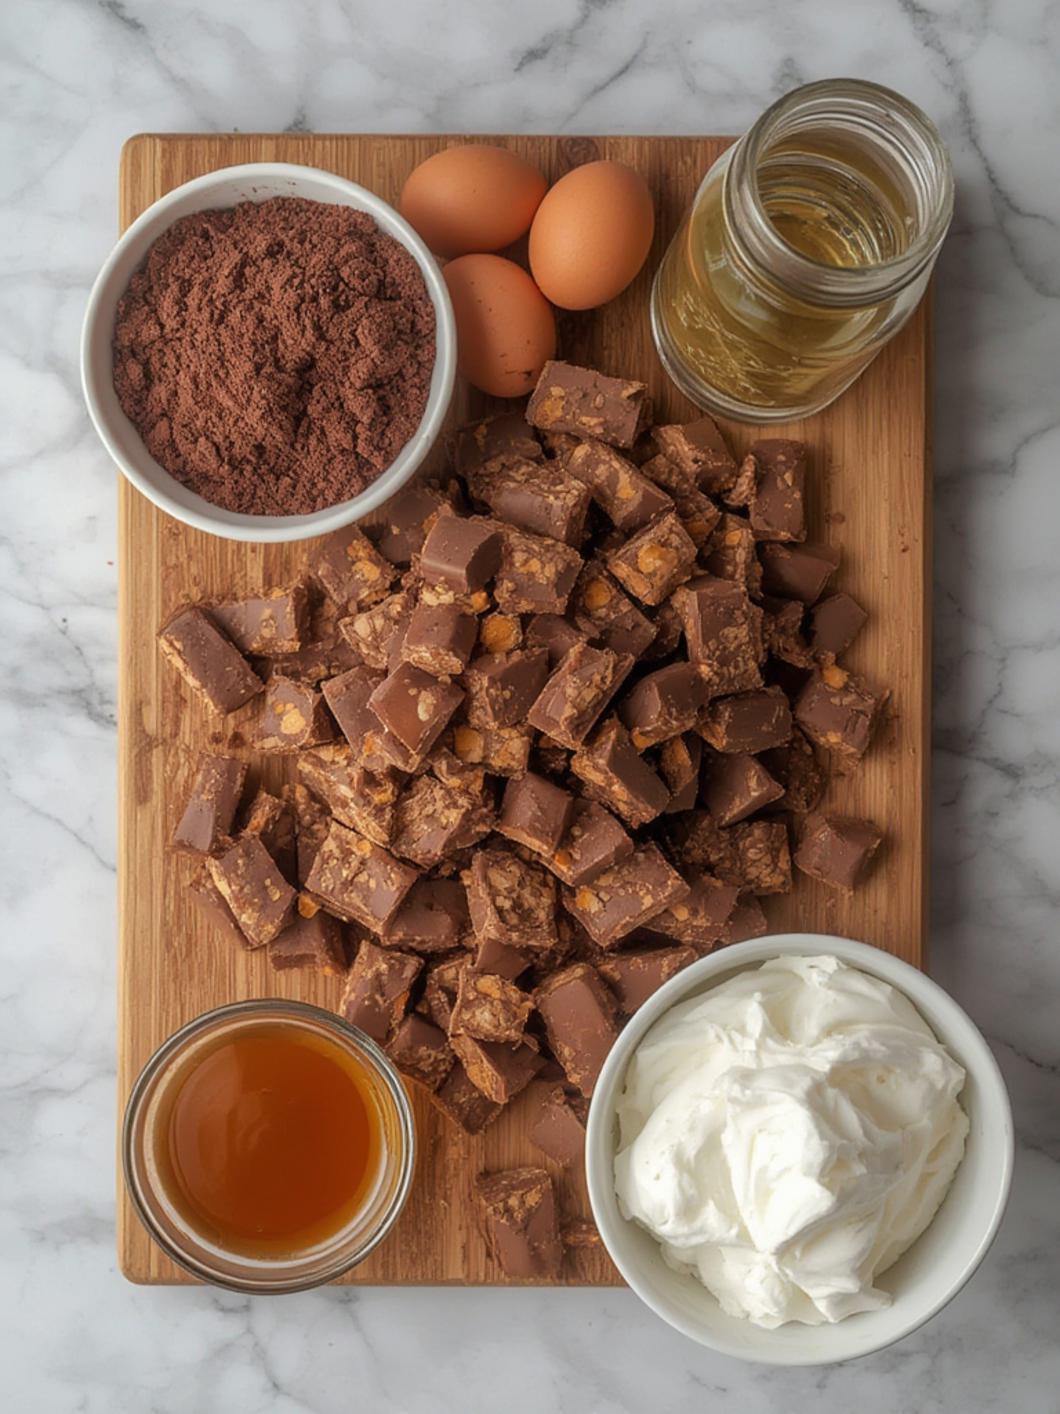
Gathering your ingredients is the first step to creating this show-stopping dessert. The beauty of this recipe lies in its simplicity, relying on readily available items to construct a truly indulgent treat.
1 box (15.25 oz) yellow cake mix, plus ingredients to prepare (eggs, oil, water)
1 can (14 oz) sweetened condensed milk
1 jar (12 oz) caramel topping
1 container (8 oz) frozen whipped topping, thawed
8-10 regular size Butterfinger candy bars, crushed
Preparation Instructions
Creating this amazing Butterfinger Poke Cake is a fun and straightforward process. Follow these steps carefully to ensure every layer is perfect, from the moist cake base to the crunchy topping, bringing one of the best butterfinger dessert recipes to life in your kitchen.
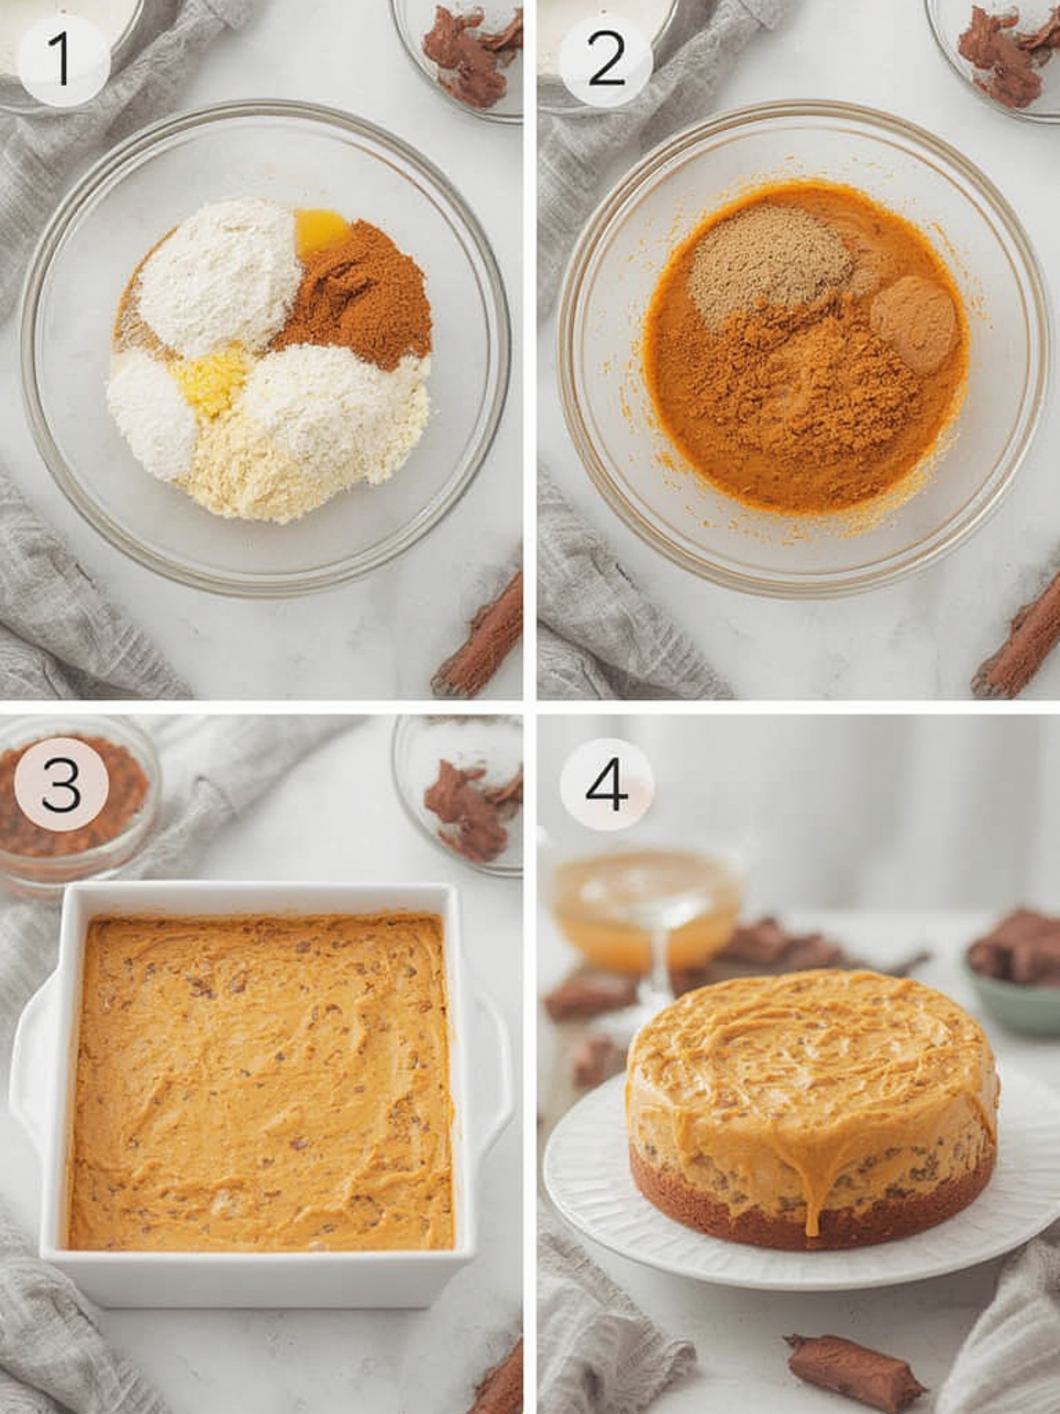
1. Preheat oven to 350°F (175°C). Grease and flour a 9×13 inch baking pan.
2. Prepare cake mix according to package directions. Pour batter into the prepared baking pan.
3. Bake for 30-35 minutes, or until a toothpick inserted into the center comes out clean.
4. Remove cake from oven and let cool for 5-10 minutes. While warm, use the handle of a wooden spoon or a large fork to poke holes all over the top of the cake, about 1 inch apart.
5. In a small bowl, whisk together the sweetened condensed milk and about 1/2 cup of the caramel topping until well combined.
6. Slowly pour the milk-caramel mixture evenly over the warm cake, making sure it seeps into all the holes.
7. Let the cake cool completely at room temperature, then refrigerate for at least 2 hours to allow the mixture to fully absorb.
8. Once chilled, spread the thawed whipped topping evenly over the top of the cake.
9. Crush the Butterfinger candy bars. You can do this by placing them in a Ziploc bag and crushing them with a rolling pin, or by using a food processor for a finer crumb.
10. Drizzle the remaining caramel topping over the whipped cream.
11. Sprinkle the crushed Butterfinger candy bars generously over the entire cake.
12. Refrigerate for at least 30 minutes before serving for best results. Store leftovers in the refrigerator.
Fun Twists & Serving Ideas
Chocolate Lover’s Dream: Add a layer of chocolate fudge sauce before the whipped topping for an even richer experience.
Peanut Butter Swirl: Swirl a few tablespoons of melted peanut butter into the whipped topping or the caramel sauce for extra peanut-y goodness.
Ice Cream Sundae Cake: Serve slices of this cake with a scoop of vanilla bean ice cream and an extra drizzle of caramel.
Mini Poke Cakes: Bake the cake in a cupcake pan, poke holes, and top each cupcake individually for personal-sized treats.
Seasonal Sprinkles: Decorate with seasonal sprinkles for holidays or special occasions to add a festive touch.
Reviews
Sarah P. ⭐⭐⭐⭐⭐ “Absolutely divine! This cake was a huge hit at our family gathering. So moist and the Butterfinger crunch is just perfect. I’ll be making this again!”
Mark T. ⭐⭐⭐⭐⭐ “Easy to follow recipe and the results were incredible. The caramel seeped in beautifully. My new favorite dessert!”
Jessica L. ⭐⭐⭐⭐ “Really good! It’s super sweet, so a small slice is plenty. But the flavors are spot on. Highly recommend for any Butterfinger fan.”
FAQ
Q: Can I use a different type of cake mix?
A: Yes, while yellow cake mix is traditional, a chocolate or even a vanilla cake mix would also work beautifully, offering a slightly different flavor profile.
Q: How far in advance can I make this cake?
A: This cake is best made the day before or the morning of serving to allow ample time for chilling and for the flavors to meld. It stays fresh in the refrigerator for 3-4 days.
Q: Can I freeze Butterfinger Poke Cake?
A: You can freeze slices of the cake (without the whipped topping and Butterfingers) for up to a month. Thaw in the refrigerator, then add fresh whipped topping and candy before serving.
Q: What’s the best way to crush the Butterfinger bars?
A: Place them in a sturdy freezer bag, seal it, and use a rolling pin or the flat side of a meat tenderizer to crush them to your desired consistency. A food processor also works well for a finer crumb.
Q: My cake isn’t absorbing the milk mixture. What went wrong?
A: Ensure you poke plenty of holes and that the cake is still warm when you pour the mixture over it. The warmth helps the liquid penetrate more effectively.
Conclusion
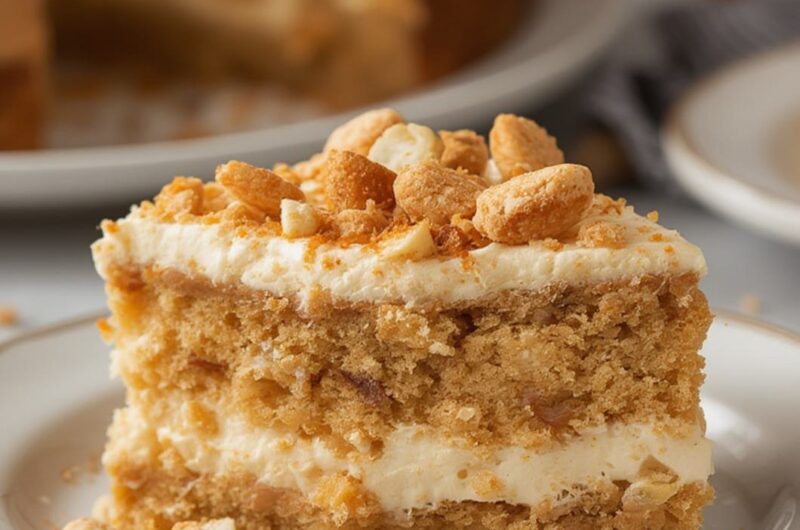
Indulge in the extraordinary with this spectacular Butterfinger Poke Cake! It’s a guaranteed crowd-pleaser that combines the nostalgic crunch of Butterfinger candy with a luscious, moist cake and creamy topping. Perfect for any occasion, this recipe proves that truly amazing butterfinger dessert recipes can be achieved with simple ingredients and a little love. So go ahead, whip up this masterpiece and watch the smiles light up around your table. You’ll understand why this Butterfinger Poke Cake is quickly becoming a beloved classic!
Recipe Note
For the best texture and to prevent the crushed Butterfinger bars from becoming soggy, sprinkle them over the cake just before serving. This ensures maximum crunch!
Butterfinger Poke Cake
Total Time: 2 hours 30 minutes (includes chilling time)
Course: Dessert
Servings: 12-16
Calories: 450-550 per serving (estimated)
Ingredients
- 1 (15.25 ounce) box chocolate cake mix (plus ingredients called for on box: eggs, oil, water)
- 1 (14 ounce) can sweetened condensed milk
- 1 (12 ounce) container frozen whipped topping, thawed
- 6-8 regular size Butterfinger candy bars (or 10-12 fun size), crushed
Instructions
-
Bake Cake
Prepare and bake chocolate cake according to package instructions in a 9×13-inch pan. Let cool for 10 minutes. -
Poke Holes
Use the handle of a wooden spoon to poke holes evenly over the cake. -
Add Filling
Mix sweetened condensed milk and caramel sauce. Pour evenly over the cake, letting it soak into the holes. -
Cool & Chill
Allow cake to cool completely, then refrigerate for 1 hour. -
Top Cake
Spread whipped topping evenly over chilled cake. -
Finish
Sprinkle crushed Butterfinger bars over the top. Drizzle with chocolate syrup if desired. -
Serve
Slice and serve chilled.
💡 Tips & Variations
-
Extra indulgent: Add chocolate chips between layers
-
Different candy: Swap Butterfinger for Heath or Reese’s
-
Homemade whipped cream: Use freshly whipped cream instead of whipped topping
-
Make ahead: Best made the day before for maximum flavor
Chef’s Notes: For best results, allow the cake to chill thoroughly for at least 2 hours, or preferably overnight. You can adjust the amount of Butterfinger candy to your liking.