Chocolate Covered Caramels: 5 Decadent Bites You Need
Chocolate Covered Caramels: 5 Decadent Bites You Need for Irresistible Indulgence
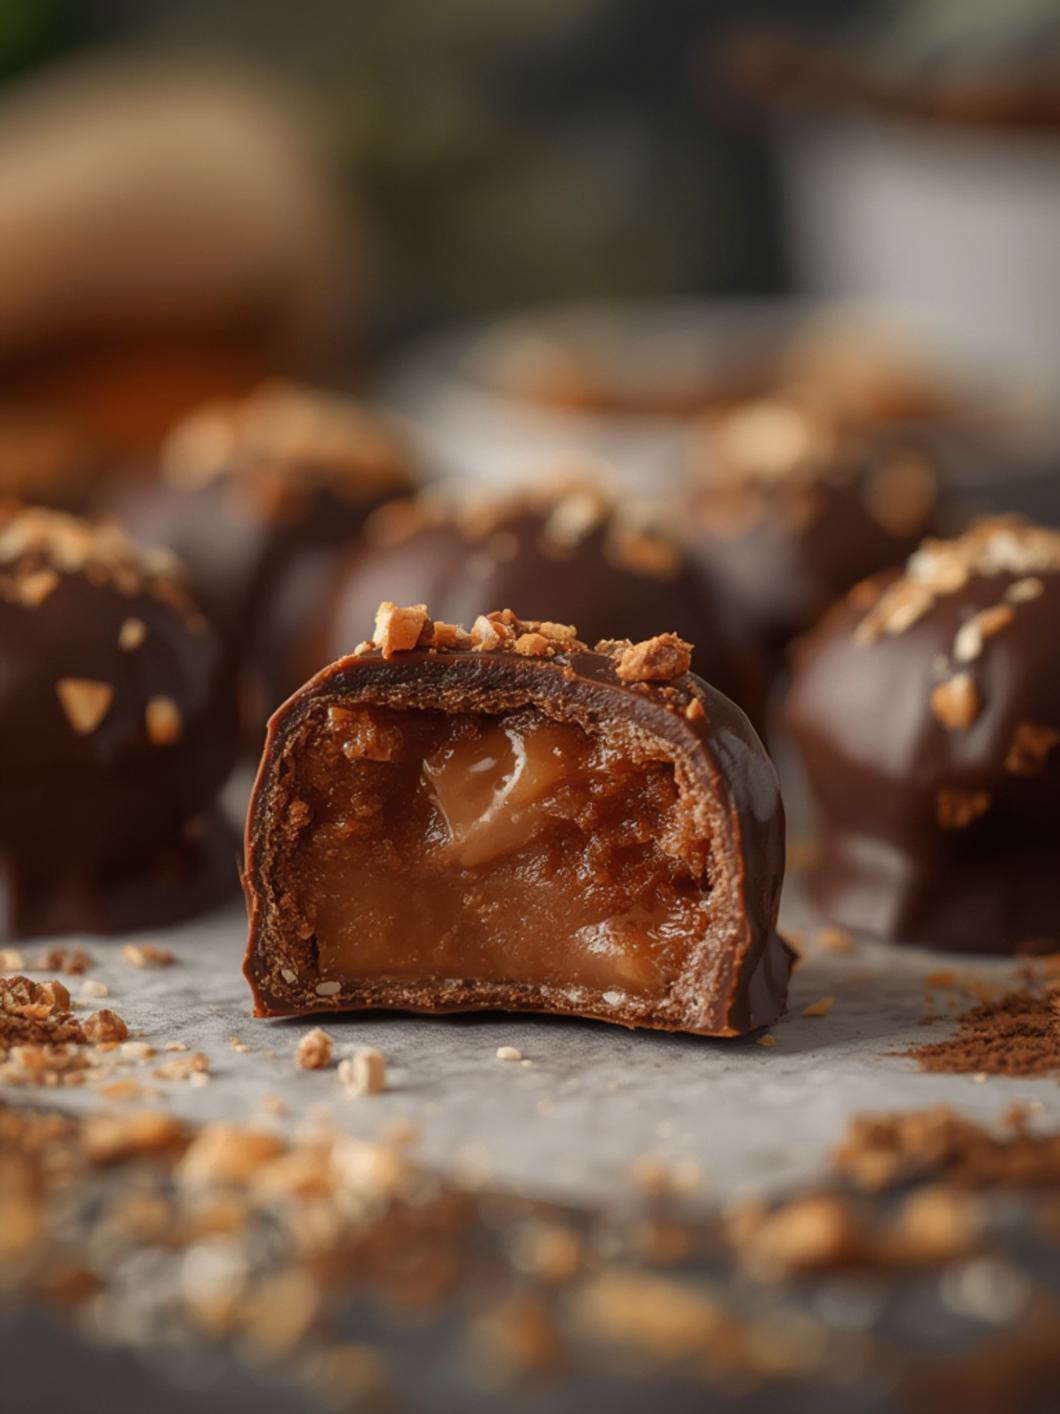
Few treats capture the perfect balance of gooey sweetness and rich, dark bliss quite like homemade Chocolate Covered Caramels. Imagine biting through a crisp shell of fine chocolate to discover a buttery, melt-in-your-mouth caramel center. This classic confection is not only a delightful indulgence for yourself but also makes for an exquisite gift. If you’ve ever savored the delightful contrast of creamy caramel and chocolate, or wondered how those artisanal salted caramel chocolates are made, you’re in for a treat with this approachable recipe. Get ready to create a batch of these irresistible bites that are sure to become a new favorite.
Quick Glance Summary
These homemade chocolate-covered caramels are a labor of love that pays off with every bite. Featuring a rich, buttery caramel base enrobed in your favorite chocolate, they’re perfect for gifting, holiday platters, or simply a luxurious treat. The recipe involves cooking a simple caramel to the perfect consistency, cutting it into bite-sized pieces, and then dipping it into melted chocolate. Prepare for a truly decadent experience!
What You’ll Need
Gathering your ingredients before you start is key to a smooth candy-making process. This recipe calls for common pantry staples, transformed into an extraordinary confection.
- ✦ 1 cup (2 sticks) unsalted butter
- ✦ 1 cup granulated sugar
- ✦ 1 cup packed light brown sugar
- ✦ 1 cup light corn syrup
- ✦ 1 (14-ounce) can sweetened condensed milk
- ✦ 1 teaspoon vanilla extract
- ✦ 1 teaspoon sea salt (optional, for the caramel itself)
- ✦ 12 ounces good quality dark chocolate (or milk chocolate), chopped
- ✦ 2 tablespoons coconut oil or shortening (optional, for melting chocolate)
- ✦ Flaky sea salt, for sprinkling (optional)

Preparation Instructions
Creating these divine Chocolate Covered Caramels is a satisfying process that yields professional-looking results. Patience is key, especially when cooking the caramel to the right temperature. If you’ve ever admired premium salted caramel chocolates, you’re about to unlock the secret to making your own!
1. Prepare Your Pan: Line an 8×8 or 9×9 inch square baking pan with parchment paper, leaving an overhang on two sides to create handles. Lightly grease the parchment paper to prevent sticking.
2. Combine Caramel Ingredients: In a heavy-bottomed 3-quart saucepan, combine the unsalted butter, granulated sugar, light brown sugar, light corn syrup, and sweetened condensed milk.
3. Cook the Caramel: Cook the mixture over medium heat, stirring constantly with a wooden spoon. Bring it to a rolling boil, then reduce the heat slightly to maintain a steady boil. Continue stirring frequently to prevent scorching until a candy thermometer reads 245°F (118°C), which is the firm ball stage. This usually takes about 15-20 minutes.
4. Finish Caramel: Remove the saucepan from the heat immediately. Stir in the vanilla extract and the optional 1 teaspoon of sea salt (if you want the caramel itself to be salty).
5. Pour and Cool: Carefully pour the hot caramel into the prepared baking pan. Avoid scraping the bottom of the pan, as this can introduce sugar crystals and make the caramel grainy. Allow the caramel to cool completely at room temperature for at least 2-3 hours, or you can chill it in the refrigerator for about 1 hour to firm it up faster.
6. Cut Caramels: Once the caramel is firm and cool, use the parchment paper overhangs to lift it out of the pan and place it on a cutting board. Lightly grease a sharp knife and cut the caramel into 1-inch squares or your desired bite-sized shapes.
7. Melt Chocolate: In a microwave-safe bowl (microwave in 30-second intervals, stirring between each) or using a double boiler, gently melt the chopped good quality chocolate with the optional coconut oil or shortening. Stir until the chocolate is smooth and glossy.
8. Dip Caramels: Dip each caramel square into the melted chocolate, coating it completely. Use a fork or a candy dipping tool to lift each caramel, gently tapping it against the side of the bowl to let any excess chocolate drip off.
9. Set Chocolate: Place the dipped caramels on a parchment-lined baking sheet. If desired, immediately sprinkle with flaky sea salt for an extra touch of flavor and elegance.
10. Chill and Store: Allow the chocolate to set completely at room temperature, which can take a couple of hours, or chill them in the refrigerator for 15-30 minutes to speed up setting. Once firm, store the finished chocolate-covered caramels in an airtight container at room temperature for up to 2 weeks, or in the refrigerator for longer storage.

Fun Twists & Serving Ideas
- ✦ Nutty Crunch: Before the chocolate sets, sprinkle with finely chopped toasted pecans, almonds, or walnuts for added texture and flavor.
- ✦ Espresso Kick: Add 1 teaspoon of espresso powder to your melted chocolate for a sophisticated mocha flavor.
- ✦ Spicy Heat: Stir a pinch of cayenne pepper into your melted chocolate for a subtle, unexpected kick that complements the sweetness.
- ✦ White Chocolate Drizzle: Once your dark chocolate coating has set, drizzle contrasting white chocolate over the tops for a beautiful marbled effect.
- ✦ Holiday Sprinkles: Decorate with festive sprinkles for any special occasion, making them perfect for gift boxes or party platters.
Reviews
“Absolutely Divine!” ⭐⭐⭐⭐⭐
“I made these for a dinner party, and they were a huge hit! Everyone thought I bought them from a gourmet candy shop. The caramel is so soft and the chocolate shell is perfect. Will definitely make these again!” – Sarah L.
“Better Than Store-Bought” ⭐⭐⭐⭐⭐
“I’ve always loved chocolate-covered caramels but never thought I could make them at home. This recipe is easy to follow and the results are incredible. So much fresher and tastier than anything you can buy.” – Mike R.
“My New Go-To Treat” ⭐⭐⭐⭐⭐
“Obsessed! The flaky sea salt on top really takes these to the next level. They’re dangerously good and perfect with my afternoon coffee. A must-try for any candy lover.” – Jessica P.
FAQ
Q: How do I know when the caramel is at the firm ball stage (245°F)?
A: The most accurate way is to use a candy thermometer. If you don’t have one, drop a small amount of the caramel into a glass of very cold water. It should form a firm, but pliable ball that you can pick up.
Q: Can I use milk chocolate instead of dark chocolate?
A: Absolutely! The choice of chocolate is entirely up to your preference. Milk chocolate will give you a sweeter, creamier finish, while dark chocolate provides a richer, more intense contrast.
Q: Why did my caramel turn out grainy?
A: Grainy caramel is often caused by sugar crystals. To prevent this, avoid scraping the sides or bottom of the pan once the caramel starts cooking. Stir only enough to prevent scorching, and make sure your pan and utensils are very clean.
Q: How should I store the chocolate-covered caramels?
A: Store them in an airtight container at room temperature for up to 2 weeks. For longer storage, or if your kitchen is warm, you can keep them in the refrigerator, but allow them to come to room temperature before serving for the best texture.
Q: Can I make these ahead of time?
A: Yes! These caramels are excellent for making ahead. The flavors can even deepen slightly over a day or two. Just ensure they are stored properly.
Conclusion
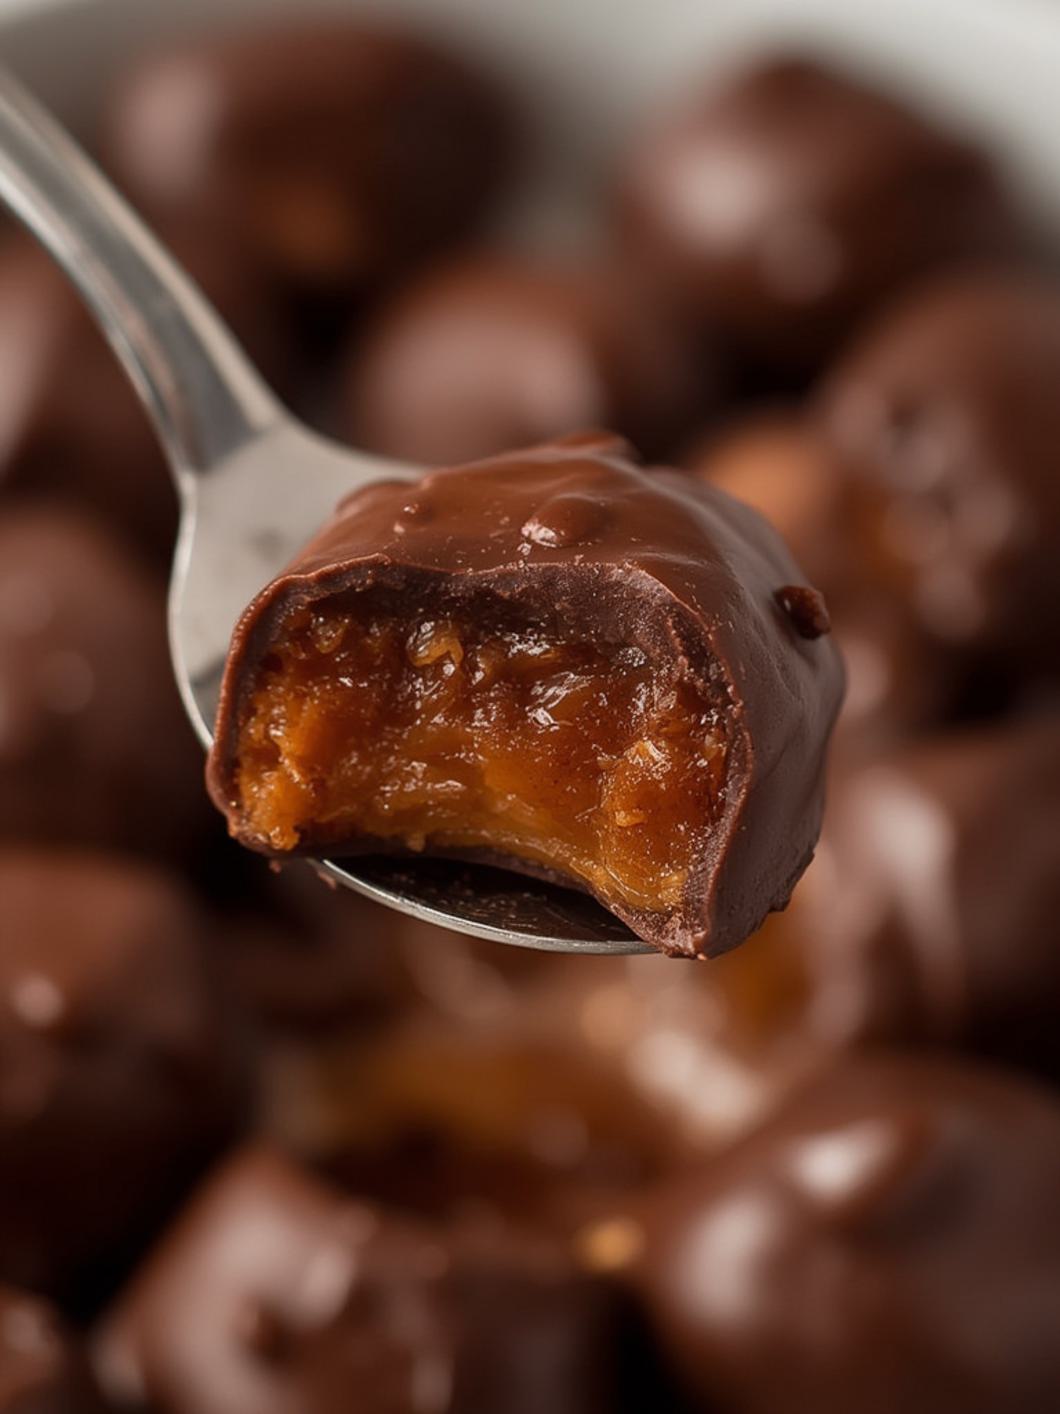
Crafting your own batch of Chocolate Covered Caramels is a rewarding culinary adventure that ends with a truly irresistible treat. The satisfaction of biting into a perfectly soft caramel enrobed in a crisp chocolate shell, knowing you made it yourself, is unparalleled. Whether you’re looking to impress guests, give a thoughtful homemade gift, or simply indulge your own sweet tooth, this recipe delivers decadent results. Don’t shy away from adding that sprinkle of sea salt to elevate them into exquisite salted caramel chocolates. These delightful bites are sure to become a beloved classic in your kitchen.
Recipe Note
For the cleanest cuts when shaping your caramel, lightly grease your knife with a neutral oil or butter before each slice. This will prevent the sticky caramel from adhering to the blade, ensuring neat and professional-looking squares.

🍴 Chocolate Covered Caramels 🍴
🌍 International Cuisine | 🥣 Main Dish
1 hour 15 minutes
20 minutes
48
95
🛒 Ingredients
- 🥄 1 cup (2 sticks) unsalted butter
- 🥄 1 cup heavy cream
- 🥄 1 1/2 cups granulated sugar
- 🥄 1/2 cup light corn syrup
- 🥄 1/2 teaspoon salt
- 🥄 1 teaspoon vanilla extract
- 🥄 16 ounces (about 2 2/3 cups) good quality chocolate chips or chopped chocolate (semi-sweet or dark recommended)
- 🥄 1 tablespoon coconut oil or shortening (optional, for dipping)
📝 Instructions
-
Line a baking sheet with parchment paper.
-
If using store-bought caramels, unwrap and place them on the prepared baking sheet. Chill 15 minutes to firm up.
-
Melt chocolate chips with coconut oil in a microwave-safe bowl in 30-second intervals, stirring between each, until smooth.
-
Using a fork or dipping tool, dip each caramel into melted chocolate, coating fully.
-
Tap gently to remove excess chocolate and place back on parchment.
-
Sprinkle with flaky sea salt if desired.
-
Chill 20–30 minutes until chocolate is set.