Cinnamon Roll Snowflake: 1-2-3 Recipe You’ll Love!
Cinnamon Roll Snowflake: Your Magical, Easy Holiday Treat That Twinkles!
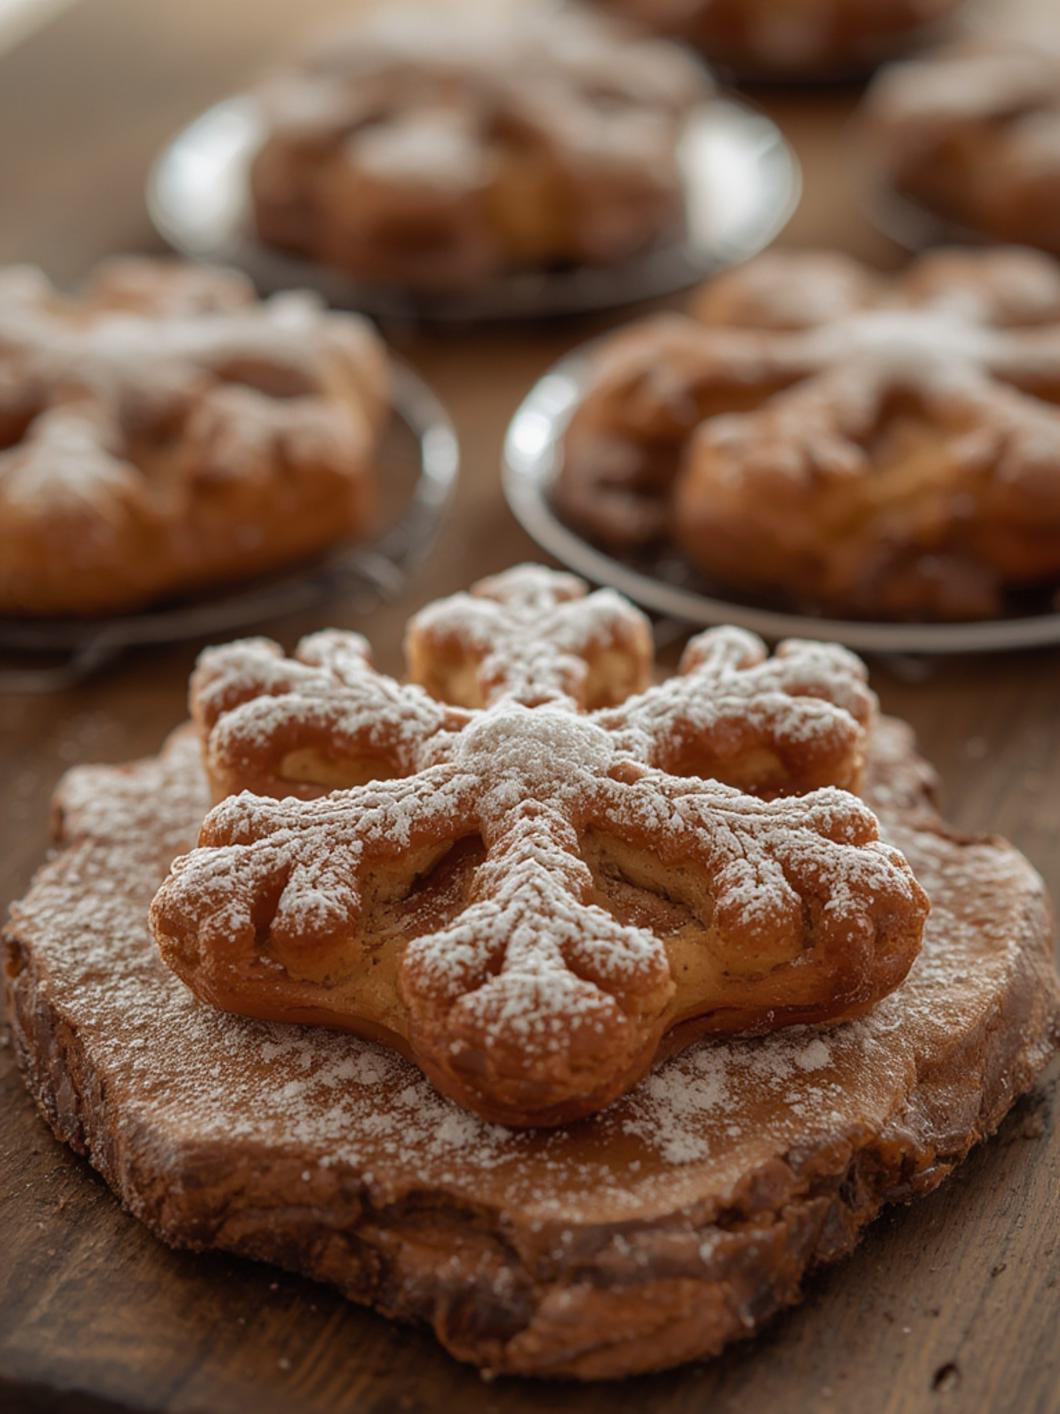
Transform ordinary mornings into extraordinary celebrations with our incredible Cinnamon Roll Snowflake! This dazzling dish isn’t just a recipe; it’s a centerpiece, a conversation starter, and a delicious way to bring warmth and joy to any gathering. Forget complicated pastries; this recipe simplifies elegance, ensuring that even novice bakers can create a stunning [Related Keyword] that tastes as good as it looks. Get ready to impress with minimal effort and maximum festive cheer!
What You’ll Need
Gathering your ingredients for this festive treat is a breeze! You only need a few simple items to create this stunning edible snowflake.
2 cans (12.4 oz each) refrigerated cinnamon rolls with icing
Flour, for dusting (optional, for handling sticky dough)
Optional garnishes: Sprinkles, powdered sugar, or extra frosting
Preparation Instructions
Creating your beautiful Cinnamon Roll Snowflake is incredibly straightforward. Follow these steps to assemble and bake this delightful holiday treat. The key to a perfect [Related Keyword] is careful arrangement before baking.
1. Preheat & Prepare: Preheat your oven to 375°F (190°C). Line a large baking sheet with parchment paper to prevent sticking and make cleanup easy.
2. Form the Inner Circle: Open one can of cinnamon rolls and separate them. Arrange 8 of these rolls in a snug circle on the prepared baking sheet, ensuring they touch each other in the center to form a solid base for your snowflake.
3. Add the Centerpiece: Open the second can of cinnamon rolls. Take one roll from this can and place it directly in the very center of the circle you just formed in step 2.
4. Create the Outer Petals: Cut the remaining 7 rolls from the second can in half. Carefully arrange these 14 half-rolls around the outer edge of the main circle, forming an exquisite outer layer of “petals” for your snowflake. Gently press them against the inner circle to secure their position.
5. Define the Snowflake (Optional): For an even more intricate snowflake appearance, use a sharp knife to make small, shallow cuts from the center of each outer “petal” towards the middle of the roll, without cutting all the way through the main body of the roll. This helps define the snowflake shape as it bakes and puffs up.
6. Bake to Golden Perfection: Bake for 10-15 minutes, or until the cinnamon rolls are beautifully golden brown and thoroughly cooked through. Keep a close eye on them during the final minutes to prevent over-browning.
7. Cool & Frost: Remove the baked snowflake from the oven and let it cool slightly on the baking sheet for a few minutes. While still warm, generously drizzle with the delicious icing provided in the cinnamon roll cans.
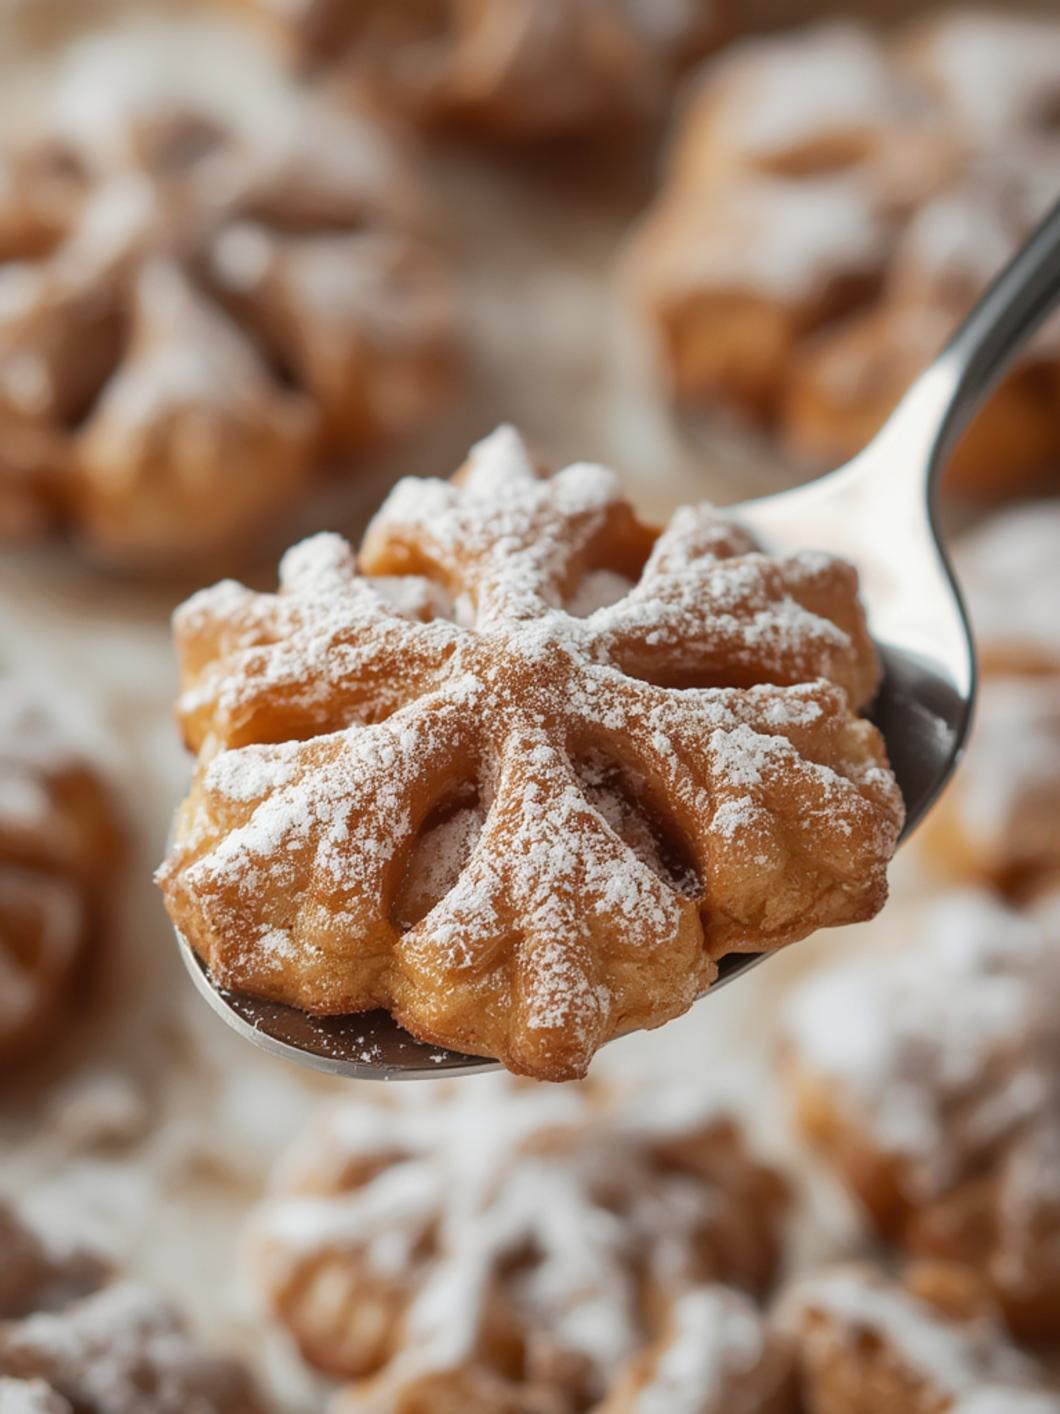
8. Garnish & Serve: Optionally, elevate its festive look by decorating with colorful sprinkles or a delicate dusting of powdered sugar. Serve warm and allow your guests to pull apart the individual segments to enjoy this stunning creation!
Fun Twists & Serving Ideas
Elevate your Cinnamon Roll Snowflake with these creative twists and serving suggestions:
Maple Pecan Delight: Before baking, sprinkle chopped pecans over the cinnamon rolls. After frosting, drizzle with a touch of maple syrup for extra richness.
Citrus Zest Sparkle: Stir a teaspoon of orange or lemon zest into the provided icing for a bright, refreshing flavor contrast.
Chocolate Drizzle: Melt some white or dark chocolate chips and drizzle them over the frosted snowflake for an extra decadent touch.
Savory-Sweet Brunch: Serve alongside crispy bacon or sausage links and a fresh fruit salad for a balanced and impressive brunch spread.
Ice Cream Dream: Serve individual slices warm with a scoop of vanilla bean ice cream, allowing it to melt slightly over the cinnamon-y goodness.
FAQ
Q: Can I prepare the Cinnamon Roll Snowflake ahead of time?
A: You can assemble the snowflake on the parchment-lined baking sheet, cover it tightly with plastic wrap, and refrigerate overnight. In the morning, remove it from the fridge while the oven preheats, then bake as directed.
Q: What if I only have one can of cinnamon rolls?
A: You can still make a smaller version! Use 6-7 rolls for the inner circle and cut the remaining rolls into halves or quarters to create a smaller outer layer.
Q: Can I add extra fillings to the rolls?
A: While tricky with pre-rolled dough, you could gently unroll each cinnamon roll, sprinkle with a tiny bit of extra cinnamon sugar or finely chopped nuts, then re-roll and assemble. Be gentle to avoid tearing.
Q: How do I store leftovers?
A: Store any leftover snowflake in an airtight container at room temperature for up to 2 days, or in the refrigerator for up to 4 days. Reheat gently in the microwave or oven.
Q: Can I use different flavored rolls?
A: Absolutely! Experiment with orange-flavored rolls or even caramel rolls for a different spin on the snowflake.
Conclusion
The Cinnamon Roll Snowflake is more than just a recipe; it’s a testament to how simple ingredients and a little creativity can yield truly spectacular results. Whether you’re a seasoned baker or just starting, this festive [Related Keyword] is guaranteed to bring smiles and deliciousness to your table. So go ahead, embrace the joy of baking, and create a masterpiece that everyone will remember!
Recipe Note
For the cleanest cuts and best snowflake definition, use a sharp, non-serrated knife and make swift, precise cuts. If the dough is too sticky to handle easily, a light dusting of flour on your hands or the knife can help.

Cinnamon Roll Snowflake
Total Time: 30-35 minutes
Course: Breakfast, Brunch, Dessert
Servings: 8
Calories: 350-450 per serving (estimated)
Ingredients
- 2 (8-count) cans refrigerated cinnamon rolls with icing
- 1 tablespoon all-purpose flour (for dusting, optional)
Instructions
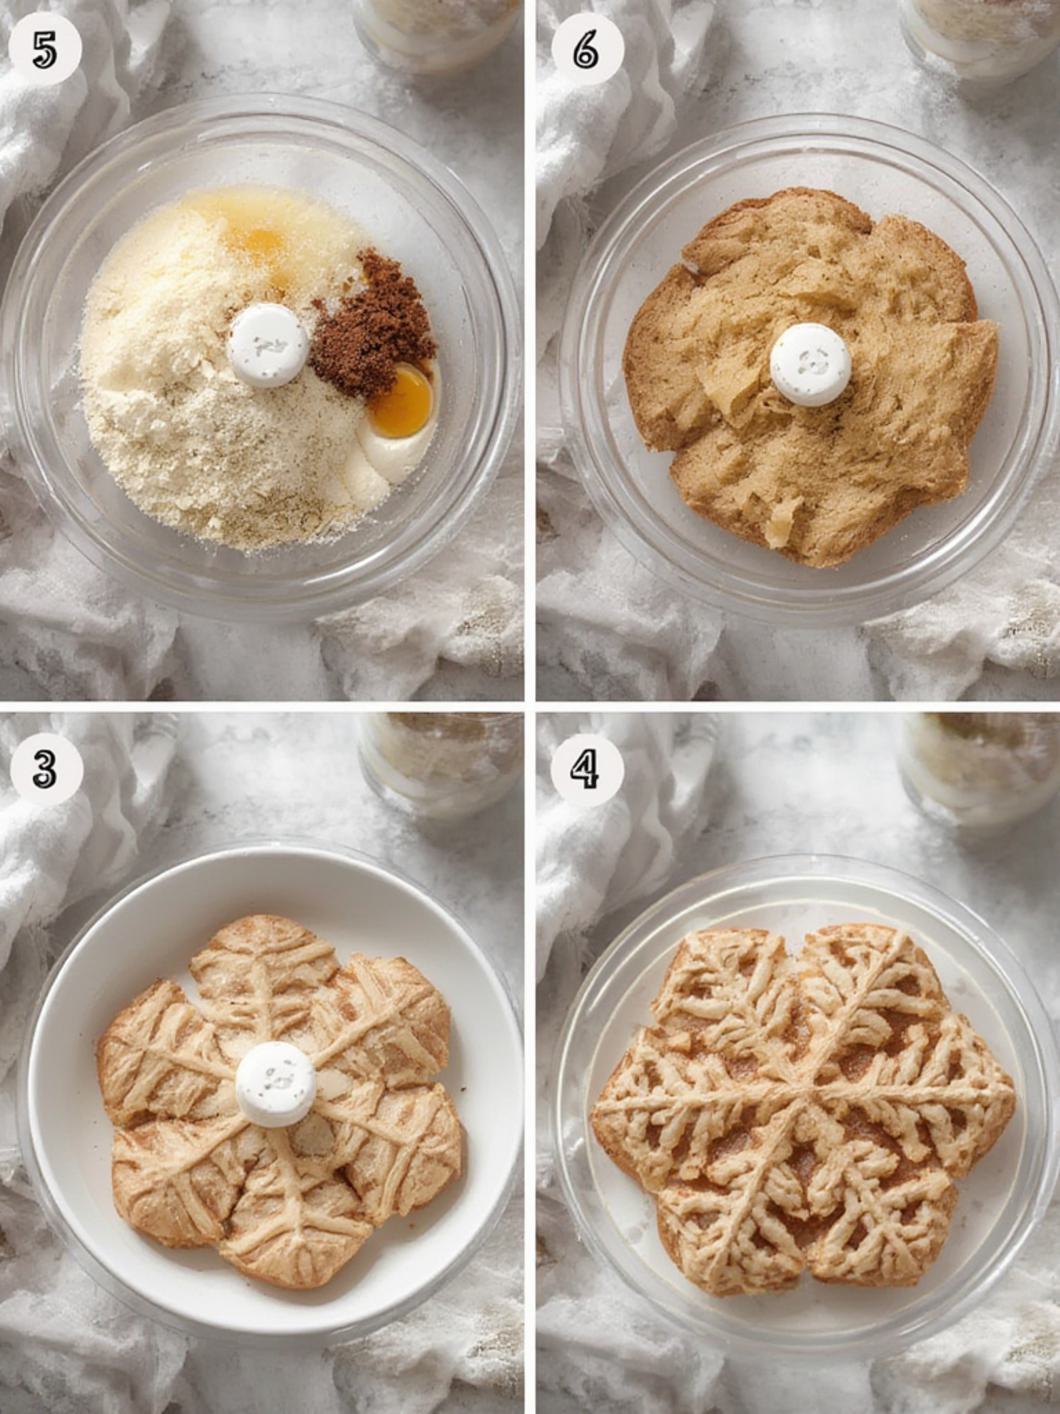
1️⃣ Make Dough
Mix warm milk, yeast, and 1 tbsp sugar. Let sit 5–10 minutes until foamy.
Add melted butter, egg, remaining sugar, salt, and flour.
Knead 5–7 minutes until smooth. Place in greased bowl, cover, and rise 1 hour.
2️⃣ Shape Snowflake
Divide dough into 4 equal balls.
Roll each into a circle (10–12 inches).
Place first circle on parchment-lined tray → spread filling → repeat layers → top with final dough circle.
3️⃣ Cut & Twist
Place a cup in the center to mark.
Cut dough like a pizza into 16 strips, stopping at the center.
Twist two strips together twice, pinch ends to seal. Repeat all around.
4️⃣ Bake
Brush lightly with milk or butter.
Bake at 350°F / 175°C for 18–22 minutes until golden.
5️⃣ Glaze & Serve
Whisk glaze and drizzle over warm bread.
Optional dust with powdered sugar for a snowy look.
Chef’s Notes: This festive treat uses store-bought cinnamon rolls to create a beautiful and delicious snowflake shape, perfect for holiday breakfasts or brunches. Adjust baking time as needed for your oven and the specific brand of cinnamon rolls.