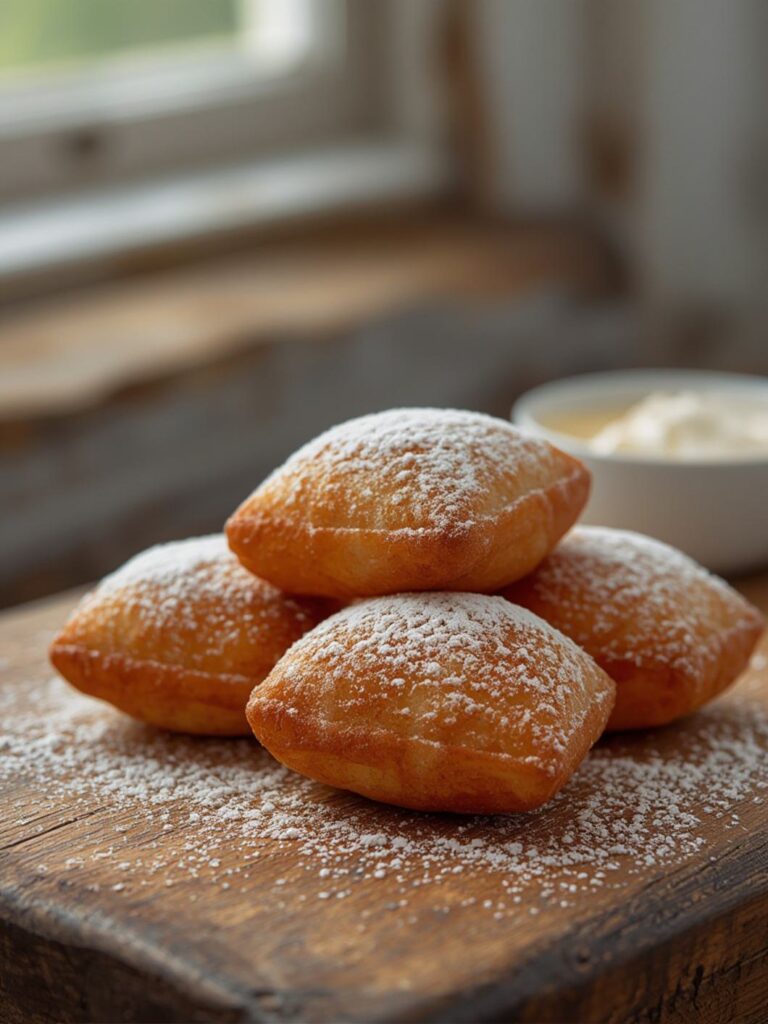
Classic Baklava – Crispy, Buttery & Honey-Soaked
Baklava: A Golden Symphony of Sweetness and Crunch

Step into a world where ancient traditions meet unparalleled culinary delight. Today, we invite you to embark on a journey to create Baklava, a pastry so iconic it has graced tables for centuries, whispered about in tales of feasts and celebrations. Imagine layers upon layers of gossamer-thin phyllo, brushed with golden butter, embracing a rich, fragrant filling of chopped nuts and spices, all drenched in a delicate, citrus-infused syrup. This isn’t just a dessert; it’s an experience, a masterpiece of texture and taste that promises to transport you to sun-drenched Mediterranean shores with every glorious bite. Preparing homemade Baklava might seem intricate, but with our expert guidance, you’ll uncover the magic of transforming simple ingredients into an extraordinary treat. Get ready to fill your kitchen with aromas that evoke warmth, heritage, and pure indulgence.
⏱️ Quick Glance Summary
⏱️ Prep Time: 45 minutes, 🍽️ Servings: 16, 💥 Vibe: Decadent, Aromatic, Celebratory.
Jump Ahead Section
What You’ll Need
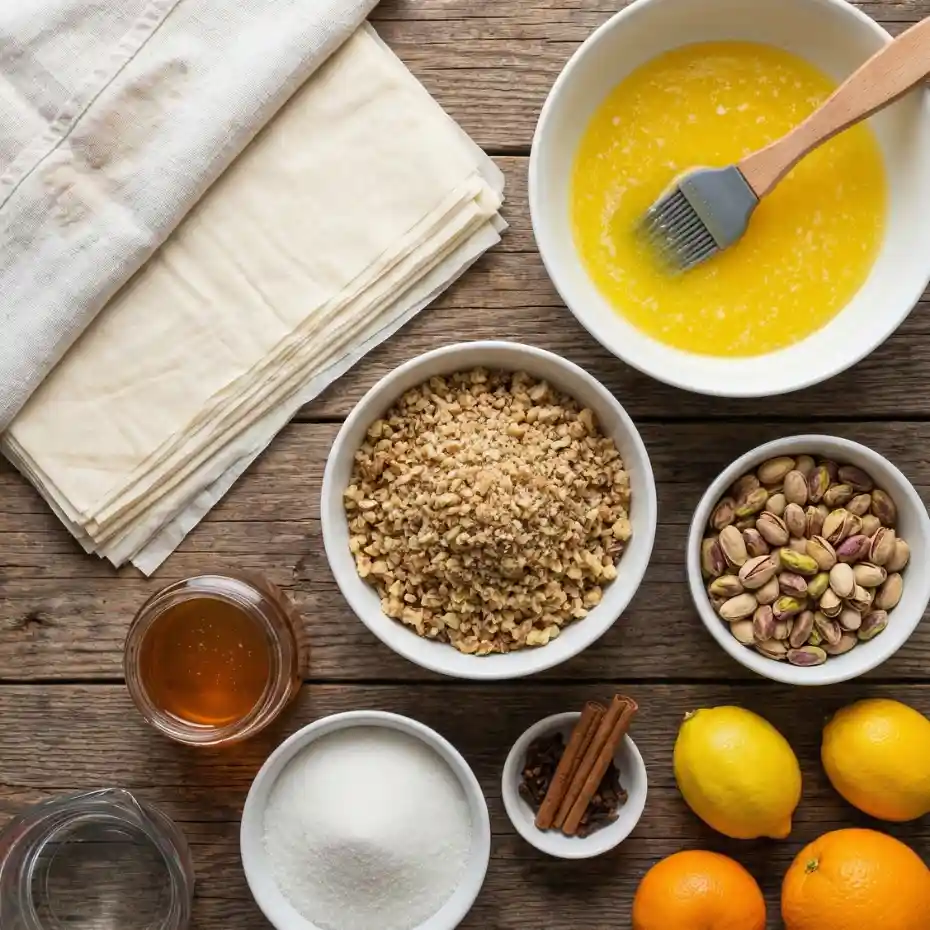
Crafting the perfect Baklava begins with selecting the finest ingredients, ensuring each layer contributes to the final, unforgettable experience. This classic Baklava recipe relies on a harmonious blend of crisp phyllo, aromatic nuts, and a fragrant, sweet syrup. Gather these essentials, and you’re well on your way to creating a truly authentic Baklava.
Ingredients:
- 1 lb (about 20-24 sheets) phyllo dough, thawed
- 1 cup (2 sticks) unsalted butter, melted
- 3 cups finely chopped mixed nuts (walnuts, pistachios, almonds recommended)
- 1 teaspoon ground cinnamon
- ¼ teaspoon ground cloves (optional)
- ¼ cup granulated sugar
For the Syrup:
- 1 ½ cups granulated sugar
- 1 cup water
- ½ cup honey
- 1 cinnamon stick
- Strips of orange or lemon peel (from about half a fruit, optional)
- 1 teaspoon orange blossom water or rose water (optional)
How to Make Baklava

Preparing this exquisite Baklava is a delightful process that rewards patience with unparalleled flavor. Follow these detailed steps to create layers of crispy, nutty, and syrupy perfection right in your own kitchen. This guide will walk you through every aspect of making traditional Baklava.
- Prepare Your Nuts: In a medium bowl, combine the finely chopped nuts, cinnamon, optional ground cloves, and ¼ cup granulated sugar. Mix well and set aside.
- Prepare Your Phyllo: Thaw phyllo dough according to package directions, ideally overnight in the refrigerator, then for 1-2 hours at room temperature before using. Unroll the phyllo carefully. Keep the phyllo sheets you’re not working with covered with a slightly damp cloth to prevent them from drying out and cracking.
- Preheat Oven & Butter Pan: Preheat your oven to 325°F (160°C). Generously butter a 9×13-inch baking dish.
- Layer the First Half of Phyllo: Place two sheets of phyllo dough in the bottom of the buttered pan, pressing gently. Brush generously with melted butter. Repeat this process, layering two sheets of phyllo and brushing with butter, until you have used approximately half of your phyllo dough (about 10-12 sheets). Ensure each layer is well buttered; this is key to achieving that signature Baklava crispness.
- Add Nut Filling: Evenly spread about one-third of the nut mixture over the buttered phyllo layers.
- Continue Layering: Place two more phyllo sheets on top of the nuts and brush with butter. Add another one-third of the nut mixture. Repeat with two more phyllo sheets, butter, and the remaining nut mixture.
- Complete Top Layers: Finish layering the remaining phyllo sheets, two at a time, brushing generously with butter after each pair. Once all phyllo is layered, ensure the top is thoroughly buttered.
- Cut the Baklava: Using a sharp knife, cut the Baklava into desired shapes – diamonds or squares are traditional. Cut all the way through to the bottom before baking.
- Bake: Bake in the preheated oven for 50-60 minutes, or until the Baklava is golden brown and puffed. If the top browns too quickly, you can loosely tent it with foil.
- Make the Syrup (while Baklava bakes): In a saucepan, combine 1 ½ cups sugar, 1 cup water, honey, cinnamon stick, and optional citrus peels. Bring to a boil over medium heat, then reduce heat and simmer for 10-15 minutes until slightly thickened. Remove from heat, stir in optional orange blossom or rose water, and let cool completely. The syrup *must* be cool when it hits the hot Baklava.
- Syrup the Baklava: As soon as the Baklava comes out of the oven, immediately and slowly pour the *cool* syrup evenly over the *hot* pastry. You will hear a delightful sizzle! The Baklava will absorb all the syrup.
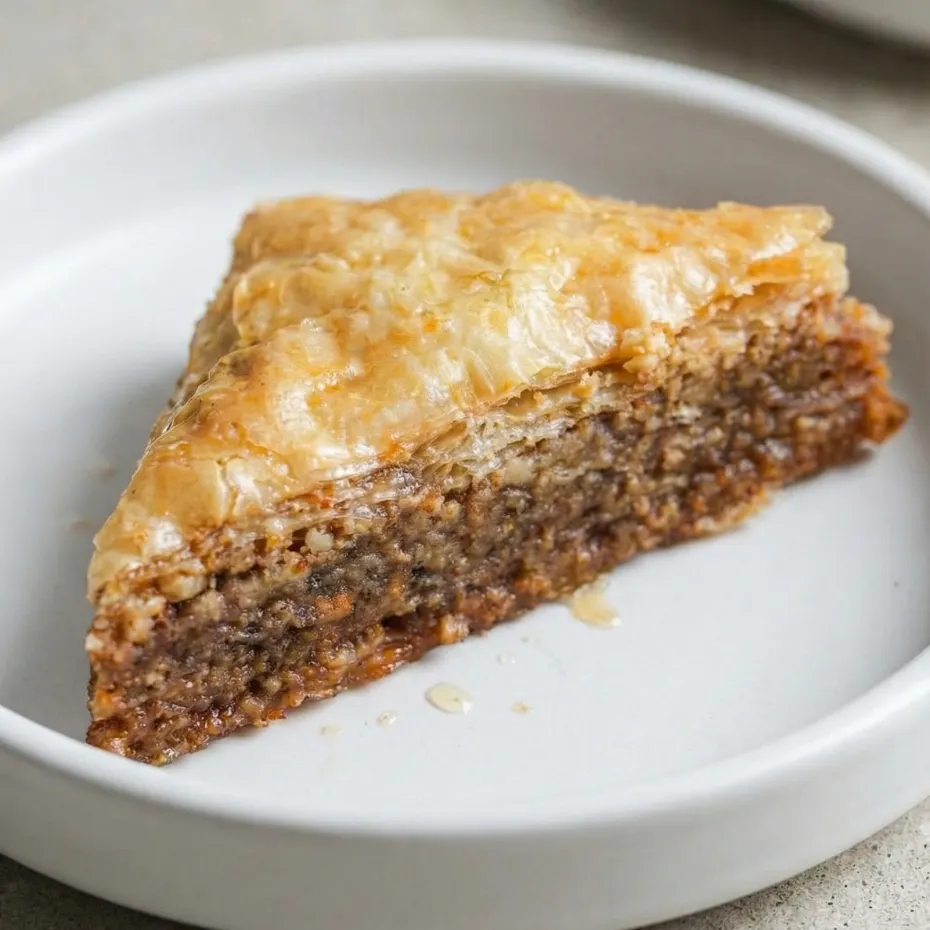
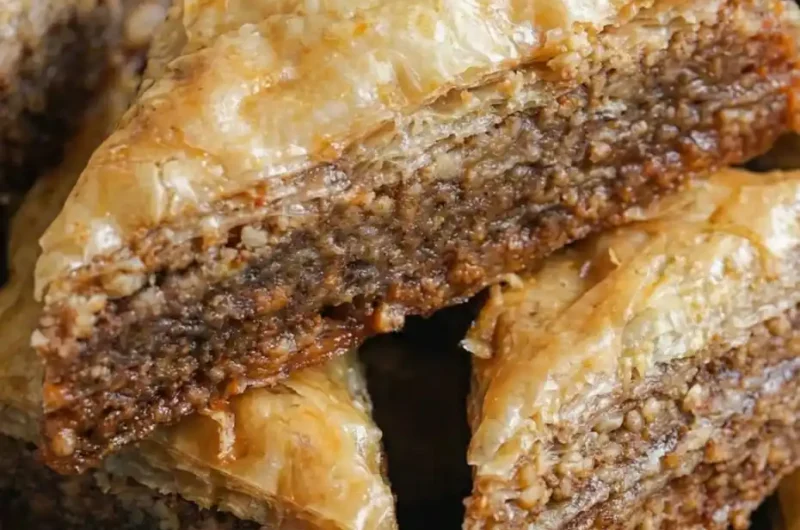
- Cool & Serve: Let the Baklava cool completely at room temperature for at least 4-6 hours, or preferably overnight, to allow the syrup to fully absorb and the layers to set. Garnish with additional chopped nuts, if desired, before serving this magnificent Baklava.
Fun Twists & Serving Ideas
While classic Baklava is undeniably perfect, there are wonderful ways to personalize this indulgent treat.
- Chocolate Drizzle: For a decadent twist, melt some dark chocolate and drizzle it artfully over the cooled Baklava before serving.
- Spice it Up: Experiment with different spices in your nut mixture. A pinch of cardamom, nutmeg, or even a tiny bit of ginger can add intriguing depth to your Baklava.
- Fruity Infusion: Add finely grated lemon or orange zest directly into your nut mixture for a brighter, more zesty Baklava.
- Individual Servings: Instead of a large pan, prepare Baklava in muffin tins for perfectly portioned individual treats, ideal for parties or gifts.
- Serve with a Scoop: A small scoop of vanilla bean ice cream or a dollop of clotted cream alongside warm Baklava creates an irresistible hot-and-cold dessert experience.
- Coffee Pairing: Baklava is a traditional companion to strong, dark coffee or espresso. The bitterness of the coffee beautifully balances the sweetness of the pastry.
FAQ
Q: What kind of nuts are best for Baklava?
A: Traditionally, walnuts are very popular, but a mix of pistachios, almonds, and walnuts provides a wonderful depth of flavor and texture. Ensure they are finely chopped for the best experience in your Baklava.
Q: Can I make Baklava ahead of time?
A: Absolutely! Baklava is one of those rare desserts that actually improves after a day or two, as the flavors meld and the syrup fully permeates the layers. It can be stored at room temperature for up to two weeks in an airtight container.
Q: My phyllo dough keeps tearing. What am I doing wrong?
A: Phyllo is delicate! Ensure it’s fully thawed but not left uncovered for too long, as it dries out quickly. Work quickly, and keep unused sheets covered with a slightly damp towel. A few small tears won’t ruin your Baklava; the layers will hide them.
Q: Why does the syrup need to be cool and the Baklava hot?
A: This temperature difference is crucial for proper absorption. When the hot pastry meets the cool syrup, the syrup is quickly drawn into the layers, resulting in a perfectly moist yet crisp Baklava without sogginess.
Conclusion
There’s a profound satisfaction that comes from creating something as magnificent as Baklava from scratch. It’s more than just a dessert; it’s a connection to centuries of culinary heritage, a celebration of simple ingredients transformed into an unforgettable masterpiece. Each delicate layer, each fragrant nut, each drop of sweet syrup tells a story of tradition, love, and indulgence. We encourage you to try this Baklava recipe, embrace the process, and savor the incredible rewards. Your kitchen will be filled with an intoxicating aroma, and your palate will sing with joy. For more exquisite culinary adventures and timeless recipes, be sure to visit us at magicinkitchen.com, where every dish is a journey!
Recipe Note
For the ultimate crispness, ensure your butter is clarified before brushing onto the phyllo layers. This removes the milk solids, which can make your Baklava less crisp over time. Simply melt the butter and skim off the foam, then carefully pour out the clear butter, leaving any solids behind.
Baklava
Cook Time: 60 minutes
Total Time: 2 hours
Course: Dessert
Servings: 24 pieces
Calories: 350 per piece (estimate)
Ingredients
- 1 lb (450g) phyllo dough, thawed according to package directions
- 1 cup (226g) unsalted butter, melted and clarified if preferred
- 3 cups (360g) walnuts or pistachios (or a mix), finely chopped
- 1 teaspoon ground cinnamon
- 1/4 teaspoon ground cloves (optional)
- For the Syrup:
- 2 cups (400g) granulated sugar
- 1.5 cups (360ml) water
- 1/2 cup (170g) honey
- 1 cinnamon stick (optional)
- 3-4 whole cloves (optional)
- 1 tablespoon fresh lemon juice
- 1 teaspoon vanilla extract
Instructions
-
Prepare the Syrup:
In a saucepan, combine water, sugar, honey, lemon juice, zest, and cinnamon stick.
Bring to a boil, then simmer for 10 minutes. Remove from heat and cool completely. -
Make the Nut Filling:
Finely chop nuts and mix with cinnamon, cloves, and sugar. -
Prepare Phyllo and Pan:
Preheat oven to 350°F (175°C). Brush a 9×13-inch (23×33 cm) pan with melted butter. -
Layer the Baklava:
-
Place 8–10 sheets of phyllo in the pan, brushing each layer with melted butter.
-
Sprinkle 3–4 Tbsp of nut mixture evenly.
-
Continue layering: 4–5 sheets phyllo + butter + nuts.
-
Finish with 8–10 sheets of buttered phyllo on top.
-
-
Cut Before Baking:
Using a sharp knife, cut into diamond or square shapes before baking. -
Bake:
Bake for 45–50 minutes, until golden brown and crispy. -
Add Syrup:
Immediately pour cooled syrup evenly over hot baklava.
Let it soak for at least 4–6 hours, preferably overnight.
Chef’s Notes: For best results, allow the baklava to sit at room temperature for at least 6-8 hours, or preferably overnight, to fully absorb the syrup and become tender. This recipe can be made a day or two in advance. Store at room temperature in an airtight container for up to 1 week.