Classic Nut Crescents Cookies – Soft & Buttery
Delicate Nut Crescents: A Buttery Whisper of Nostalgia
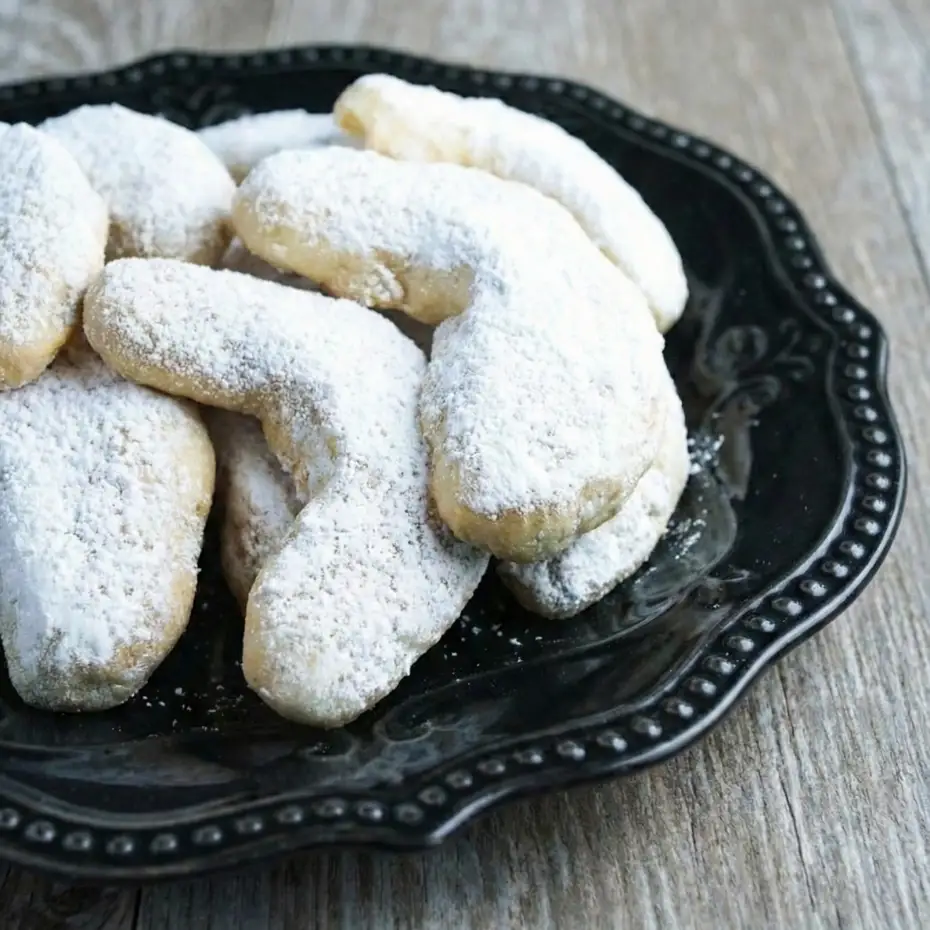
Welcome, fellow culinary adventurers, to a journey back in time, to the comforting embrace of a classic that whispers stories of holiday gatherings and cherished family moments. Today, we’re not just baking; we’re crafting edible heirlooms. Imagine the delicate crunch, the melt-in-your-mouth texture, and the rich, nutty embrace of a cookie so utterly perfect, it feels like a secret passed down through generations. These aren’t just any cookies; they are our beloved Nut Crescents, a symphony of flavor and texture, destined to become a staple in your own kitchen’s legacy. Get ready to fill your home with an aroma that promises warmth, joy, and the unparalleled satisfaction of truly homemade goodness.
⏱️ Quick Glance Summary
⏱️ Prep Time: 30 minutes, 🍽️ Servings: 36 cookies, 💥 Vibe: Buttery, Delicate, Nostalgic
Jump Ahead:
What You’ll Need
Creating these exquisite Nut Crescents requires only a handful of simple ingredients, proving that true magic often lies in simplicity. Gather these essentials, and prepare to transform them into something truly spectacular.
- 1 cup (2 sticks) unsalted butter, softened
- ½ cup granulated sugar
- 1 teaspoon vanilla extract
- 2 cups all-purpose flour
- 1 cup finely ground walnuts or pecans
- ¼ teaspoon salt
- Confectioners’ sugar, for dusting
How to Make Nut Crescents
Get ready to embark on a delightful baking adventure! Follow these detailed steps to create perfect Nut Crescents that will impress everyone fortunate enough to taste them. Precision and patience are your best friends in crafting these delicate treats.
- Preheat your oven to 350°F (175°C). Line two large baking sheets with parchment paper. This ensures your Nut Crescents won’t stick and makes cleanup a breeze.
- In a large mixing bowl, using an electric mixer, cream together the softened butter and granulated sugar until light and fluffy. This step is crucial for achieving the tender texture of these classic Nut Crescents.
- Beat in the vanilla extract until well combined.
- In a separate bowl, whisk together the all-purpose flour, finely ground walnuts (or pecans), and salt.
- Gradually add the dry ingredients to the wet ingredients, mixing on low speed until just combined. Be careful not to overmix; a slightly crumbly dough is perfectly normal for these Nut Crescents.
- Gather the dough and form it into a ball. You might need to use your hands to bring it together.
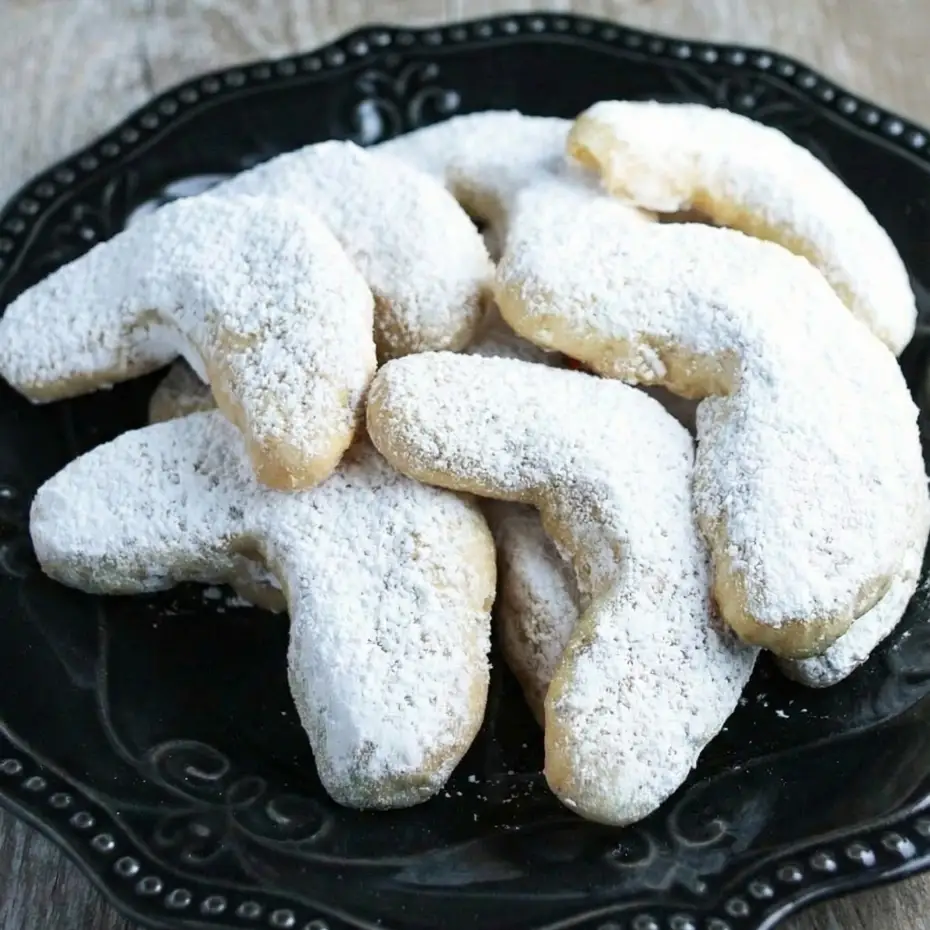
- Take small portions of the dough, about 1 tablespoon each, and roll them into a 2-inch long rope. Gently curve each rope into a crescent shape. Arrange the Nut Crescents about 1 inch apart on your prepared baking sheets.
- Bake for 12-15 minutes, or until the edges are lightly golden. The cookies should still be pale in the center. Watch them closely as oven temperatures can vary.
- Remove the baking sheets from the oven and let the Nut Crescents cool on the sheets for about 5 minutes. They are delicate when warm!
- While still warm, generously dust the Nut Crescents with confectioners’ sugar. You can do this by sifting the sugar over them or by gently rolling them in a bowl of sugar. A second dusting after they’ve completely cooled can enhance their appearance.
- Transfer the sugar-dusted cookies to a wire rack to cool completely.
Fun Twists & Serving Ideas

While classic Nut Crescents are perfection on their own, a little creativity can elevate them even further!
- Chocolate Dipped Crescents: Melt your favorite dark or milk chocolate and dip one end of the cooled Nut Crescents for an extra layer of decadence.
- Citrus Zest Sparkle: Add 1 teaspoon of finely grated lemon or orange zest to the dough for a bright, aromatic twist that complements the nuts beautifully.
- Spiced Delights: A pinch of cinnamon or cardamom in the dough can add a warm, cozy dimension, perfect for cooler weather.
- Espresso Infusion: Mix ½ teaspoon of instant espresso powder into the dry ingredients for a subtle coffee note that enhances the nutty flavor.
- Festive Sprinkles: Before the final dusting of confectioners’ sugar, dip one end of the Nut Crescents in melted white chocolate, then immediately into festive sprinkles for holiday cheer.
Reviews
Elara Vance:⭐️⭐️⭐️⭐️⭐️ “These Nut Crescents are absolutely divine! They melt in your mouth and bring back so many childhood memories. I made them for my family, and they disappeared in minutes!”
Marcus Thorne: ⭐️⭐️⭐️⭐️⭐️”I’ve tried many crescent cookie recipes, but these are by far the best. The perfect balance of butter and nuts. Easy to follow instructions, and they came out perfectly golden. A new holiday tradition!”
Sophia Chen:⭐️⭐️⭐️⭐️⭐️ “So simple yet so elegant! The delicate texture of these Nut Crescents is just incredible. My friends thought I bought them from a fancy bakery. Thank you, magicinkitchen.com, for this gem!”
FAQ
Q: Can I use different types of nuts for these Nut Crescents?
A: Absolutely! While walnuts and pecans are traditional, you can experiment with finely ground almonds, hazelnuts, or even pistachios for a unique flavor profile. Just ensure they are finely ground to integrate well into the dough.
Q: How do I prevent my Nut Crescents from spreading too much?
A: Ensure your butter isn’t too soft (just room temperature) and chill your dough for 20-30 minutes before shaping if your kitchen is particularly warm. Also, avoid overmixing the dough, as this can develop the gluten too much.
Q: Can these cookies be made ahead of time?
A: Yes! The dough for these Nut Crescents can be made a day in advance and stored in the refrigerator, tightly wrapped. You can also freeze the shaped, unbaked cookies and bake them directly from frozen, adding a few extra minutes to the baking time.
Q: What’s the best way to store leftover Nut Crescents?
A: Store these cookies in an airtight container at room temperature for up to a week. For longer storage, they freeze beautifully for up to 2-3 months. Just be sure to separate layers with parchment paper if stacking.
Conclusion
There’s something truly magical about bringing a recipe like these Nut Crescents to life in your own kitchen. It’s more than just baking; it’s an act of love, a connection to traditions, and a creation of new memories. Each delicate, buttery bite of these Nut Crescents is a testament to the power of simple ingredients transformed into something extraordinary. We encourage you to try this recipe, share it with those you cherish, and savor every moment of the process. For more culinary inspiration that turns everyday moments into something special, keep exploring the treasures here at magicinkitchen.com. Happy baking!
Recipe Note
For the most tender texture, ensure your butter is truly at room temperature (soft enough to indent with a finger, but not melted). This allows it to cream properly with the sugar, creating air pockets crucial for a light and delicate cookie.
Nut Crescents
Cook Time: 30 minutes
Total Time: 02 hours 30 minutes
Course: Dessert
Servings: 36-48 cookies
Calories: 4800
Ingredients
- 2 ½ cups all-purpose flour
- 1 cup (2 sticks) unsalted butter, softened
- ¾ cup powdered sugar (for the dough)
- 1 ½ cups finely ground walnuts, almonds, or hazelnuts
- 1 teaspoon vanilla extract
- ¼ teaspoon salt
- 1-2 cups powdered sugar (for dusting)
Instructions
In a large bowl, cream the softened butter with ¾ cup powdered sugar until light and fluffy. Stir in the vanilla extract and salt. Add the finely ground nuts and mix well. Gradually add the flour, mixing until a soft dough forms. Do not overmix. Gather the dough into a ball, flatten slightly, wrap in plastic wrap, and refrigerate for at least 1 hour, or until firm enough to handle. Preheat oven to 350°F (175°C). Line baking sheets with parchment paper. Take small pieces of dough (about 1 tablespoon each) and roll them into a short rope, then gently bend into a crescent shape. Place on the prepared baking sheets, leaving a little space between them. Bake for 10-14 minutes, or until the edges are lightly golden. Be careful not to overbake as they should remain pale. While the cookies are still warm, gently transfer them to a wire rack. Sift a generous amount of powdered sugar over the warm cookies, ensuring they are well coated. Once cooled, store in an airtight container.
Chef’s Notes: These delicate, buttery nut cookies are a traditional European treat, especially popular during holidays. The dough requires chilling to be manageable. Calories estimated for the entire batch (approx. 100-130 kcal per cookie). For best results, use finely ground nuts. Dust generously with powdered sugar while still warm for the sugar to adhere properly.