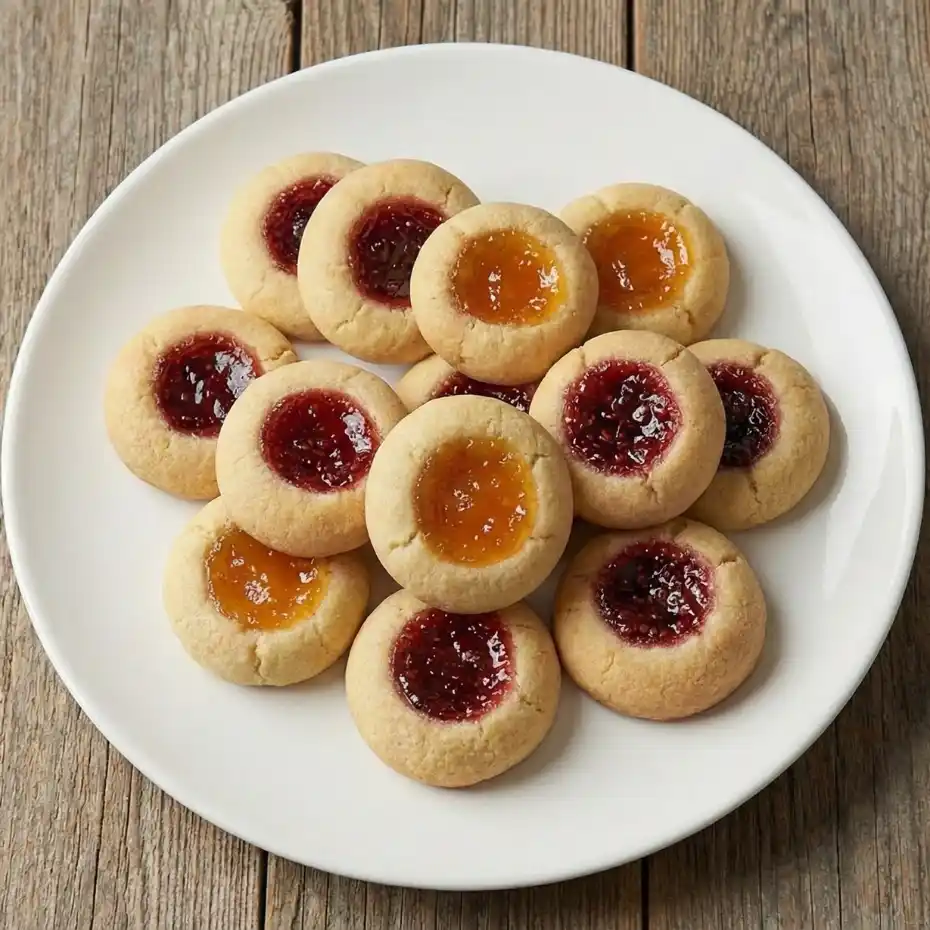
Classic Thumbprint Cookies – Soft, Buttery & Sweet
Irresistible Sweetness: The Ultimate Classic Thumbprint Cookies Recipe
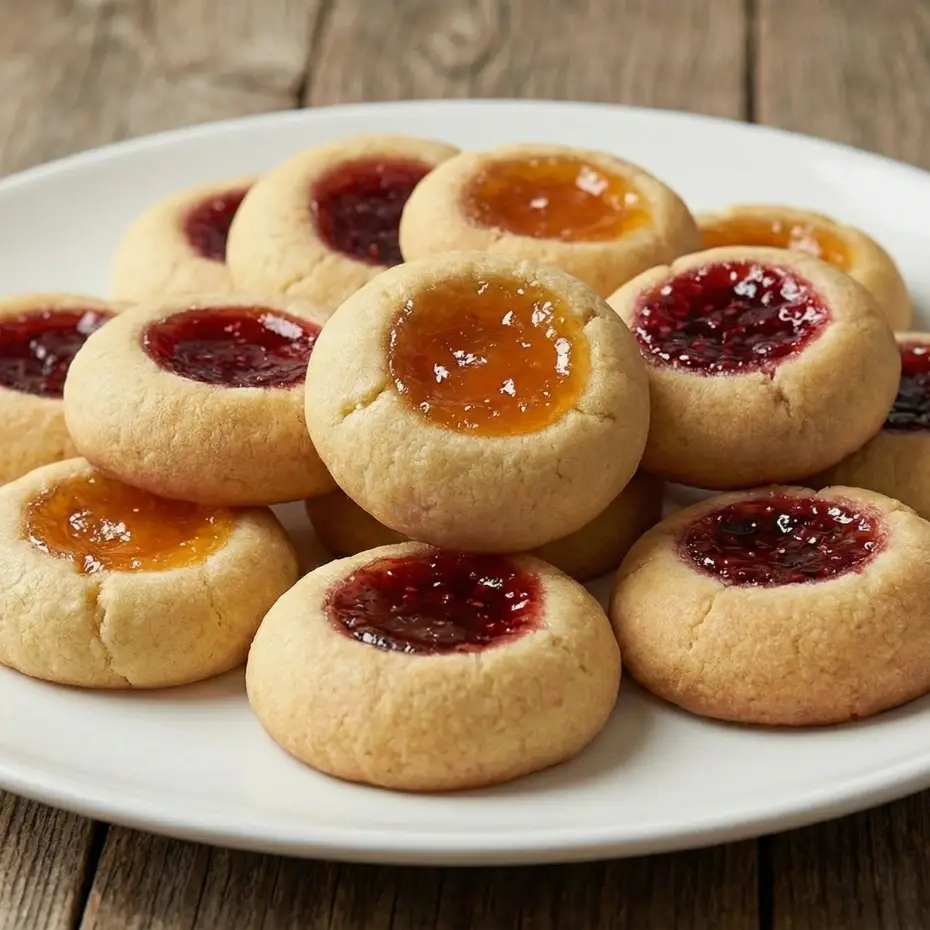
Step into a realm of pure culinary joy with a treat that whispers tales of warmth, comfort, and cherished memories: Thumbprint Cookies. Imagine a delicate, buttery shortbread base, so tender it melts on your tongue, cradling a glistening jewel of your favorite fruit jam. These aren’t just cookies; they’re tiny canvases of happiness, each one a testament to the simple pleasures of homemade baking. At magicinkitchen.com, we believe in recipes that not only nourish the body but also feed the soul, and these classic Thumbprint Cookies are the epitome of that philosophy. Easy to make yet utterly sophisticated in flavor, they’re perfect for holiday platters, afternoon tea, or simply a sweet moment to yourself. Let’s dive into creating these timeless beauties that promise to fill your kitchen with the most enchanting aromas and your heart with pure delight.
Quick Glance Summary
⏱️ Prep Time: 45 minutes, 🍽️ Servings: 36, 💥 Vibe: Classic, Tender, Nostalgic.
Jump Ahead
What You’ll Need to Craft Perfect Thumbprint Cookies
Crafting these delightful Thumbprint Cookies requires a few essential ingredients, most of which you likely already have in your pantry. Simplicity is key to their charm, allowing the quality of each component to shine through. Gather these items, and let the magic begin!
- 1 cup (2 sticks) unsalted butter, softened
- ½ cup granulated sugar
- 2 large egg yolks (reserve whites for another use, or discard)
- 1 teaspoon pure vanilla extract
- 2 ¼ cups all-purpose flour
- ¼ teaspoon salt
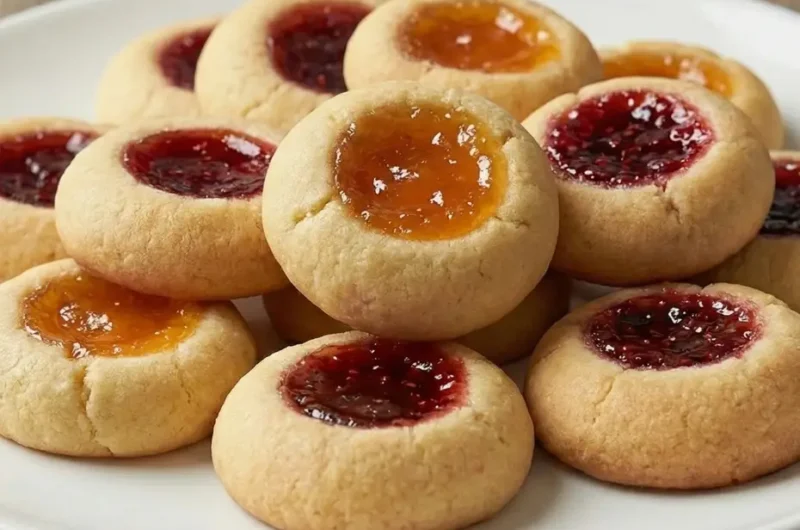
- ½ cup fruit jam or preserves (raspberry, apricot, strawberry are popular choices)
- Optional: Confectioners’ sugar for dusting
How to Make Thumbprint Cookies
Get ready to transform simple ingredients into extraordinary Thumbprint Cookies. Follow these detailed steps to ensure every cookie is a masterpiece – tender, flavorful, and perfectly studded with jam. The key to truly spectacular Thumbprint Cookies lies in careful mixing and a touch of patience.
- Prepare Your Workspace: Preheat your oven to 350°F (175°C). Line two baking sheets with parchment paper. This will prevent sticking and ensure even baking for your Thumbprint Cookies.
- Cream Butter and Sugar: In a large bowl, using an electric mixer, cream together the softened butter and granulated sugar until light and fluffy, about 2-3 minutes. This aeration is crucial for tender Thumbprint Cookies.
- Add Wet Ingredients: Beat in the egg yolks one at a time, ensuring each is fully incorporated before adding the next. Stir in the vanilla extract until just combined.
- Combine Dry Ingredients: In a separate medium bowl, whisk together the all-purpose flour and salt. Gradually add the dry ingredients to the wet ingredients, mixing on low speed until just combined and a soft dough forms. Be careful not to overmix, as this can lead to tough Thumbprint Cookies.
- Chill the Dough (Optional but Recommended): For best results and to prevent spreading, cover the dough and chill it in the refrigerator for at least 30 minutes. This helps the butter solidify and makes the dough easier to handle.
- Form the Cookies: Roll the dough into 1-inch balls. Place them about 2 inches apart on the prepared baking sheets. Using your thumb or the back of a small measuring spoon, make an indentation in the center of each dough ball.
- Fill with Jam: Spoon about ½ teaspoon of your chosen jam into each indentation. Don’t overfill, as the jam can bubble over during baking.
- Bake to Perfection: Bake for 10-12 minutes, or until the edges are lightly golden. The cookies should still be soft in the center when you remove them from the oven.
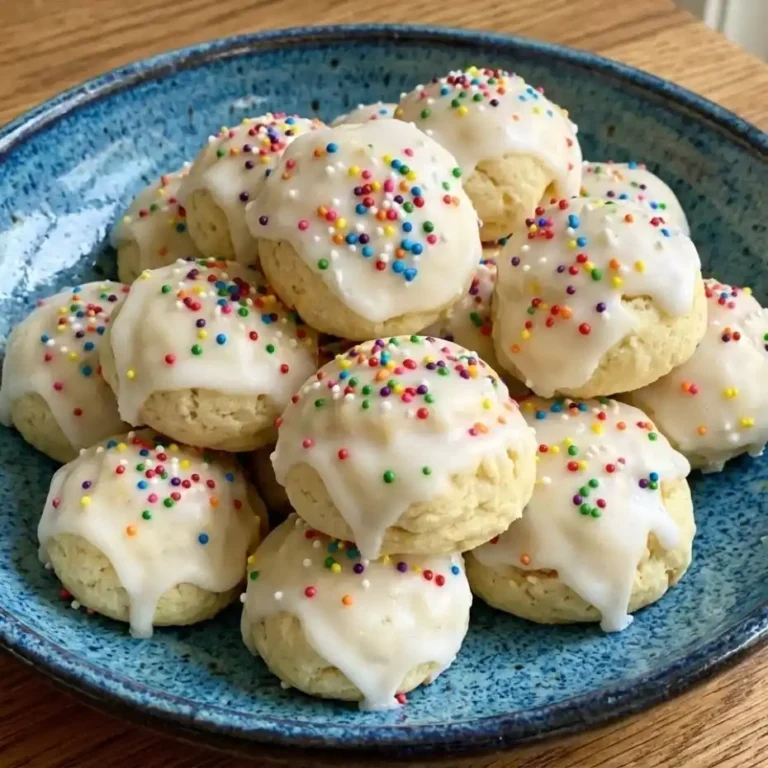
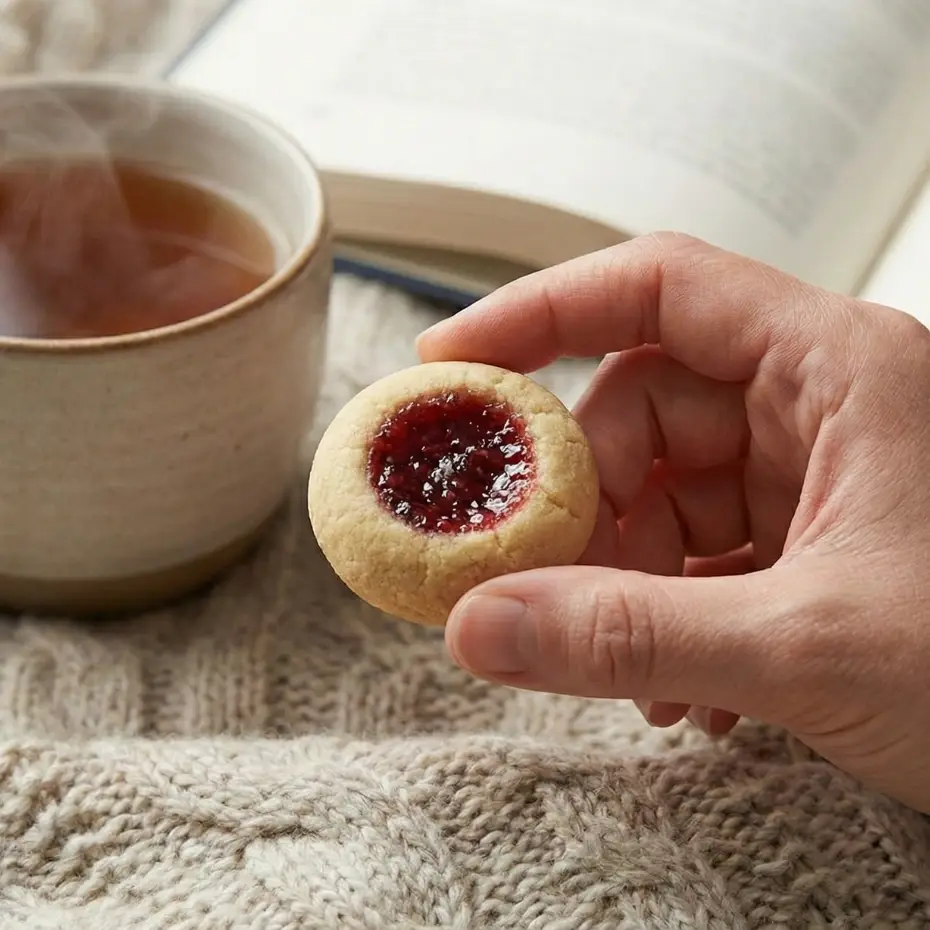
- Cool and Enjoy: Let the Thumbprint Cookies cool on the baking sheets for a few minutes before transferring them to a wire rack to cool completely. Once cooled, you can dust them lightly with confectioners’ sugar if desired. These homemade Thumbprint Cookies are best enjoyed with a cup of tea or coffee.
Fun Twists & Serving Ideas for Your Thumbprint Cookies
While classic Thumbprint Cookies are utterly perfect as they are, there’s always room for a little creative flair! Here are a few ideas to customize your next batch of these delightful treats:
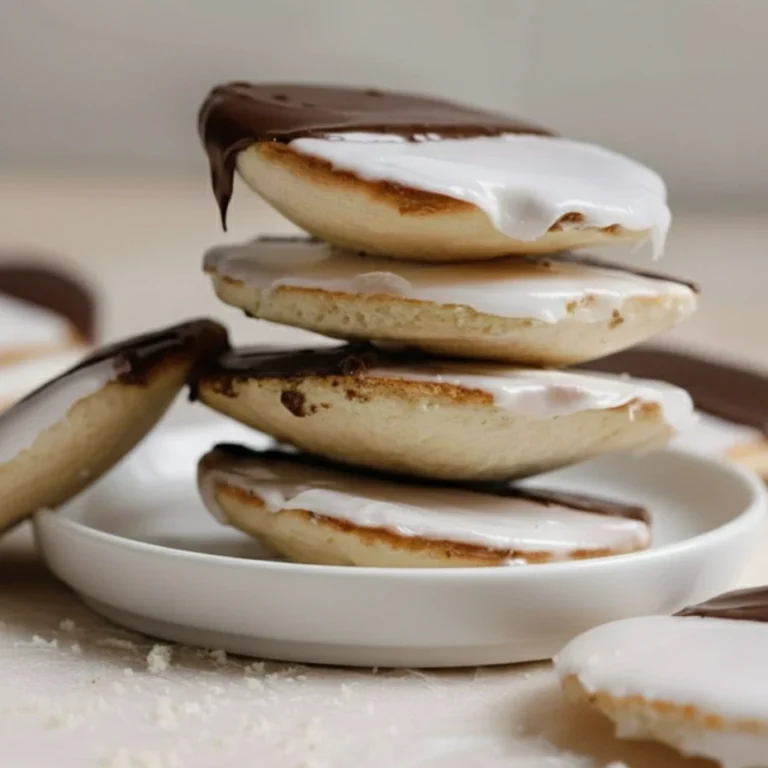
- Chocolate Lover’s Dream: Instead of jam, fill the indentations with a small dollop of Nutella or a miniature chocolate square before baking. You can also drizzle melted chocolate over cooled Thumbprint Cookies.
- Nutty Variations: Roll the dough balls in finely chopped nuts (pecans, walnuts, almonds) before making the indentation. This adds a wonderful textural contrast to your Thumbprint Cookies.
- Citrus Zing: Infuse your dough with lemon or orange zest for a brighter flavor profile. Pair with a citrus curd instead of jam for an exquisite twist.
- Spice It Up: Add a pinch of cinnamon or cardamom to the cookie dough for a warm, aromatic note, especially delightful with apricot or apple jam Thumbprint Cookies.
Frequently Asked Questions About Thumbprint Cookies
Q: What kind of jam is best for Thumbprint Cookies?
A: Any thick, fruit preserve or jam works beautifully! Popular choices include raspberry, apricot, strawberry, or blueberry. Avoid overly runny jams, as they might spread too much during baking. Seedless jams are often preferred for a smoother texture in your Thumbprint Cookies.
Q: Can I freeze Thumbprint Cookies?
A: Yes, you can! You can freeze the baked and cooled Thumbprint Cookies in an airtight container for up to 2-3 months. Thaw them at room temperature. You can also freeze the unbaked dough balls (without jam) and bake them from frozen, adding a couple of minutes to the baking time, then add jam after the initial bake or thaw and fill before baking.
Q: Why are my Thumbprint Cookies spreading too much?
A: Several factors can cause spreading: your butter might have been too soft, the dough wasn’t chilled enough, or you might have too much butter/not enough flour. Ensure your butter is softened but not melted, and always chill the dough for at least 30 minutes before baking to help them hold their shape.
Q: Can I make these Thumbprint Cookies gluten-free?
A: While this specific recipe uses all-purpose flour, many readers have successfully substituted a 1:1 gluten-free baking flour blend (one that contains xanthan gum) for equally delicious results when making Thumbprint Cookies. Just be mindful of the dough’s texture and adjust liquid if necessary.
Unlock Your Inner Baker with These Perfect Thumbprint Cookies
There’s something truly magical about the aroma of freshly baked Thumbprint Cookies wafting through your home. This recipe isn’t just about creating a delicious treat; it’s about embracing the joy of baking, sharing warmth with loved ones, and crafting edible memories. Whether you’re a seasoned baker or just starting your culinary journey, these classic Thumbprint Cookies are a foolproof way to impress and delight. Each bite is a tender whisper of butter, sweetness, and vibrant fruit, a testament to the simple elegance of homemade goodness. Don’t wait for a special occasion – make these Thumbprint Cookies today and experience the pure joy they bring. For more inspiring recipes and culinary adventures, remember to visit us at magicinkitchen.com!
Recipe Note: For the Freshest Flavor
Store your Thumbprint Cookies in an airtight container at room temperature for up to 5-7 days. For optimal freshness and that delightful melt-in-your-mouth texture, enjoy them within the first few days of baking. If the jam hardens slightly, a few seconds in the microwave can gently soften it again.
Thumbprint Cookies
Cook Time: 20 minutes
Total Time: 1 hour 30 minutes
Course: Dessert
Servings: 3 dozen (36 cookies)
Calories: Varies per cookie (approx. 70-100 kcal)
Ingredients
- 1 cup (2 sticks) unsalted butter, softened
- 1/2 cup granulated sugar
- 2 large egg yolks
- 1 teaspoon vanilla extract
- 2 cups all-purpose flour
- 1/4 teaspoon salt
- 1/2 cup jam or fruit preserves (raspberry, apricot, strawberry, etc.)
Instructions
In a large bowl, cream together the softened butter and granulated sugar until light and fluffy. Beat in the egg yolks one at a time, then stir in the vanilla extract. In a separate bowl, whisk together the all-purpose flour and salt. Gradually add the dry ingredients to the wet ingredients, mixing on low speed until just combined and a soft dough forms. Do not overmix. Wrap the dough in plastic wrap and chill in the refrigerator for at least 30-60 minutes. Preheat your oven to 350°F (175°C). Line baking sheets with parchment paper. Roll the chilled dough into 1-inch balls and place them about 2 inches apart on the prepared baking sheets. Using your thumb or the back of a small spoon, make an indentation in the center of each cookie ball. Fill each indentation with about 1/4 to 1/2 teaspoon of your chosen jam or preserves. Bake for 12-15 minutes, or until the edges are lightly golden. Let the cookies cool on the baking sheets for a few minutes before transferring them to a wire rack to cool completely. Store in an airtight container at room temperature.
Chef’s Notes: Ensure the dough is well chilled to prevent spreading. Use your favorite jam or preserves for filling. For a variation, roll the dough balls in finely chopped nuts before making the indentation.