Danish Butter Cookies – Classic, Buttery & Crisp Treats
Classic Melt-in-Your-Mouth Delight: Danish Butter Cookies

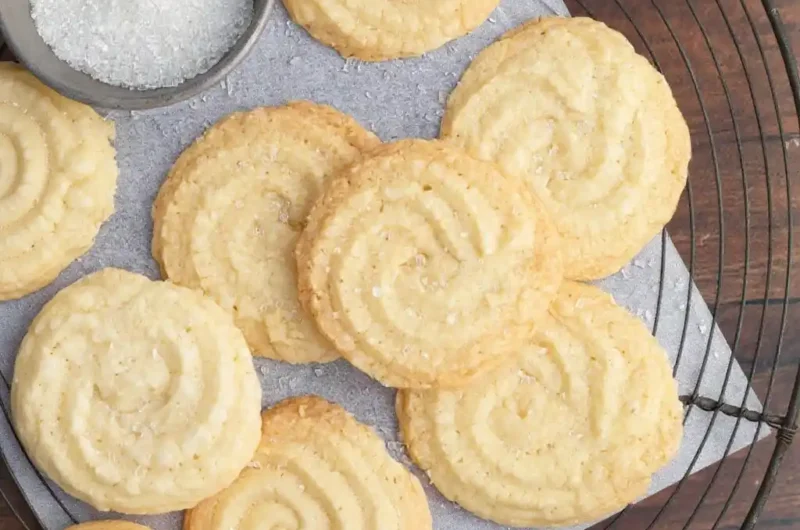
There are some treats that transcend mere baking; they are edible heirlooms, woven into the fabric of cherished memories. Danish Butter Cookies are unequivocally one such treasure. Just the thought evokes the comforting aroma of warm butter, the delicate crunch of a perfectly baked edge, and that exquisite melt-in-your-mouth texture that whispers of simpler times. For generations, these golden, intricately piped cookies have graced holiday tables, filled cookie jars, and brought smiles to countless faces. They are a testament to the magic that happens when simple, high-quality ingredients are transformed with a touch of patience and a lot of love. Here at Magic In Kitchen, we believe in celebrating these timeless culinary masterpieces, and today, we invite you to embark on a journey to bake the most authentic, delightful Danish Butter Cookies you’ve ever tasted. Prepare to fill your home with an irresistible fragrance and your heart with pure joy.
Recipe Card will be inserted here.
⏱️ Quick Glance Summary
⏱️ Prep Time: 45 minutes, 🍽️ Servings: 36, 💥 Vibe: Buttery, Delicate, Nostalgic
Jump Ahead to What You Need
- What You’ll Need
- How to Make Danish Butter Cookies
- Fun Twists & Serving Ideas
- Reviews
- Frequently Asked Questions
- Conclusion
What You’ll Need to Create Danish Butter Cookies

Crafting these exquisite Danish Butter Cookies requires only a handful of pantry staples, proving that true culinary elegance often lies in simplicity. Quality ingredients are key here, especially the butter, as it forms the very soul of these iconic treats. Gather these items, and let the baking adventure begin.
- 1 cup (2 sticks) unsalted butter, softened
- ¾ cup granulated sugar
- 1 large egg, room temperature
- 1 teaspoon pure vanilla extract
- 2 ½ cups all-purpose flour
- ½ teaspoon salt
- 1-2 tablespoons milk (optional, for piping consistency)
How to Make Danish Butter Cookies
Creating perfect Danish Butter Cookies is a rewarding process that combines precision with a dash of passion. Follow these detailed steps to achieve cookies that are crisp, tender, and irresistibly buttery – just like the ones you remember from those classic blue tins.
- Cream Butter and Sugar: In a large mixing bowl, using an electric mixer, cream together the softened unsalted butter and granulated sugar on medium speed until light and fluffy, about 3-4 minutes. This step is crucial for incorporating air, which contributes to the cookies’ delicate texture.
- Add Wet Ingredients: Beat in the room temperature egg and pure vanilla extract until just combined. Scrape down the sides of the bowl to ensure everything is well incorporated.
- Combine Dry Ingredients: In a separate bowl, whisk together the all-purpose flour and salt. Gradually add the dry ingredients to the wet ingredients, mixing on low speed until just combined. Be careful not to overmix, as this can lead to tough Danish Butter Cookies. The dough will be thick.
- Adjust Consistency (Optional for Piping): If you plan to pipe your Danish Butter Cookies, you might need to add 1-2 tablespoons of milk, one tablespoon at a time, mixing until the dough reaches a pipeable consistency – it should be soft enough to pipe but firm enough to hold its shape.
- Prepare for Shaping: Preheat your oven to 375°F (190°C). Line baking sheets with parchment paper. If piping, transfer the dough to a pastry bag fitted with a large star tip (like an Ateco 826 or Wilton 1M).
- Shape the Cookies:
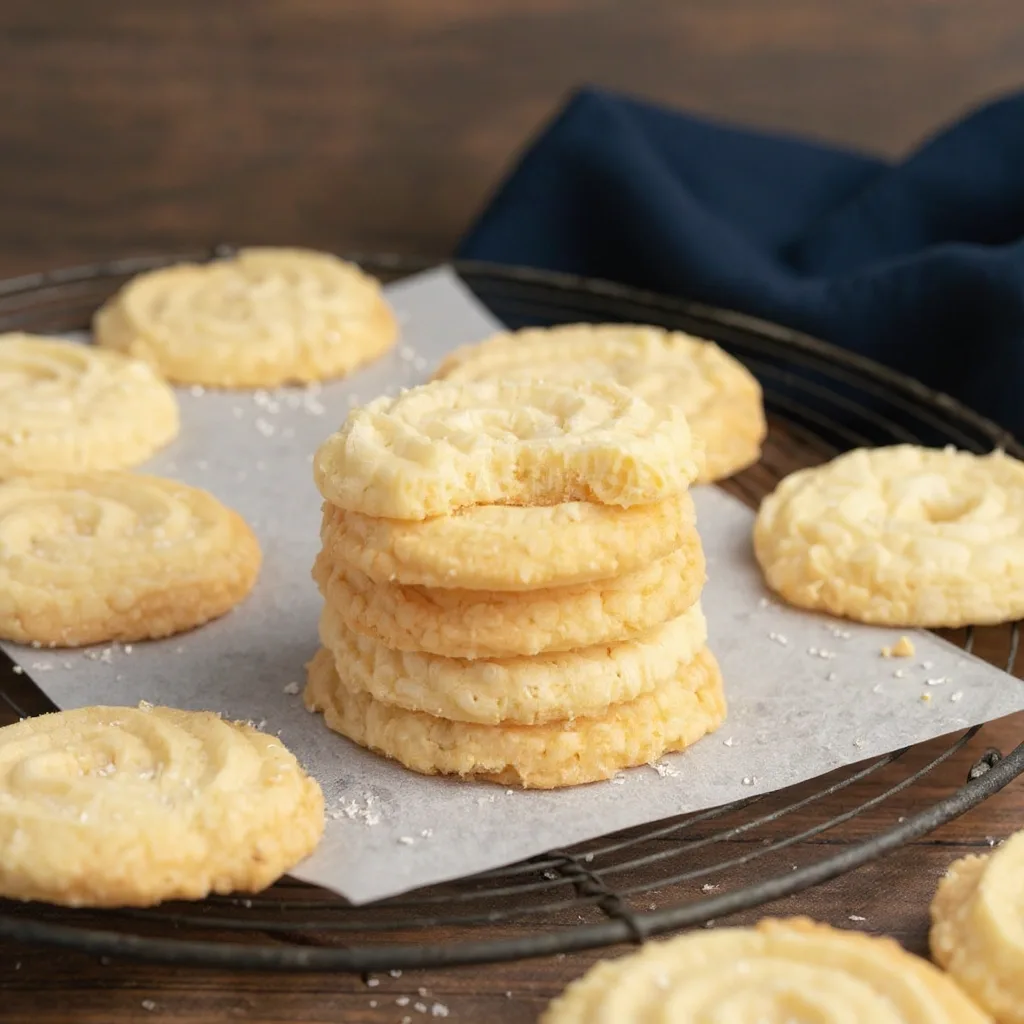
- Piped: Pipe various shapes onto the prepared baking sheets – classic swirls, S-shapes, or rosettes. Leave about an inch between each cookie.
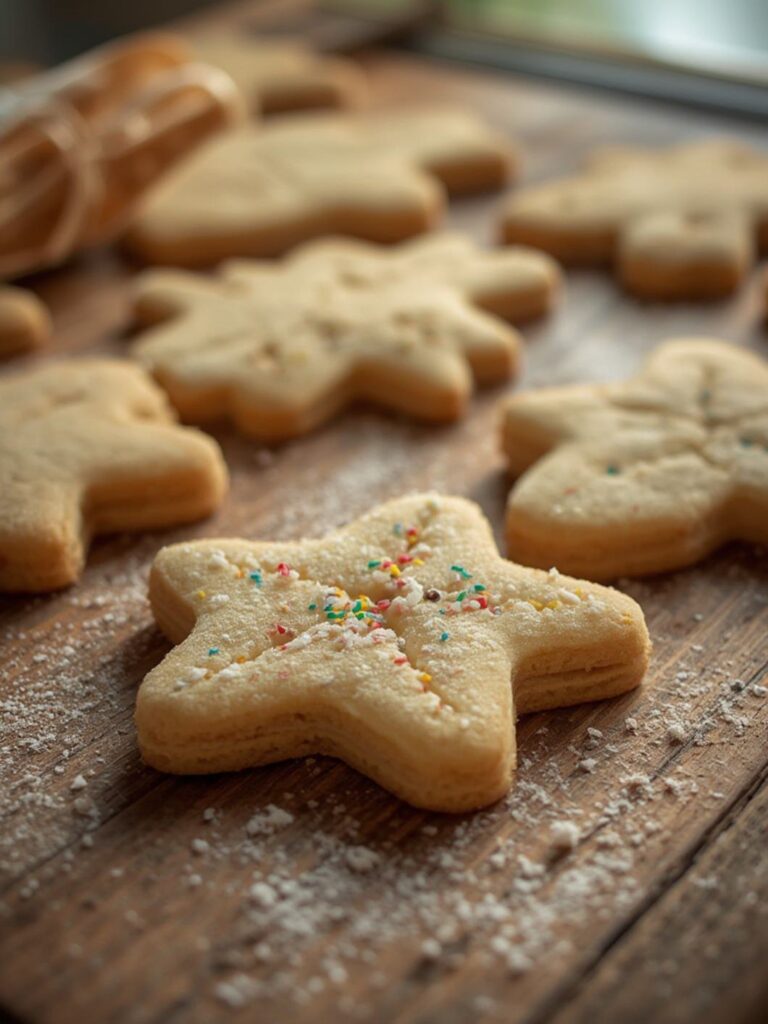
- Rolled/Cut: Alternatively, you can chill the dough for 30 minutes, then roll it out to ¼-inch thickness on a lightly floured surface and cut with cookie cutters.
- Scooped: For a simpler approach, scoop rounded tablespoons of dough and slightly flatten them with a fork.
- Bake to Golden Perfection: Bake for 10-12 minutes, or until the edges are lightly golden brown. The center should still be pale. Baking time may vary depending on the size and thickness of your Danish Butter Cookies.
- Cool: Let the cookies cool on the baking sheets for 5 minutes before transferring them to a wire rack to cool completely.
Fun Twists & Serving Ideas
While the classic Danish Butter Cookies are perfect in their simplicity, a little creativity can elevate them for any occasion.
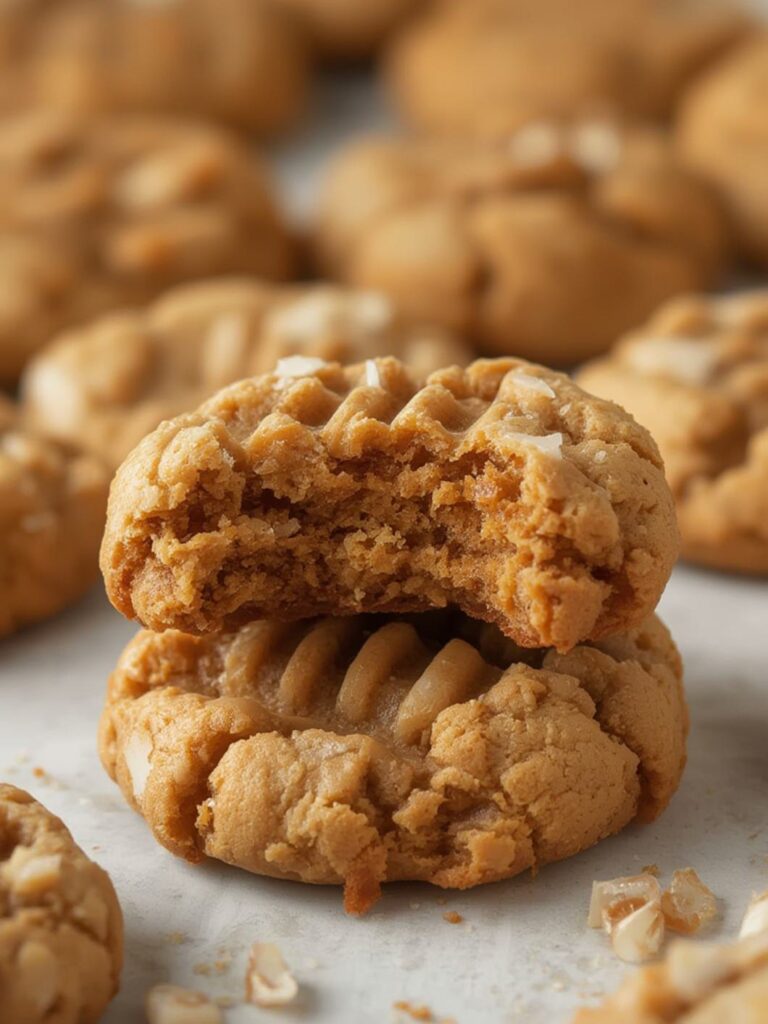
* Chocolate Dipped: Dip half of the cooled cookies in melted dark or white chocolate for an elegant touch. Sprinkle with sea salt or chopped nuts before the chocolate sets.
* Citrus Zest Infusion: Add 1-2 teaspoons of finely grated lemon or orange zest to the dough for a bright, aromatic twist.
* Almond Essence: Substitute half of the vanilla extract with almond extract for a subtle, nutty flavor profile.
* Holiday Sprinkles: Before baking, sprinkle shaped cookies with colorful nonpareils or sanding sugar for festive flair.
* Jam Centers: For piped rosettes, create a small well in the center before baking and fill with your favorite fruit jam after baking and cooling.
What Our Bakers Are Saying
⭐⭐⭐⭐⭐
Elara V. – “These Danish Butter Cookies are absolutely divine! The recipe is so easy to follow, and they taste just like the ones my grandmother used to make. A new family favorite!”
⭐⭐⭐⭐⭐
Marcus L. – “I’ve tried many recipes for Danish Butter Cookies, but this one is the winner. Perfect texture, incredible buttery flavor. My colleagues devoured them!”
⭐⭐⭐⭐
Sophia K. – “Great recipe! My piping skills need work, but the taste is phenomenal. Next time I’ll try the chocolate-dipped variation.”
Frequently Asked Questions About Danish Butter Cookies
Q: How should I store Danish Butter Cookies?
A: Store your homemade Danish Butter Cookies in an airtight container at room temperature for up to 1-2 weeks. They can also be frozen for longer storage.
Q: Can I freeze the cookie dough or baked Danish Butter Cookies?
A: Yes! You can freeze the shaped, unbaked cookie dough for up to 3 months. Bake directly from frozen, adding a couple of extra minutes to the baking time. Baked cookies also freeze well for up to 2-3 months in an airtight container.
Q: Why are my Danish Butter Cookies spreading too much?
A: This can happen if your butter was too soft, your oven temperature isn’t accurate, or if you overmixed the dough. Ensure your butter is softened but still cool to the touch, and consider chilling the piped shapes for 10-15 minutes before baking, especially in warm kitchens.
Q: What’s the best type of butter to use for Danish Butter Cookies?
A: High-quality unsalted butter is crucial. European-style butter, with its higher fat content, will yield an even richer flavor and more tender crumb. However, any good quality unsalted butter will work beautifully.
Embrace the Timeless Joy of Homemade Danish Butter Cookies
There’s an undeniable charm in baking something as classic and comforting as Danish Butter Cookies. From the moment the buttery dough comes together to the first bite of that perfectly crisp, tender cookie, you’re not just creating a treat; you’re crafting an experience. These cookies are more than just a sweet indulgence; they are a bridge to nostalgia, a gesture of warmth, and a simple pleasure that speaks volumes. We hope this recipe for authentic Danish Butter Cookies inspires you to create cherished moments in your own kitchen. For more exquisite recipes and culinary insights, make sure to explore magicinkitchen.com – where every dish tells a story. Happy baking!
Recipe Note
For the best texture and shape, ensure your butter is properly softened – not melted – and avoid overmixing the flour once added. This preserves the delicate structure crucial for classic Danish Butter Cookies.
Danish Butter Cookies
Cook Time: 12-15 minutes cook
Total Time: Approx. 45-50 minutes (includes chilling time)
Course: Dessert
Servings: 36-48 cookies
Calories: Approx. 80-100 per cookie
Ingredients
- 1 cup (2 sticks / 226g) unsalted butter, softened
- ¾ cup (150g) granulated sugar
- 1 large egg
- 1 teaspoon vanilla extract
- 2 ½ cups (300g) all-purpose flour
- ½ teaspoon salt
- Optional: 1-2 tablespoons milk or cream (if dough is too stiff for piping)
- Optional: Sprinkles or sanding sugar for decoration
Instructions
- In a large bowl, cream together the softened butter and granulated sugar until light and fluffy. Beat in the egg and vanilla extract until well combined. In a separate bowl, whisk together the all-purpose flour and salt. Gradually add the dry ingredients to the wet ingredients, mixing on low speed until just combined and a soft dough forms. If the dough is too stiff for piping, add milk or cream one tablespoon at a time until it reaches a pipeable consistency. Cover the dough and chill in the refrigerator for at least 30 minutes to an hour. Preheat your oven to 375°F (190°C) and line baking sheets with parchment paper. Transfer the chilled dough to a piping bag fitted with a large star or round tip. Pipe desired shapes (rosettes, S-shapes, swirls) onto the prepared baking sheets, leaving about 1 inch between cookies. Alternatively, roll the dough into small balls and flatten slightly with a fork. If desired, sprinkle with sanding sugar or sprinkles. Bake for 12-15 minutes, or until the edges are lightly golden. Let the cookies cool on the baking sheets for a few minutes before transferring them to a wire rack to cool completely. Store in an airtight container at room temperature.
Chef’s Notes: For best results, ensure butter is at room temperature. Chilling the dough is crucial for easy handling, especially if piping. Cookies store well in an airtight container for up to a week.