Easy Homemade Marshmallows – Light & Pillowy
Homemade Marshmallows: Your Guide to Cloud-Like Perfection
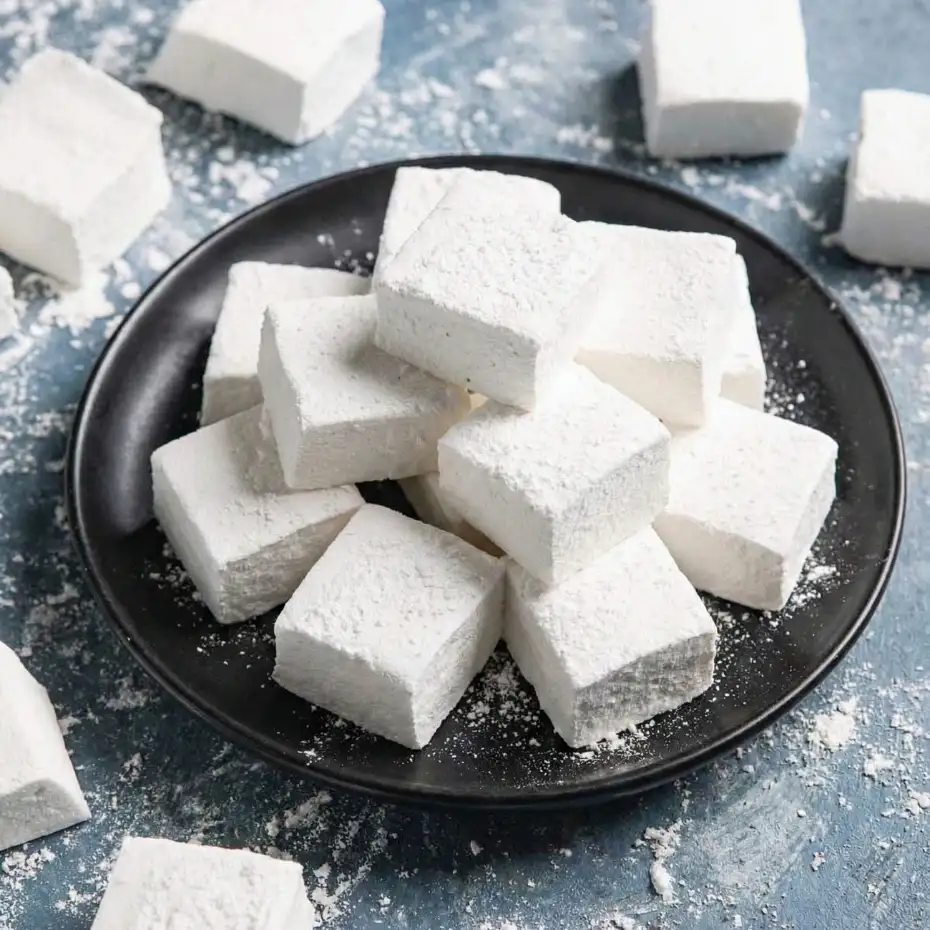
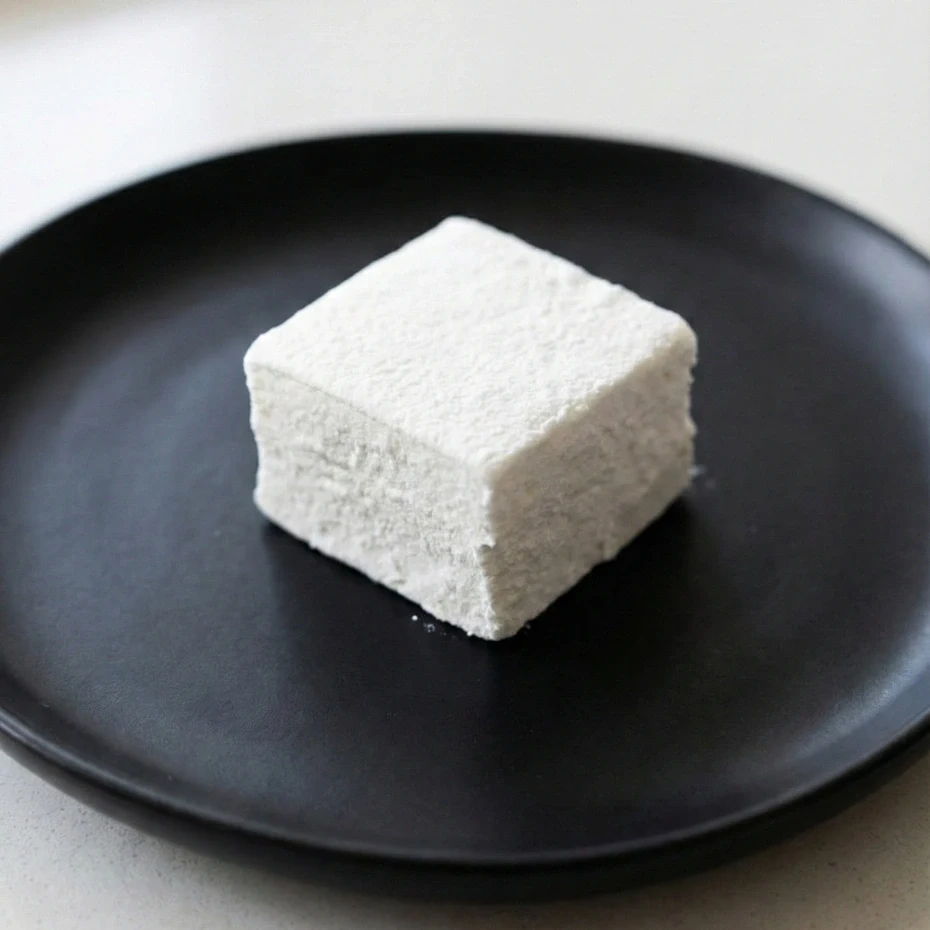
There’s a certain magic that happens when you create something utterly delightful from scratch, and few confections embody that magic quite like a batch of homemade marshmallows. Forget the store-bought, rubbery squares; these are different. Imagine sinking your teeth into a pillowy soft cloud, yielding with a gentle give, then melting on your tongue with a burst of pure, sweet vanilla. It’s an experience that transcends mere snacking; it’s a journey back to childhood wonder, a luxurious treat that elevates every cup of hot cocoa and every s’mores experience. This isn’t just about making candy; it’s about crafting edible dreams, transforming simple ingredients into something truly extraordinary that will impress and delight everyone lucky enough to taste them.
Quick Glance Summary
⏱️ Prep Time: 45 minutes + 4 hours chilling, 🍽️ Servings: 30-40, 💥 Vibe: Dreamy, Nostalgic, Indulgent
Jump Ahead:
- What You’ll Need
- How to Make Homemade Marshmallows
- Fun Twists & Serving Ideas
- Reviews
- FAQ
- Conclusion
What You’ll Need
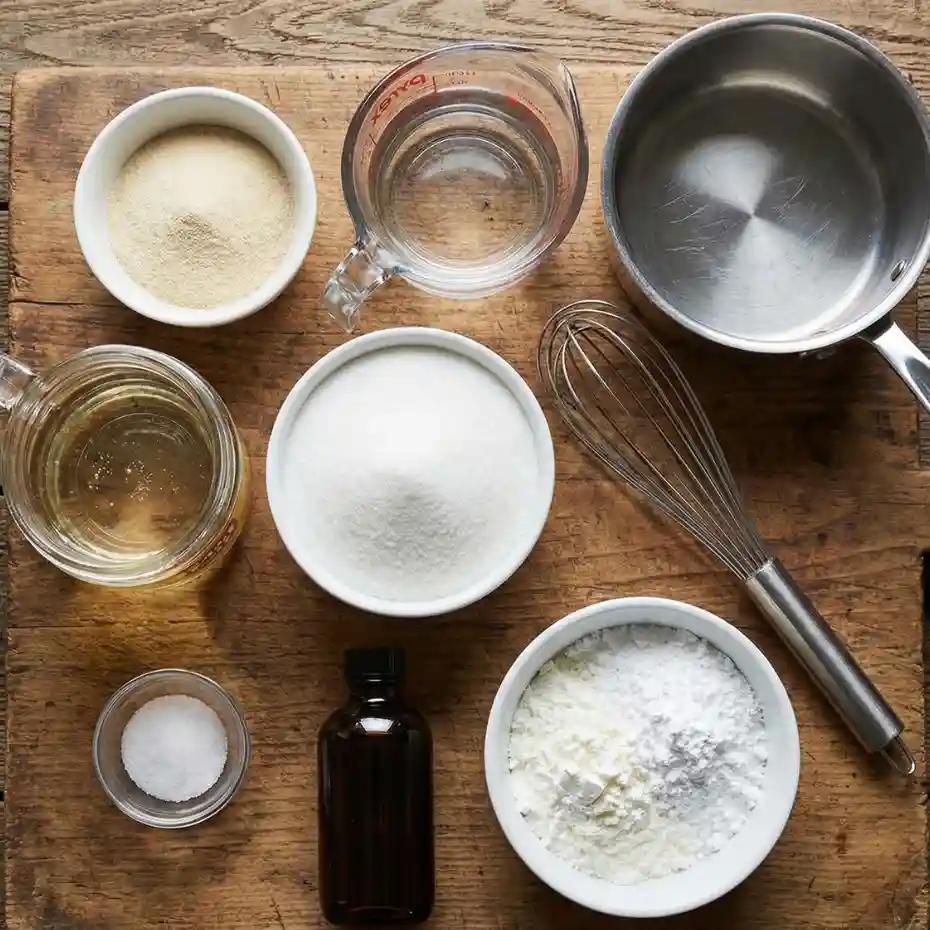
Creating these sublime homemade marshmallows requires a few key ingredients and pieces of equipment, but nothing overly specialized. The beauty of this recipe lies in its simplicity and the transformative power of a few pantry staples. Gather your unflavored gelatin, granulated sugar, light corn syrup, a touch of salt, pure vanilla extract, and a dusting of powdered sugar and cornstarch. For equipment, a stand mixer is highly recommended for achieving that signature fluffy texture, alongside a heavy-bottomed saucepan and a reliable candy thermometer.
- 3 packets (1/4 oz each) unflavored gelatin
- 1/2 cup cold water (for gelatin)
- 1 1/2 cups granulated sugar
- 1 cup light corn syrup
- 1/2 cup hot water (for syrup)
- 1/4 teaspoon salt
- 2 teaspoons pure vanilla extract
- 1/2 cup powdered sugar
- 1/2 cup cornstarch
- Non-stick cooking spray or vegetable oil
How to Make Homemade Marshmallows
Crafting your own batch of homemade marshmallows is a rewarding process, and with these detailed steps, you’ll be whipping up clouds of sweetness in no time. Precision is key, especially with temperatures, so have your candy thermometer ready!
- Prepare Your Pan: Lightly grease a 9×13-inch baking pan with cooking spray or oil. In a small bowl, whisk together the powdered sugar and cornstarch. Dust the prepared pan generously with about half of this mixture, tapping out any excess. Set aside.
- Bloom the Gelatin: In the bowl of a stand mixer fitted with the whisk attachment, pour the 1/2 cup of cold water. Sprinkle the unflavored gelatin evenly over the water. Let it sit for 5-10 minutes to bloom, becoming soft and gelatinous. Do not stir.
- Make the Sugar Syrup: While the gelatin blooms, combine the granulated sugar, light corn syrup, 1/2 cup hot water, and salt in a heavy-bottomed 3-quart saucepan. Stir gently over medium heat until the sugar dissolves. Increase the heat to medium-high and bring the mixture to a rolling boil. Insert your candy thermometer and continue to cook without stirring until the syrup reaches precisely 240°F (116°C).
- Whip the Marshmallow Base: Carefully remove the hot sugar syrup from the heat. With the stand mixer on low speed, slowly and steadily pour the hot syrup down the side of the mixer bowl into the bloomed gelatin. Be very careful as the syrup is extremely hot. Once all the syrup is added, increase the mixer speed to high. Whip for 12-15 minutes, or until the mixture is very thick, glossy, and has quadrupled in volume. It should look like incredibly stiff meringue.
- Add Flavor: Reduce the mixer speed to low and add the vanilla extract. Mix just until combined, about 30 seconds.
- Set the Marshmallows: Pour the warm, sticky marshmallow mixture into your prepared and dusted pan. It will be very thick and difficult to spread; use a lightly oiled spatula or your fingertips to gently press and spread it evenly into the pan.
- Chill and Cut: Dust the top of the marshmallow slab with the remaining powdered sugar and cornstarch mixture. Let it set at room temperature for at least 4 hours, or preferably overnight, until completely firm. Do not refrigerate.
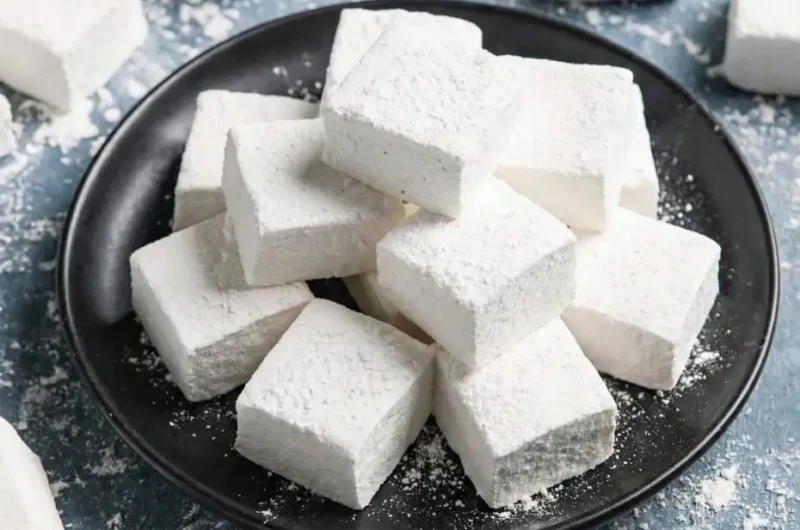
- Finish: Once firm, invert the marshmallow slab onto a clean, heavily dusted cutting board. Using a lightly oiled sharp knife or pizza cutter, cut the slab into desired shapes (squares, rectangles, or even use cookie cutters). Toss each cut marshmallow piece in any remaining dusting mixture to prevent sticking. Your homemade marshmallows are ready to enjoy!
Fun Twists & Serving Ideas
Once you master the classic homemade marshmallows, the possibilities for customization are endless. Get creative and infuse new life into these delightful treats!
- Chocolate Swirl: Melt 1/4 cup of chocolate chips and drizzle them over the marshmallow mixture in the pan just before chilling. Swirl gently with a knife for a beautiful marbled effect.
- Citrus Zest: Add 1 tablespoon of finely grated lemon, orange, or lime zest along with the vanilla extract for a bright, tangy flavor.
- Coffee or Mocha: Replace 1/2 teaspoon of vanilla extract with 1 teaspoon of instant espresso powder dissolved in 1 tablespoon of hot water for a sophisticated coffee-flavored treat.
- Spice Route: Incorporate 1 teaspoon of ground cinnamon, cardamom, or a pumpkin pie spice blend during the last minute of whipping for a warm, aromatic marshmallow. Perfect for fall!
- Serving Suggestions: Skewer them for gourmet s’mores, float them in rich hot chocolate, use them as edible garnishes for desserts, or simply enjoy them as a melt-in-your-mouth snack.
FAQ
Q: Why are my homemade marshmallows sticky?
A: Stickiness is often due to not enough dusting powder (cornstarch and powdered sugar mix) or not allowing the marshmallows to set long enough. Ensure your pan and cutting surface are well-dusted, and let them cure for the full 4+ hours. Humidity can also play a role.
Q: Can I make these without a stand mixer?
A: While possible with a very powerful hand mixer, a stand mixer is highly recommended. The mixture becomes incredibly thick and requires sustained, high-speed whipping, which can be challenging for a hand mixer and your arm!
Q: How long do homemade marshmallows last?
A: When stored in an airtight container at room temperature, homemade marshmallows will stay fresh for up to 2-3 weeks. They tend to dry out and harden slightly over time.
Q: Can I use honey or maple syrup instead of corn syrup?
A: Corn syrup is crucial for preventing sugar crystallization, which can make your marshmallows grainy. While you can experiment with small amounts of other liquid sweeteners, substituting all the corn syrup can alter the texture significantly and is not recommended for a first-timer.
Conclusion
There’s an unparalleled satisfaction that comes from transforming simple ingredients into something as ethereal and exquisite as a batch of homemade marshmallows. This recipe is more than just a list of steps; it’s an invitation to experience culinary artistry, to create moments of pure, sweet joy right in your own kitchen. The pillowy softness, the delicate sweetness, the subtle whisper of vanilla – these homemade marshmallows are a revelation. So, gather your ingredients, fire up your stand mixer, and prepare to elevate your dessert game. Embrace the magic, and let these incredible homemade marshmallows bring a touch of enchantment to your table. For more enchanting recipes and culinary inspirations, be sure to visit us at magicinkitchen.com!
Recipe Note
For optimal freshness and a beautiful soft texture, store your homemade marshmallows in an airtight container at room temperature. Avoid refrigeration, as it can cause them to become stiff and dry out faster. If they get a little sticky, simply toss them in a bit more powdered sugar and cornstarch mixture.
Homemade Marshmallows
Cook Time: N/A
Total Time: 4 hours 40 minutes
Course: Confectionery
Servings: 64 pieces
Calories: Approx. 45 calories per piece
Ingredients
- 3 packets (7g each) unflavored gelatin
- 1/2 cup cold water (for gelatin)
- 1 cup cold water (for syrup)
- 2 cups granulated sugar
- 1 cup light corn syrup
- 1/4 teaspoon salt
- 2 teaspoons vanilla extract
- 1/2 cup powdered sugar (for dusting)
- 1/4 cup cornstarch (for dusting)
Instructions
1️⃣ Prepare Pan
Line a 9×13-inch pan with parchment paper and dust generously with powdered sugar.
2️⃣ Bloom the Gelatin
Add ½ cup cold water to the bowl of a mixer. Sprinkle gelatin on top and let sit to bloom.
3️⃣ Make Sugar Syrup
In a saucepan, combine:
-
1 ½ cups sugar
-
1 cup corn syrup
-
½ cup water
-
¼ tsp salt
Heat on medium-high until it reaches 240°F (soft-ball stage).
4️⃣ Whip It
Carefully pour the hot syrup into the mixer bowl with gelatin.
Beat on high speed for 10–12 minutes until thick, white, and fluffy.
5️⃣ Add Flavor
Beat in vanilla extract.
6️⃣ Spread in Pan
Transfer marshmallow mixture to prepared pan. Smooth the top with a greased spatula.
7️⃣ Set
Let rest 4 hours or overnight at room temperature.
8️⃣ Cut & Coat
Dust the top with powdered sugar.
Turn out onto a cutting board and cut into squares. Toss each marshmallow in powdered sugar to prevent sticking.
Chef’s Notes: Ensuring your candy thermometer is accurate is key for the syrup stage. The powdered sugar and cornstarch mixture is essential to prevent sticking, both in the pan and after cutting. Store marshmallows in an airtight container at room temperature for up to 2 weeks.