Easy Peanut Butter Fudge – Smooth & Delicious
The Ultimate Creamy Dream: Irresistible Homemade Peanut Butter Fudge
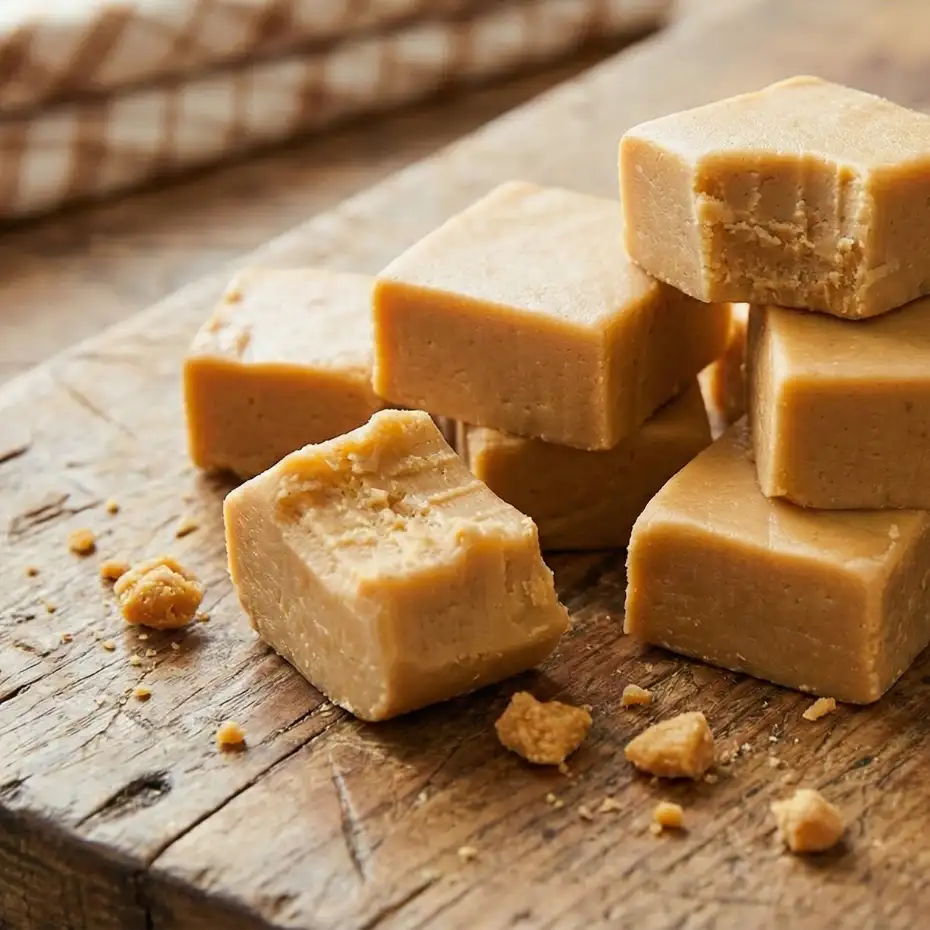
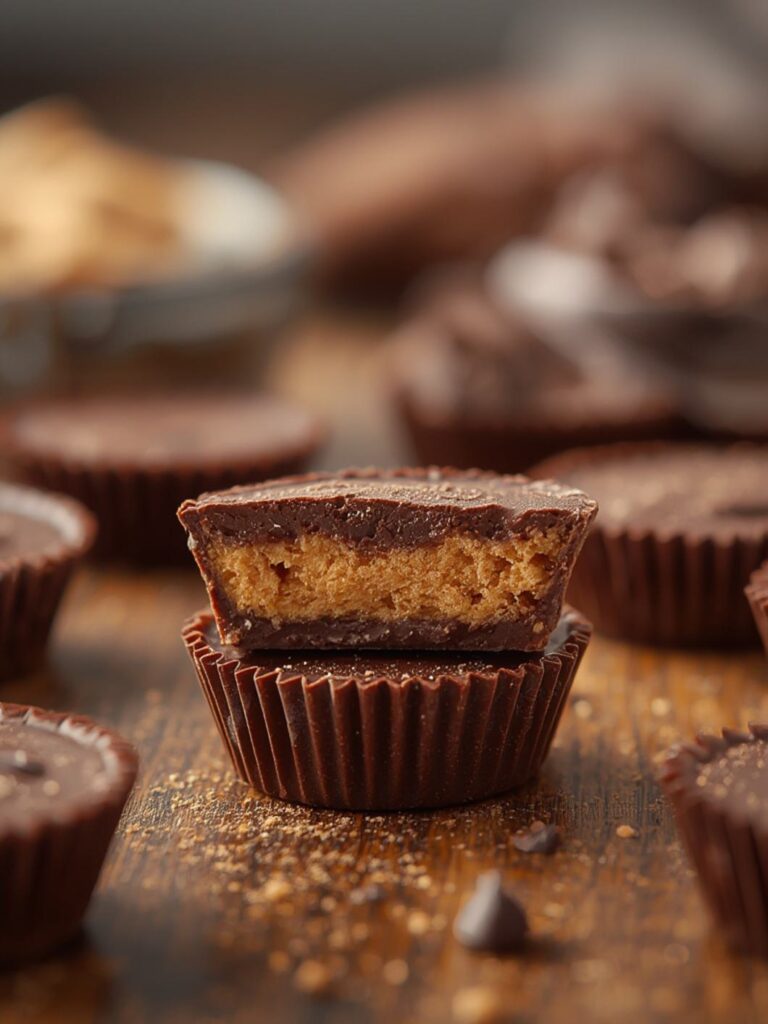
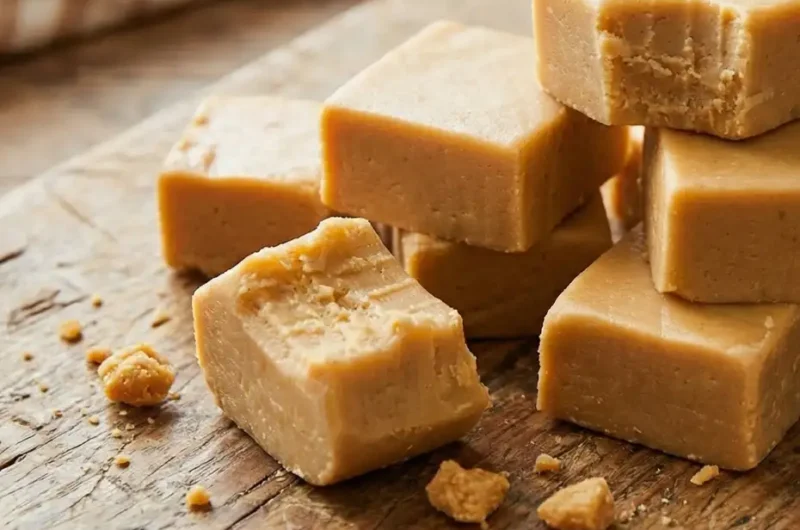
There are certain confections that transcend mere sweetness, touching something deep within our collective memory – a taste of childhood, a holiday tradition, or simply pure, unadulterated comfort. For many, that iconic treat is Peanut Butter Fudge. It’s more than just a dessert; it’s a moment of pure bliss, a velvety, melt-in-your-mouth experience that utterly satisfies. Imagine the silken texture dissolving on your tongue, releasing that rich, nutty essence of roasted peanuts, perfectly balanced with a delightful sweetness. This isn’t just a recipe; it’s an invitation to create magic in your own kitchen, a simple yet profoundly rewarding journey to the best homemade Peanut Butter Fudge you’ve ever tasted. At Magic In Kitchen, we believe every sweet indulgence should be extraordinary, and this classic certainly delivers.
Quick Glance Summary
⏱️ Prep Time: 15 minutes, 🍽️ Servings: 16-20 pieces, 💥 Vibe: Decadent, Nostalgic, Comforting
Jump Ahead to Your Sweet Spot
- What You’ll Need
- How to Make Peanut Butter Fudge
- Fun Twists & Serving Ideas
- What Our Readers Are Saying
- Frequently Asked Questions
- A Final Sweet Thought
What You’ll Need to Craft Perfection
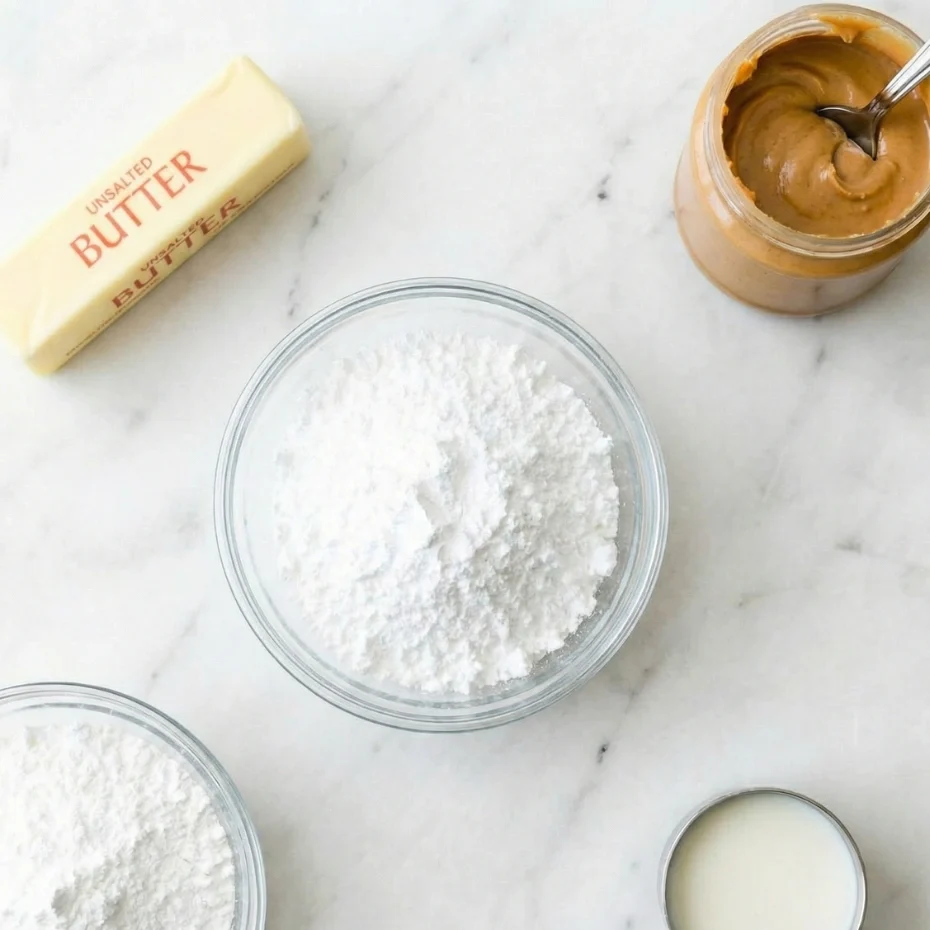
Creating this dreamily smooth Peanut Butter Fudge requires just a few pantry staples, but the quality of each ingredient plays a crucial role in the final texture and flavor. Choose a good quality, creamy peanut butter for the best results – avoid natural varieties that separate easily, as they can alter the fudge’s consistency.
- 1/2 cup (1 stick) unsalted butter
- 1 cup creamy peanut butter
- 1 teaspoon vanilla extract
- 3 1/2 cups powdered sugar, sifted
- 1/4 cup whole milk
- 1/4 teaspoon salt (optional, but enhances flavor)
How to Make Peanut Butter Fudge: A Step-by-Step Guide
Making homemade Peanut Butter Fudge is surprisingly straightforward, and with our expert guidance, you’ll achieve confectionery perfection every single time. Follow these steps for an incredibly smooth and irresistible treat.
- Prepare Your Pan: Line an 8×8 inch baking pan with parchment paper, leaving an overhang on two sides to easily lift the fudge out later. Lightly grease the parchment paper with butter or non-stick spray.
- Melt the Essentials: In a large, heavy-bottomed saucepan over medium-low heat, melt the butter. Once melted, add the creamy peanut butter and stir constantly until it’s completely smooth and fully incorporated with the butter. This step is vital for a homogenous Peanut Butter Fudge.
- Incorporate Liquids: Remove the pan from the heat. Stir in the vanilla extract and, if using, the salt. The warmth of the mixture will help these flavors meld beautifully.
- Add the Sweetness: Gradually add the sifted powdered sugar, about one cup at a time, stirring well after each addition. The mixture will become very thick.
- Introduce Milk for Smoothness: Once the powdered sugar is mostly incorporated, gradually add the milk, stirring until the mixture becomes smooth, creamy, and gloriously thick. Continue stirring until all streaks of powdered sugar have disappeared and the Peanut Butter Fudge mixture is uniform.
- Pour and Chill: Immediately spoon the warm Peanut Butter Fudge into your prepared 8×8 inch pan. Using a spatula, spread it evenly and smooth the top.
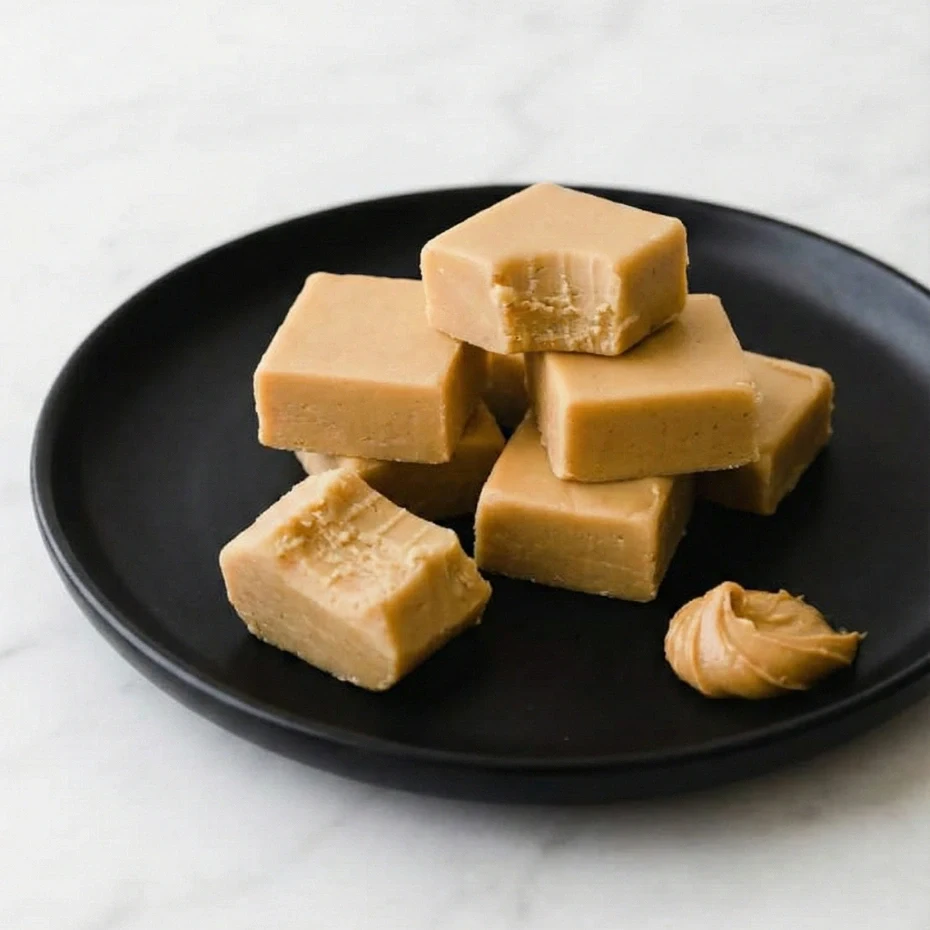
- Set and Serve: Place the pan in the refrigerator for at least 2 hours, or until the Peanut Butter Fudge is completely firm. Once set, use the parchment paper overhang to lift the fudge from the pan. Place it on a cutting board and cut into 1-inch squares. Store in an airtight container at room temperature for up to a week, or in the refrigerator for longer freshness.
Fun Twists & Serving Ideas
While classic Peanut Butter Fudge is magnificent on its own, a touch of creativity can elevate it further. Here are a few ideas to inspire you:
- Chocolate Swirl: After pouring the Peanut Butter Fudge into the pan, drizzle melted dark chocolate over the top and swirl gently with a knife for a beautiful marbled effect.
- Crunchy Texture: Fold in 1/2 cup of finely chopped peanuts or mini chocolate chips just before pouring the fudge into the pan for added texture.
- Sea Salt Finish: A sprinkle of flaky sea salt over the top of the warm fudge before it sets can wonderfully balance the sweetness and deepen the flavor.
- Mini Fudge Bites: Press the warm fudge into mini muffin liners for individual servings, perfect for parties or lunchboxes.
- Espresso Kick: Add 1 teaspoon of instant espresso powder to the butter and peanut butter mixture for a subtle, sophisticated depth of flavor.
What Our Readers Are Saying
Don’t just take our word for it! Here’s what some of our beloved Magic In Kitchen community members have to say about this incredible Peanut Butter Fudge recipe:
- Sarah M. – ⭐️⭐️⭐️⭐️⭐️ “This Peanut Butter Fudge recipe is a revelation! So quick and easy, and the texture is absolutely divine. My family devoured it in minutes!”
- Chef Mike – ⭐️⭐️⭐️⭐️⭐️ “As a professional baker, I appreciate a well-balanced recipe. This homemade Peanut Butter Fudge hits all the right notes – creamy, rich, and utterly foolproof. It’s a staple in my holiday repertoire now.”
- David L. – ⭐️⭐️⭐️⭐️ “Fantastic Peanut Butter Fudge! I found it a tad sweet for my palate, but that’s easily adjusted with a pinch more salt. Still, highly recommend for its incredible smoothness.”
Frequently Asked Questions About Peanut Butter Fudge
Got questions? We’ve got answers to help you master this delicious Peanut Butter Fudge.
- Q: How long does homemade Peanut Butter Fudge last?
- A: Stored in an airtight container at room temperature, your Peanut Butter Fudge will stay fresh for up to 1 week. If refrigerated, it can last for up to 2-3 weeks, though it might become a bit firmer.
- Q: Can I use natural peanut butter for this recipe?
- A: We highly recommend using conventional creamy peanut butter (like Jif or Skippy) for the best results. Natural peanut butter tends to separate and can result in a greasier or grainy texture in the fudge due to its different oil content.
- Q: Why is my Peanut Butter Fudge grainy?
- A: Grainy fudge is usually caused by undissolved sugar crystals. Ensure you stir the mixture thoroughly after each addition of powdered sugar until it’s completely smooth before pouring it into the pan. Using sifted powdered sugar also helps prevent this.
- Q: Can I freeze Peanut Butter Fudge?
- A: Yes! Wrap the uncut block of fudge tightly in plastic wrap, then again in aluminum foil. It can be frozen for up to 3 months. Thaw in the refrigerator overnight before cutting and serving.
A Final Sweet Thought
There’s an unparalleled joy in creating something truly delicious from scratch, especially a beloved classic like homemade Peanut Butter Fudge. This recipe isn’t just about the ingredients; it’s about the memories you’ll create, the smiles you’ll share, and the simple satisfaction of a perfectly executed treat. Whether you’re a seasoned baker or new to the world of fudge, our step-by-step guide ensures a triumphant outcome. We encourage you to dive in, embrace the process, and discover the magic in your own kitchen. Share your Peanut Butter Fudge creations with us at magicinkitchen.com – we can’t wait to see your sweet success!
Recipe Note
For the cleanest cuts, use a large, sharp knife that has been run under hot water and wiped dry before each slice. This will help prevent the fudge from sticking and yield perfectly smooth squares of Peanut Butter Fudge.
Peanut Butter Fudge
Cook Time: 10 minutes
Total Time: 2 hours 20 minutes (includes chilling)
Course: Dessert
Servings: 36 pieces
Calories: 150 per piece (approximate)
Ingredients
- 2 cups granulated sugar
- 1/2 cup milk (whole or 2%)
- 1/2 cup (1 stick) unsalted butter
- 1 cup creamy peanut butter
- 1 teaspoon vanilla extract
Instructions
-
Melt
In a medium saucepan, melt butter and peanut butter over medium heat, stirring until smooth (about 3–4 minutes). Do not let it boil. -
Flavor
Remove from heat and stir in vanilla extract. -
Mix
Add the sifted powdered sugar gradually and mix until the fudge becomes thick and smooth. -
Press Into Pan
Line an 8×8-inch baking pan with parchment paper. Press the mixture evenly into the pan. -
Chill
Refrigerate for at least 2 hours or until firm. -
Cut
Lift using the parchment and slice into small squares.
Chef’s Notes: For best results, use a heavy-bottomed saucepan to prevent scorching. Do not attempt to double the recipe, as it may not set properly. Make sure to stir constantly during the boiling process to prevent sticking and burning. The fudge needs sufficient time to cool and set completely before cutting.