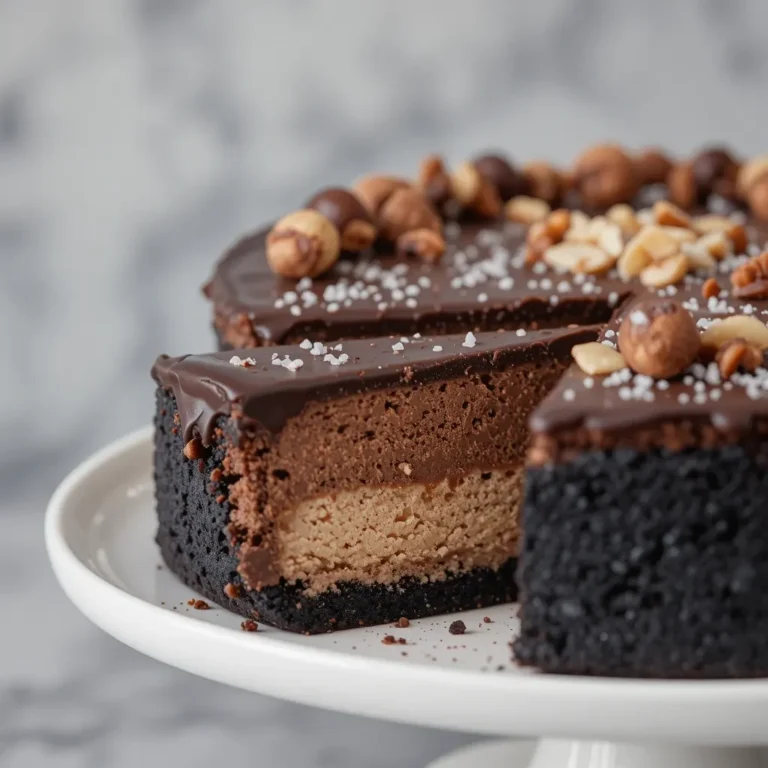
Flourless Chocolate Cake: 1 Amazing Recipe
Decadent Delight: Your Ultimate Guide to an Amazing Flourless Chocolate Cake Recipe
Embark on a culinary journey to create the most exquisite Flourless Chocolate Cake you’ve ever tasted. This rich, dense, and utterly luxurious dessert is a testament to the power of pure chocolate, offering an intense flavor experience that will captivate any palate. Whether you’re a seasoned baker or a beginner, this recipe promises a show-stopping dessert perfect for any occasion, especially for those seeking a divine Gluten-Free Chocolate Cake option that doesn’t compromise on taste or texture. Prepare to impress with this naturally gluten-free masterpiece!
What You’ll Need
Gather these simple yet essential ingredients to create a truly exceptional Flourless Chocolate Cake that will melt in your mouth.
1 cup (2 sticks) unsalted butter, plus more for greasing
1 pound bittersweet chocolate (60-70% cacao), finely chopped
1 1/2 cups granulated sugar
6 large eggs, separated
1 teaspoon vanilla extract
1/4 teaspoon salt
Confectioners’ sugar, for dusting (optional)
Fresh berries or whipped cream, for serving (optional)
Preparation Instructions
Follow these detailed steps to bake a perfect Flourless Chocolate Cake that boasts a beautiful crackled top and an irresistibly moist interior. This method ensures a consistently delicious result, making it a go-to for a stunning Gluten-Free Chocolate Cake every time.
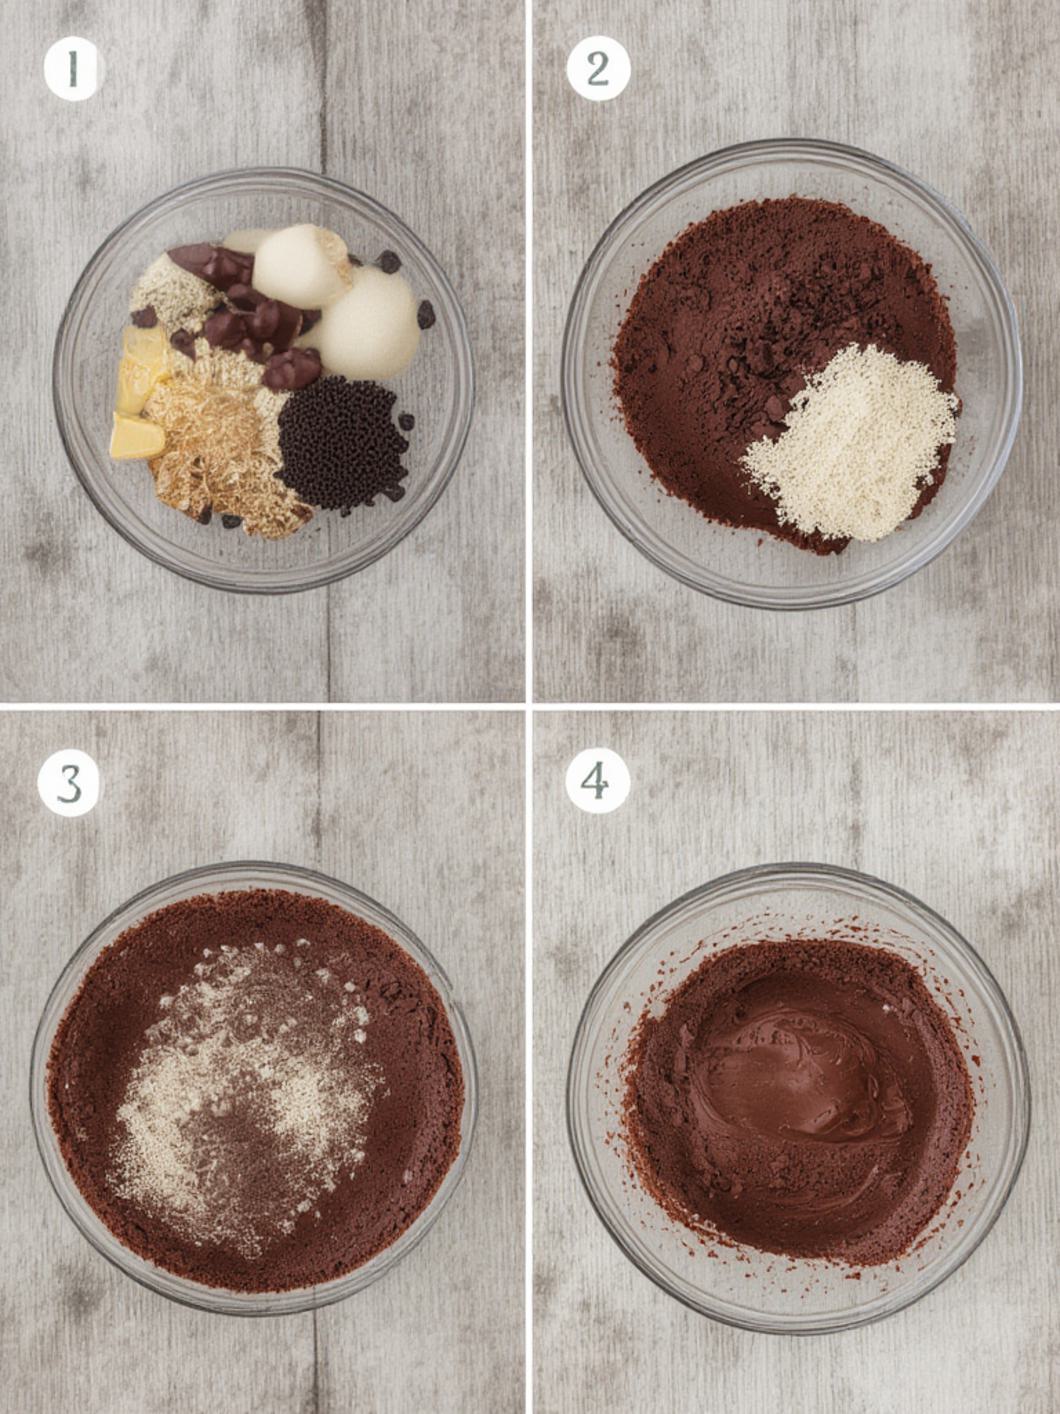
1. Prepare your pan: Preheat your oven to 325°F (160°C). Grease a 9-inch springform pan with butter and line the bottom with parchment paper. Dust the sides lightly with cocoa powder, if desired, to prevent sticking.
2. Melt chocolate and butter: In a heatproof bowl set over a saucepan of simmering water (bain-marie), melt the chopped bittersweet chocolate and butter together, stirring occasionally until smooth. Remove from heat and let cool slightly.
3. Combine with yolks: In a large bowl, whisk together 1 cup of the granulated sugar, egg yolks, vanilla extract, and salt until light and creamy. Gradually whisk in the cooled chocolate mixture until thoroughly combined.
4. Whip egg whites: In a separate clean bowl, using an electric mixer, beat the egg whites on medium speed until soft peaks form. Gradually add the remaining 1/2 cup of granulated sugar and continue beating until stiff, glossy peaks form.
5. Fold mixtures: Gently fold one-third of the whipped egg whites into the chocolate mixture to lighten it. Then, carefully fold in the remaining egg whites in two additions until just combined, being careful not to deflate the mixture.
6. Bake the cake: Pour the batter into the prepared springform pan. Place the pan in a larger roasting pan and add hot water to the roasting pan, reaching about halfway up the sides of the springform pan. This water bath helps the cake cook evenly and prevents cracking.
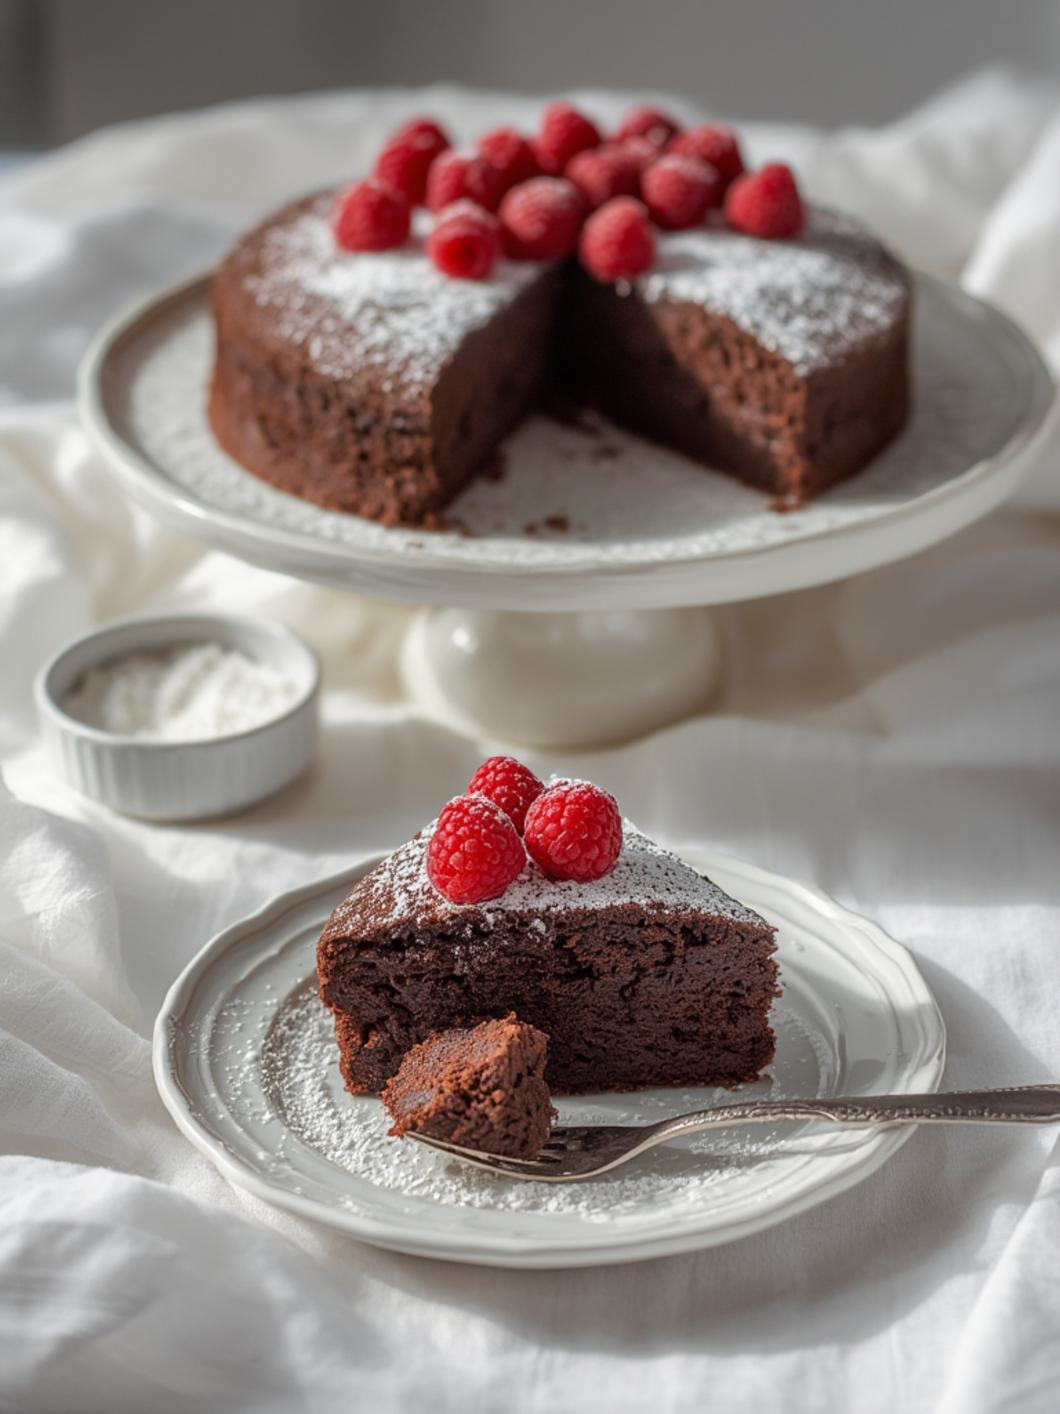
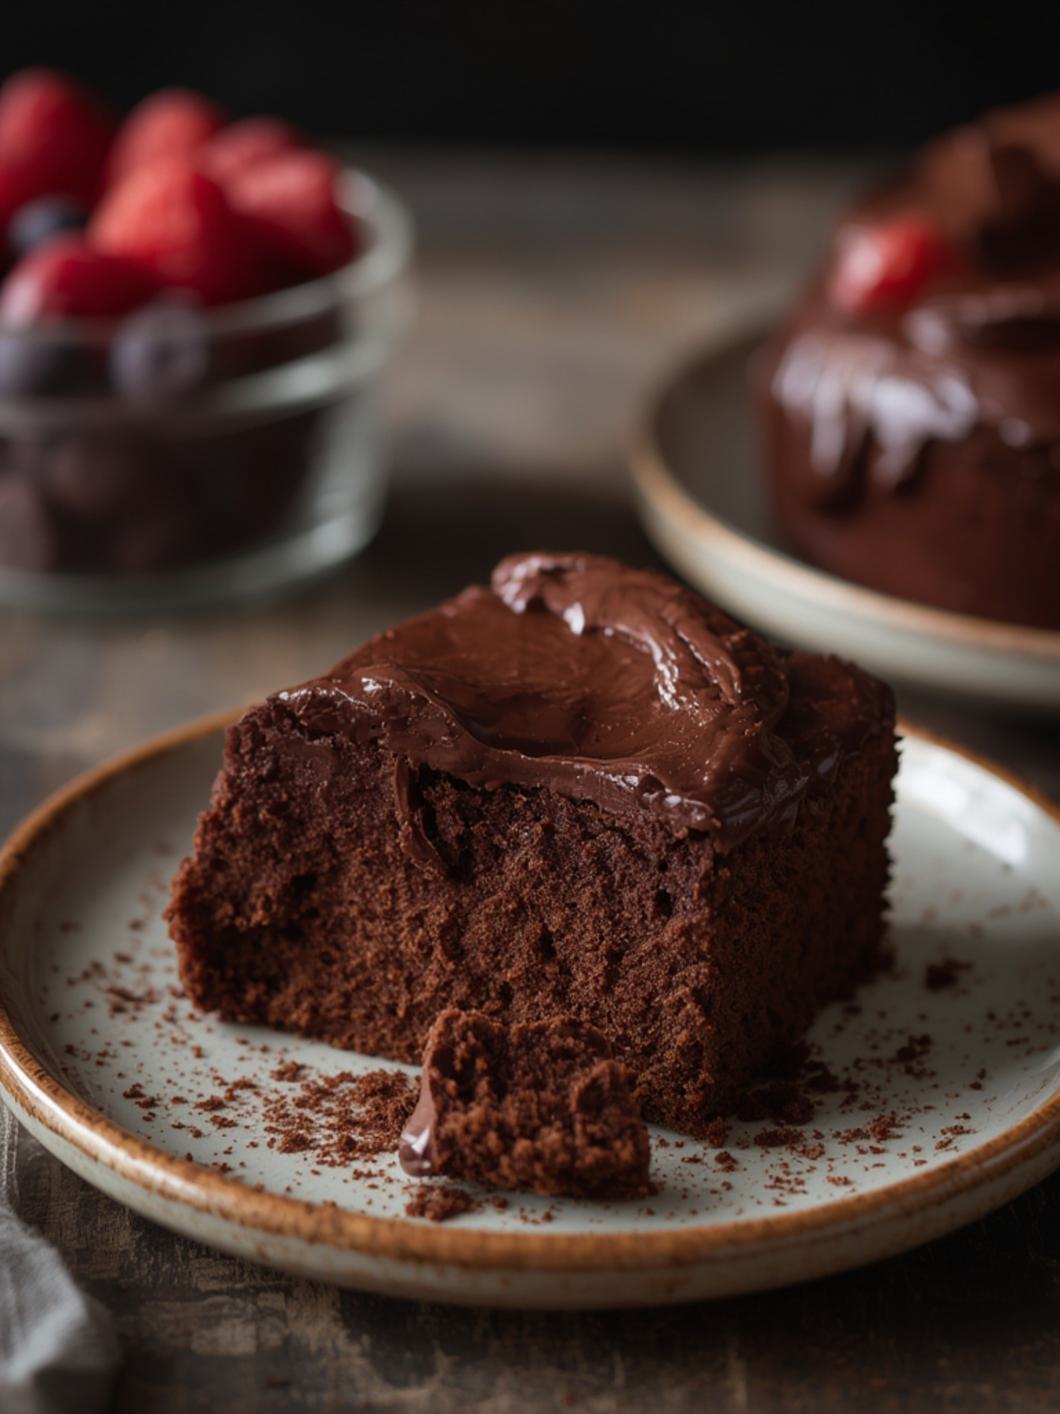
7. Cool and serve: Bake for 45-50 minutes, or until the edges are set but the center still jiggles slightly. The cake will firm up as it cools. Remove from the water bath and let cool completely on a wire rack before unmolding. For best results, chill the cake for at least 4 hours, or overnight, before serving. Dust with confectioners’ sugar and serve with fresh berries or whipped cream, if desired.
Fun Twists & Serving Ideas
Elevate your Flourless Chocolate Cake with these creative additions and presentation ideas:
Zesty Orange Infusion: Add 1-2 teaspoons of orange zest to the chocolate mixture for a vibrant, citrusy kick that pairs beautifully with chocolate.
Espresso Boost: Dissolve 1 teaspoon of instant espresso powder into the melted chocolate for an intensified chocolate flavor.
Spiced Elegance: A pinch of cayenne pepper can add a subtle, warming heat to the rich chocolate. Or, try a touch of cinnamon for a Mexican chocolate flair.
Boozy Bliss: Replace 1-2 tablespoons of the vanilla extract with a good quality rum, Kahlua, or Grand Marnier for an adult twist.
Garnish Galore: Serve with a dollop of raspberry coulis, a sprinkle of toasted nuts, or a scoop of vanilla bean ice cream for an ultimate dessert experience.
FAQ
Have questions about baking your Flourless Chocolate Cake? We’ve got answers!
Q: Why do I use a water bath (bain-marie) for baking?
A: A water bath helps to regulate the oven temperature around the cake, ensuring it bakes gently and evenly. This prevents the edges from drying out and cracking excessively, resulting in a more moist and smooth cake.
Q: Can I use milk chocolate instead of bittersweet?
A: While you can, it’s not recommended. Bittersweet chocolate provides the deep, intense flavor and structure that is characteristic of a Flourless Chocolate Cake. Milk chocolate is much sweeter and has a higher milk fat content, which would significantly alter the taste and texture.
Q: How do I know when the cake is done?
A: The cake is done when the edges are set and a toothpick inserted about 2 inches from the edge comes out clean, but the very center might still have a slight jiggle. It will firm up considerably as it cools.
Q: Can I prepare this cake in advance?
A: Absolutely! This cake benefits from chilling and can be made 1-2 days in advance. In fact, many find its flavor and texture improve after a day in the refrigerator.
Q: Is this cake truly gluten-free?
A: Yes, as long as all your ingredients (especially chocolate) are certified gluten-free, this recipe is naturally a Gluten-Free Chocolate Cake, making it suitable for those with gluten sensitivities or celiac disease.
Conclusion
This Flourless Chocolate Cake recipe is more than just a dessert; it’s an experience. Its profound chocolate flavor and luxuriously dense texture make it a standout for any occasion, proving that sometimes, the simplest ingredients yield the most extraordinary results. Whether you’re celebrating a special event or simply indulging a craving, this rich and satisfying Gluten-Free Chocolate Cake will undoubtedly become a treasured addition to your baking repertoire. Enjoy the pure, unadulterated joy of chocolate!
Recipe Note
For the best fudgy texture, ensure your cake is thoroughly chilled before slicing. A warm knife dipped in hot water and wiped clean between cuts will give you perfectly neat slices every time.