Fudge Krispies: 3 Must-Try Treats!
Fudge Krispies: Unleash Your Sweet Tooth with These Irresistible No-Bake Delights!
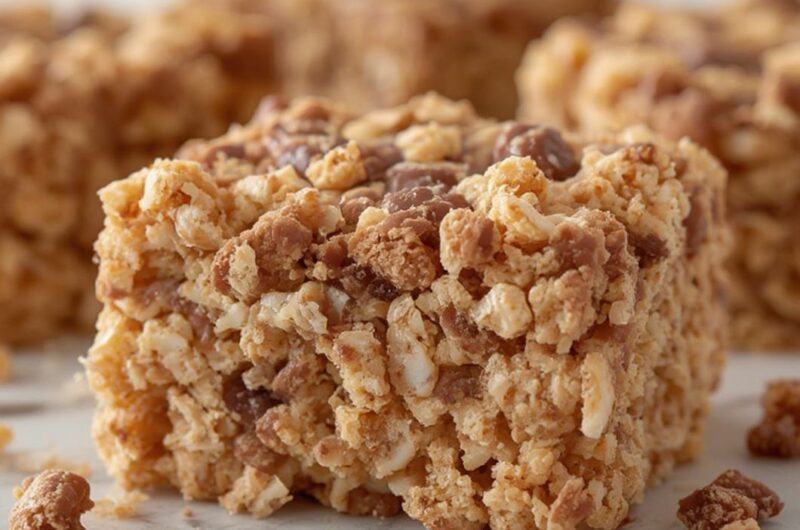
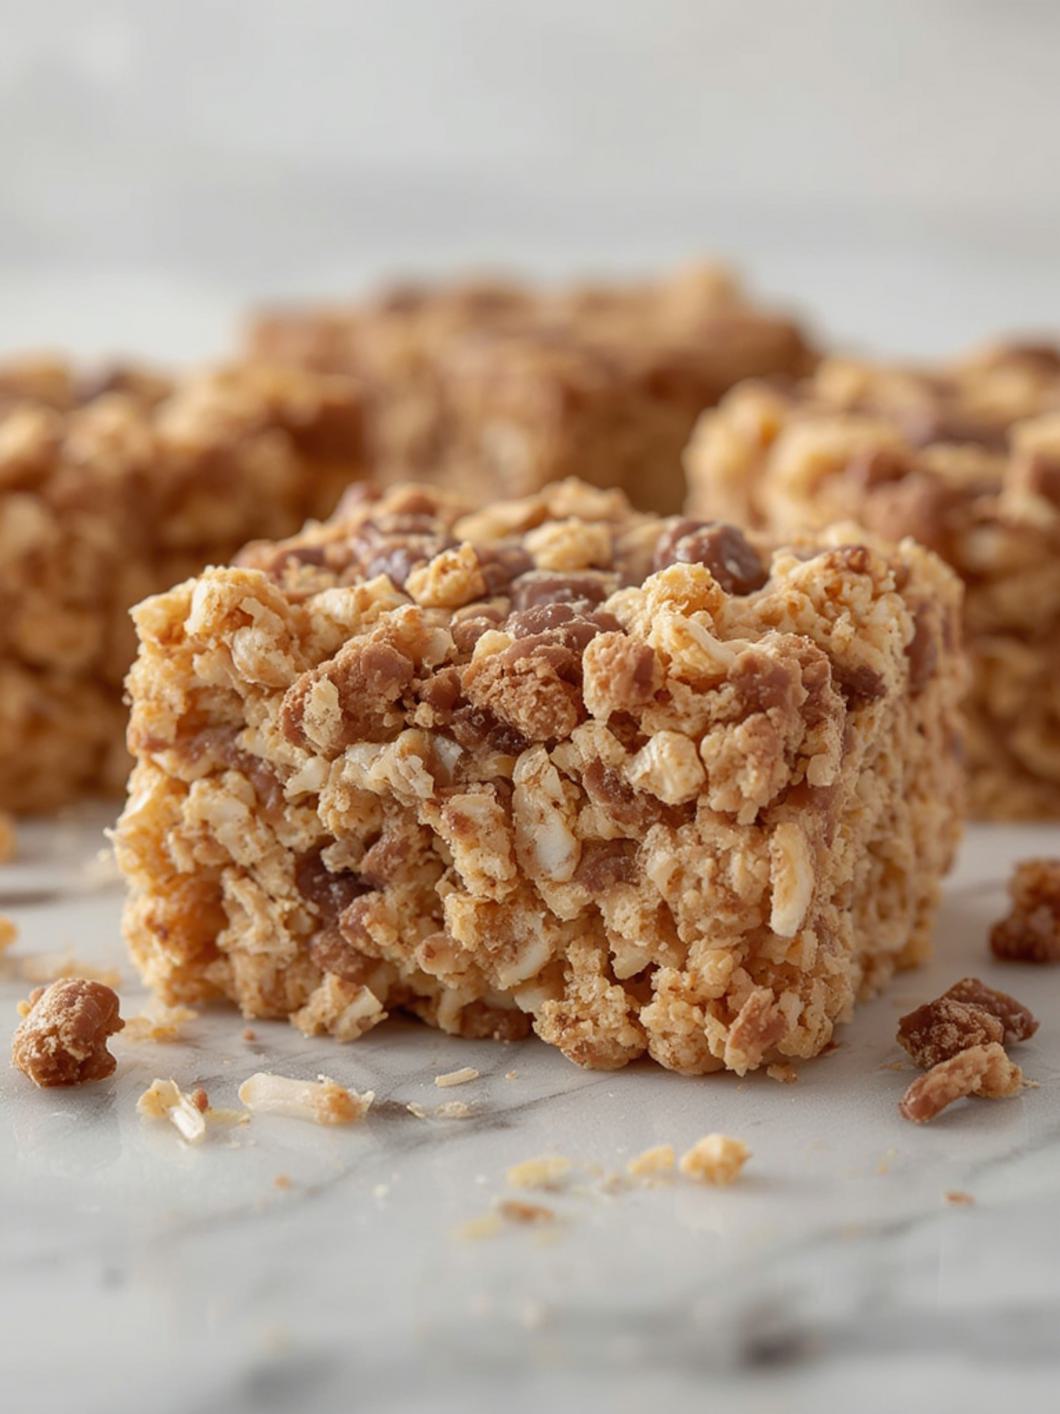
Get ready to rediscover a classic with a delightful twist! Our amazing Fudge Krispies recipe is about to become your new go-to for quick, easy, and incredibly satisfying desserts. Perfect for any occasion, these crunchy, chocolatey squares are guaranteed to bring smiles to faces of all ages. Forget complicated baking – these no-bake wonders are a breeze to make, offering that perfect blend of rich, creamy fudge and irresistible crispness. If you’re a fan of luscious chocolate fudge treats, you absolutely must try these delightful bites!
Quick Glance Summary
- ✦ Prep Time: 15 minutes
- ✦ Chill Time: 1 hour
- ✦ Yields: 24 squares
- ✦ Difficulty: Easy
- ✦ Taste Profile: Rich chocolate, creamy peanut butter, satisfying crunch
- ✦ Dietary Notes: Vegetarian
What You’ll Need
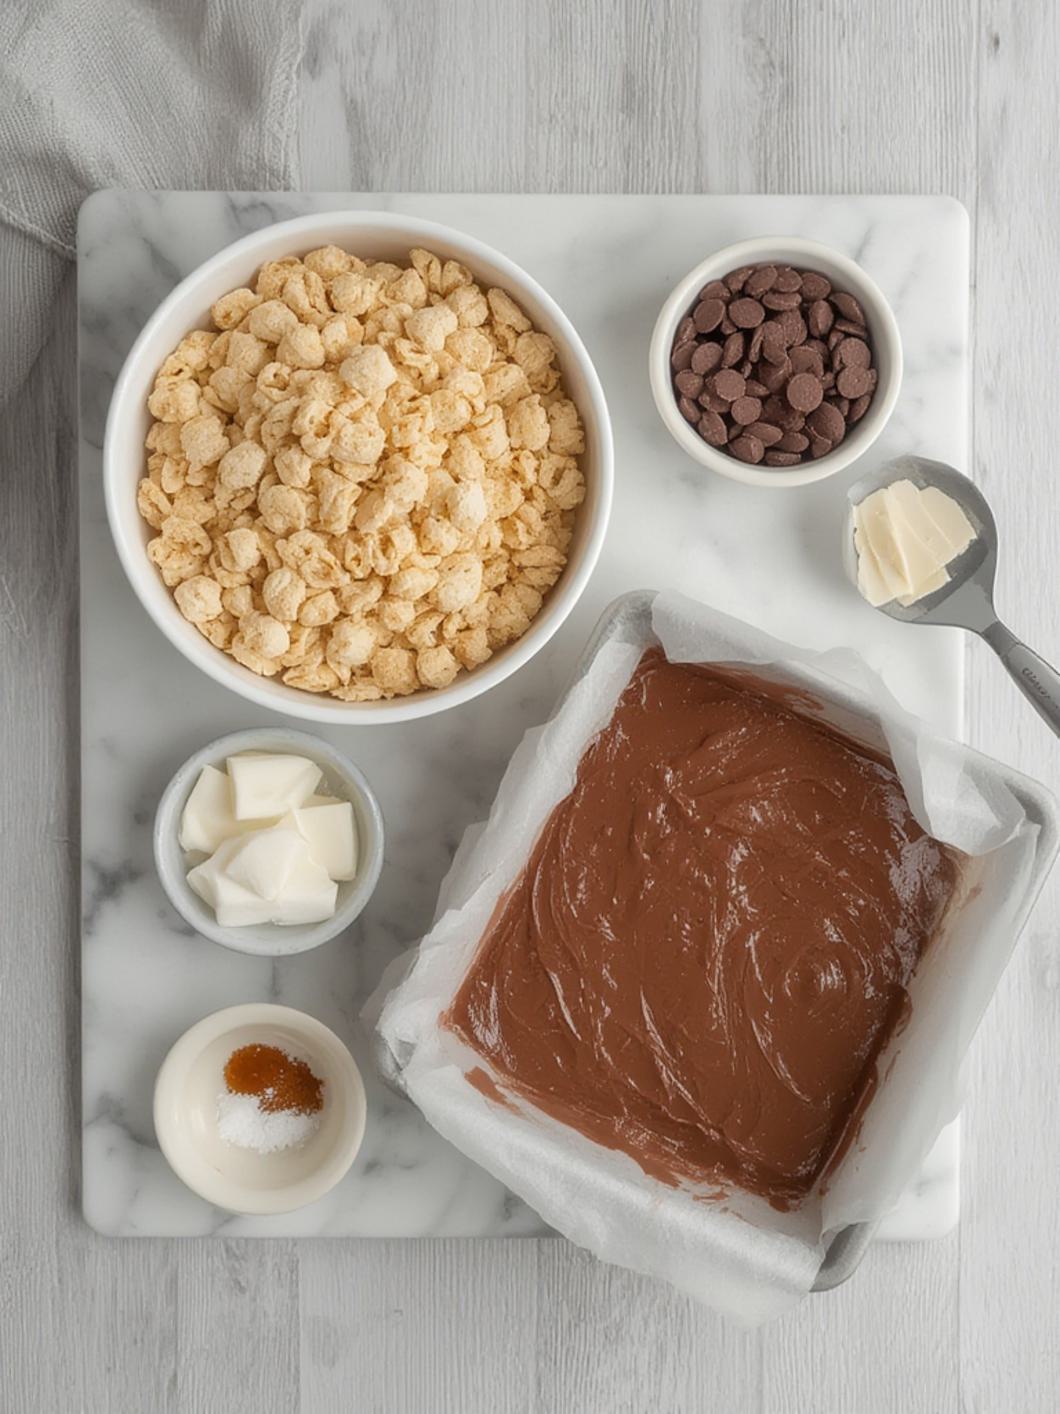
Gathering your ingredients is the first step to creating these incredible no-bake treats. Most of these pantry staples are likely already in your kitchen, making this a perfect spontaneous dessert.
- ✦ 1/2 cup (1 stick) unsalted butter
- ✦ 1/2 cup milk (whole or evaporated for richer results)
- ✦ 1 cup granulated sugar
- ✦ 1/2 cup unsweetened cocoa powder
- ✦ 1 teaspoon vanilla extract
- ✦ 1/2 cup creamy peanut butter
- ✦ 4 cups Rice Krispies cereal
- ✦ 1/4 teaspoon salt (optional, to enhance flavor)
Preparation Instructions
Creating these delightful Fudge Krispies is surprisingly simple, requiring minimal effort for maximum deliciousness. Follow these steps carefully to achieve the perfect texture and flavor for these fantastic chocolate fudge treats.
1. Prepare Your Pan: Lightly grease an 8×8 inch baking pan or line it with parchment paper, leaving an overhang on the sides for easy removal.
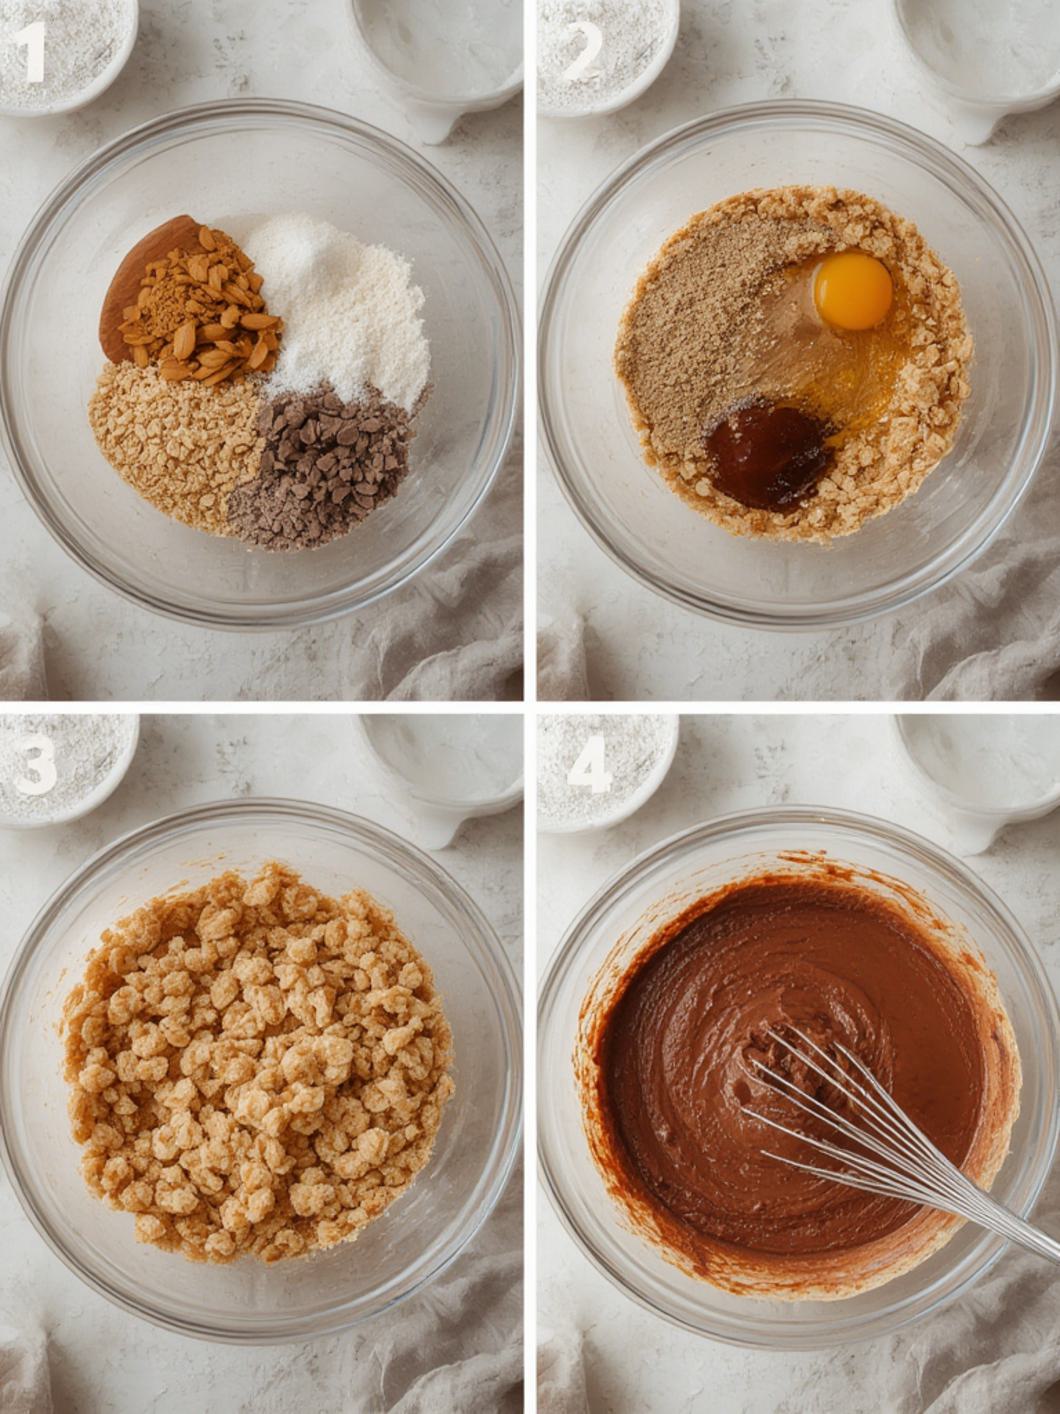
2. Melt & Combine: In a medium-sized saucepan, combine the butter, milk, granulated sugar, and cocoa powder. Place over medium heat, stirring continuously until the butter is melted and the sugar is dissolved.
3. Bring to a Boil: Bring the mixture to a rolling boil, stirring occasionally. Once boiling, allow it to continue boiling for exactly 1 minute without stirring. This step is crucial for the fudge consistency.
4. Remove from Heat: Immediately remove the saucepan from the heat. Stir in the vanilla extract, creamy peanut butter, and the optional salt until everything is well combined and smooth.
5. Add Cereal: Gently fold in the Rice Krispies cereal until they are evenly coated with the chocolate fudge mixture. Work quickly as the mixture will start to set.
6. Press into Pan: Pour the mixture into your prepared 8×8 inch pan. Using a spatula or the back of a spoon, press the mixture down firmly and evenly into the pan.
7. Chill: Place the pan in the refrigerator for at least 1 hour, or until the fudge is completely set and firm.
8. Cut & Serve: Once chilled, lift the fudge out of the pan using the parchment paper overhang. Cut into 24 squares and serve immediately. Store any leftovers in an airtight container in the refrigerator.
Fun Twists & Serving Ideas
Elevate your Fudge Krispies with these creative variations and serving suggestions:
- ✦ Nutty Boost: Add 1/4 cup chopped peanuts, walnuts, or pecans to the mixture along with the Rice Krispies for extra crunch and flavor.
- ✦ White Chocolate Drizzle: Once chilled, melt some white chocolate chips and drizzle them over the squares for an elegant finish and contrasting taste.
- ✦ Minty Fresh: A few drops of peppermint extract can be added with the vanilla for a festive, mint chocolate flavor.
- ✦ Sprinkle Fun: Before chilling, sprinkle some colorful sprinkles on top for a playful, party-ready look.
- ✦ Cookie Crumble: Press a layer of crushed Oreo cookies on the bottom of the pan before adding the fudge mixture for an extra layer of decadence.
Reviews
Sarah L. ⭐⭐⭐⭐⭐
“Absolutely obsessed! These Fudge Krispies are dangerously easy to make and even easier to eat. My kids devoured them, and I loved that I didn’t even have to turn on the oven. A definite win!”
Michael D. ⭐⭐⭐⭐
“Great simple recipe. I added a little dash of espresso powder to deepen the chocolate flavor, and it was fantastic. Perfect for satisfying a sweet craving without much fuss.”
Jessica R. ⭐⭐⭐⭐⭐
“I brought these to a potluck, and they were gone in minutes! Everyone wanted the recipe. They’re crunchy, creamy, and just the right amount of sweet. Will definitely be making these chocolate fudge treats again soon.”
FAQ
Q: Can I use different cereals?
A: While Rice Krispies provide the iconic crunch, you can experiment with other puffed cereals like Chex or even a mix of cereals, though the texture will vary.
Q: How long do Fudge Krispies last?
A: Stored in an airtight container in the refrigerator, they will stay fresh for up to 5-7 days.
Q: Can I freeze them?
A: Yes, these freeze beautifully! Wrap individual squares tightly in plastic wrap, then place them in a freezer-safe bag for up to 2-3 months. Thaw in the refrigerator or at room temperature.
Q: What if my fudge doesn’t set?
A: The most common reason is not boiling the mixture long enough (the full 1 minute is crucial) or not allowing enough chill time. Ensure you bring it to a rolling boil and let it chill thoroughly.
Q: Can I make this without peanut butter?
A: Yes, you can omit the peanut butter, but the texture will be slightly less creamy and the flavor will be purely chocolate. For a similar richness, you could try substituting with sunbutter or almond butter if allergies aren’t an issue.
Conclusion
There you have it – a foolproof, delicious, and incredibly satisfying recipe for Fudge Krispies that will quickly become a household favorite. Whether you’re whipping up a quick dessert for unexpected guests or preparing a treat for a special occasion, these no-bake wonders deliver on taste and simplicity. Their irresistible blend of rich chocolate fudge and crispy cereal makes them stand out among other chocolate fudge treats. So go ahead, gather your ingredients, and get ready to enjoy the ultimate crunchy-creamy delight!
Recipe Note
For easier cutting and cleaner squares, run your knife under hot water and wipe it clean between each cut. This will prevent sticking and give you beautifully defined portions.