Homemade Pita Bread Recipe (Puff Perfectly Every Time!)
Homemade Pita Bread: Puff Perfectly Every Time and Elevate Your Meals!
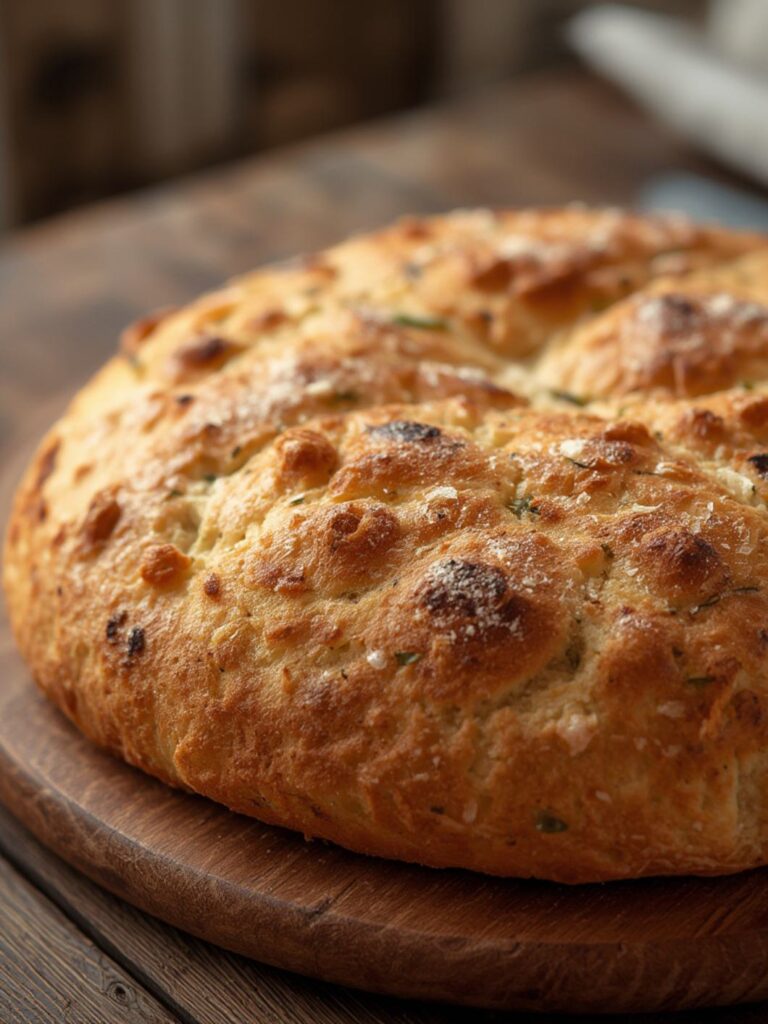
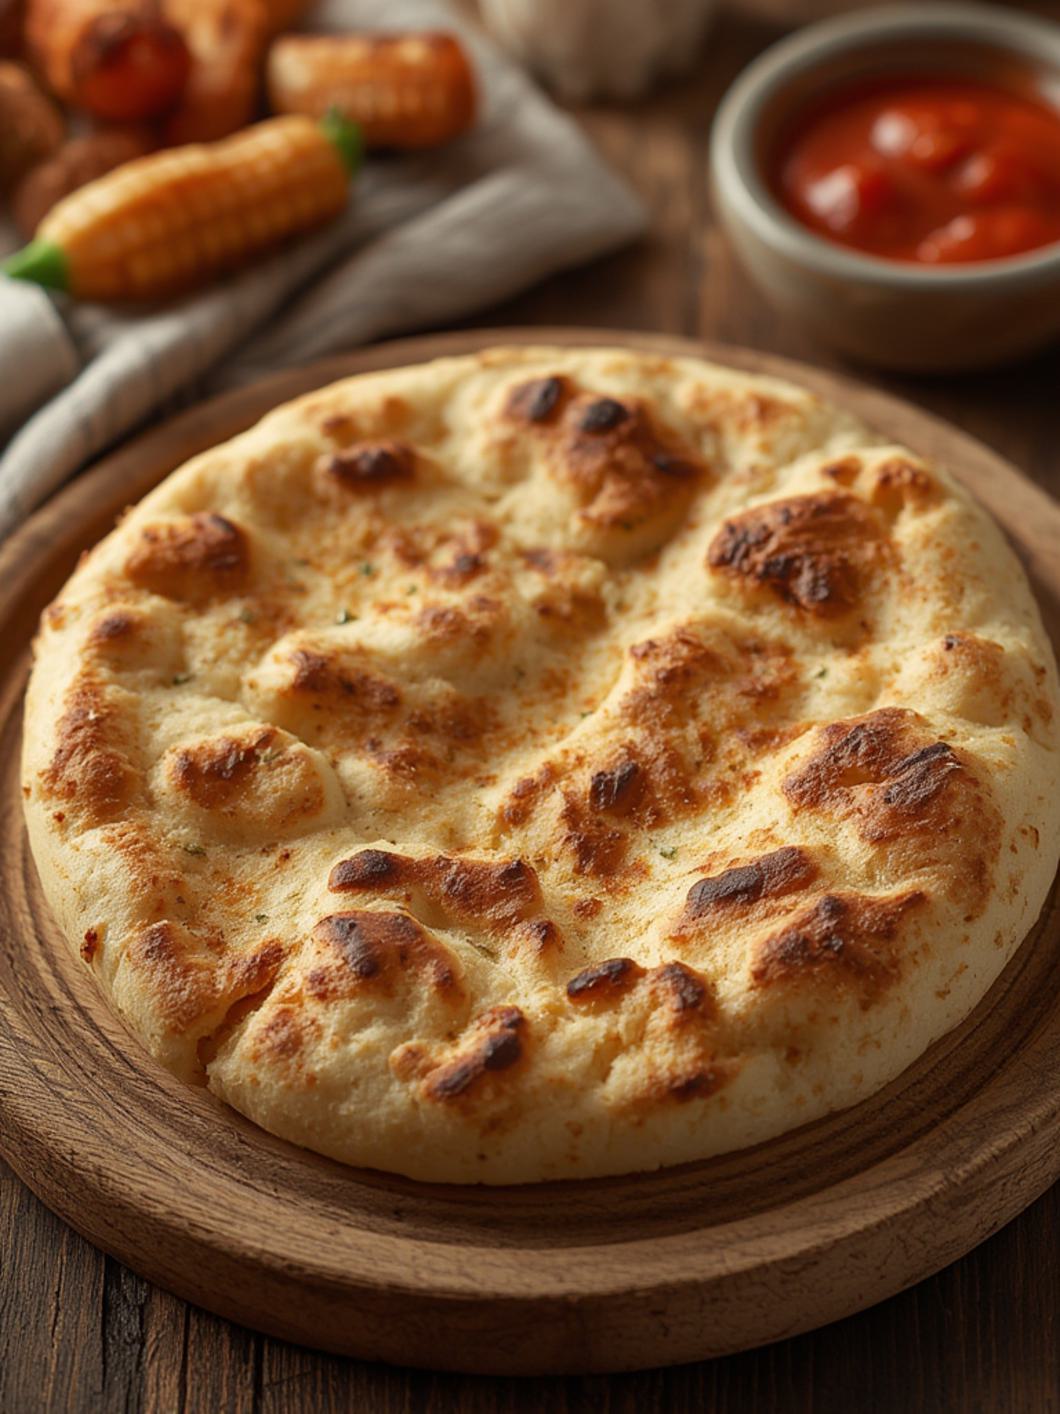
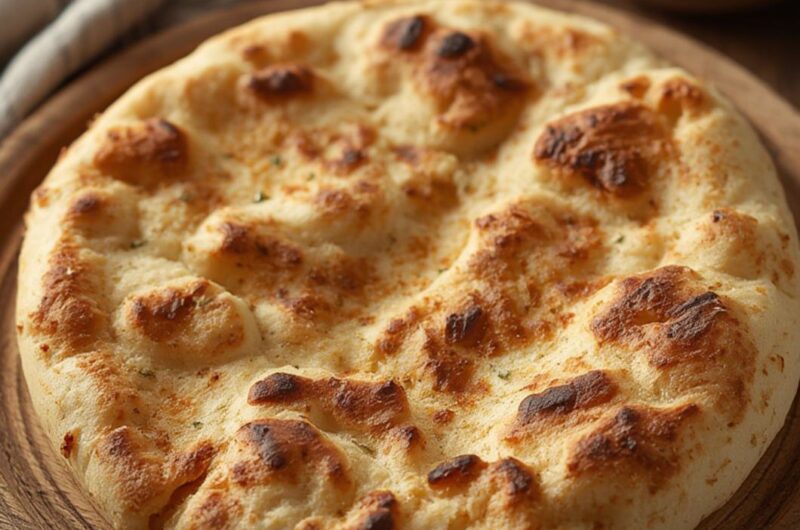
There’s something uniquely satisfying about a warm, freshly baked Pita Bread, still puffy from the oven, ready to be stuffed or dipped. While store-bought versions are convenient, nothing compares to the soft, chewy texture and incredible flavor of a truly authentic homemade pita bread recipe. This guide will walk you through creating perfect pita pockets in your own kitchen, ensuring that satisfying puff every time, making it an essential skill for any home baker looking to master a classic.
Quick Glance Summary
This homemade pita bread recipe is surprisingly simple, requiring just a few basic ingredients and a bit of patience. You’ll combine yeast, water, flour, salt, sugar, and olive oil to create a smooth, elastic dough that rises beautifully. The magic happens in a super-hot oven, where the rapid steam production within the dough creates those iconic, airy pockets. Perfect for dips, sandwiches, or scooping up your favorite stews!
What You’ll Need
Gathering your ingredients before you begin makes the baking process smooth and enjoyable. Here’s what you’ll need to create your own delicious pita bread:
1 ½ cups warm water (105-115°F / 40-46°C)
2 ¼ teaspoons active dry yeast (one packet)
1 teaspoon granulated sugar
3 ½ cups all-purpose flour, plus more for dusting
1 ½ teaspoons salt
2 tablespoons olive oil, plus extra for greasing
Preparation Instructions
Mastering this homemade pita bread recipe is all about technique and a hot oven. Follow these detailed steps to ensure your Pita Bread puffs perfectly every time, giving you that delightful pocket for all your favorite fillings. Creating a truly great homemade pita bread recipe is a rewarding culinary journey.
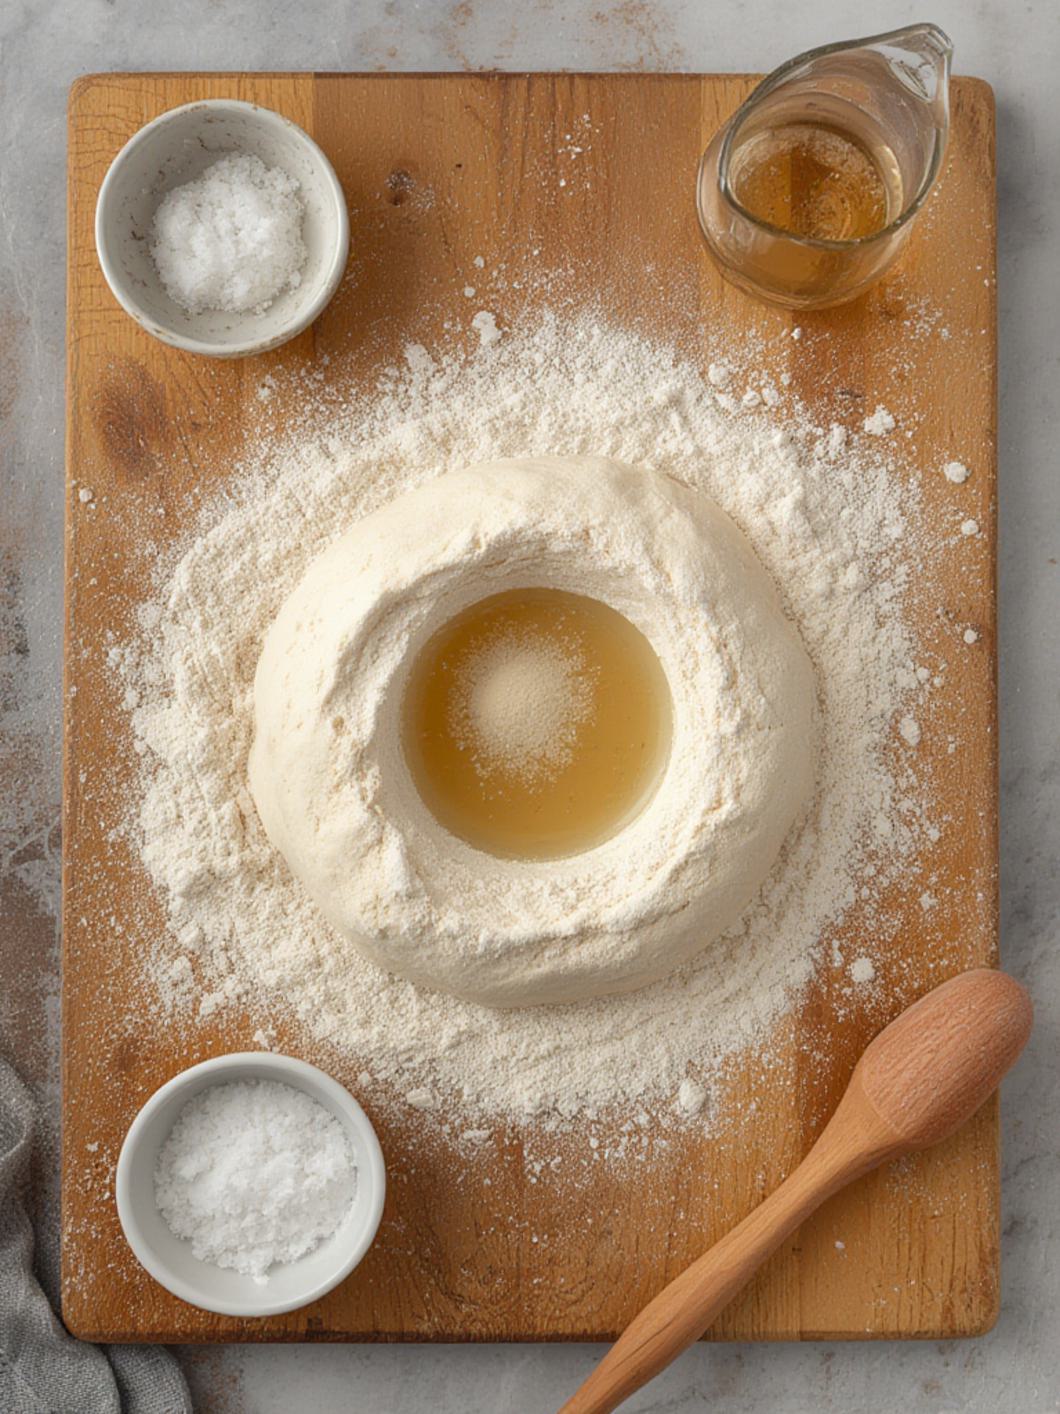
1. In a large mixing bowl, combine the warm water, yeast, and sugar. Stir gently and let it sit for 5-10 minutes until foamy, indicating the yeast is active.
2. Add 2 cups of the flour, salt, and olive oil to the yeast mixture. Mix with a spoon until a shaggy dough forms.
3. Gradually add the remaining 1 ½ cups of flour, ½ cup at a time, mixing until the dough comes together. You may not need all the flour.
4. Turn the dough out onto a lightly floured surface and knead for 8-10 minutes, until it’s smooth, elastic, and no longer sticky.
5. Lightly grease a clean bowl with olive oil. Place the dough in the bowl, turning it once to coat. Cover the bowl with plastic wrap or a clean kitchen towel and let it rise in a warm place for 1 to 1 ½ hours, or until doubled in size.
6. Gently punch down the risen dough and turn it out onto a lightly floured surface. Divide the dough into 8 equal pieces. Roll each piece into a smooth ball.
7. Cover the dough balls with a clean kitchen towel and let them rest for 15-20 minutes. This allows the gluten to relax, making them easier to roll.
8. Preheat your oven to 450°F (230°C) with a pizza stone or an inverted baking sheet inside for at least 30 minutes. This creates the super-hot surface needed for puffing.
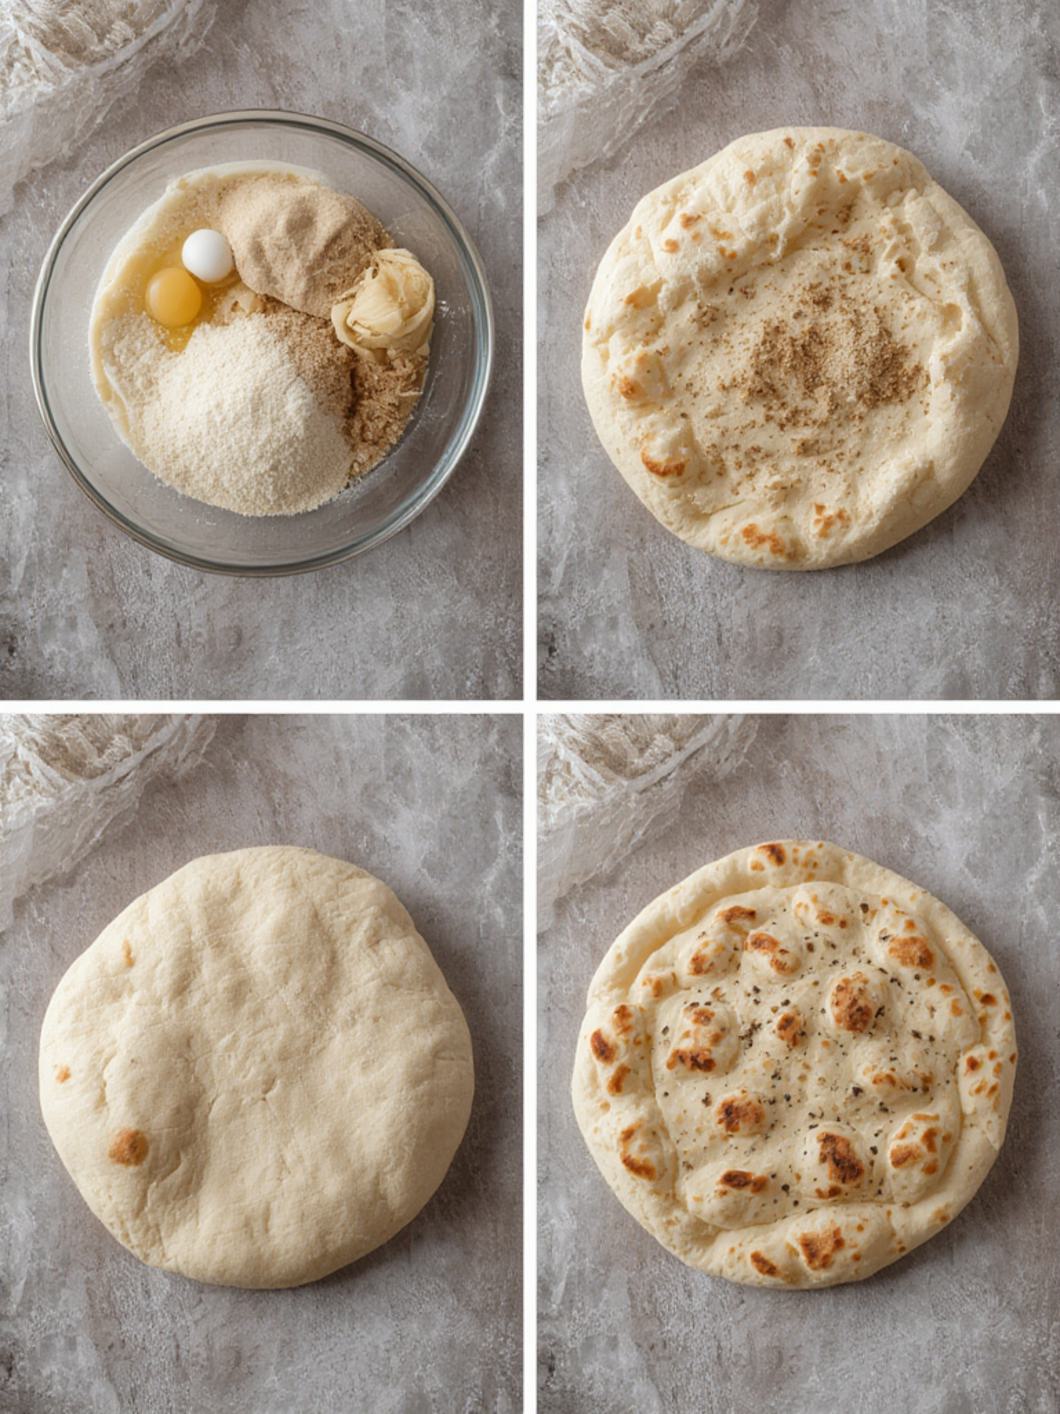
9. On a lightly floured surface, roll out one dough ball at a time into a 6-7 inch (15-18 cm) circle, about ⅛-inch (3 mm) thick. Try to keep the edges slightly thicker than the center.
10. Carefully place 1-2 rolled pita breads directly onto the preheated pizza stone or baking sheet.
11. Bake for 2-4 minutes, or until the pita puffs up dramatically and the bottom is lightly golden. If they don’t puff, they are still delicious!
12. Flip the pita over and bake for another 1-2 minutes, just until the other side is lightly cooked, but not crispy.
13. Remove the baked pita from the oven and transfer to a cooling rack. Immediately cover them with a clean kitchen towel to keep them soft and pliable. Repeat with the remaining dough balls.
14. Serve warm or at room temperature.
Fun Twists & Serving Ideas
Garlic Herb Pita: Before baking, brush the rolled pita circles with olive oil and sprinkle with minced garlic and dried oregano or za’atar for an aromatic kick.
Whole Wheat Pita: Substitute half of the all-purpose flour with whole wheat flour for a nuttier flavor and added fiber. You might need a tiny bit more water.
Sweet Cinnamon Sugar Pita: After baking, brush warm pita with melted butter and sprinkle with cinnamon sugar for a delightful dessert or snack.
Pita Chips: Slice baked pita into triangles, toss with olive oil and your favorite spices (paprika, cumin, chili powder), and bake again until crispy for homemade chips.
Mini Pizzas: Use small pita as a base for quick personal pizzas. Top with sauce, cheese, and your favorite toppings, then bake until bubbly.
Reviews
Sarah M. ⭐⭐⭐⭐⭐
“I never thought I could make pita bread that actually puffs! This recipe is a game-changer. My family devoured them with hummus. So much better than store-bought!”
David L. ⭐⭐⭐⭐
“Easy to follow instructions. My first batch puffed beautifully, though a couple didn’t quite make it. Still, they were delicious and soft. Will definitely be making these again.”
Emily R. ⭐⭐⭐⭐⭐
“The best homemade pita bread recipe I’ve tried! The resting time for the dough balls made all the difference in rolling them out evenly. Perfect for my falafel night!”
FAQ
Q: Why isn’t my pita bread puffing?
A: The most common reasons are not enough oven heat (make sure your oven is preheated with the stone/sheet for at least 30 mins) or the dough being rolled too thin or too thick, or not rested enough after rolling. Too much flour on the surface can also prevent puffing.
Q: Can I make this dough ahead of time?
A: Yes, you can prepare the dough up to step 5, let it rise, then punch it down, cover tightly, and refrigerate for up to 2 days. Bring it back to room temperature for about 30-60 minutes before proceeding with dividing and rolling.
Q: What’s the best way to store leftover pita bread?
A: Once cooled, store pita bread in an airtight container or a plastic bag at room temperature for 2-3 days. For longer storage, freeze for up to 3 months. Reheat in a warm oven or microwave.
Q: Can I use whole wheat flour?
A: Yes, you can substitute up to half of the all-purpose flour with whole wheat flour. Keep in mind that whole wheat doughs tend to be a bit denser and may require a slight adjustment in water content.
Q: Do I need a pizza stone to make pita?
A: While a pizza stone yields the best results, a heavy-duty inverted baking sheet preheated in the oven works very well too. The key is a very hot surface to create that instant steam.
Conclusion
Creating your own Pita Bread from scratch is a deeply rewarding experience, transforming simple ingredients into a versatile, delicious staple. This homemade pita bread recipe not only delivers on taste and texture but also offers the incredible satisfaction of baking something truly special for your loved ones. Get ready to impress yourself and your guests with these perfectly puffed, delightfully chewy pockets of joy. If you’ve been looking for a reliable homemade pita bread recipe, this is the one to master!
Recipe Note
For the softest, most pliable pita, ensure you cover them immediately with a clean kitchen towel after removing them from the oven. This traps the steam and prevents them from drying out and becoming brittle as they cool.
Pita Bread
Cook Time: 20 minutes
Total Time: 2 hours 30 minutes (includes rising time)
Course: Bread
Servings: 8 pitas
Calories: 160
Ingredients
- 1 ½ cups warm water (105-115°F / 40-46°C)
- 1 teaspoon granulated sugar
- 1 tablespoon active dry yeast
- 3 ½ cups all-purpose flour, plus more for dusting
- 1 ½ teaspoons salt
- 2 tablespoons olive oil, plus more for greasing bowl
Instructions
-
Activate Yeast
In a bowl, combine warm water, sugar, and yeast. Let sit 5–10 minutes until foamy. -
Make Dough
Add olive oil, salt, and 2½ cups flour. Mix until a soft dough forms. Add more flour if sticky. -
Knead
Knead for 6–8 minutes until smooth and elastic. -
First Rise
Place dough in an oiled bowl, cover, and let rise 1 hour, until doubled. -
Divide & Rest
Punch down dough and divide into 8 balls. Cover and rest 10 minutes. -
Roll
Roll each ball into a 6–7 inch circle about ¼-inch thick. -
Cook
-
Oven method: Bake on a preheated stone or tray at 475°F (245°C) for 5–6 minutes until puffed
-
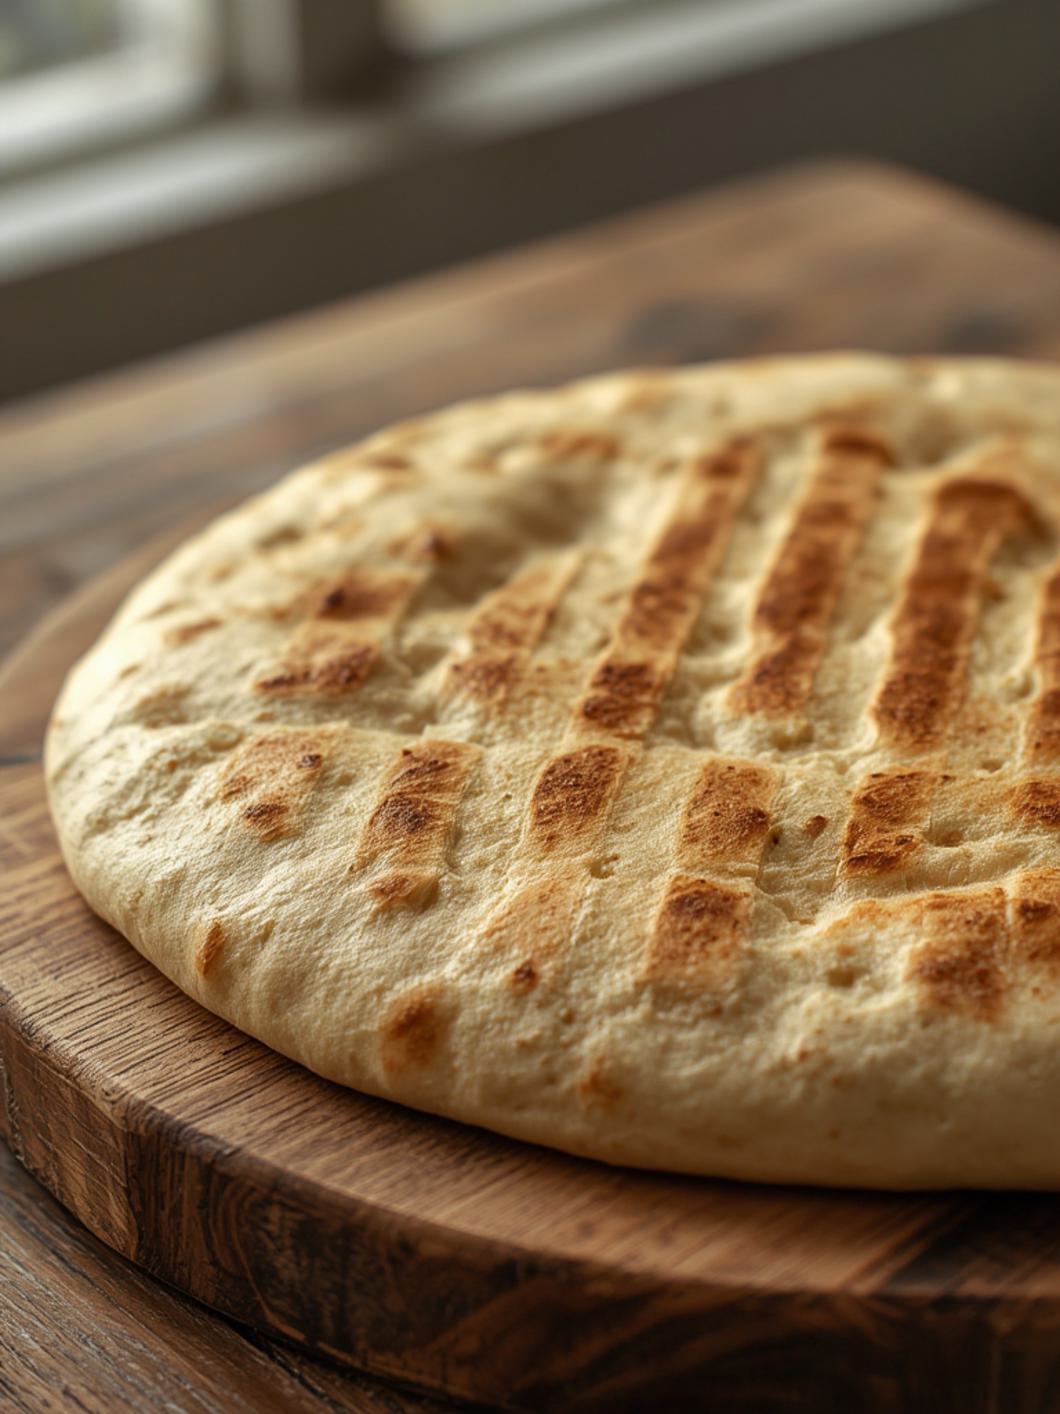
Stovetop method: Cook in a hot dry skillet 1–2 minutes per side
-
-
Cool
Wrap cooked pitas in a clean towel to keep soft.
💡 Tips & Variations
-
Whole wheat: Replace half the flour with whole wheat flour
-
Extra soft: Brush lightly with olive oil after cooking
-
No pockets? Dough may be too thick—roll thinner
-
Storage: Store in airtight bag up to 3 days or freeze
Chef’s Notes: Ensure your oven and baking surface (pizza stone or inverted baking sheet) are very hot to achieve the characteristic ‘puff’ of the pita bread. Avoid opening the oven door too frequently.