Oreo Icebox Cake: 1 Easy No-Bake Dessert
Indulge in Bliss: Oreo Icebox Cake: 1 Easy No-Bake Dessert for Any Occasion
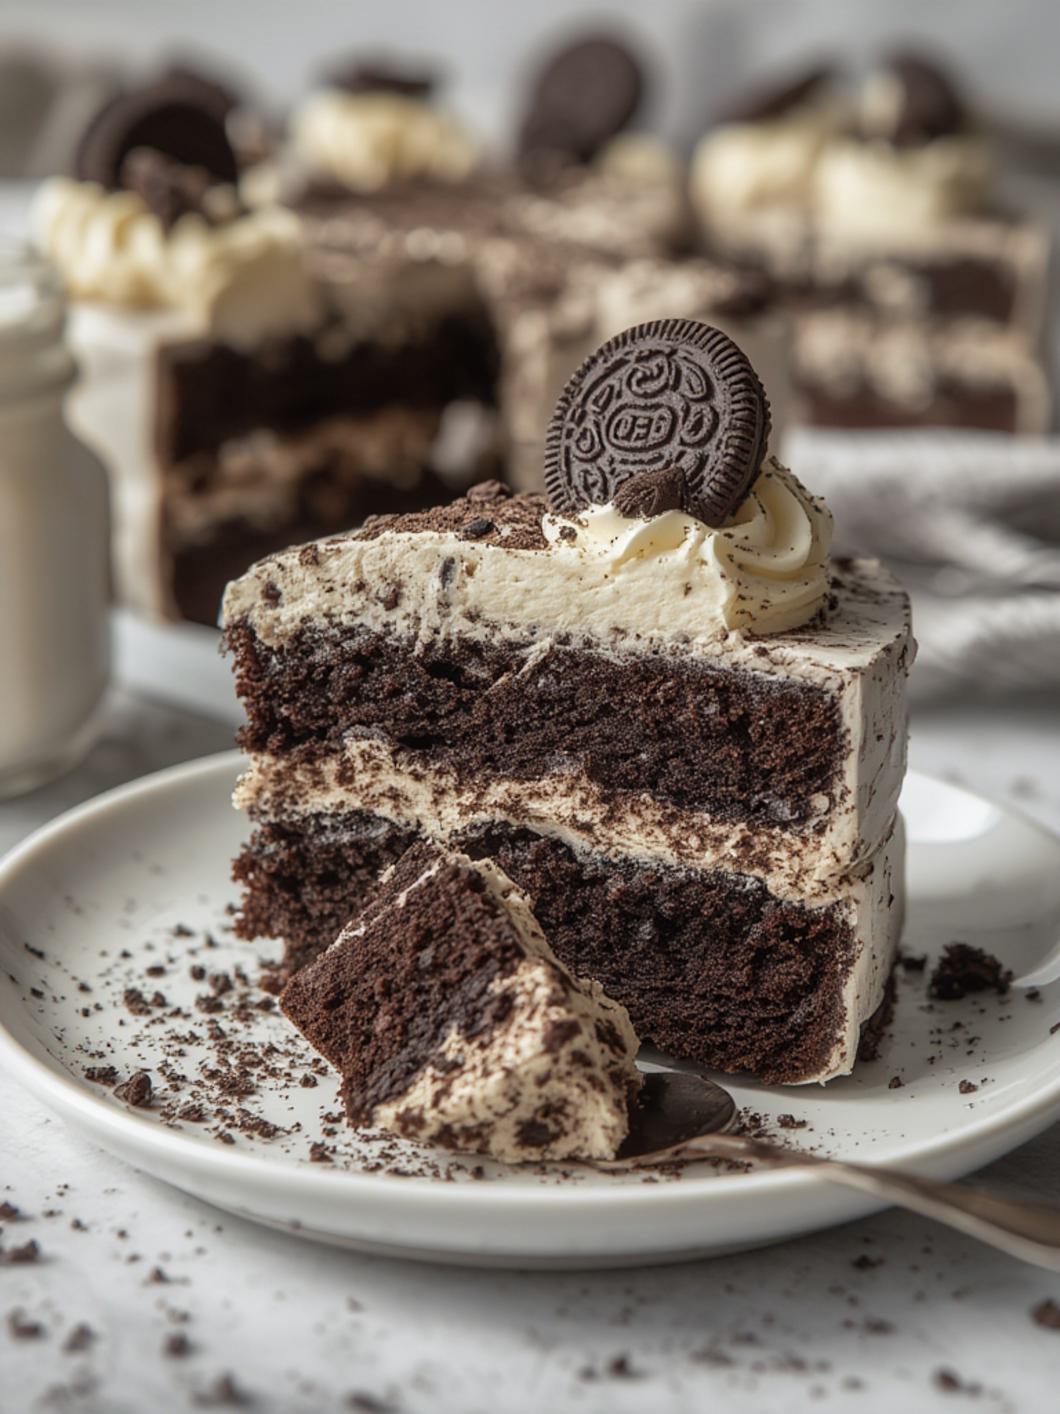
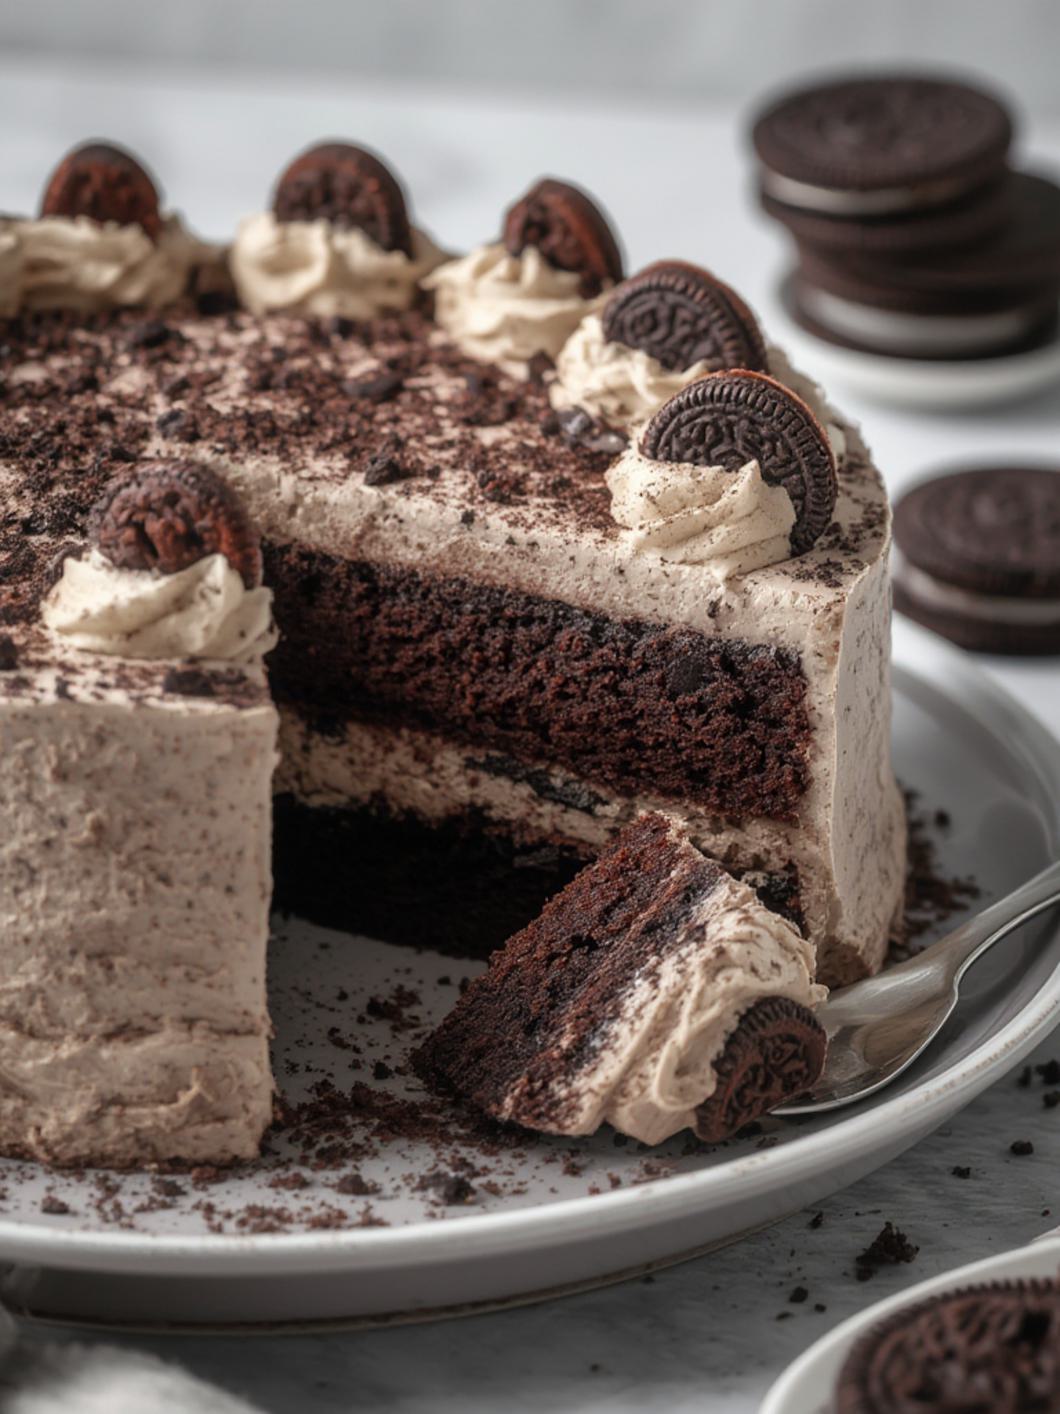
Craving a dessert that’s effortlessly delicious and requires zero oven time? Look no further than the delightful Oreo Icebox Cake! This classic no-bake treat combines layers of rich cream, crunchy cookies, and pure indulgence, making it the perfect sweet escape, especially as a cooling Oreo Cool Whip Dessert. Get ready to impress with minimal effort and maximum flavor!
What You’ll Need
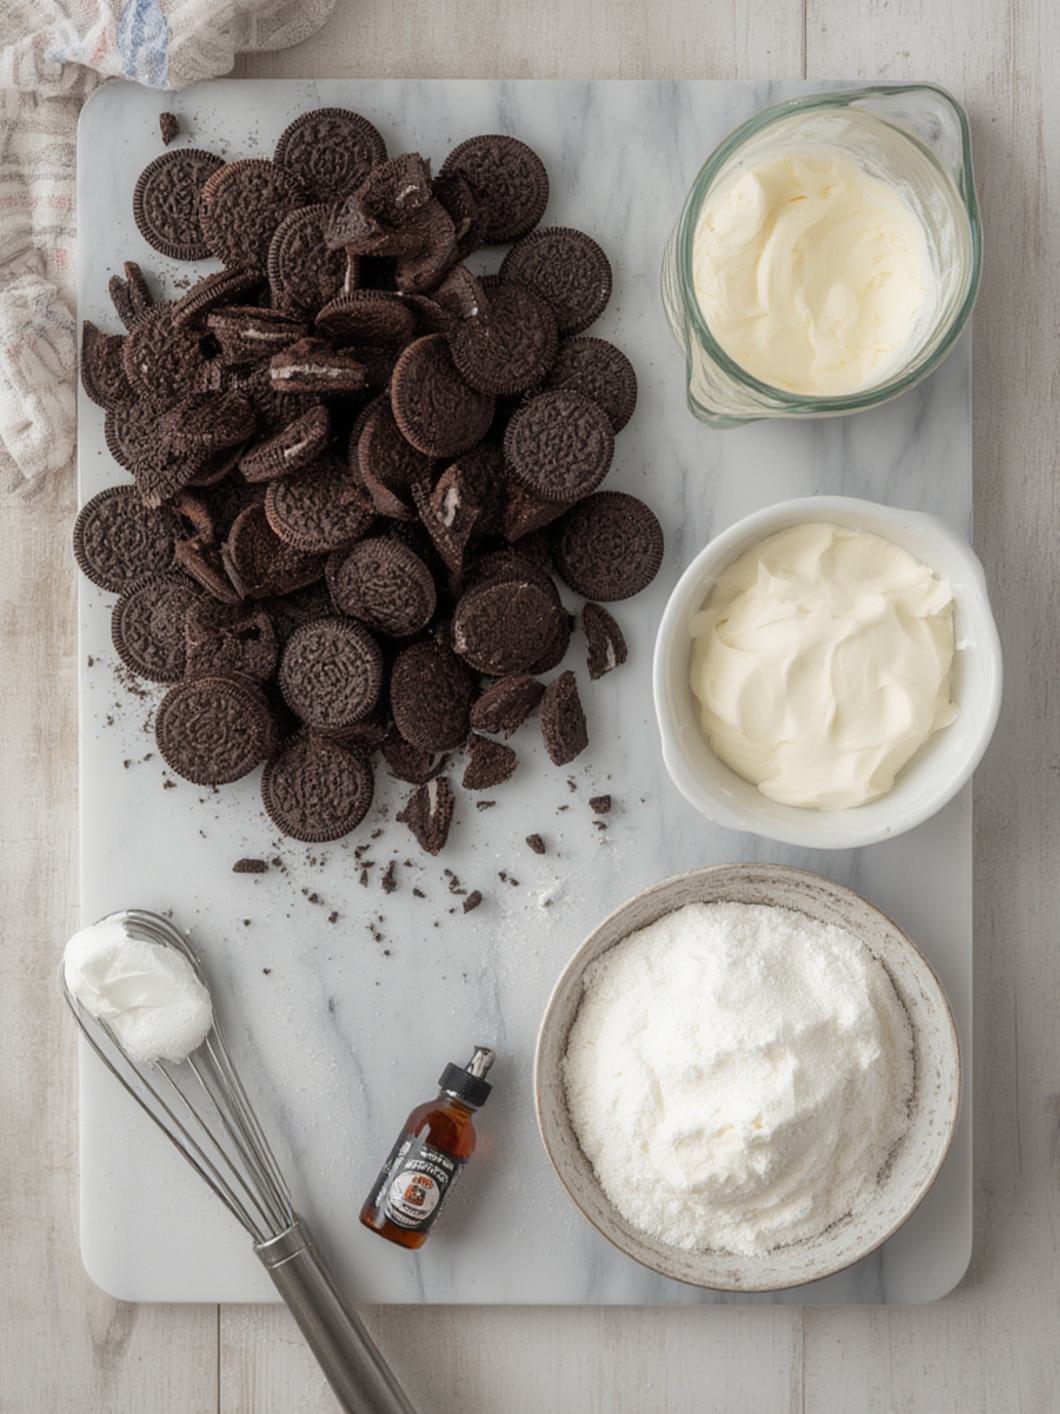
Gather these simple ingredients to create your irresistible no-bake treat.
1 (14.3 oz) package Oreo cookies
1/2 cup unsalted butter, melted
1 (8 oz) package cream cheese, softened
1/2 cup granulated sugar
1 teaspoon vanilla extract
1 (8 oz) container frozen whipped topping (Cool Whip), thawed
1/4 cup milk (optional, for softening crumbs if desired)
Preparation Instructions
Follow these straightforward steps to assemble your incredible no-bake dessert.
1. Prepare the Crust: Crush about 30 Oreo cookies into fine crumbs. You can use a food processor or place them in a Ziploc bag and crush with a rolling pin. In a medium bowl, combine the Oreo crumbs with the melted butter. Press this mixture firmly into the bottom of an 8×8 inch (or 9×13 inch for a thinner cake) baking dish. Set aside.
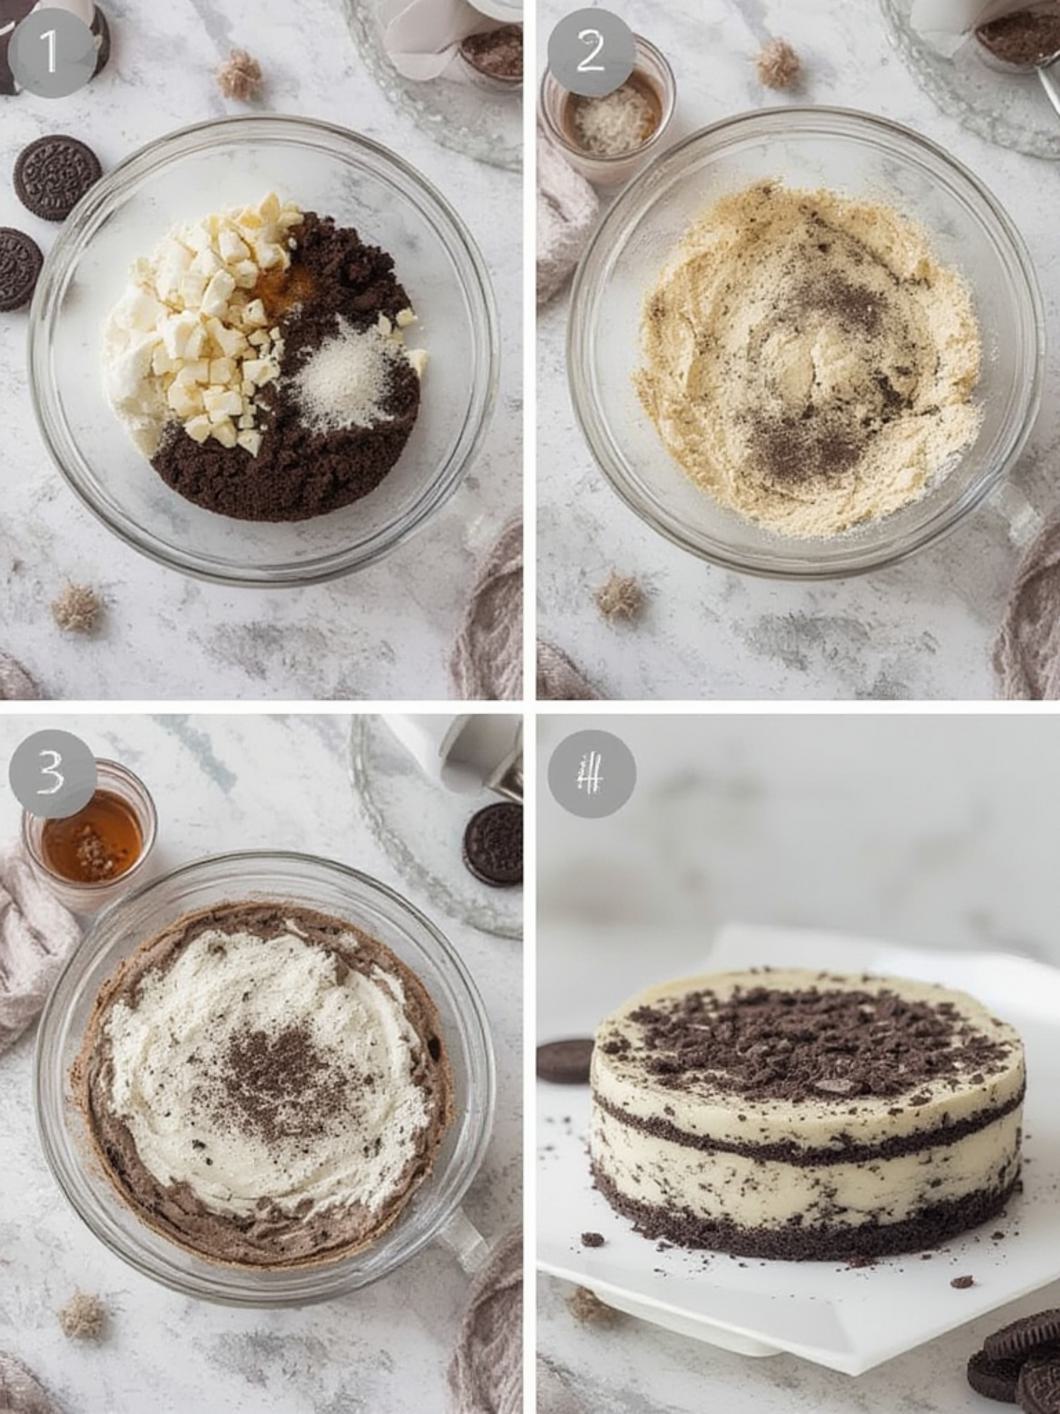
2. Make the Cream Cheese Filling: In a large mixing bowl, beat the softened cream cheese, granulated sugar, and vanilla extract with an electric mixer until smooth and creamy.
3. Fold in Whipped Topping: Gently fold in the thawed whipped topping into the cream cheese mixture until no streaks remain and the mixture is light and airy.
4. Layer the Cake: Spread half of the cream cheese mixture evenly over the Oreo crust. Arrange a single layer of whole Oreo cookies over the cream cheese mixture. If desired, dip the whole Oreos briefly in milk before placing them to soften them slightly for a more cake-like texture.
5. Add Final Layer: Spread the remaining cream cheese mixture over the layer of whole Oreos, ensuring it’s evenly distributed.
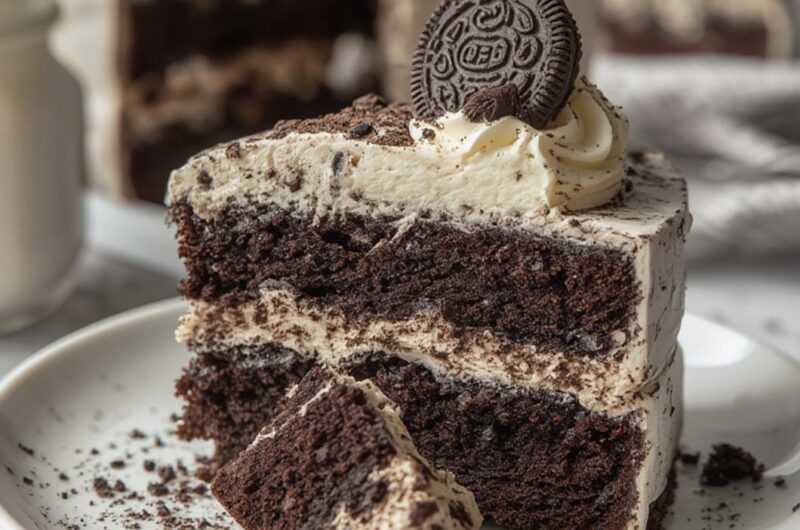
6. Chill: Cover the baking dish tightly with plastic wrap and refrigerate for at least 4 hours, or preferably overnight, to allow the cake to set and the cookies to soften. This chilling process is crucial for the perfect Oreo Icebox Cake texture, transforming it into a delightful Oreo Cool Whip Dessert.
7. Serve: Before serving, you can garnish with additional crushed Oreos, chocolate shavings, or fresh berries. Slice and enjoy your easy, no-bake treat!
Fun Twists & Serving Ideas
Elevate your Oreo Icebox Cake with these creative variations:
Minty Fresh: Use Mint Oreos and add a drop of peppermint extract to the cream cheese mixture for a refreshing twist.
Peanut Butter Dream: Swirl in 1/4 cup of creamy peanut butter into the cream cheese filling before folding in the whipped topping.
Berry Delight: Layer fresh sliced strawberries or raspberries between the cookie and cream layers for a burst of fruitiness.
Chocolate Lover’s Paradise: Drizzle with chocolate syrup or sprinkle with mini chocolate chips before serving.
Coffee Kick: Briefly dip the whole Oreos in cold coffee instead of milk to add a subtle mocha flavor.
FAQ
Q: Can I use different types of Oreos?
A: Absolutely! Feel free to experiment with Golden Oreos, Mint Oreos, or any other flavor for a unique twist.
Q: How long does Oreo Icebox Cake last in the refrigerator?
A: Covered tightly, it can last for 3-4 days in the refrigerator. The cookies will continue to soften over time.
Q: Can I freeze this dessert?
A: Yes, you can freeze it for up to a month. Wrap it tightly in plastic wrap and then foil. Thaw in the refrigerator before serving.
Q: What if I don’t have an 8×8 inch baking dish?
A: A 9×13 inch dish will work, but your layers will be thinner. Adjust chilling time as needed.
Q: Do I have to dip the Oreos in milk?
A: No, it’s optional. Dipping them briefly helps them soften faster and gives a more cake-like consistency. If you prefer more texture, you can skip this step.
Conclusion
This Oreo Icebox Cake is more than just a dessert; it’s a nostalgic journey to simple pleasures, requiring no baking and delivering maximum satisfaction. Its creamy layers and softened cookies create an irresistible texture that makes it a perennial favorite. Whether you call it an icebox cake or an Oreo Cool Whip Dessert, it’s guaranteed to be a hit at any gathering or a delightful treat for yourself. Enjoy the ease and deliciousness!
Recipe Note
For the best texture and to allow the cookies to fully soften, plan to make your Oreo Icebox Cake the day before you intend to serve it. Overnight chilling makes a noticeable difference!
Oreo Icebox Cake
Cook Time: N/A
Total Time: 4 hours 20 minutes (includes 4 hours chilling)
Course: Dessert
Servings: 8-10
Calories: 450
Ingredients
- 1 (14.3-ounce) package Oreo cookies
- 2 cups heavy cream
- 1/2 cup powdered sugar (confectioners’ sugar)
- 1 teaspoon vanilla extract
Instructions
-
Whip the Cream
In a chilled bowl, beat heavy cream, powdered sugar, and vanilla until stiff peaks form. -
Layer the Cake
Spread a thin layer of whipped cream in an 8×8-inch dish. Add a layer of Oreo cookies. -
Repeat Layers
Add whipped cream, then Oreos, repeating until ingredients are used, finishing with whipped cream on top. -
Chill
Cover and refrigerate for at least 4–6 hours, or overnight for best texture. -
Serve
Top with crushed Oreos or chocolate shavings. Slice and enjoy cold.
💡 Tips & Variations
-
Extra Oreo flavor: Crush some Oreos into the whipped cream
-
Mint version: Use mint Oreos
-
Chocolate boost: Add chocolate syrup between layers
-
Storage: Refrigerate up to 3 days
Chef’s Notes: For best results, allow the cake to chill for at least 4 hours, or preferably overnight, to allow the cookies to soften completely and create a cake-like texture. You can garnish with extra crushed Oreos or chocolate shavings before serving.