Peanut Butter Cups: 7 Homemade Recipes!
Peanut Butter Cups: 7 Homemade Recipes! Indulge in Rich, Creamy, and Customizable Sweet Treats
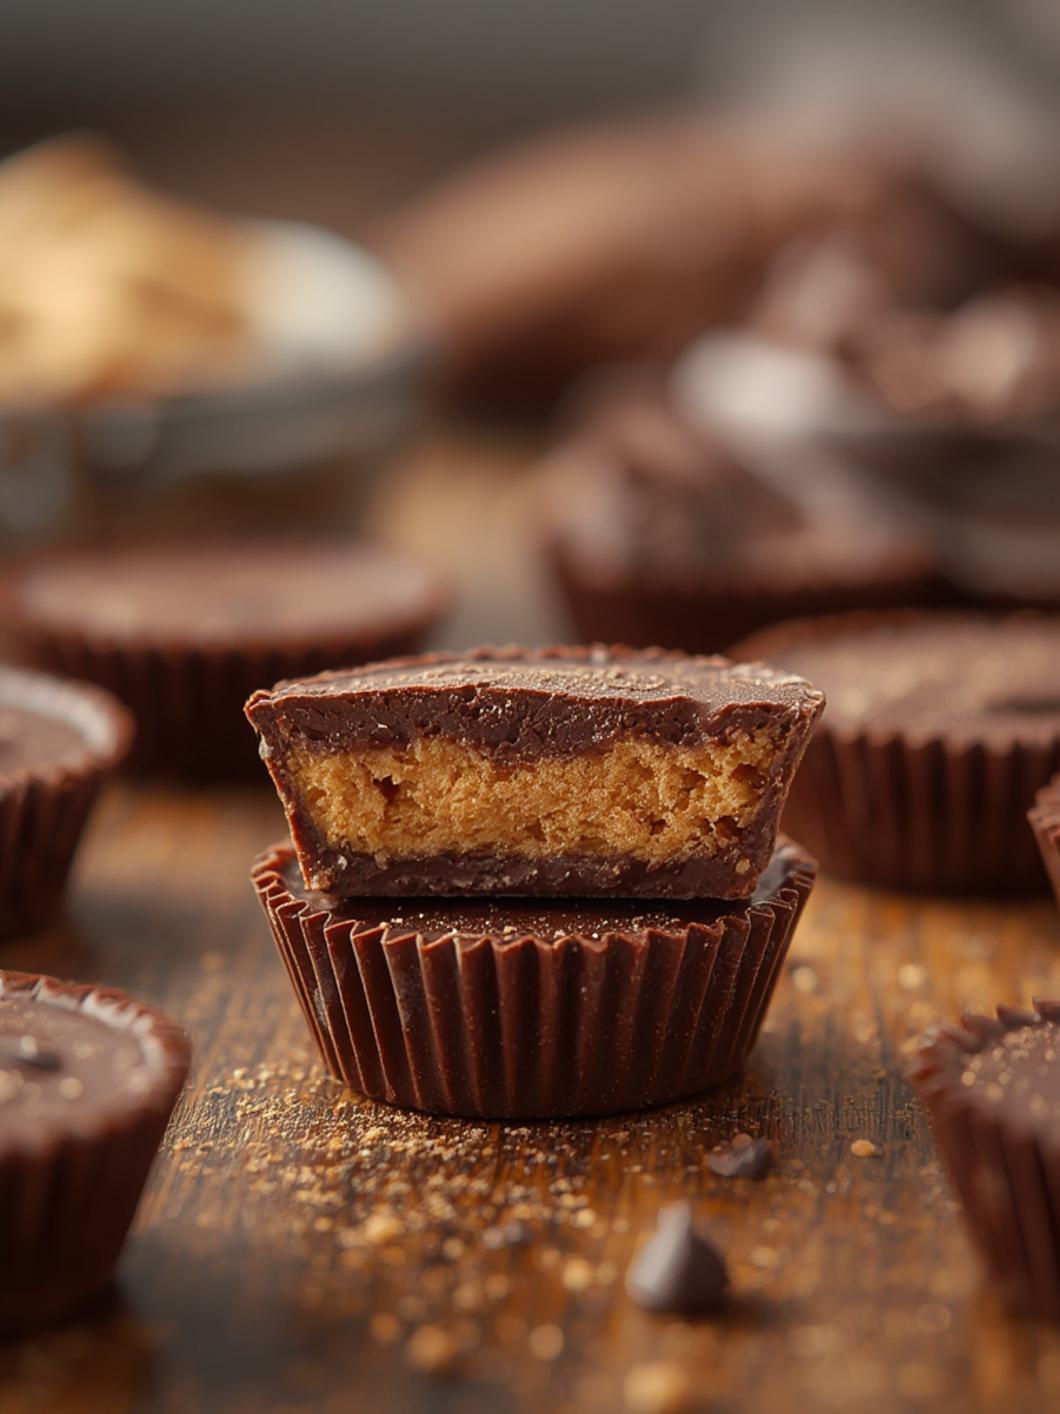
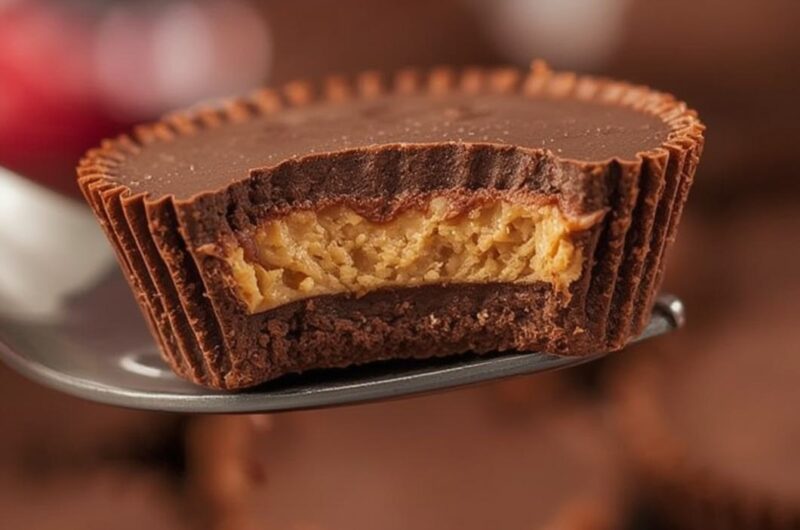
There’s something undeniably magical about a perfectly crafted treat, and when it comes to combining the irresistible duo of chocolate and peanut butter, few things compare to the classic Peanut Butter Cups. Forget the store-bought versions; diving into the world of Homemade Peanut Butter Cups opens up a universe of flavor possibilities, allowing you to control the sweetness, the type of chocolate, and even add your own unique twists. Get ready to embark on a delectable journey as we explore not just one, but seven fantastic recipes that will make you a master of this beloved confection, right in your own kitchen!
What You’ll Need
Gathering your ingredients is the first step towards creating these irresistible treats. This recipe uses simple, accessible components that you likely already have in your pantry, making it easy to whip up a batch whenever the craving strikes.
1 ¾ cups powdered sugar
1 cup peanut butter (creamy or crunchy, your preference)
½ cup unsalted butter, softened
2 cups semi-sweet chocolate chips (or milk/dark chocolate, if preferred)
2 tablespoons coconut oil (optional, for smoother melting chocolate)
Pinch of salt (optional, to enhance flavor)
Mini paper liners or silicone molds
Preparation Instructions
Crafting your own Peanut Butter Cups at home is a rewarding experience, and surprisingly simple! Follow these step-by-step instructions to create perfect, restaurant-quality treats that far surpass any store-bought alternative. Mastering Homemade Peanut Butter Cups will quickly become your new favorite kitchen adventure.
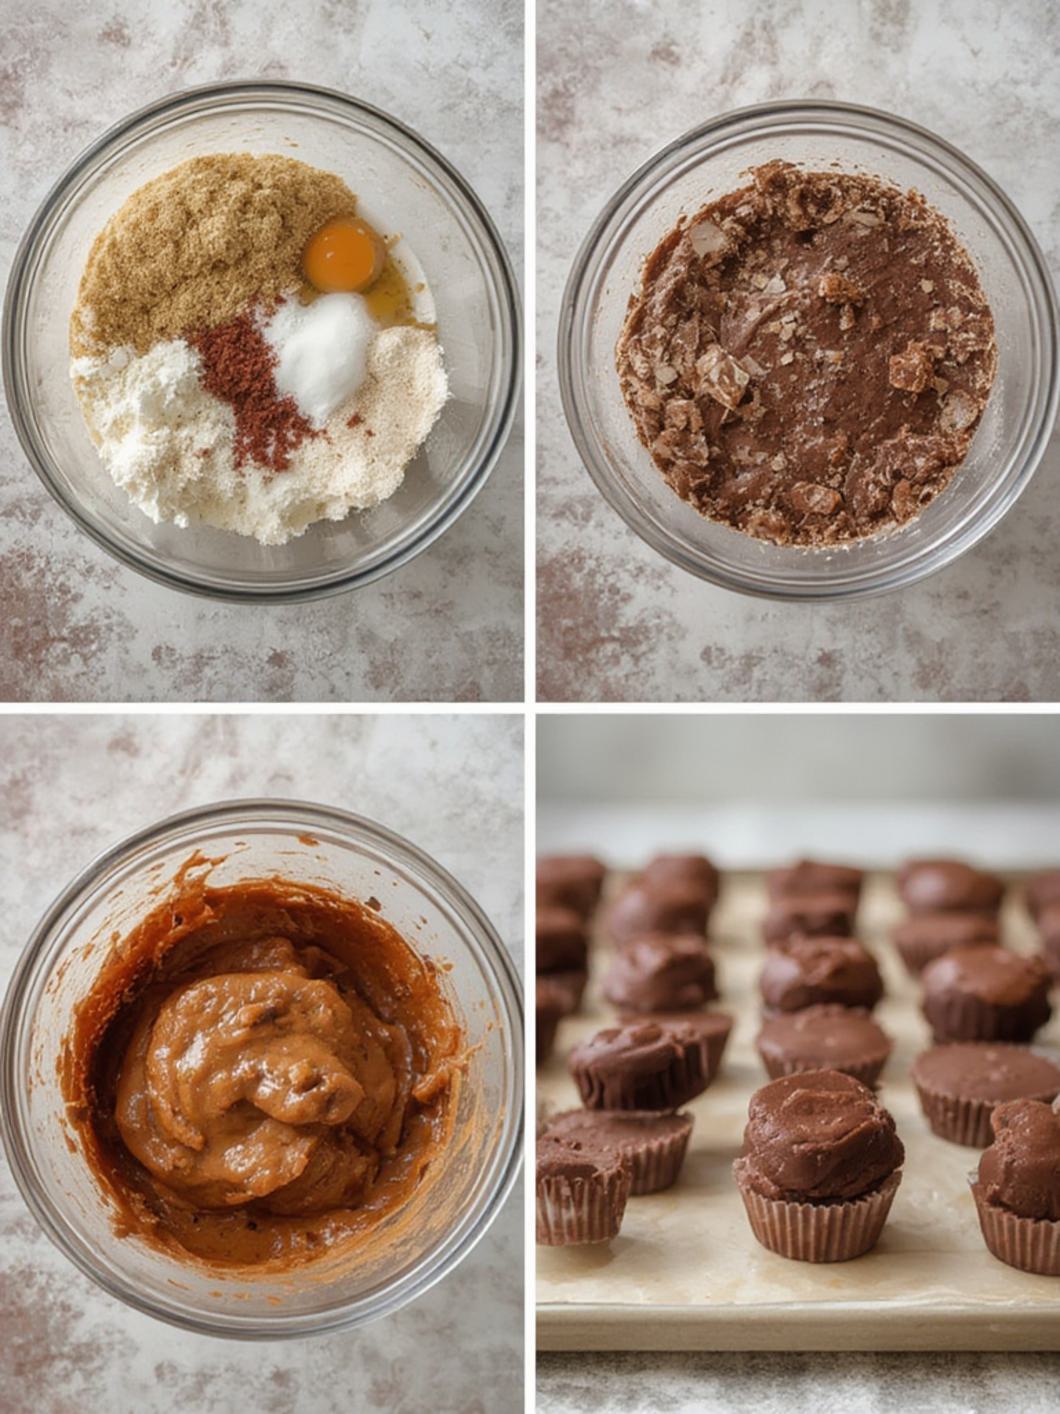
1. Prepare the Peanut Butter Filling: In a medium bowl, combine the powdered sugar, peanut butter, and softened butter. If using, add a pinch of salt. Mix thoroughly with a spoon or electric mixer until well combined and a firm dough-like consistency is achieved.
2. Form the Filling: Roll the peanut butter mixture into small balls, about 1-inch in diameter, then flatten them slightly into discs. Alternatively, press the mixture evenly into a small square pan and chill, then cut into squares later. Place these discs on a baking sheet lined with parchment paper and refrigerate for at least 15-20 minutes to firm up.
3. Melt the Chocolate: In a microwave-safe bowl, combine the chocolate chips and coconut oil (if using). Microwave in 30-second intervals, stirring well after each, until the chocolate is completely melted and smooth. Alternatively, use a double boiler on the stovetop.
4. Assemble the Cups: Line a mini muffin tin with paper liners or use silicone molds. Spoon a small amount of melted chocolate into the bottom of each liner, just enough to cover the base.
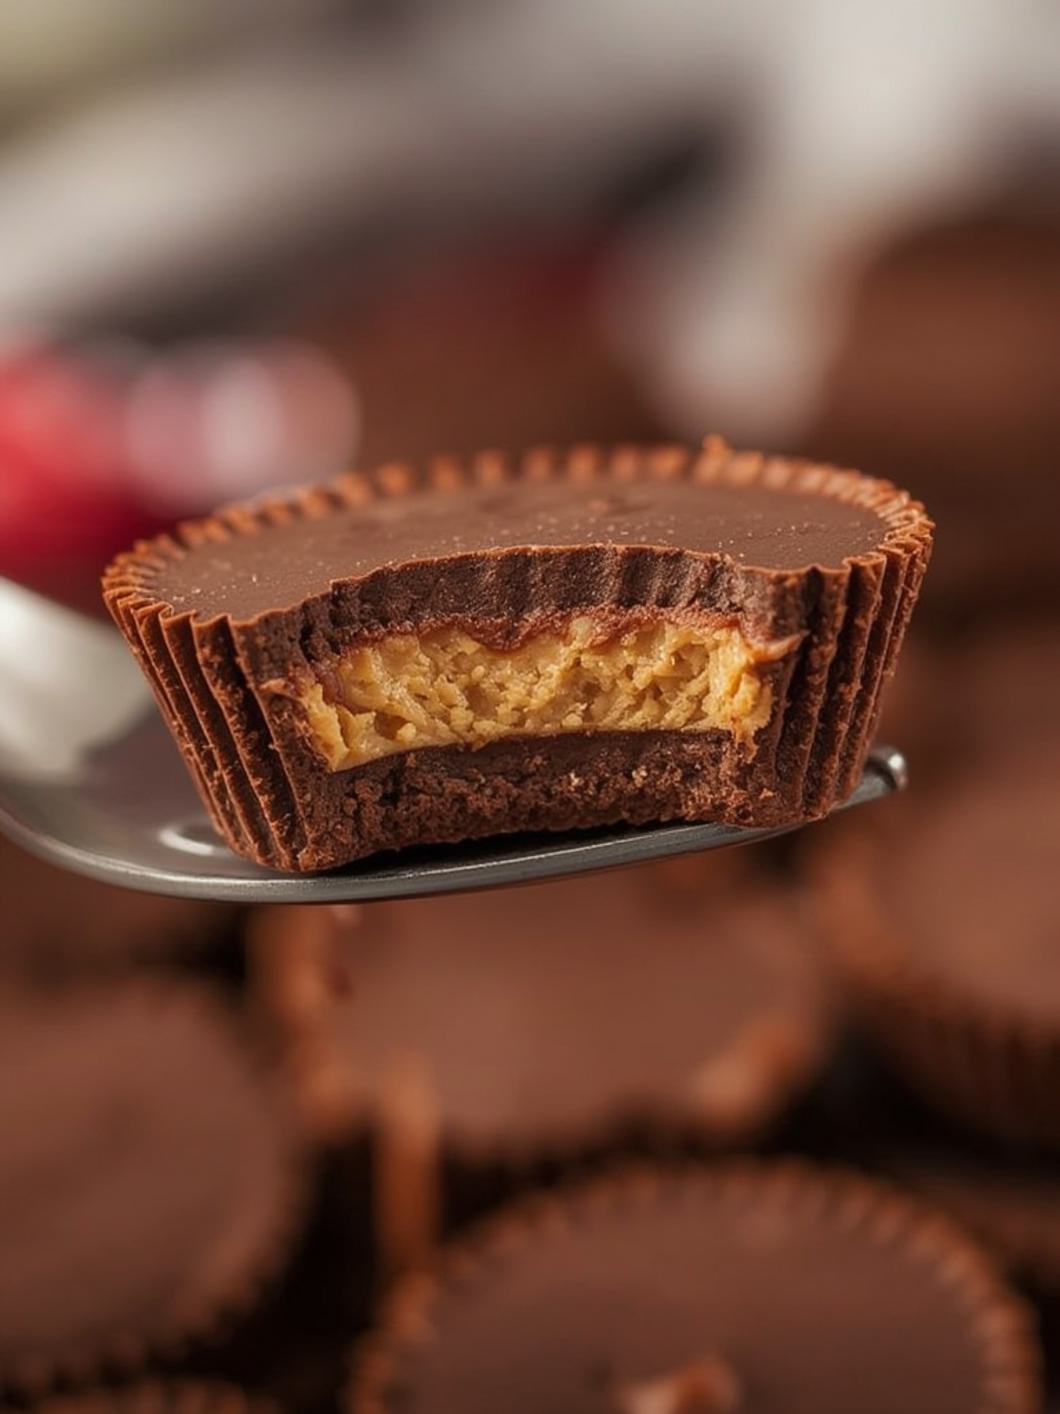
5. Add the Filling: Place one chilled peanut butter disc on top of the melted chocolate in each liner.
6. Top with Chocolate: Spoon more melted chocolate over the peanut butter disc, ensuring it’s completely covered. Gently tap the muffin tin on the counter a few times to settle the chocolate and release any air bubbles.
7. Chill to Set: Place the muffin tin in the refrigerator for at least 30-60 minutes, or until the chocolate is fully set and firm. Once set, carefully remove the cups from the liners or molds.
Fun Twists & Serving Ideas
Elevate your peanut butter cups with these creative variations:
White Chocolate Wonders: Substitute semi-sweet chocolate with white chocolate for a sweeter, creamier profile. You can even drizzle with dark chocolate for a striking contrast.
Nutty Crunch: Add finely chopped peanuts, pretzels, or rice krispies to the peanut butter filling for an extra layer of texture.
Salted Caramel Swirl: Before topping with the final layer of chocolate, add a tiny dollop of homemade or store-bought salted caramel onto the peanut butter filling.
Spice It Up: A pinch of cinnamon or a tiny dash of cayenne pepper in the peanut butter filling can add an unexpected and delightful warmth.
Cookie Dough Core: Mix in edible cookie dough bits into your peanut butter filling for a truly indulgent experience.
Reviews
Samantha P. ⭐⭐⭐⭐⭐ “Absolutely divine! I used dark chocolate, and the slight bitterness with the sweet peanut butter was just perfection. So easy to make, too!”
Mark T. ⭐⭐⭐⭐ “These were a huge hit at my party. I added a little crunch to the peanut butter filling, and everyone raved about them. Definitely making these again.”
Jessica L. ⭐⭐⭐⭐⭐ “Better than store-bought! The recipe is clear and straightforward. My kids loved helping make them and devouring them even more!”
FAQ
Q: Can I use different types of chocolate?
A: Absolutely! Milk chocolate, dark chocolate, white chocolate, or even a blend of different chocolates will work beautifully. Choose your favorite!
Q: How long do homemade peanut butter cups last?
A: Stored in an airtight container in the refrigerator, they typically last for up to 1-2 weeks. They can also be frozen for up to 2-3 months.
Q: Do I need coconut oil for melting the chocolate?
A: Coconut oil is optional but highly recommended. It helps to thin the chocolate slightly, making it smoother and easier to work with, and gives the finished product a nice snap.
Q: Can I make these vegan?
A: Yes! Use a plant-based butter alternative and ensure your chocolate chips are dairy-free.
Q: What if my peanut butter filling is too sticky to roll?
A: If the filling is too sticky, add a little more powdered sugar, a tablespoon at a time, until it reaches a more manageable consistency. Chilling the mixture for a bit longer can also help.
Conclusion
Mastering your own batch of Peanut Butter Cups is not just about making a treat; it’s about creating a moment of pure joy and satisfaction. The ability to customize every aspect, from the richness of the chocolate to the texture of the peanut butter filling, makes these Homemade Peanut Butter Cups a truly special confection. Whether you stick to the classic recipe or venture into adventurous twists, you’re guaranteed to delight anyone who tastes them. So go ahead, unleash your inner chocolatier and share the love, one delicious bite at a time!
Recipe Note
For the best texture and flavor, ensure your softened butter for the peanut butter filling is at room temperature. This will help it combine smoothly with the other ingredients, preventing a grainy texture in your finished cups.
Peanut Butter Cups
Cook Time: N/A
Total Time: 1 hour 30 minutes (includes chilling)
Course: Dessert
Servings: 24 mini cups
Calories: 120 per cup (approximate)
Ingredients
- 12 oz (about 2 cups) chocolate chips (semi-sweet, milk, or dark)
- 1 cup creamy peanut butter
- 1/2 cup powdered sugar
- 1/4 cup unsalted butter, melted
- 1/2 teaspoon vanilla extract (optional)
- 1/4 teaspoon salt
Instructions
1️⃣ Prep
Line a standard muffin tin with 12 paper liners.
2️⃣ Melt Chocolate
Melt chocolate with coconut oil/butter in microwave (20–30 sec bursts, stirring) until smooth.
3️⃣ First Chocolate Layer
Spoon about 1–2 teaspoons melted chocolate into each liner.
Tilt to coat bottoms evenly. Chill 5–10 minutes until just set.
4️⃣ Make Filling
Mix peanut butter, melted butter, powdered sugar, crumbs, and salt until smooth, soft, and scoopable.
5️⃣ Fill
Roll or scoop 1–2 teaspoons filling, flatten slightly, and place on chocolate bases.
6️⃣ Top Layer
Cover each with remaining chocolate, spreading to seal edges.
7️⃣ Chill
Refrigerate 25–30 minutes until firm.
Chef’s Notes: For best results, use good quality chocolate. You can use milk, semi-sweet, or dark chocolate based on preference. Store in an airtight container in the refrigerator.