Rocket Pop-Style Jell-O: 5 Fun Patriotic Dessert Ideas
Rocket Pop-Style Jell-O Recipe/magicinkitchen.com
Rocket Pop-Style Jell-O Recipe
Make this easy Rocket Pop-Style Jell-O recipe for a fun, patriotic red, white, and blue dessert. Perfect for summer parties and kids’ treats.
Table of Contents
Introduction
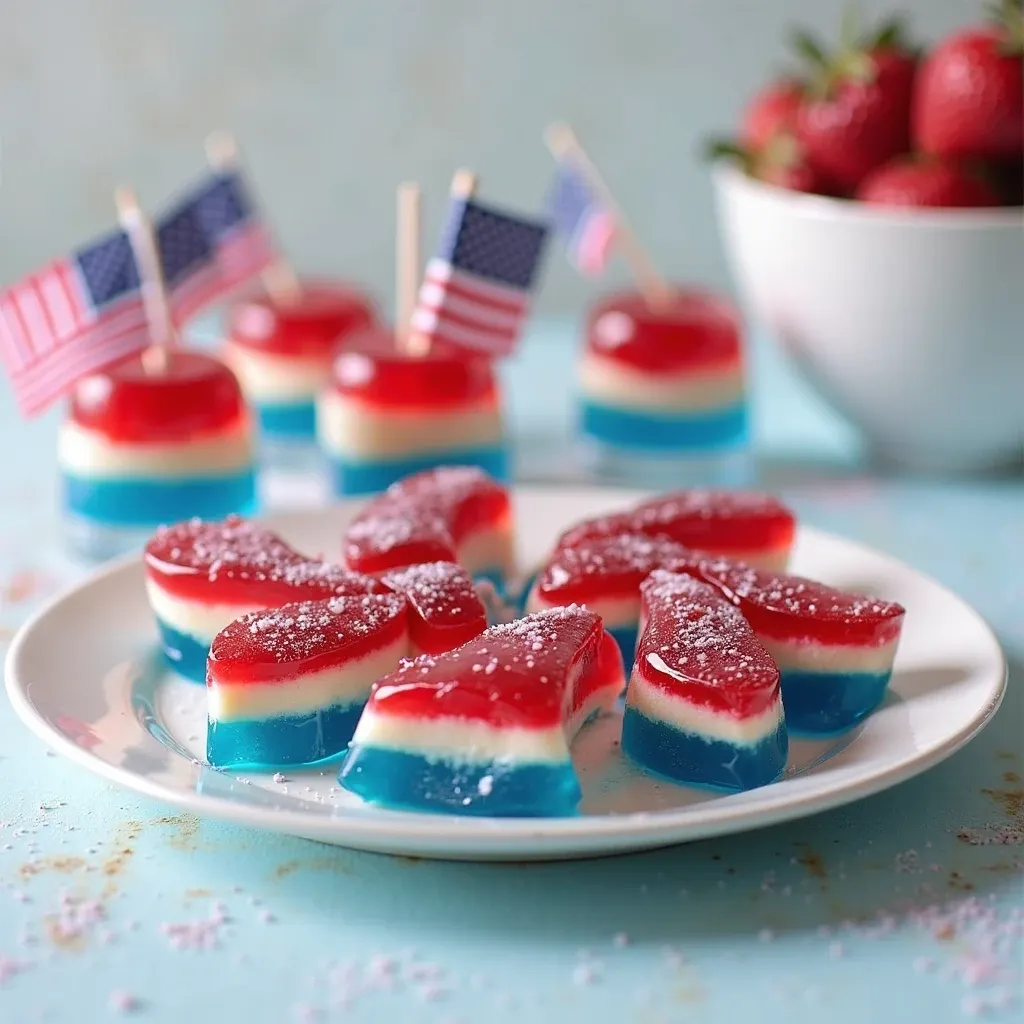
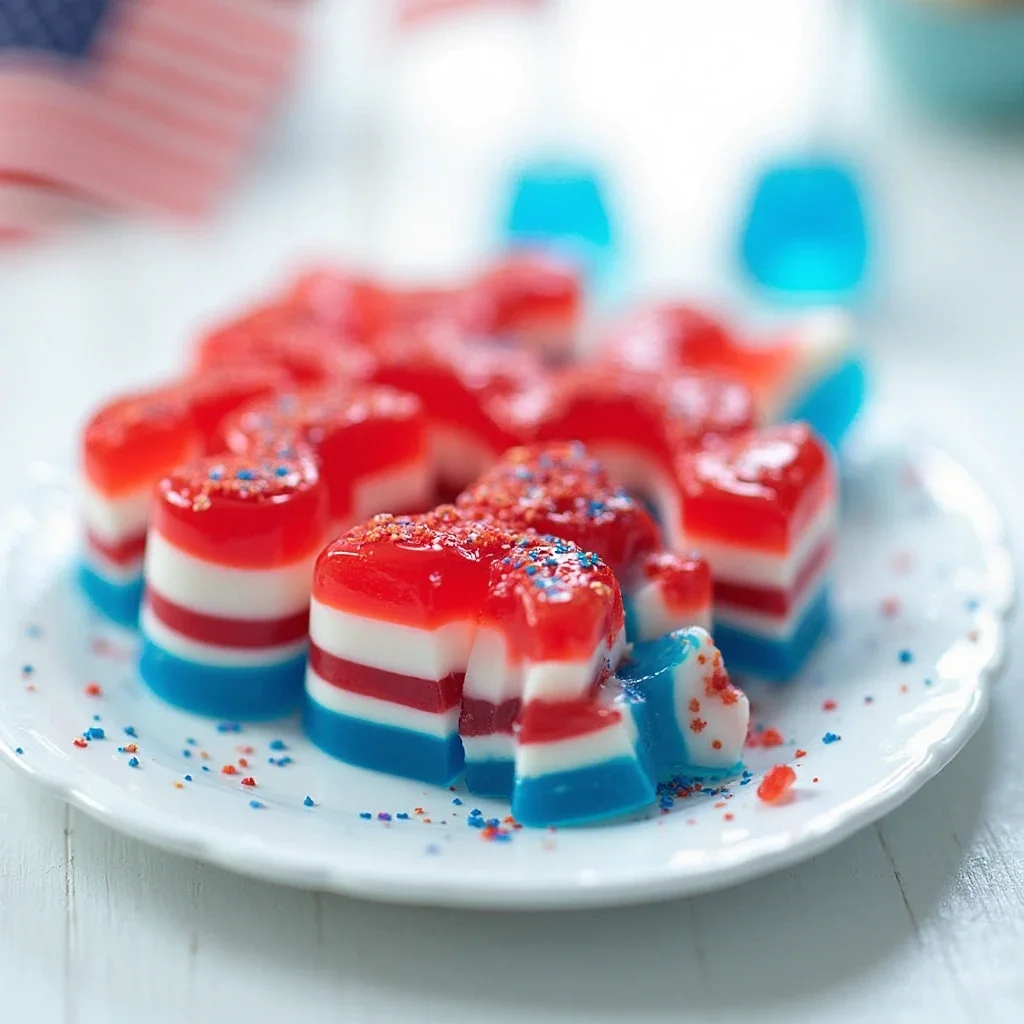
Looking for a fun, colorful dessert that screams summer? This Rocket Pop-Style Jell-O recipe is perfect for patriotic celebrations, 4th of July parties, or just a refreshing summer treat. With its iconic red, white, and blue layers, this dessert is easy to make, visually appealing, and sure to delight kids and adults alike. Using simple ingredients, you can create a homemade Rocket Pop Jell-O that’s both delicious and playful.
Ingredients
- 1 package (3 oz) strawberry Jell-O
- 1 package (3 oz) blue raspberry Jell-O
- 1 package (3 oz) unflavored gelatin
- 1 can (14 oz) sweetened condensed milk
- 1 cup boiling water
- 1 cup cold water
- Optional: whipped cream for topping
Preparation Instructions
Step 1: Make the Red Layer
- Dissolve the strawberry Jell-O in ½ cup boiling water.
- Stir until completely dissolved.
- Add ¼ cup cold water and mix.
- Pour into serving glasses or a square pan and refrigerate for 20-30 minutes until set.
Step 2: Make the White Layer
- In a small bowl, mix unflavored gelatin with ½ cup cold water and let bloom for 5 minutes.
- Heat ½ cup boiling water and dissolve the bloomed gelatin.
- Stir in sweetened condensed milk until smooth.
- Carefully pour over the set red layer and refrigerate for another 20-30 minutes.
Step 3: Make the Blue Layer
- Dissolve the blue raspberry Jell-O in ½ cup boiling water.
- Stir in ½ cup cold water.
- Gently pour over the set white layer and refrigerate for 30 minutes or until fully firm.
Tips for Perfect Layers
To achieve clean, distinct layers, make sure each layer is fully set before adding the next. Pour the liquid gently over the back of a spoon to prevent the colors from mixing. Using individual cups or a shallow pan can make layering much easier and ensures that each serving looks beautiful and festive.
Fun Variations
Get creative with your Rocket Pop Jell-O by experimenting with flavors and colors. Swap the strawberry layer for cherry or watermelon Jell-O, or try lime for a refreshing twist. You can also add fresh fruit chunks between layers or top with whipped cream and sprinkles to make this dessert even more exciting for kids and adults alike.
Serving Suggestions
- Serve in individual cups for a fun, kid-friendly presentation.
- Garnish with whipped cream, star-shaped sprinkles, or fresh berries for extra flair.
- Perfect for summer parties, picnics, and 4th of July celebrations.
Creative Variations to Try
If you want to put a unique spin on your Rocket Pop Jell-O, consider using different flavors or layering techniques. You can swap traditional cherry, lime, and blue raspberry flavors with strawberry, coconut, and blueberry for a tropical twist. Adding small fruit pieces between the layers can also give the dessert extra texture and color, making it even more fun for kids and adults alike.
Tips for Perfect Layered Jell-O
To ensure each layer sets beautifully, allow each color to chill in the refrigerator for at least 30–45 minutes before adding the next. Use a small spoon to gently pour the next layer so it doesn’t disturb the one below. For an extra festive touch, serve your Rocket Pop Jell-O in clear cups or molds to showcase the vibrant red, white, and blue layers perfectly.
FAQ
Q: Can I make this ahead of time?
Yes! You can prepare the Jell-O layers the day before and refrigerate overnight.
Q: Can I use sugar-free Jell-O?
Absolutely! Sugar-free Jell-O works well and keeps the dessert lighter.
Q: Can I make it in a large pan instead of individual cups?
Yes, just pour each layer carefully and slice into squares once set.
Conclusion
This Rocket Pop-Style Jell-O recipe is a simple, fun, and visually stunning dessert that’s perfect for summer celebrations. Easy to make and kid-approved, it’s a must-try for anyone who loves colorful and festive treats. Don’t forget to leave a comment sharing your version, and explore more delicious recipes at Magic in Kitchen.