Ultimate Gooey Rice Krispie Treats (No-Bake & Easy!)
Ultimate Gooey Rice Krispie Treats: Your Go-To No-Bake & Easy Snack Solution!
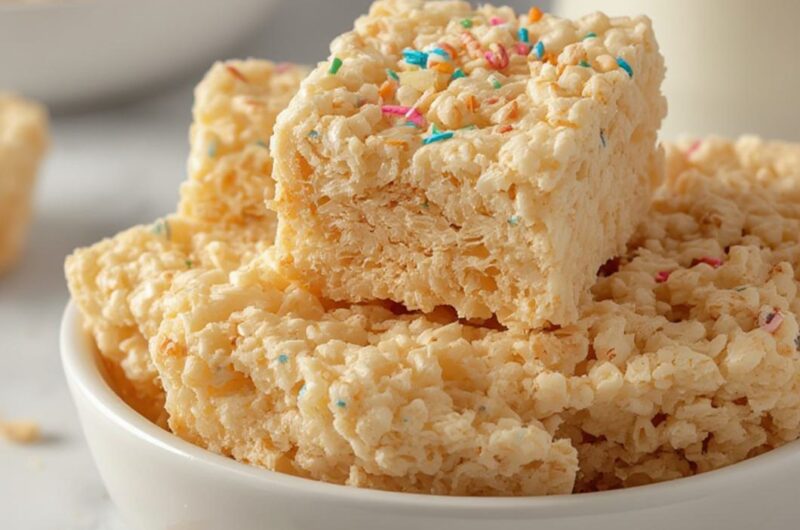
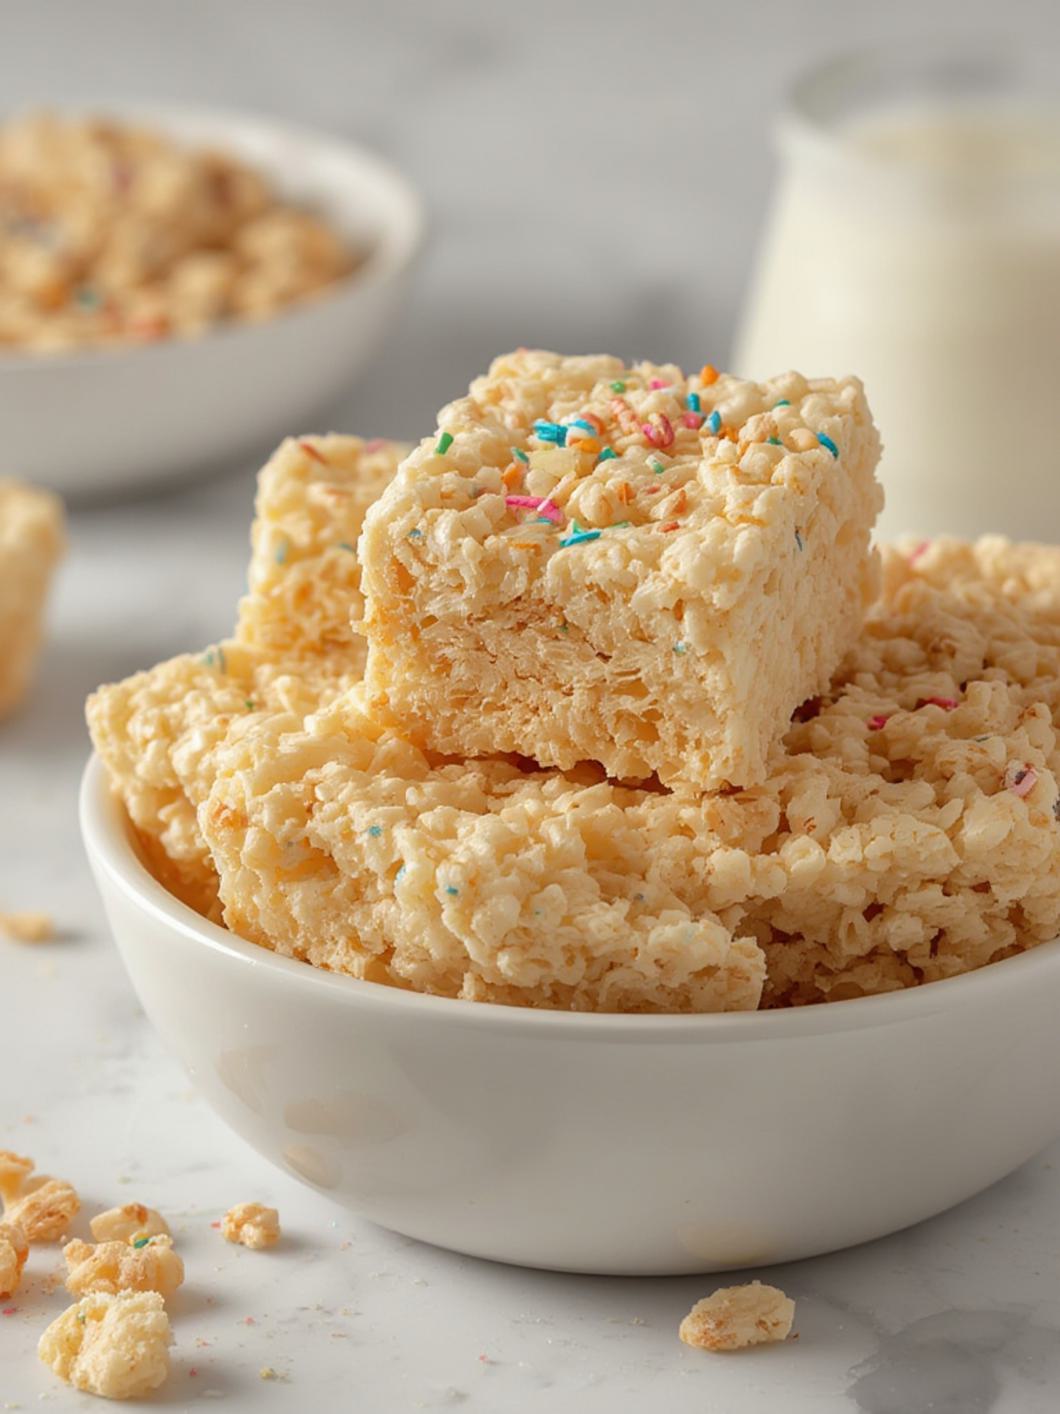
Dive into the nostalgic world of Rice Krispie Treats, the quintessential easy no-bake dessert that promises pure delight with minimal effort. These classic, chewy squares are a beloved treat for all ages, perfect for parties, lunchboxes, or a simple sweet craving. Forget complicated baking; our ultimate recipe ensures every bite is perfectly gooey and absolutely irresistible. Get ready to whip up a batch of these iconic treats that are guaranteed to bring smiles!
Quick Glance Summary
These Ultimate Gooey Rice Krispie Treats are the simplest, most satisfying sweet snack you can make. With just a handful of ingredients and no oven required, you can create perfectly chewy, marshmallow-infused squares in minutes. They’re ideal for last-minute desserts, kid-friendly projects, or a comforting bite of nostalgia.
What You’ll Need
Gather these simple ingredients to create your batch of unbelievably gooey Rice Krispie Treats.
- ✦ 6 cups Rice Krispies cereal
- ✦ 1 (10.5-ounce) bag mini marshmallows (about 5 ½ cups)
- ✦ 3 tablespoons unsalted butter
- ✦ 1 teaspoon vanilla extract
- ✦ Pinch of salt

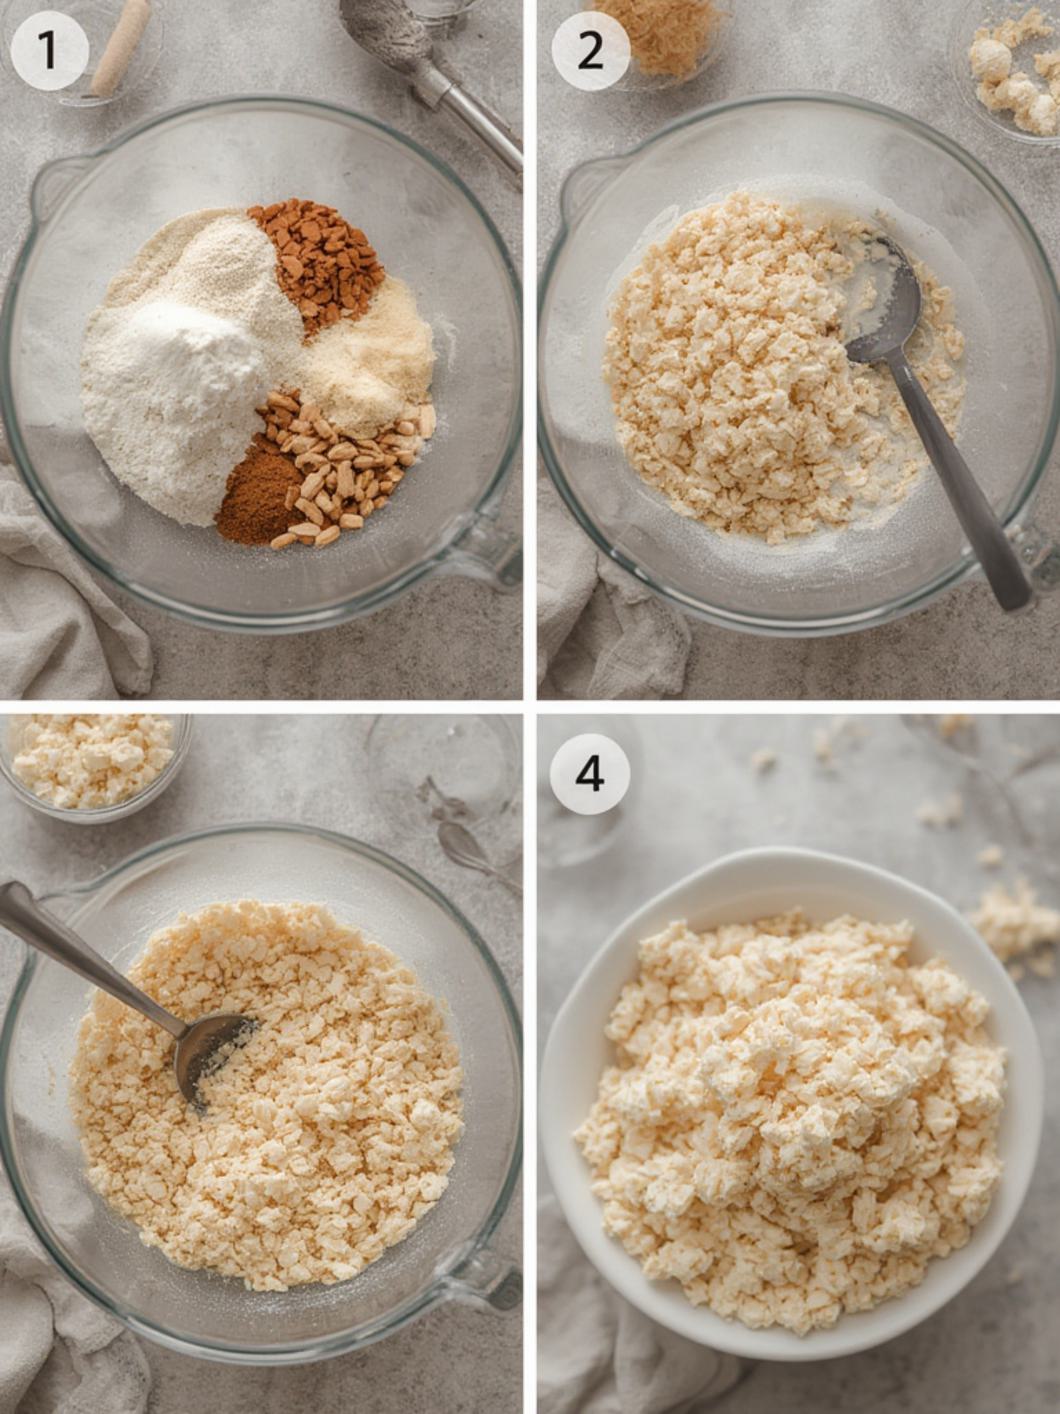
Preparation Instructions
Follow these easy steps to create the ultimate gooey Rice Krispie Treats. Crafting perfect Rice Krispie Treats is simpler than you think, making it an ideal easy no-bake dessert for any occasion.
1. Prepare Your Pan: Grease a 9×13-inch baking dish with butter or cooking spray. For even easier removal, line it with parchment paper, leaving an overhang on the sides.
2. Melt the Butter: In a large pot or Dutch oven, melt the unsalted butter over low heat. Keeping the heat low is crucial to prevent the butter from browning too quickly.
3. Melt Marshmallows: Add the mini marshmallows to the melted butter. Stir constantly until they are completely melted and smooth. Patience is key here; don’t rush the process with high heat, or the marshmallows can seize or burn.
4. Flavor It Up: Remove the pot from the heat. Stir in the vanilla extract and a pinch of salt. The salt helps to balance the sweetness.
5. Add Cereal: Quickly add the Rice Krispies cereal to the marshmallow mixture. Using a buttered spatula or wooden spoon, gently fold the cereal into the marshmallow mixture until it’s evenly coated. Work swiftly as the mixture will start to set.
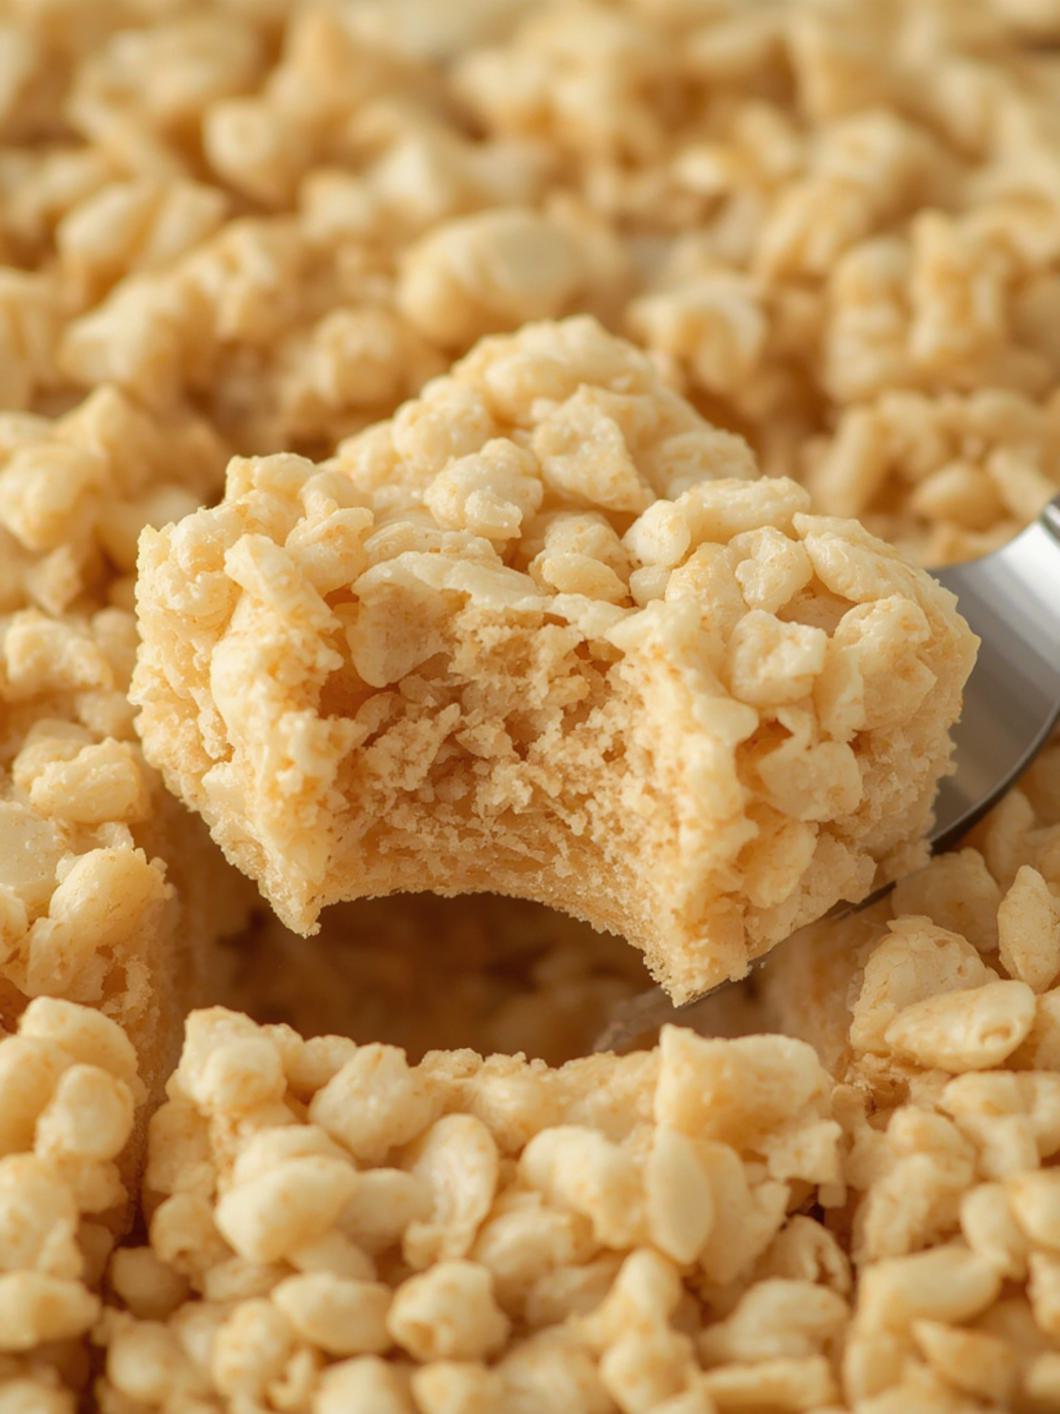
6. Press into Pan: Transfer the mixture to your prepared baking dish. Using a buttered spatula or your hands (lightly buttered to prevent sticking), gently press the mixture evenly into the pan. Important: Do not press too firmly, as this can compress the cereal and result in hard treats. Light pressure is best for a gooey texture.
7. Cool and Cut: Let the treats cool completely at room temperature for at least 30 minutes before cutting them into squares. For quicker setting, you can place them in the refrigerator for 15-20 minutes.
8. Serve and Store: Once cooled, use the parchment paper overhang to lift the entire slab out of the pan. Place it on a cutting board and cut into your desired square size. Store any leftover treats in an airtight container at room temperature for up to 3 days to maintain their softness.
Fun Twists & Serving Ideas
Elevate your Rice Krispie Treats with these creative additions!
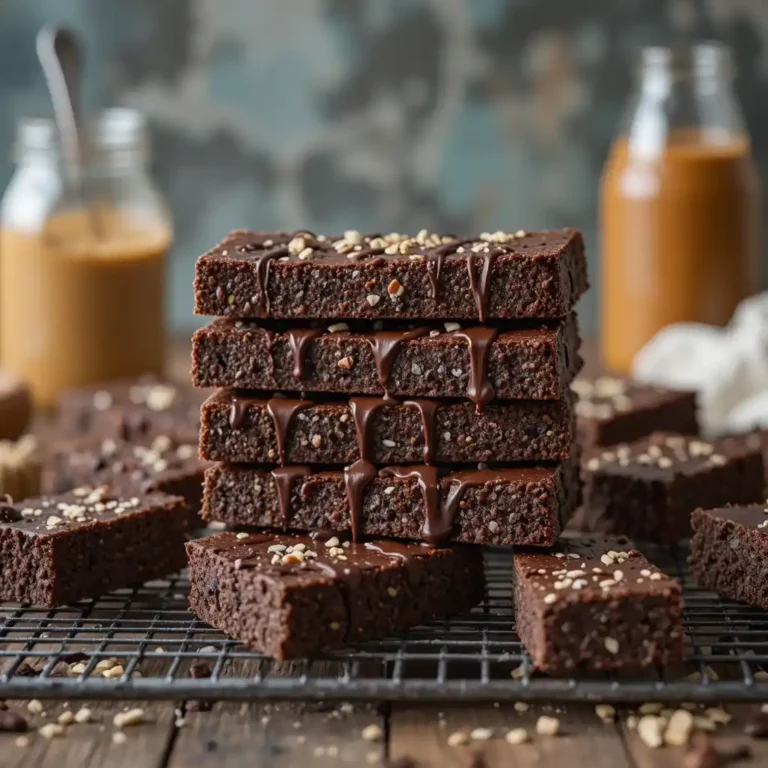
- ✦ Chocolate Drizzle: Melt your favorite chocolate (milk, dark, or white) and drizzle it over the cooled treats. A sprinkle of sea salt afterward creates a delicious sweet and salty combo.
- ✦ Rainbow Sprinkles: Mix in some colorful sprinkles with the cereal before pressing into the pan for a festive look, or sprinkle them on top while the treats are still warm for better adherence.
- ✦ Nut Butter Swirl: Swirl in a couple of tablespoons of peanut butter, almond butter, or Biscoff spread with the melted marshmallows for an extra layer of flavor.
- ✦ Candy Mix-ins: Fold in M&M’s, chopped candy bars, or mini chocolate chips along with the cereal.
- ✦ Citrus Zest: For a brighter flavor, add a teaspoon of orange or lemon zest to the melted marshmallows with the vanilla extract.
Reviews
“These are truly the ultimate! So much gopier than any other recipe I’ve tried. A definite family favorite now!” – Sarah K. ⭐⭐⭐⭐⭐
“Easy to follow and absolutely delicious. My kids devoured them in minutes. Perfect for a quick sweet treat!” – Mark T. ⭐⭐⭐⭐⭐
“I added a chocolate drizzle and they were divine! Will be making these regularly.” – Emily L. ⭐⭐⭐⭐⭐
FAQ
Q: Why are my Rice Krispie Treats hard?
A: This usually happens if you overcook the marshmallows (which makes them brittle when cooled) or if you press the mixture too firmly into the pan. Use low heat for melting and press gently.
Q: Can I use old marshmallows?
A: For the best results, use fresh marshmallows. Old, stale marshmallows can result in a tougher, less gooey texture.
Q: How do I prevent the mixture from sticking to my hands/spatula?
A: Lightly grease your hands or spatula with butter or non-stick cooking spray before pressing the mixture into the pan.
Q: Can I store Rice Krispie Treats in the refrigerator?
A: While you can chill them briefly to set faster, storing them in the refrigerator long-term can make them hard and chewy. It’s best to store them at room temperature in an airtight container.
Q: Can I double the recipe?
A: Yes, you can easily double the recipe. You’ll need a larger pot and possibly a larger baking dish, or two 9×13-inch dishes.
Conclusion
There you have it – the ultimate guide to making perfectly gooey and delightful Rice Krispie Treats. This easy no-bake dessert is a testament to the fact that sometimes, the simplest recipes yield the most satisfying results. Whether you’re whipping up a batch for a party, a treat for the kids, or just a little indulgence for yourself, these treats are sure to hit the spot every time. Enjoy the effortless joy of this timeless classic!
Recipe Note
For maximum gooeyness, ensure your marshmallows are fresh, and avoid pressing the mixture too firmly into the pan. This slight pressure is key to a perfectly soft and chewy treat.