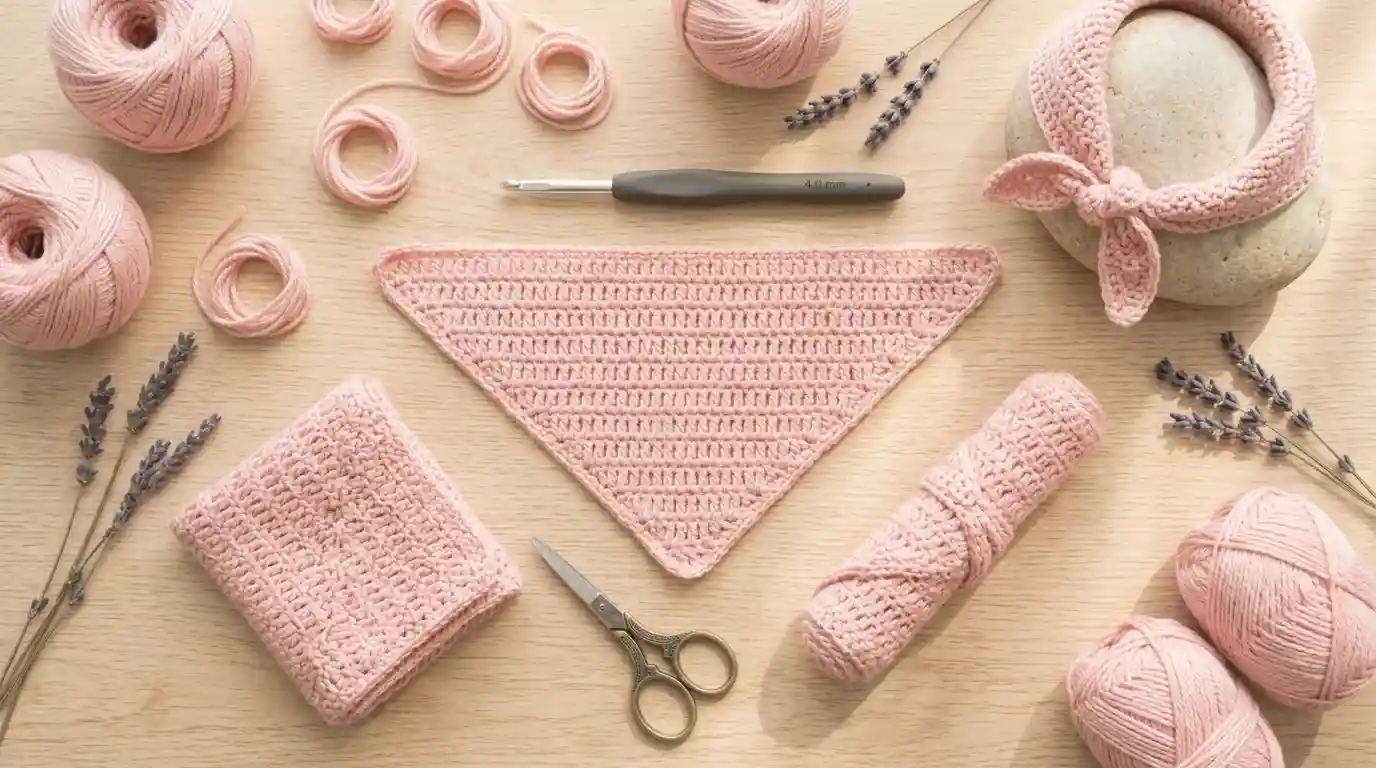
How to Crochet Bandana in 1 Hour: Beginner Pattern
Learn how to make a crochet bandana step-by-step! Follow our easy beginner-friendly guide featuring exact stitch counts, triangle shaping, ties, and a video walkthrough.
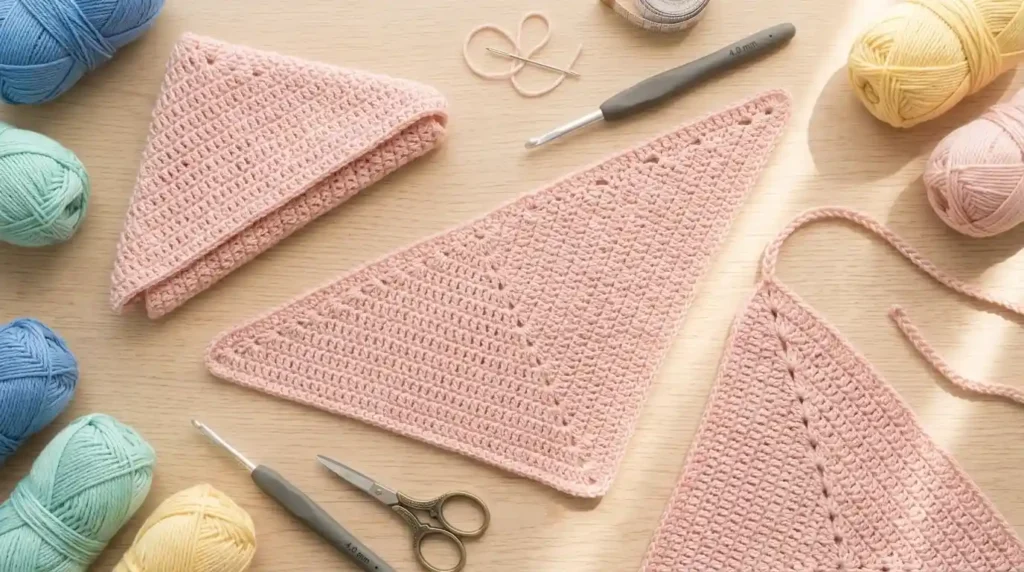
How to Crochet a Bandana: Easy Step-by-Step Beginner Tutorial
Crocheting wearable accessories is one of the most trendy and satisfying ways to spend an afternoon, and crafting your own crochet bandana tops the list. Whether you want a stylish retro headscarf for sunny days, a boho-chic festival accessory, or a quick handmade gift, this comprehensive step-by-step tutorial breaks down every single stitch, row, and finishing touch featured in the video guide.
Table of Contents
Materials Needed
To ensure your headscarf is lightweight, breathable, and holds its shape, gather the following supplies:
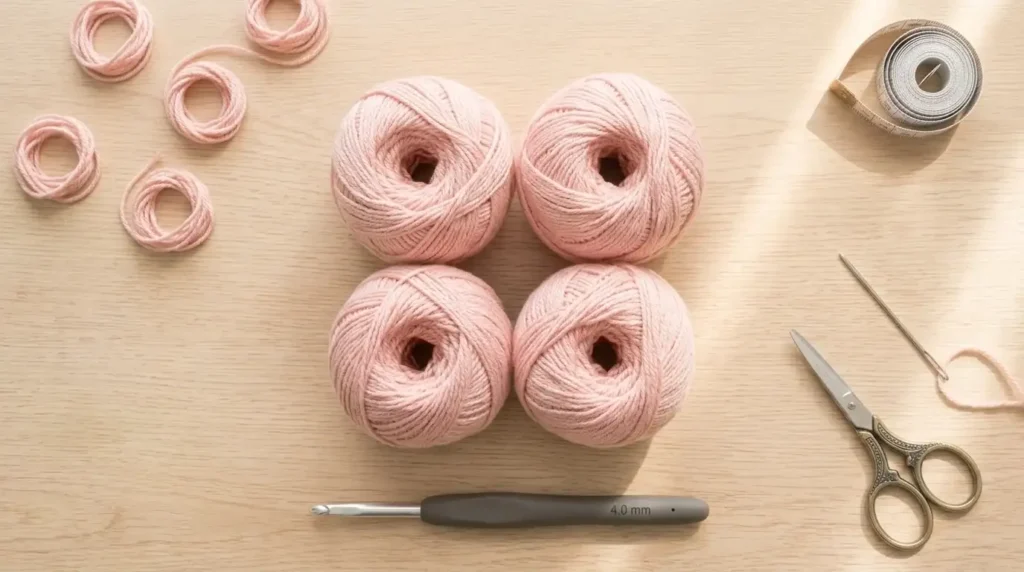
- Yarn: Lightweight cotton yarn (Category 3 DK or Category 4 Worsted weight) in your color of choice. Cotton is ideal because it has great stitch definition and doesn’t stretch out too much.
- Crochet Hook: A 4.0 mm to 5.0 mm crochet hook (matching your yarn weight).
- Tapestry Needle: For weaving in loose ends cleanly.
- Scissors: For cutting yarn.
Stitch Abbreviations (US Terms)
- ch = Chain stitch
- dc = Double crochet
- hdc = Half double crochet
- sc = Single crochet
- sl st = Slip stitch
- st(s) = Stitch(es)
Step-by-Step Crochet Bandana Tutorial
Step 1: Starting the Magic Ring / Triangle Base
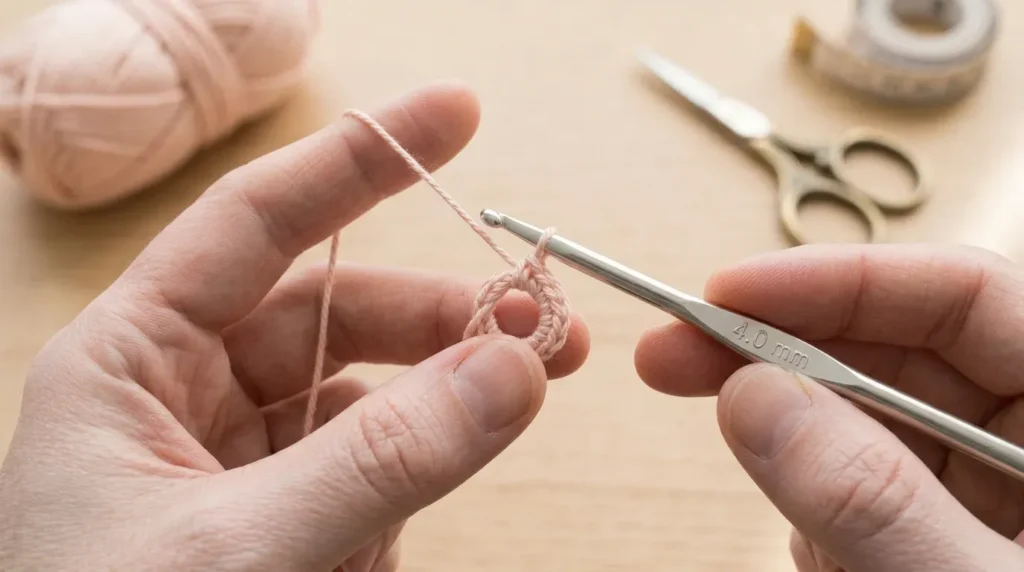
- Begin by making a slip knot or starting with a small Magic Ring / initial chain setup (as demonstrated in the video tutorial).
- Chain 4 or work initial double crochets into the starting loop to form the sharp point at the bottom center of your triangle base.
Step 2: Growing the Triangle Body with Increases
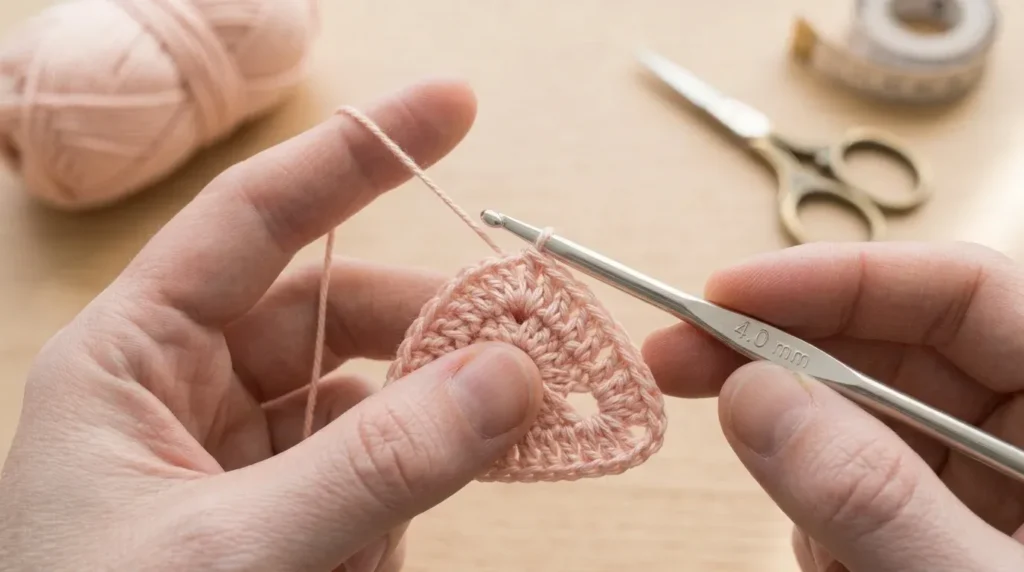
- Turn your work at the end of each row.
- Work double crochets (or the specific stitch pattern shown in the video) while incorporating steady edge increases on both the right and left sides.
- These increases ensure that your piece fans out evenly into a clean, symmetrical triangle.
Step 3: Continuing Rows to Desired Width
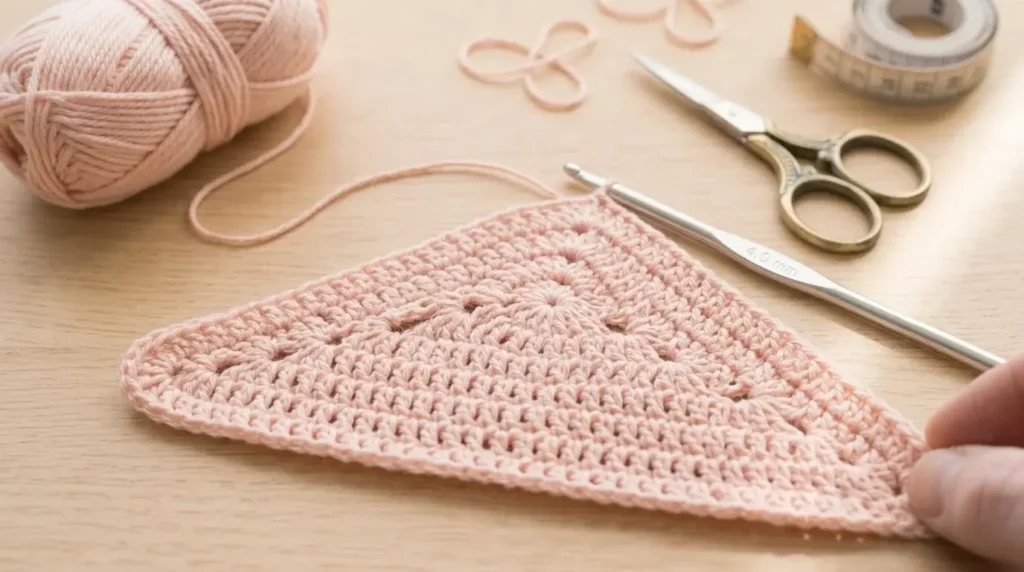
- Keep repeating the rows, adding stitches on each edge until the triangle reaches your desired width—typically measuring from ear to ear across your forehead (around 16 to 20 inches wide).
- Maintain even tension so the fabric drapes softly against the head.
Step 4: Creating the Border and Ties
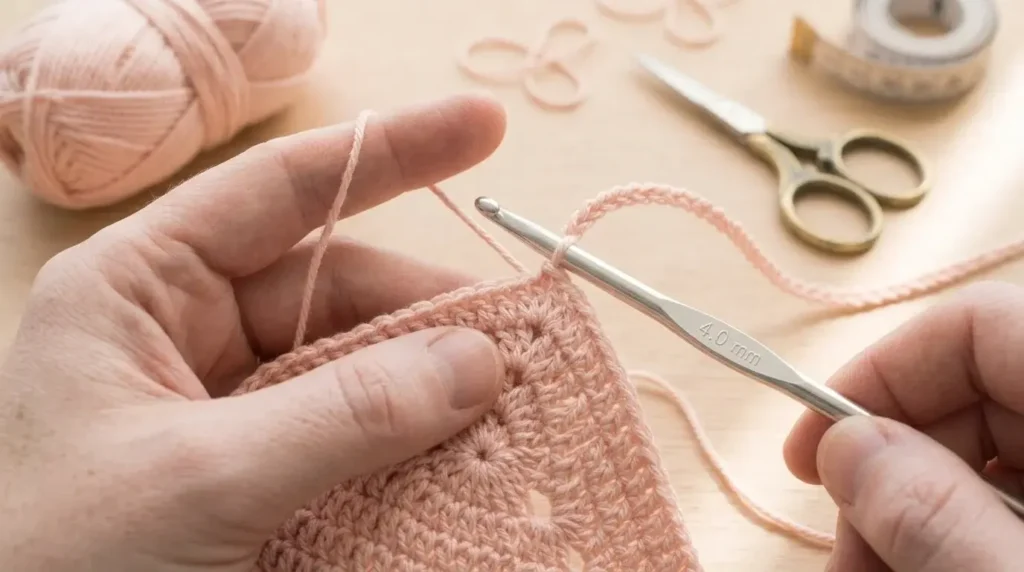
- Once the main triangle reaches the correct size, do not cut your yarn.
- Work a clean row of single crochet or slip stitches along the top straight edge of the bandana to give it a polished finish.
- Directly from the corners of the top edge, chain a long string of stitches (about 40 to 50 chains on each side) to create the sturdy ties used to secure the bandana around your head. Secure with a slip stitch and fasten off.
Step 5: Weaving in Ends & Finishing
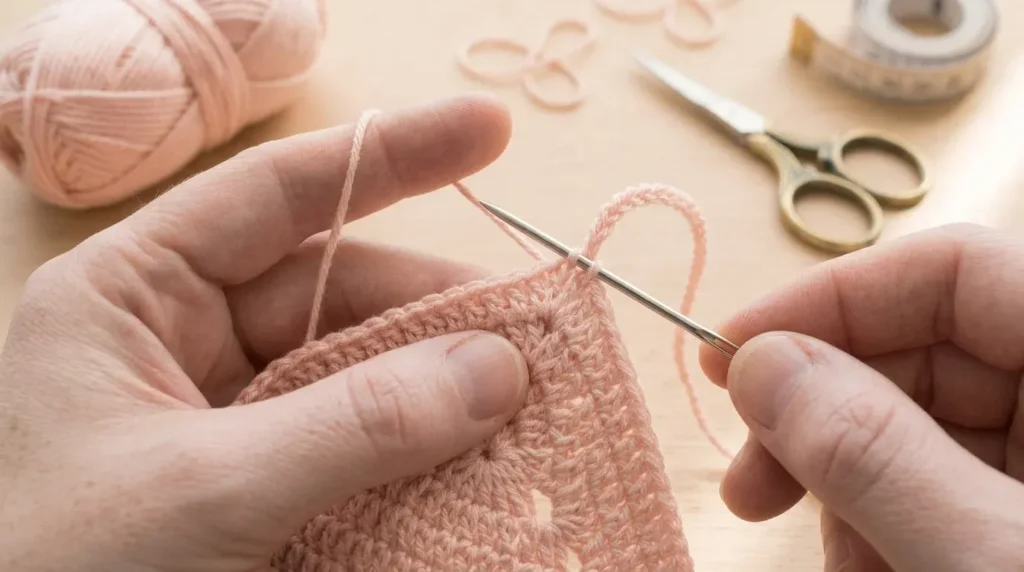
- Use your tapestry needle to weave all starting and ending yarn tails securely into the back of the double crochet stitches.
- Give your finished crochet bandana a light steam block if using cotton yarn to crisp up the edges.
Creative Ways to Style Your Crochet Bandana
- Festival & Boho Wear: Pair earth-tone cotton bandanas with denim jackets or summer dresses.
- Scrap-Busting Project: Use up leftover cotton yarn skeins to create colorful striped or granny-stitch variations.
- Quick Craft Fair Items: These headscarves whip up in under an hour, making them phenomenal inventory items for handmade markets.
Conclusion
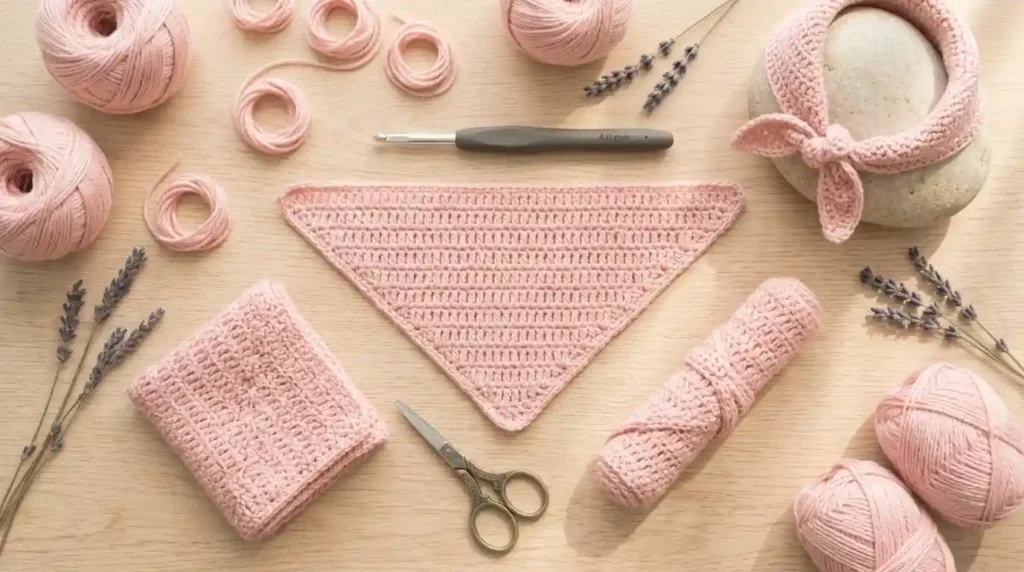
Learning how to make a crochet bandana is a fast, fun, and fashionable project for all skill levels. By mastering triangle shaping, edge increases, and clean ties, you can whip up a collection of stylish handmade headscarves in any color you like!