How to Half Double Crochet (hdc) – Beginner Crochet Lesson 2: Step-by-Step Guide
Master how to half double crochet with our step-by-step beginner guide! Learn foundation chains, working rows, and neat edges.
Table of Contents
How to Half Double Crochet (hdc) – Beginner Crochet Lesson 2: Step-by-Step Guide
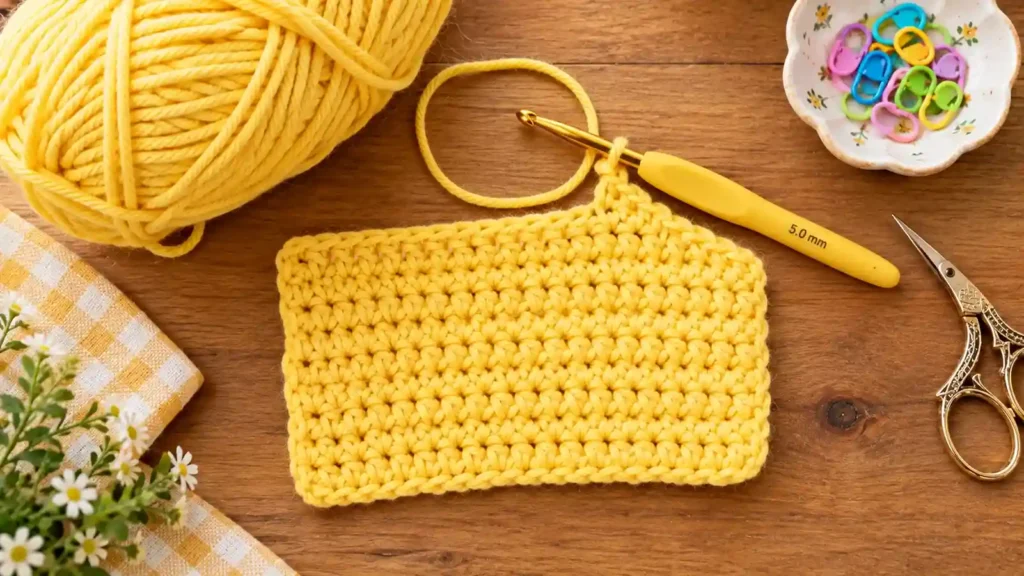
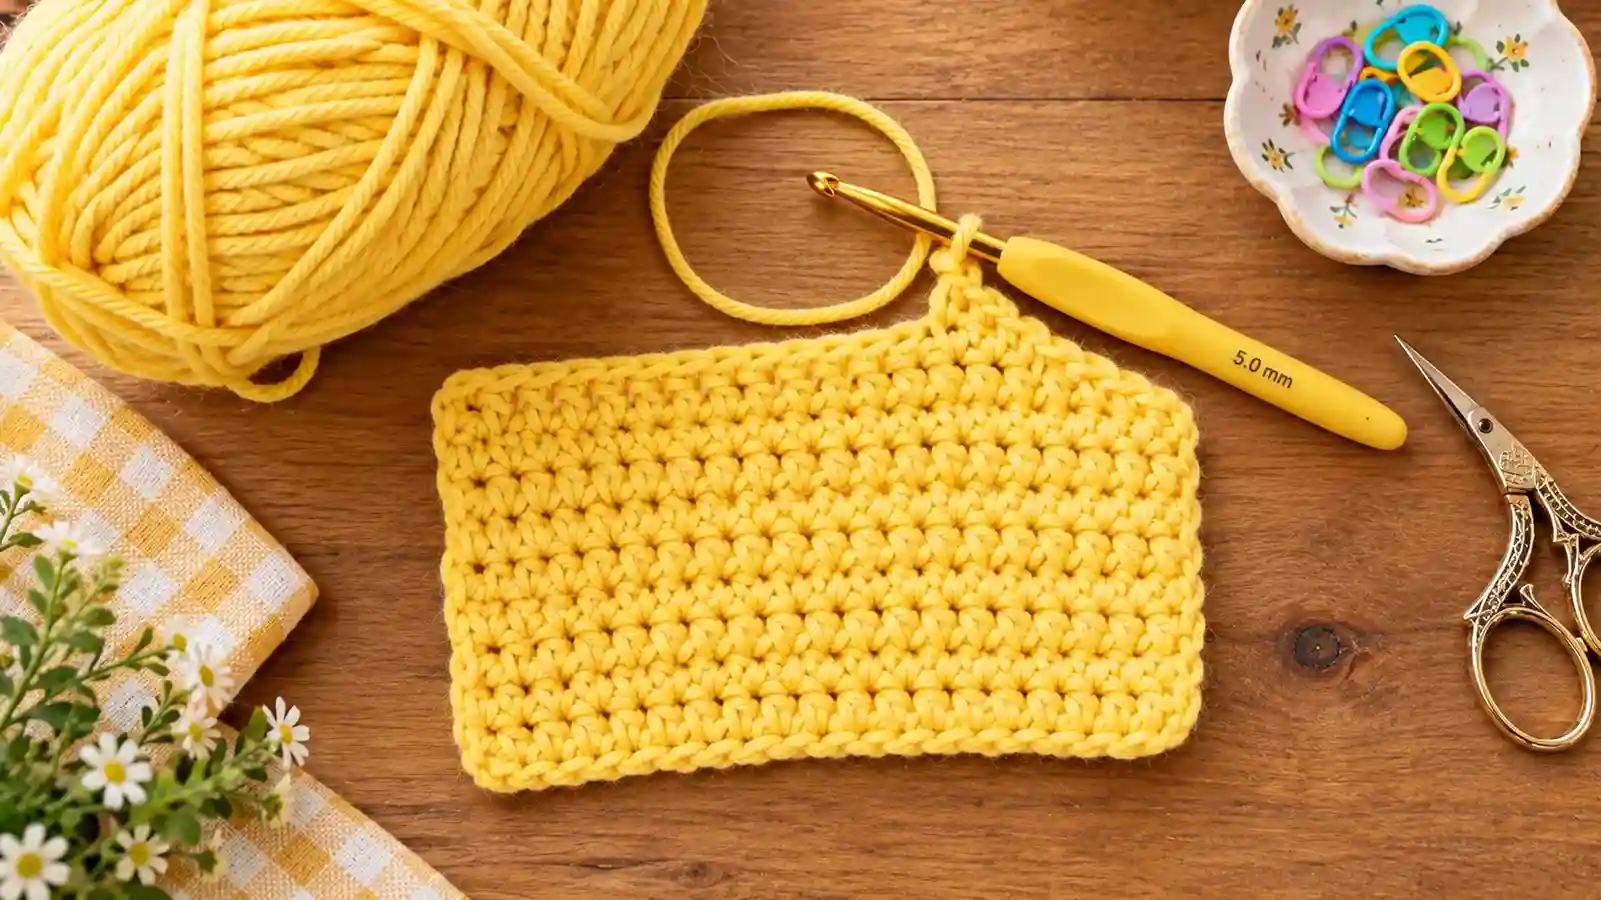
Want to master a beautiful, versatile stitch with yarn? Let’s learn how to do a half double crochet! It is a fantastic beginner-friendly stitch design that sits right between a single crochet and a double crochet. With some yarn, a crochet hook, and easy steps, you can make one too. Let’s begin!
Pattern Overview
- Difficulty Level: Beginner / Lesson 2
- Stitch Focus: Half Double Crochet (hdc)
Materials Needed
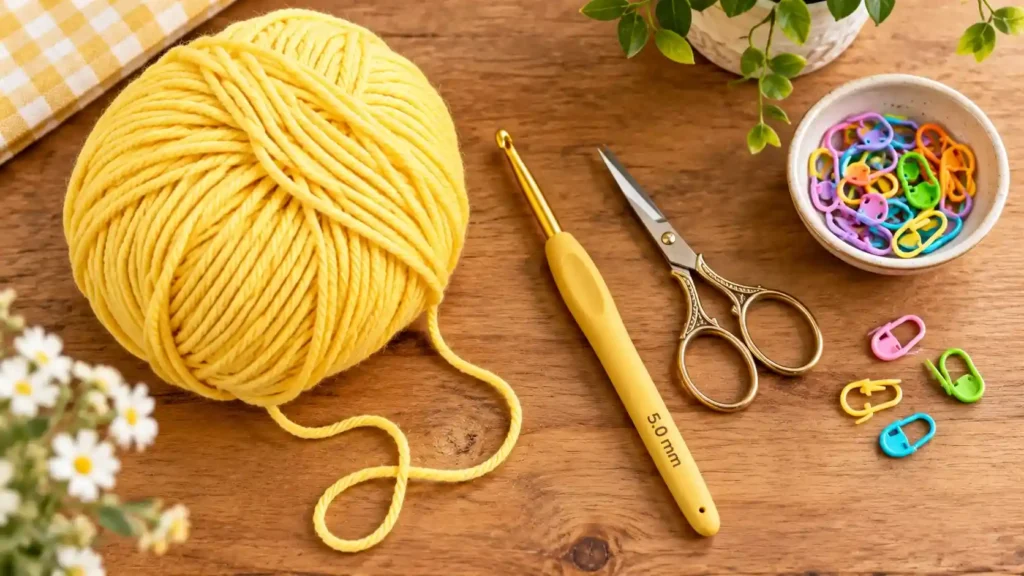
- Yarn: Any medium-weight yarn in your favorite color.
- Crochet Hook: An appropriate hook size recommended for your yarn (such as a 5.0 mm hook).
- Scissors: For cutting your yarn.
- Tapestry Needle / Bent Needle: For weaving in yarn tails.
Stitches and Abbreviations
- ch: Chain stitch
- sc: Single Crochet
- hdc: Half Double Crochet
- dc: Double Crochet
- ss: Slip Stitch
- st: Stitch
Step-by-Step Instructions: How to Half Double Crochet (hdc)
Step 1: Making the Slip Knot and Foundation Chain
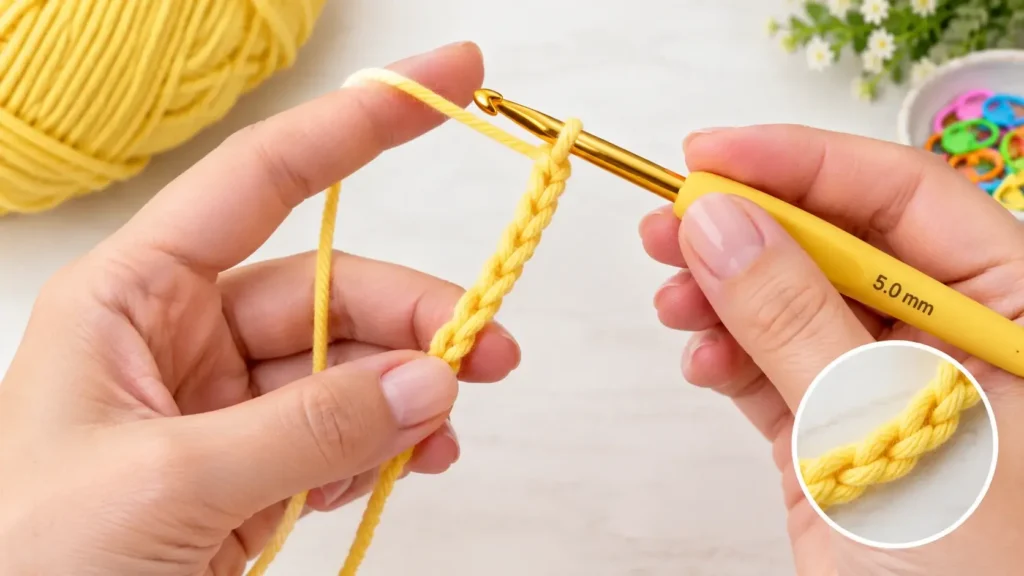
- Start with a slip knot and place it onto your crochet hook. Keep your tension nice and relaxed.
- Chain as many stitches as you need for your desired project width. For practice, you can work 22 chains.
- Remember to keep your beginning foundation chain nice and loose so it is easy to work into.
Step 2: Working Your First Half Double Crochet Row
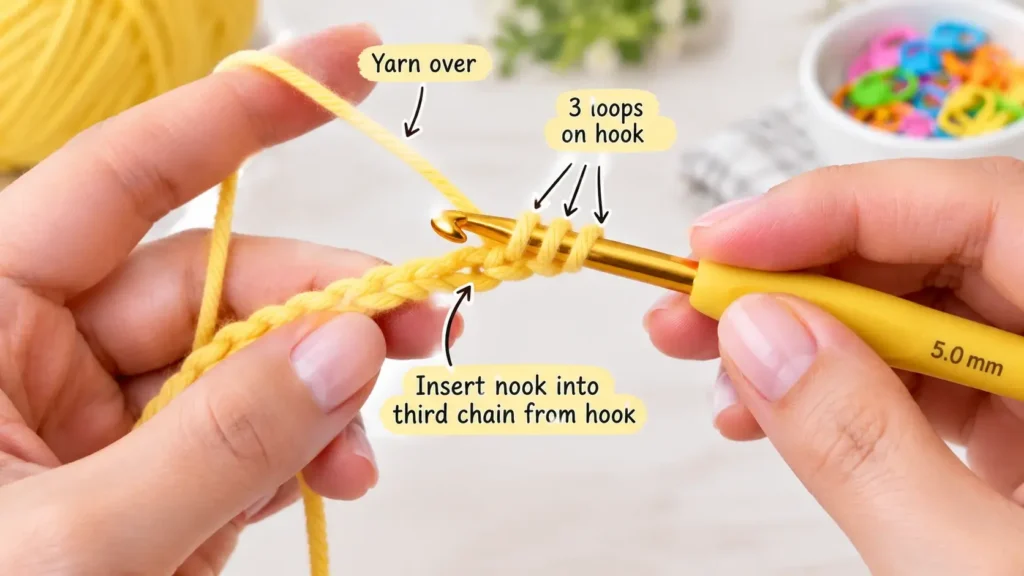
- For the half double crochet, you will be working into the third chain from the hook (do not count the loop currently on your hook: 1, 2, 3).
- Before going into the chain, yarn over your hook.
- Insert your hook into the 3rd chain, yarn over again, and pull through a loop. You will now have 3 loops on your hook.
- Yarn over once more and pull through all 3 loops to create your first half double crochet.
- Continue this exact process down the entire row: yarn over, insert hook into the next stitch, pull up a loop (3 loops on hook), yarn over, and pull through all 3 loops.
Step 3: Turning and Working Subsequent Rows
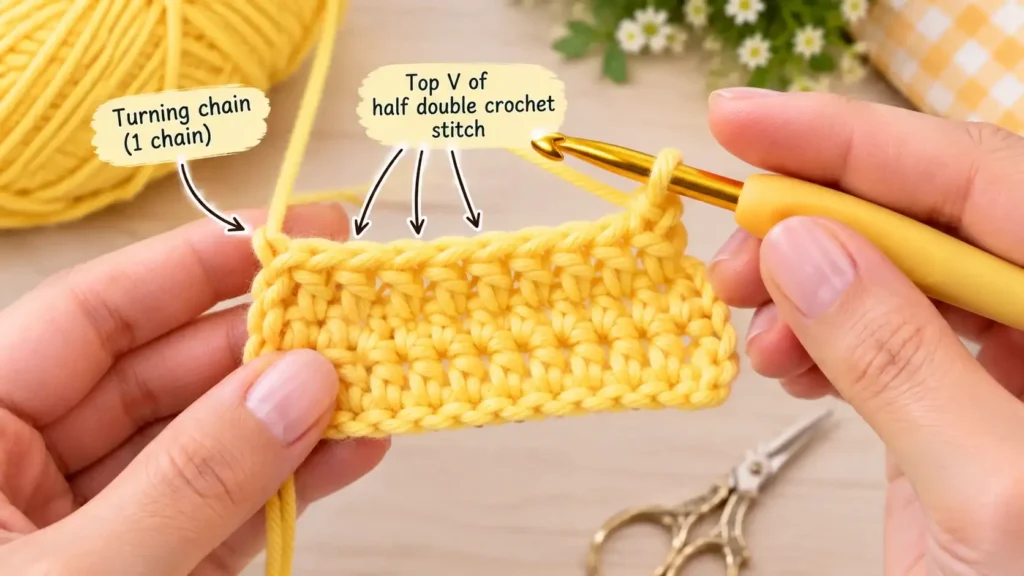
- At the end of your first row, chain 2 to go up to the next row, then turn your work around.
- Skip the very first stitch right next to your turning chain. Yarn over and go into the second stitch to make your first half double crochet of the new row.
- Continue across your row, making sure to work your final stitch into the top of the previous row’s turning chain so your edges stay nice and straight.
Step 4: Fastening Off and Weaving in Ends
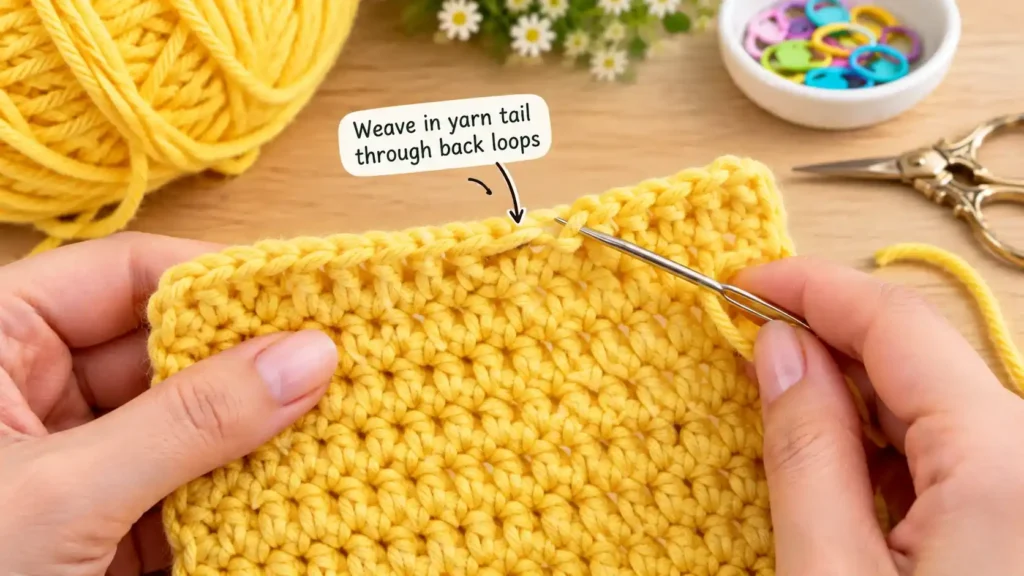
- When your project reaches your desired length, leave a tail of yarn, cut it, and pull it all the way through the final loop to secure it.
- Thread your yarn tail onto a tapestry needle (a bent tip needle works great).
- Weave your needle down through the back of your stitches, change directions, and weave back through to lock the tail firmly in place. Trim any excess yarn.
Conclusion
Now you know how to master the half double crochet! With a bit of yarn and some practice, you’ve created a beautiful, even fabric ideal for dishcloths, scarves, and blankets. Well done and happy crocheting!
If you like our pattern, please leave us feedback and stay tuned for our next lesson!