How to Crochet Doll for Beginners: Easy Amigurumi
Master how to make a crochet doll with our exhaustive step-by-step tutorial. Follow every single stitch, technique, and assembly step from the video guide!
Complete Step-by-Step Guide: How to Crochet a Doll
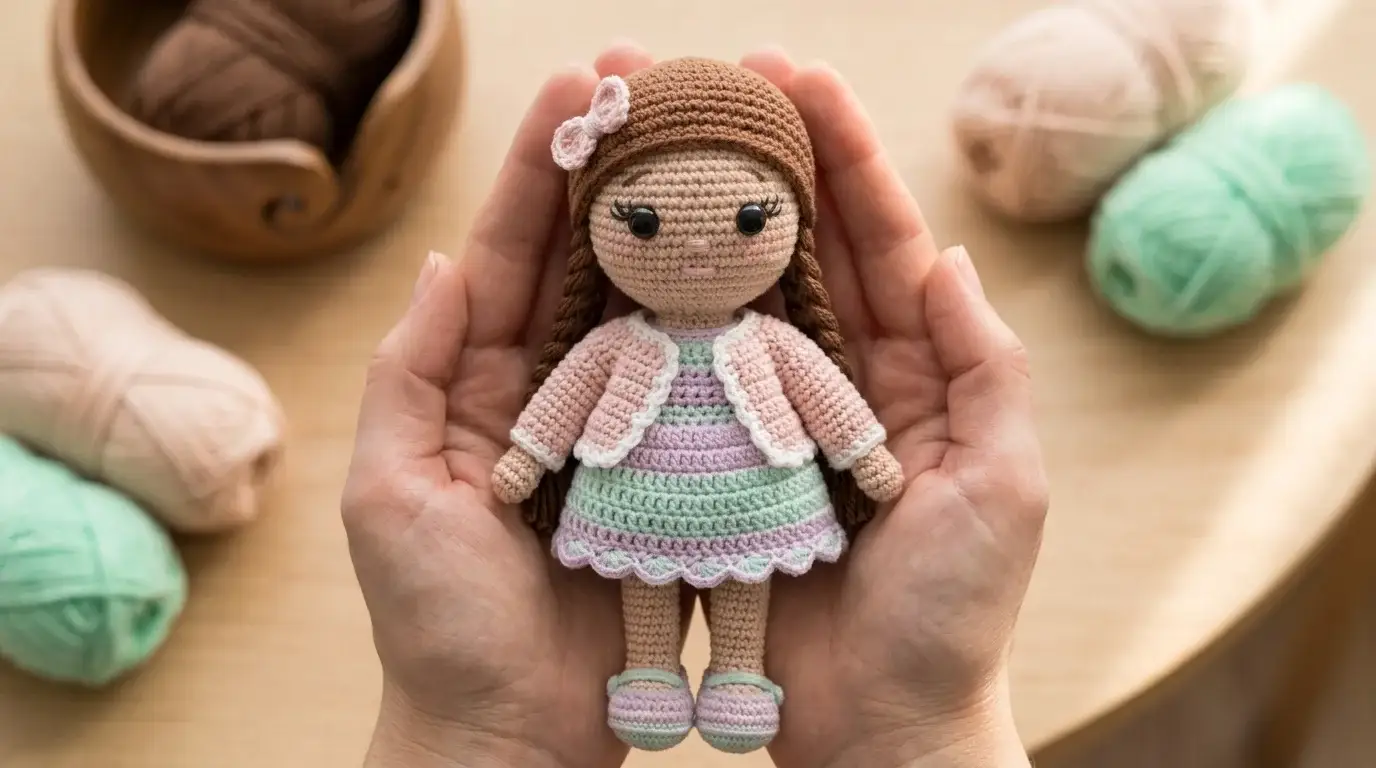
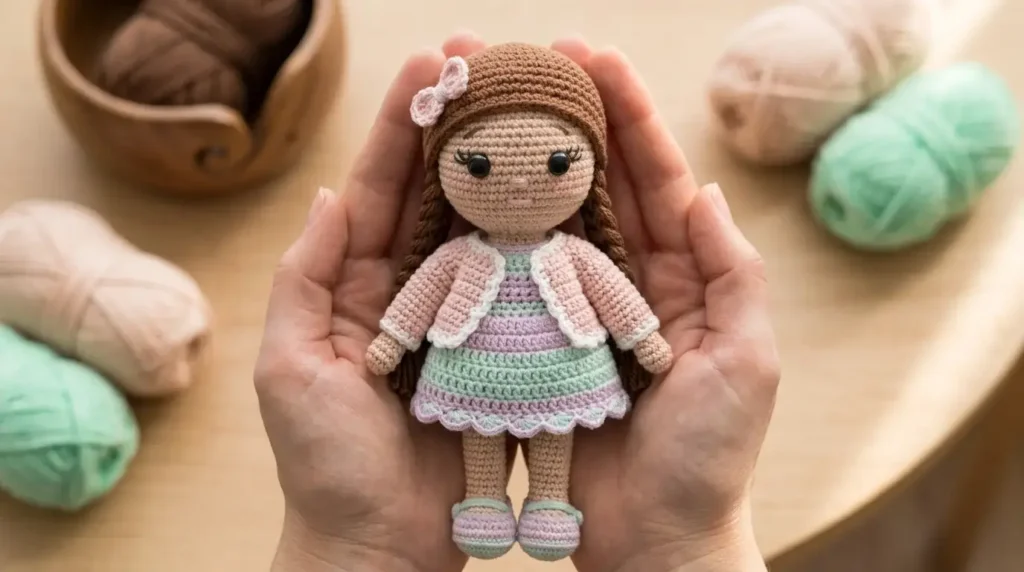
Creating a handmade amigurumi doll is one of the most rewarding projects you can undertake. Whether you are searching for inspiration among crochet doll patterns or looking to try free crochet doll patterns, this comprehensive guide breaks down every single detail from the video tutorial.
Below is the exhaustive, step-by-step walkthrough of every stitch, loop, and assembly technique shown in the video.
Table of Contents
Materials & Tools Needed
To ensure your doll turns out clean, sturdy, and professionally finished, gather the following supplies:
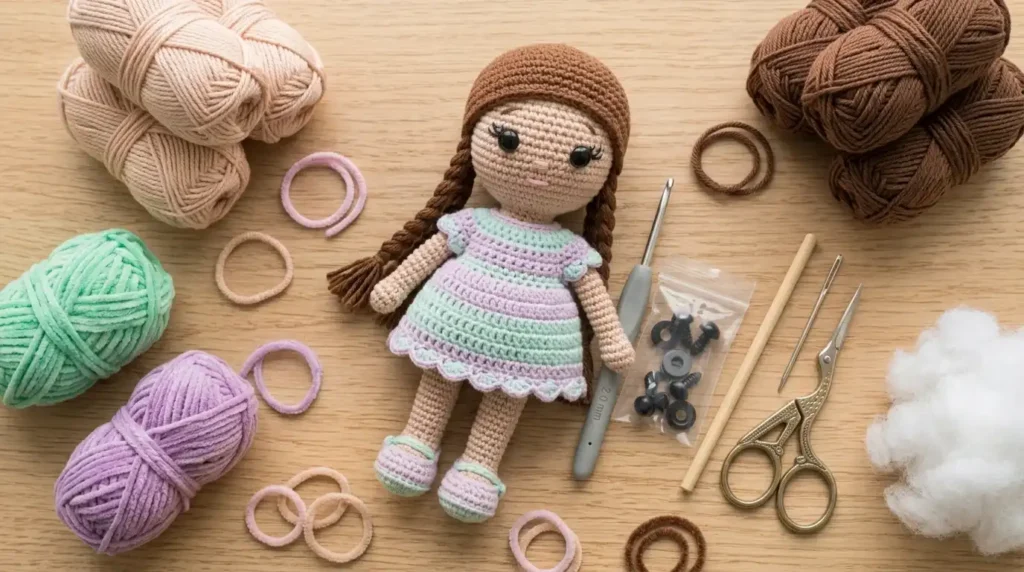
- Yarn: Sport weight or light worsted cotton yarn in skin tone, shoe/pants color, shirt color, and hair color.
- Crochet Hook: A 2.0 mm or 2.25 mm hook to maintain tight tension and keep stuffing hidden.
- Safety Eyes: 6 mm or 7 mm black safety eyes with back washers. embroidery floss (black and pink) for facial details.
- Stuffing: Polyester fiberfill for firm amigurumi stuffing.
- Structural Support: A wooden chopstick, craft dowel, or thick wire to support the neck.
- Tapestry Needle & Scissors: For weaving ends and sewing pieces together.
- Stitch Markers: To track rounds in continuous spirals.
Stitch Abbreviations (US Terms)
- MR = Magic Ring
- ch = Chain stitch
- sc = Single crochet
- inc = Increase (2 single crochets in the same stitch)
- dec = Invisible decrease (sc 2 stitches together through front loops only)
- sl st = Slip stitch
- hdc = Half double crochet
- st(s) = Stitch(es)
Detailed Step-by-Step Video Walkthrough
Part 1: Crocheting the Legs and Joining the Body
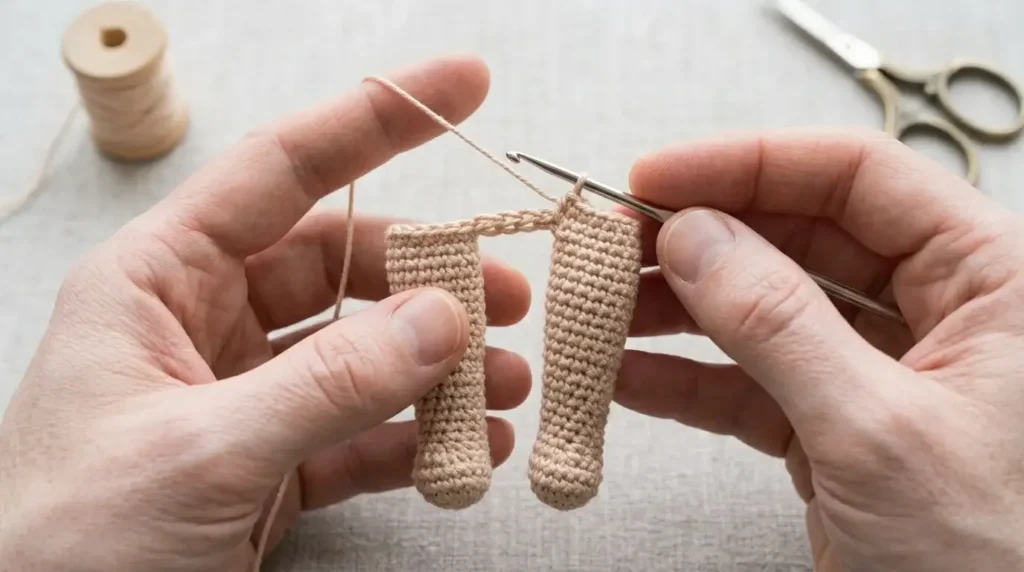
- Starting the First Leg: Begin with the shoe/pants color yarn. Make a Magic Ring and work 6 single crochets (6 sc) into the ring. Pull tight to close.
- Expanding the Foot: Work an increase in each stitch around to reach 12 stitches.
- Leg Height: Work 1 single crochet in each stitch around for several continuous rounds to build the lower leg and shoe base. Fasten off the first leg completely and weave in the tail.
- The Second Leg & Body Join: Repeat the exact same process to make the second leg, but do not fasten off.
- Joining the Legs: From the second leg, chain 2 or 3 stitches, then join to the first leg with a slip stitch or single crochet. This creates the bridge between the legs and transitions directly into working the waist and lower torso in continuous rounds around both legs.
Part 2: Working Up the Torso and Neck
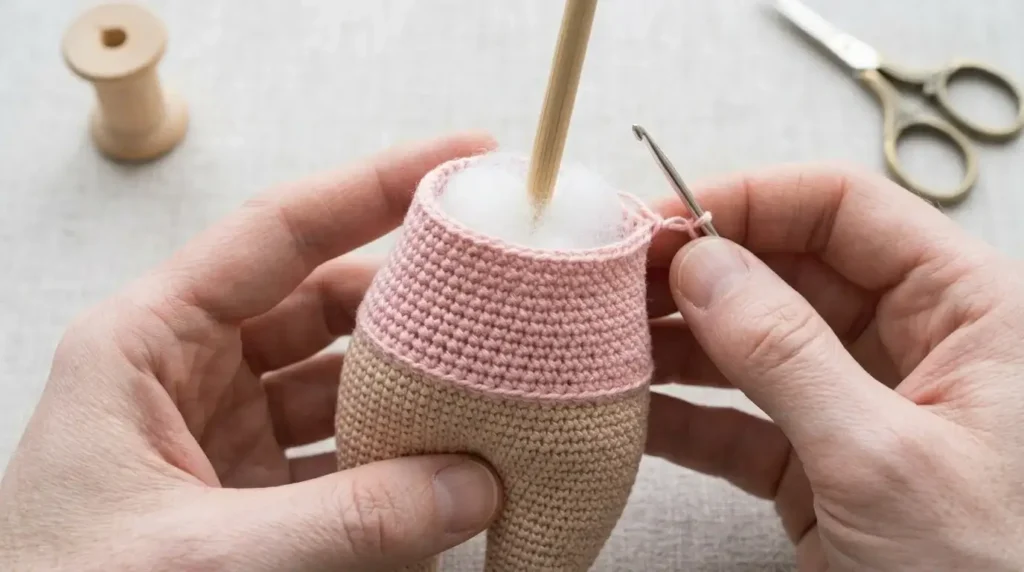
- Building the Torso: Continue working single crochets in a spiral around the combined leg loop. Work regular rounds, incorporating strategic decreases at the hips and waist if required by the shaping, then switch to your shirt color yarn.
- Torso Height & Support: Work straight rows of single crochet upwards to form the chest and shoulders.
- Inserting Neck Support: Before the opening gets too small, insert your wooden dowel, craft wire, or cut chopstick straight down through the center of the torso past the legs. Pack polyester fiberfill tightly around the support stick so the body remains firm, balanced, and upright.
- Narrowing to the Neck: Work rapid decreases across the shoulder row to narrow the stitch count down to a tight circle of about 6 to 8 stitches, forming a sturdy neck post.
Part 3: Crocheting and Attaching the Arms
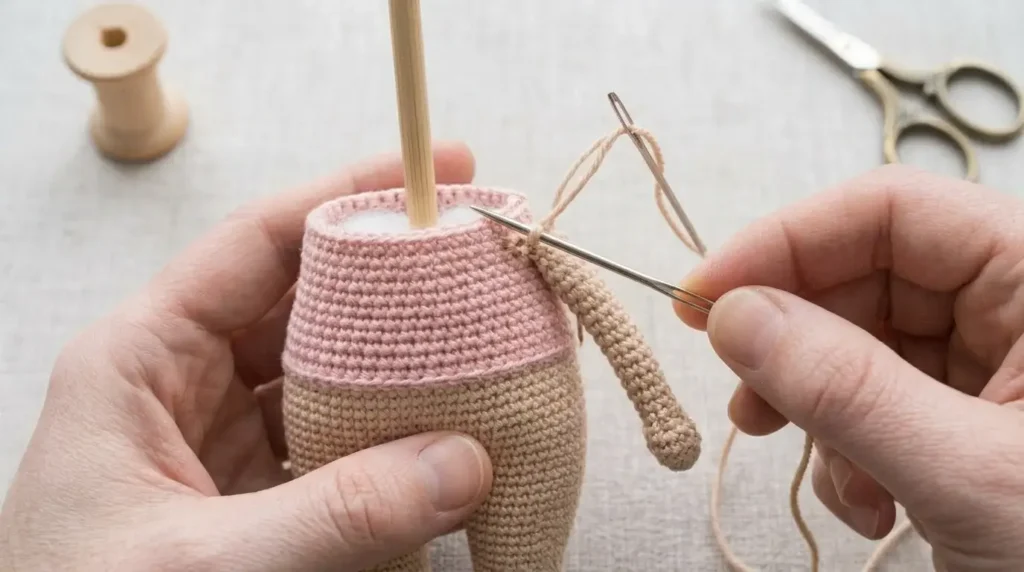
- Making the Arms: Using your skin-tone yarn, make a Magic Ring with 6 sc. Work several straight rows of 6 single crochets without increasing or decreasing to form a small tubular arm. Fasten off, leaving a long tail for sewing. Make two identical arms.
- Attaching to Shoulders: Thread your tapestry needle with the arm tail and securely sew each arm to the upper shoulder sides of the torso, ensuring they align symmetrically on both sides.
Part 4: Shaping the Head and Face Foundation
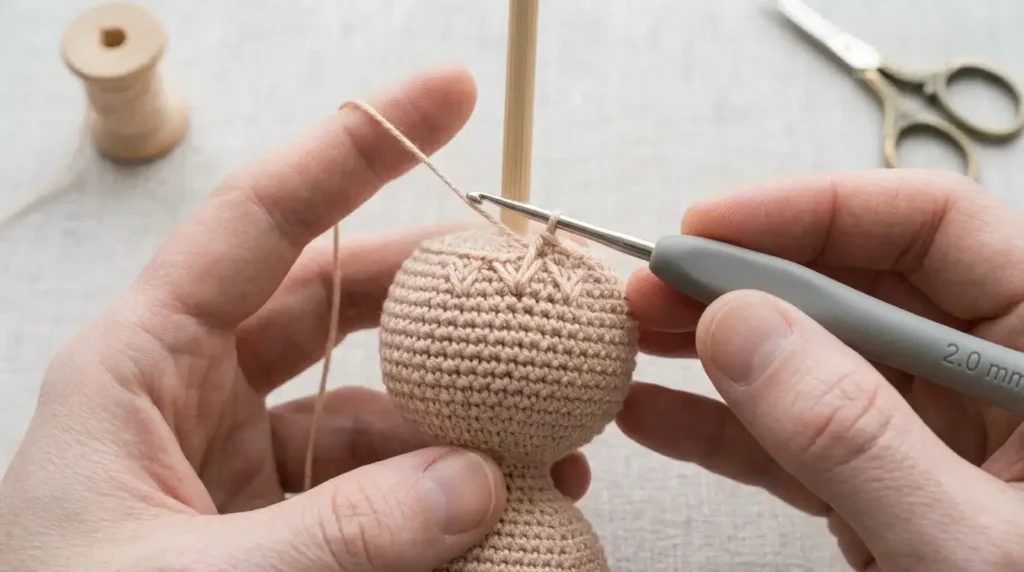
- The Neck-to-Head Transition: Directly above the narrow neck post, begin expanding stitches rapidly to form the base of the chin and jawline.
- Head Increases: Work continuous rounds of increases:
- (1 sc, 1 inc) patterns, expanding out until you reach a wide spherical diameter (typically 30 to 36 stitches total around).
- Spherical Height: Work 6 to 8 straight rows of 1 single crochet in each stitch around to build the cheeks, forehead, and back of the head.
- Head Stuffing: Firmly stuff the head cavity with polyester fiberfill, ensuring it wraps evenly around the central neck dowel so the head sits securely without wobbling.
- Closing the Head: Begin decreasing evenly around (e.g., 4 sc, 1 dec) until only 6 stitches remain. Fasten off, thread the tail through the remaining front loops, pull tight to close, and weave the yarn tail inside.
Part 5: Facial Features, Hair, and Final Assembly
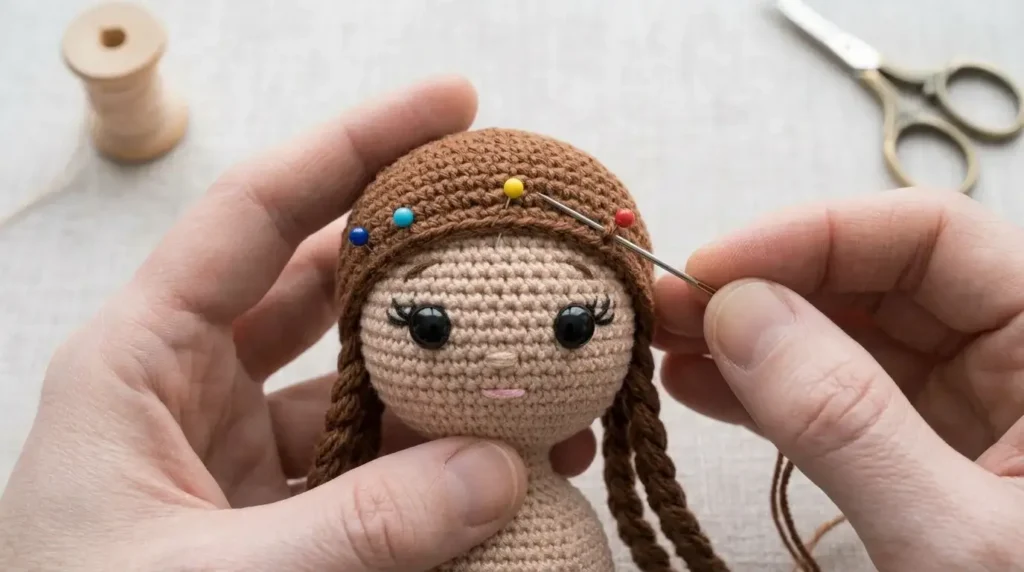
- Placing Safety Eyes: Locate the face area on the head (typically centered between rows where increases stopped). Insert your 6 mm safety eyes, spacing them about 5 to 6 stitches apart, and snap the back washers on securely from the inside before stuffing is completely sealed.
- Embroidering Details: Use black embroidery floss to stitch clean eyelashes, eyebrows, and a small nose line between the eyes. Use pink thread to add a sweet blush line under each eye.
- Creating the Hair Cap & Strands: Using your hair color yarn, crochet a flat circular cap base matching the crown of the head. Attach individual strands of yarn or loop-stitch rows around the perimeter to form bangs and long hair lengths, then style into ponytails, braids, or buns as shown in the video.
Creative Ways to Style Your Crochet Dolls
Using reliable crochet doll patterns opens up limitless customization possibilities:
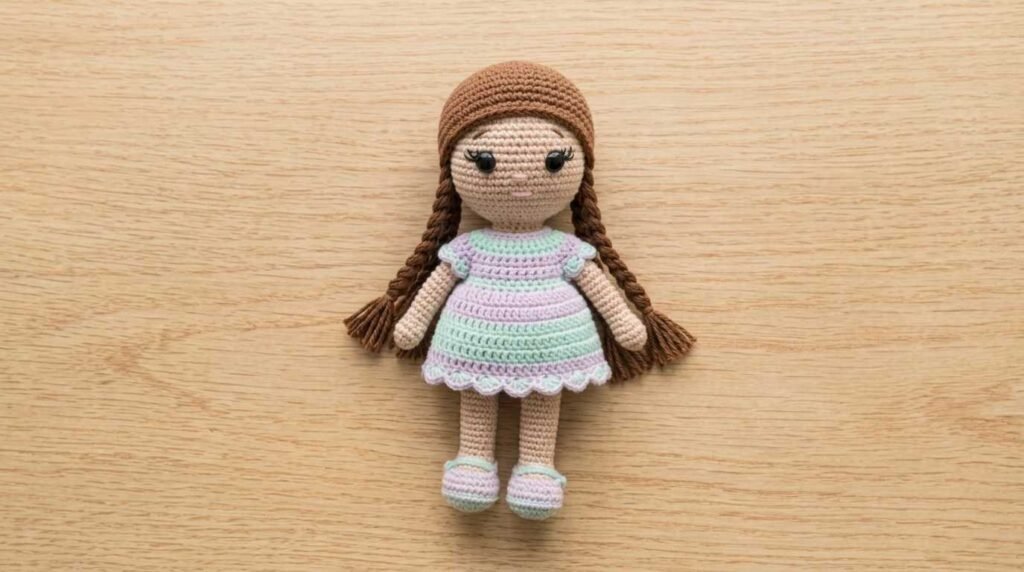
- Interchangeable Outfits: Crochet mini dresses, removable overalls, cardigans, and tiny strap shoes using scrap cotton yarn.
- Character Designs: Customize hair colors, eye styles, and accessories to transform your base doll into fairies, angels, or favorite characters.
- Heirloom Gifts: Handcrafted amigurumi dolls make unforgettable, cherished keepsakes for birthdays and holidays.
Conclusion
Learning how to create a crochet doll is an incredible milestone that elevates your amigurumi skills. By mastering leg joins, torso shaping, neck support, and facial styling, you can explore countless free crochet doll patterns to bring your imaginative characters to life!