How to Crochet Scrunchie: Easy Free Pattern Guide
Learn how to make a crochet scrunchie step-by-step! Follow our beginner-friendly free crochet scrunchie pattern using simple double crochet stitches worked around an elastic hair tie.
How to Crochet a Scrunchie: Easy Free Beginner Pattern & Tutorial
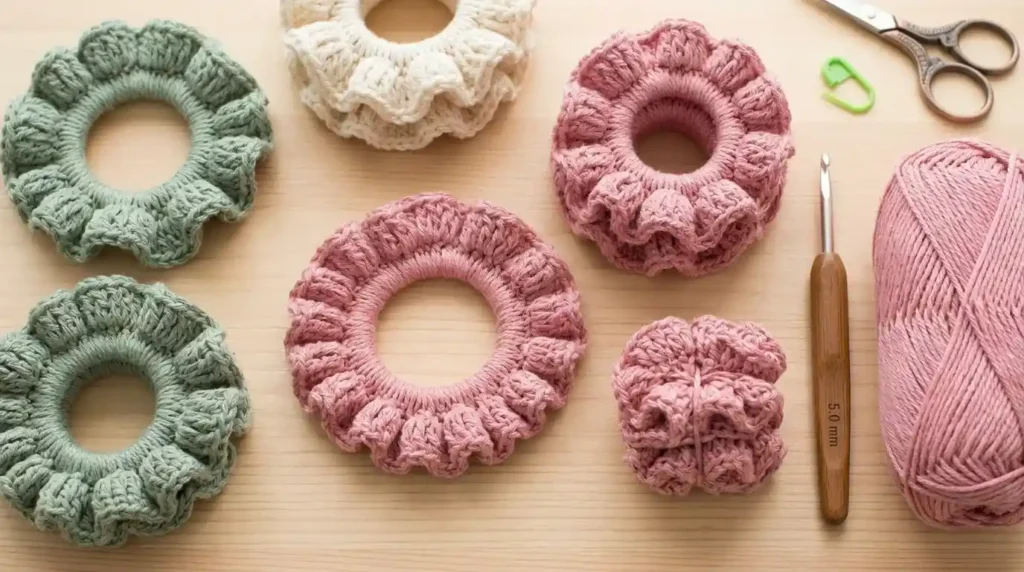
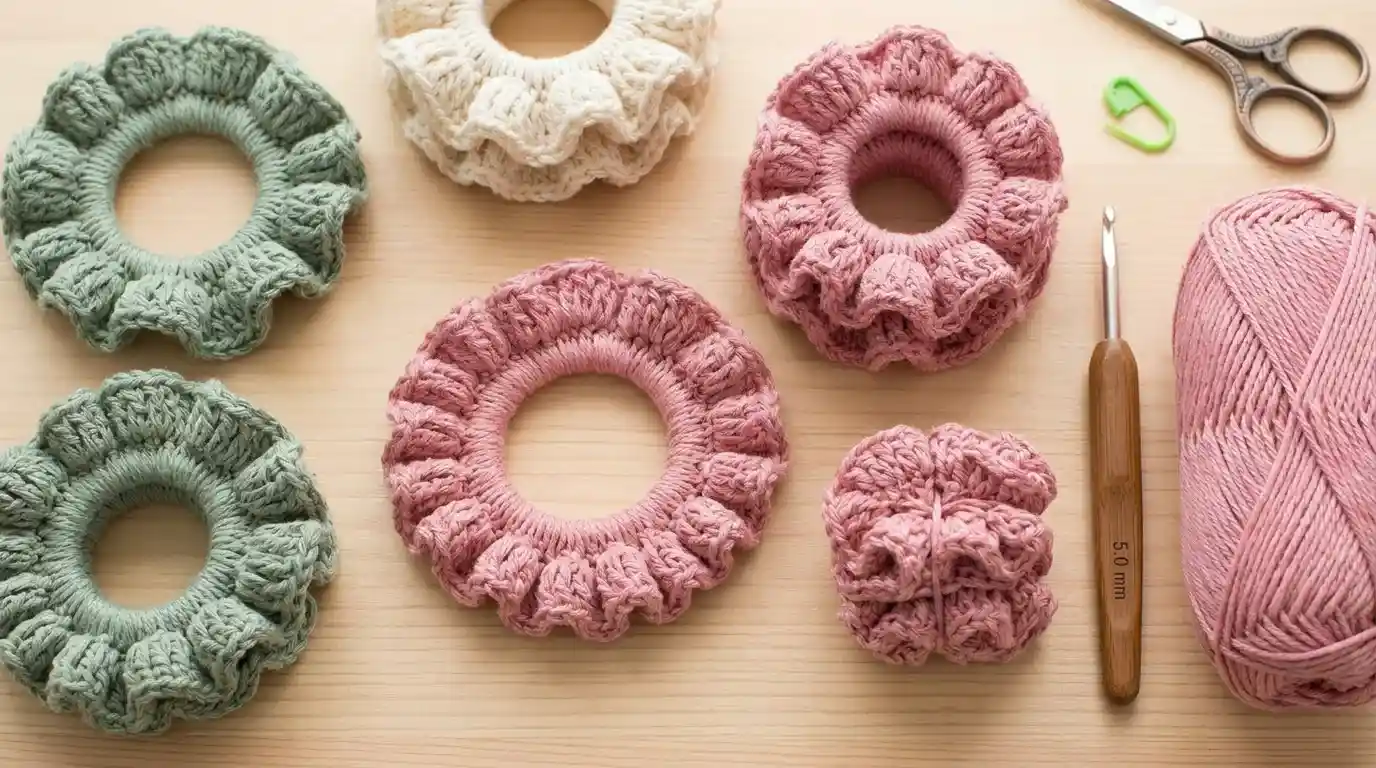
Crocheting your own hair accessories is one of the quickest, most satisfying, and budget-friendly projects in modern fiber arts. A crochet scrunchie is a classic staple that brings cozy 90s nostalgia together with modern handmade fashion. They take less than 30 minutes to make, require minimal yarn, and make fantastic gifts or craft fair items.
Whether you’ve already tried quick hair pieces like our crochet bandana or moved on to garments like our crochet poncho pattern, creating crocheted scrunchies is the ultimate fast project. They are gentle on hair, prevent breakage, and offer endless possibilities for mixing textures and colors!
Table of Contents
Materials Needed
To craft soft, durable crocheted scrunchies with maximum ruffling, gather these basic supplies:
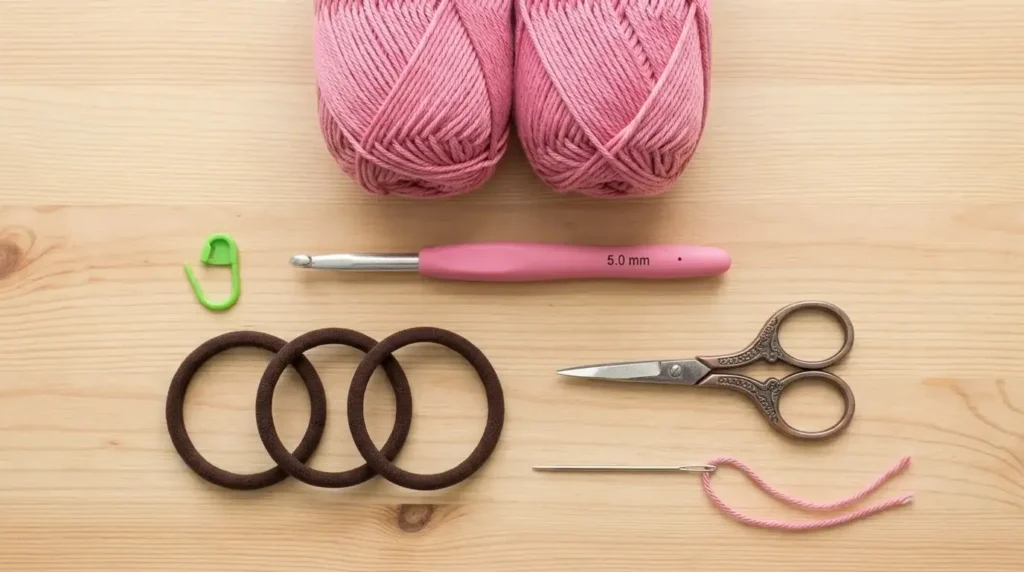
- Yarn: Medium-weight cotton yarn (such as I Love This Cotton) or medium-weight acrylic yarn (approx. 20–35 yards per scrunchie). Velvet or chenille yarn also creates ultra-plush variations.
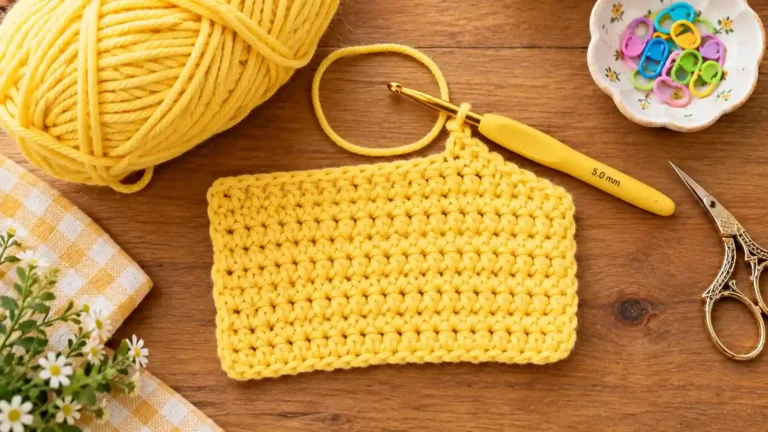
- Crochet Hook: 5.0 mm (US H-8) ergonomic crochet hook.
- Elastic Hair Band: Standard fabric-covered elastic hair tie or hair band without metal clasps.
- Tapestry Needle & Scissors: For weaving in yarn ends neatly and trimming tails.
Stitch Abbreviations (US Terms)
- ch = Chain stitch
- dc = Double crochet
- sl st = Slip stitch
- st(s) = Stitch(es)
Pattern Notes
- Work directly around the elastic: Instead of making a separate fabric tube and inserting elastic later, this crochet hair scrunchie pattern stitches directly around the elastic band for speed and simplicity.
- Adjustable Sizing: This pattern adapts easily to any size hair tie. Your stitch count will vary depending on the size of your elastic and how tightly packed you want your ruffles.
Step-by-Step Crochet Hair Scrunchie Pattern
Step 1: Attaching Yarn to the Elastic Band
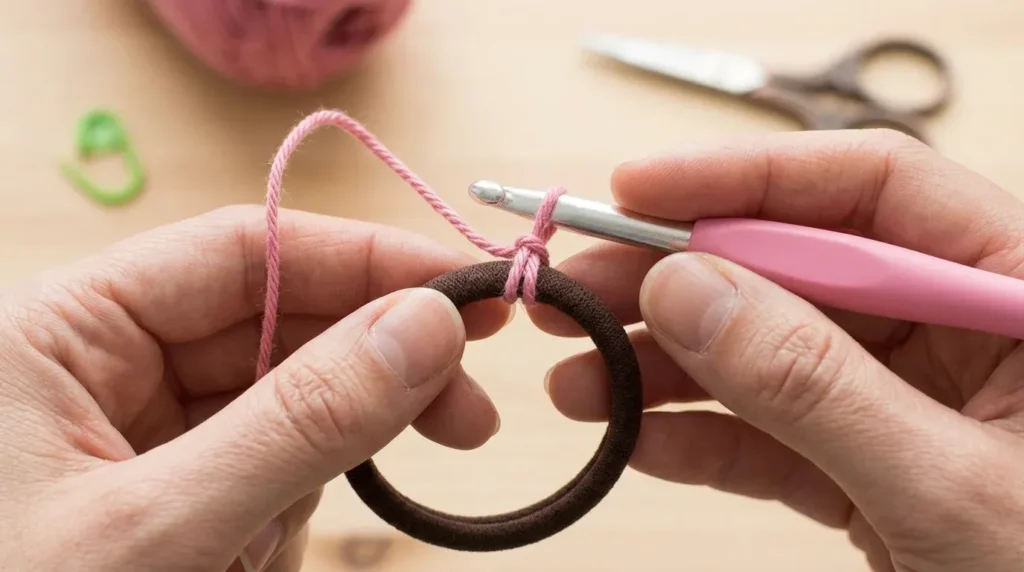
- Grab your hair tie and your working yarn. Place the yarn through the center of the hair tie and tie a simple knot to secure the yarn firmly onto the elastic band.
- Insert your hook through the hair tie, grab your long working yarn, and pull it out of the hair tie to create a loop on your hook.
- Yarn over and pull through the loop on your hook to create your first chain, anchoring the yarn and preparing you to begin crocheting.
Step 2: Round 1 (Foundation Double Crochet Ring)
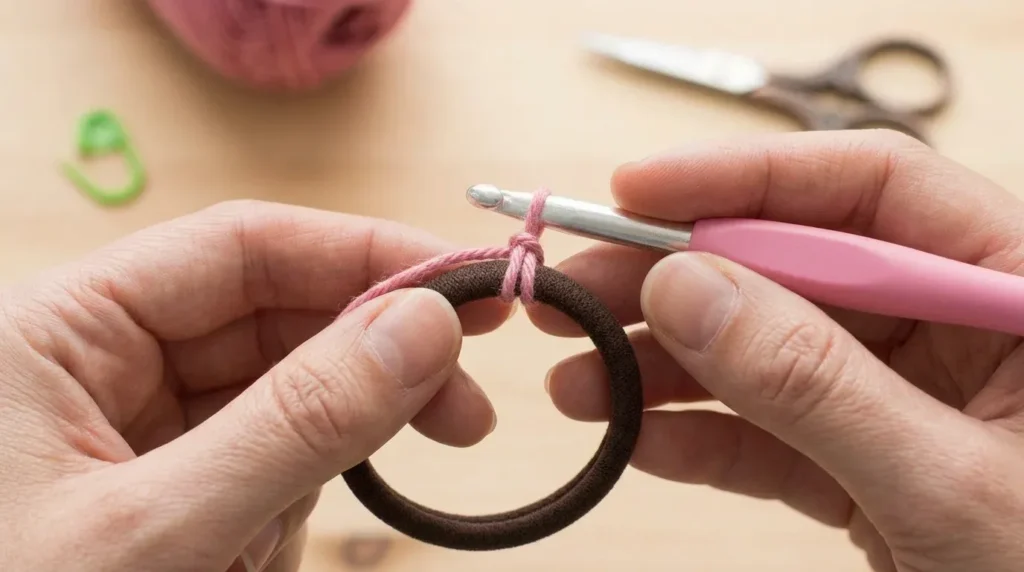
- Make 2 more chains so you have a total of 3 chains (counts as your first double crochet structure).
- Double Crochet (dc): Yarn over, insert your hook through the center of the hair tie, yarn over and pull up a loop (3 loops on hook). Yarn over and pull through 2 loops (2 loops remaining), then yarn over and pull through the last 2 loops.
- Continue working double crochets all the way around the hair tie. As you go, periodically slide and pull your stitches tightly together along the elastic to create a dense base and encourage ruffling (approximately 56 double crochets for a standard hair tie).
- Join the round with a slip stitch into the top of the initial chain-3.
Step 3: Round 2 (Ruffle & Volume Double Crochets)
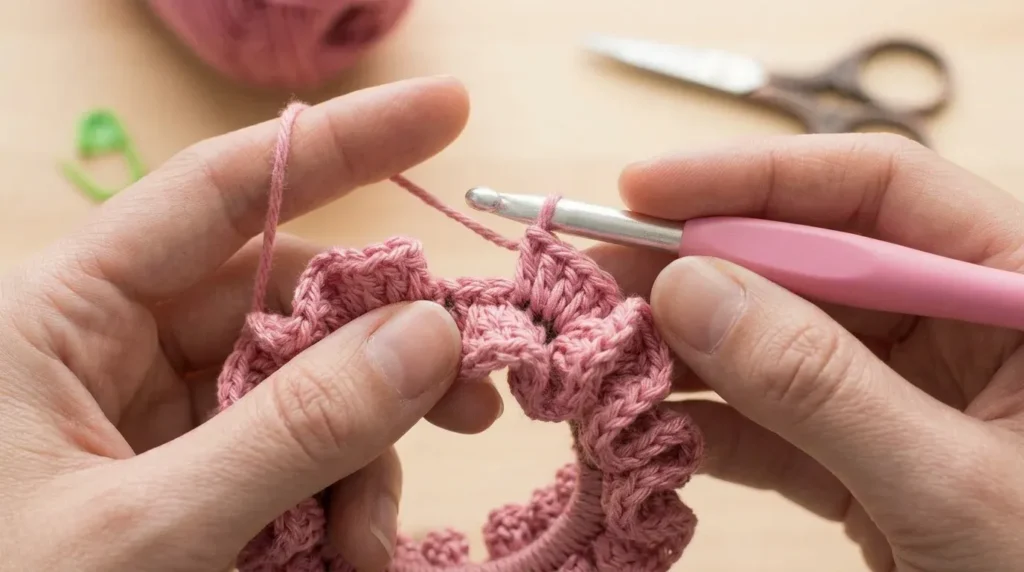
- Chain 3 to start the second round.
- Work 2 double crochets into each stitch all the way around the scrunchie ring. Working multiple stitches into every single stitch creates rich, dramatic ruffles.
- Once you complete the entire circle, join with a slip stitch into the top of the third starting chain.
Step 4: Fastening Off & Weaving in Tails
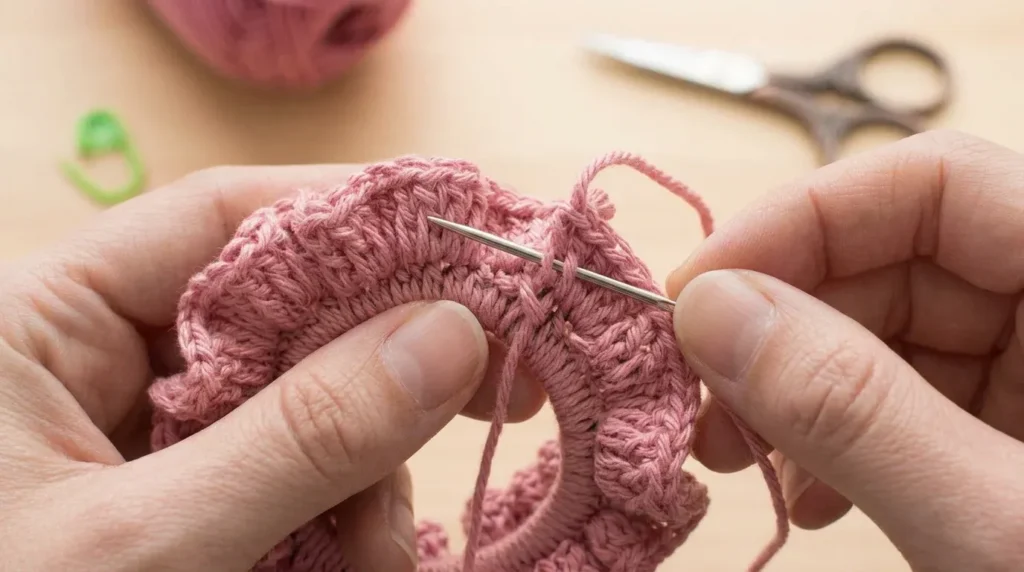
- Chain 1, then cut your yarn leaving a few inches of a tail. Pull the hook all the way up to secure the knot tight.
- Thread your yarn tail onto your tapestry needle. Weave the tail downward and upward through the base double crochet stitches to lock it securely in place, then trim any excess yarn. Repeat for the starting tail.
Five (5) Trend-Forward Fiber Arts Article Topics
Here are 5 original article ideas based on popular patterns from our community framework:
Topic 1: Fast-Fashion Alternatives & 1-Hour Wearable Accessories
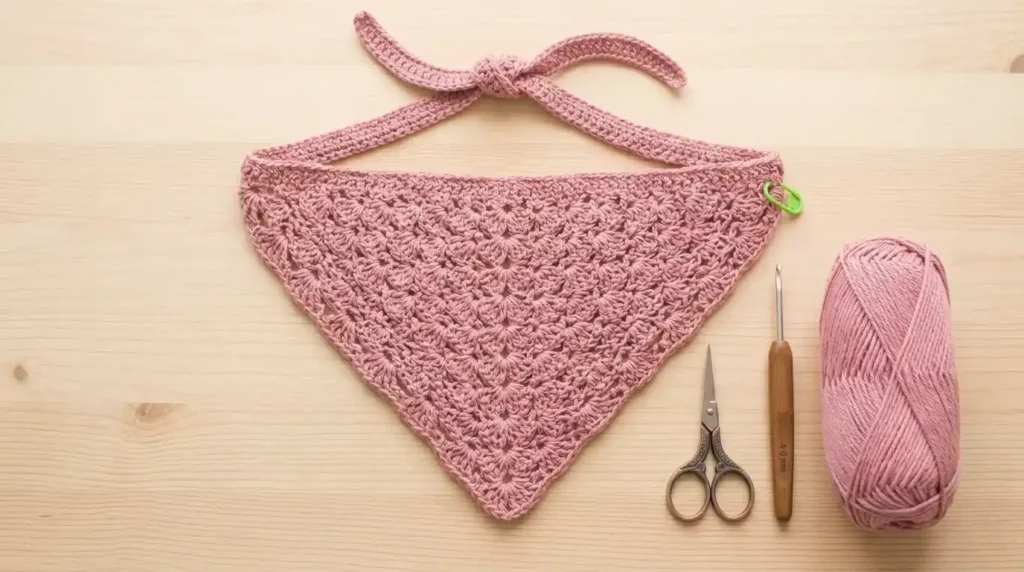
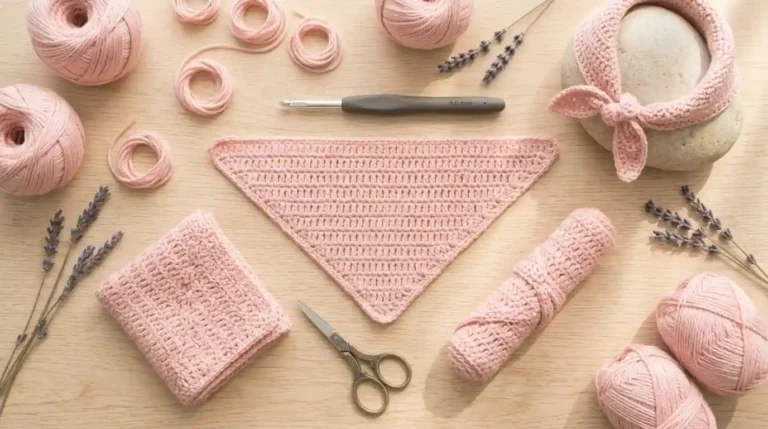
- Featured Inspiration: How to Crochet Bandana In 1 Hour: Beginner Pattern
- Buzzwords: Micro-wearables, 1-hour fibercraft, tactile minimalism, instant gratification craft, festival fiberware.
- Deep Explanation: Crafters are embracing high-speed, eco-conscious hair accessories like triangle bandanas and scrunchies as sustainable alternatives to fast-fashion hair ties.
- Materials Needed: Category 3 DK cotton yarn, 4.0 mm crochet hook, tapestry needle, scissors.
- Easy Step-by-Step Instructions:
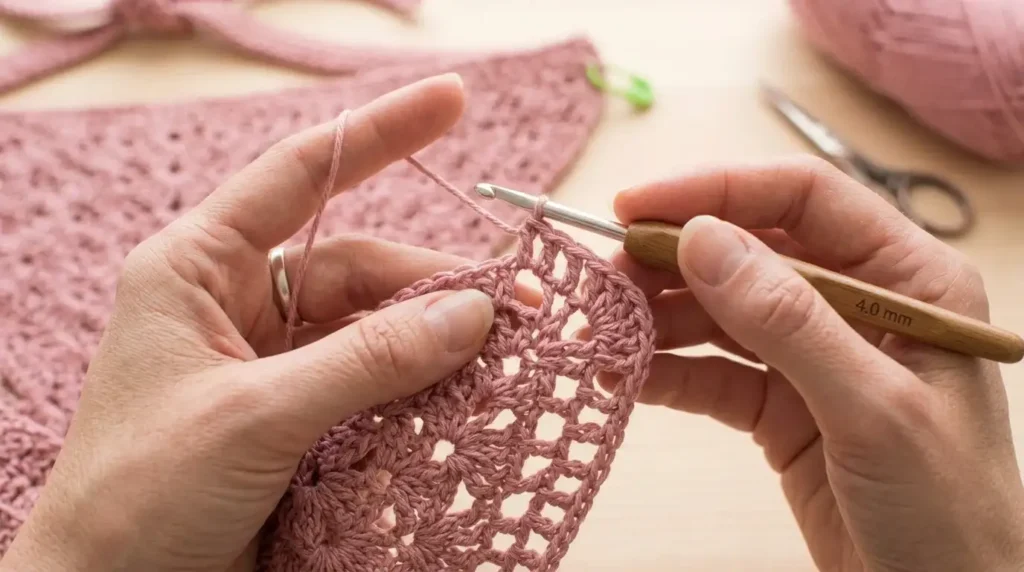
- Form initial magic ring or chain loop for the bottom triangle point.
- Work double crochet rows with edge increases to expand width.
- Crochet a clean single crochet edge along the top straight border.
- Chain long cord ties directly from the top corners and fasten off.
- Actionable Angles: Speed-crafting case study, stash-busting project guide.
- Trend Support: Viral TikTok
#crochetbandanaand summer festival style trends across Pinterest. - Subtopics: Choosing non-slip cotton yarns, adjusting tie lengths for custom fits.
Topic 2: Soft Sculptural Amigurumi & Beginner Doll Engineering
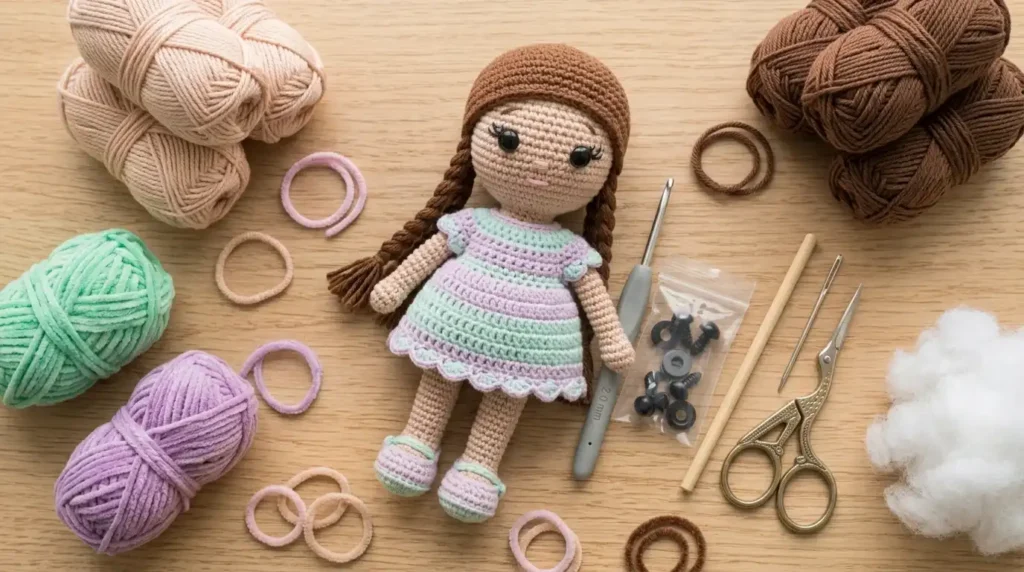
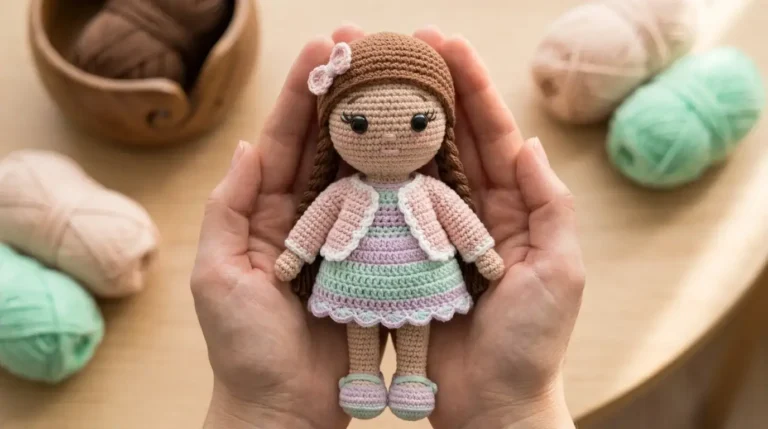
- Featured Inspiration: How to Crochet Doll for Beginners: Easy Amigurumi
- Buzzwords: Tactile storytelling, soft sculptural fiber, beginner amigurumi engineering, collectible fiber art, heirloom plush.
- Deep Explanation: Handmade heirloom dolls provide beginners with an approachable entry point to learn round expansion, stuffing, and seamless assembly.
- Materials Needed: Worsted weight acrylic or cotton yarn, 3.25 mm ergonomic hook, polyester fiberfill stuffing, 8mm safety eyes, tapestry needle.
- Easy Step-by-Step Instructions:
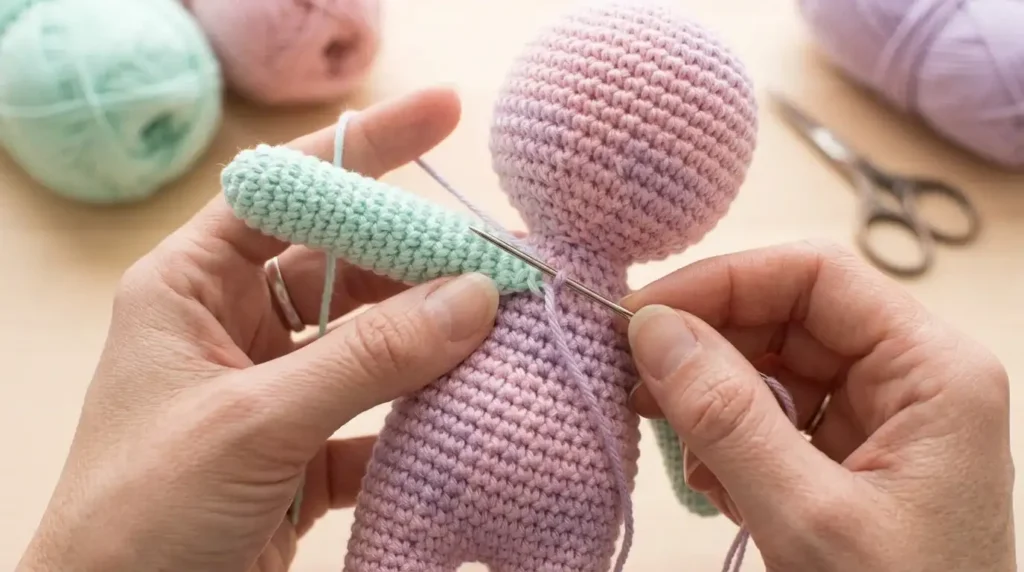
- Work a magic ring and continuous single crochet rounds for the head and body.
- Insert safety eyes and stuff firmly with fiberfill before closing rounds.
- Crochet separate simple arms, legs, and hair caps.
- Stitch components together securely using an invisible mattress stitch.
- Actionable Angles: Amigurumi shaping tutorial, safety eye installation guide.
- SEO Headline: How to Crochet a Doll for Beginners: Easy Amigurumi Step-by-Step
- Trend Support: High Pinterest search volume for handmade crochet dolls and custom character plushies.
- Subtopics: Seamless neck support techniques, embroidering delicate facial details.
Topic 3: Zero-Assembly Fiberware & Seamless No-Sew Amigurumi
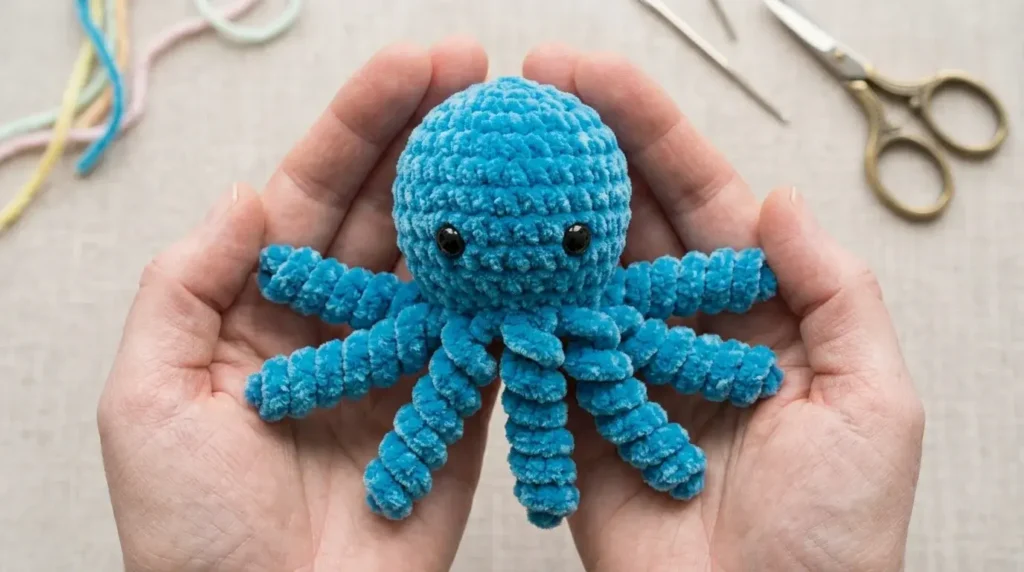
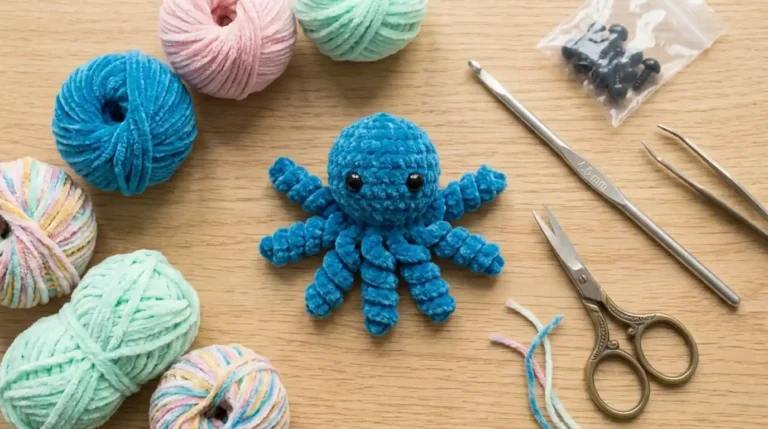
- Featured Inspiration: Crochet Animals for Beginners: Step-by-Step No-Sew Pattern
- Buzzwords: No-sew amigurumi, continuous-loop crafting, seamless fiberware, efficient plushie design, instant plush.
- Deep Explanation: No-sew patterns integrate limbs directly into main body rounds, eliminating difficult sewing steps and speeding up creation times.
- Materials Needed: Plush chenille/velvet yarn, 4.5 mm crochet hook, safety eyes, fiberfill stuffing, locking stitch markers.
- Easy Step-by-Step Instructions:
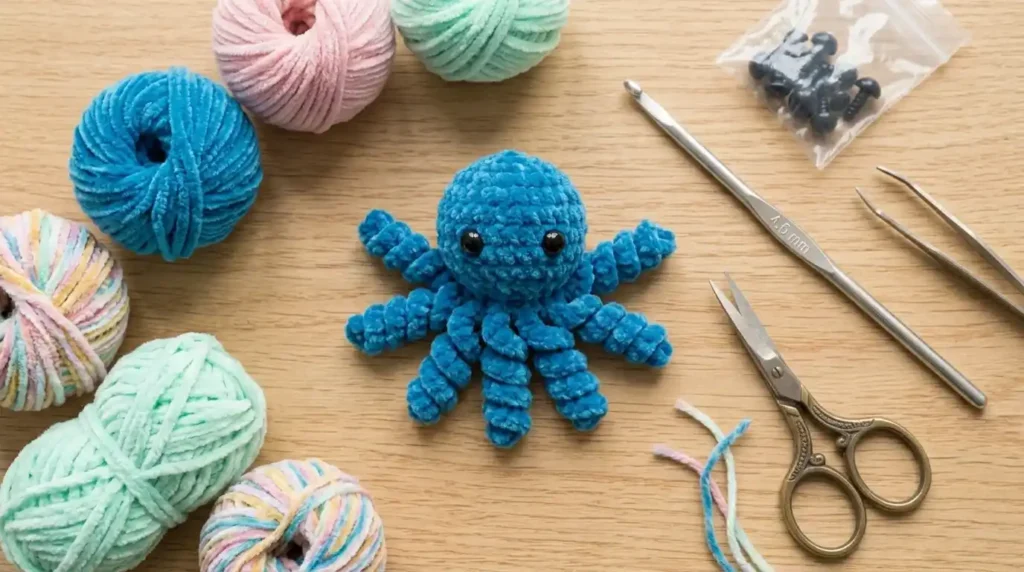
- Start with a magic ring to form the top dome of the animal.
- Work continuous rounds, expanding out to desired body size.
- Work bobble stitches or chain loops directly into a body round to form arms/tentacles.
- Stuff, place safety eyes, and decrease to close the base seamlessly.
- Actionable Angles: Craft fair efficiency guide, no-sew design breakdown.
- SEO Headline: No-Sew Crochet Octopus Pattern: Easy Beginner Guide
- Trend Support: Explosive growth of plushie market vendors on Etsy and TikTok using low-sew and no-sew techniques.
- Subtopics: Working with plush chenille yarn, perfecting invisible decrease stitches.
Topic 4: Micro-Accents & Modular Floral Appliqués
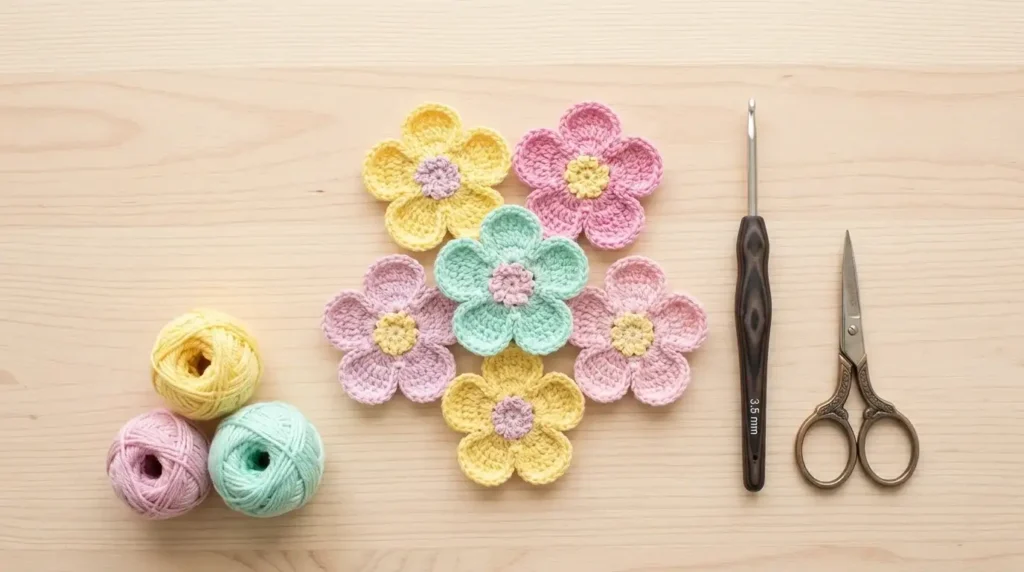
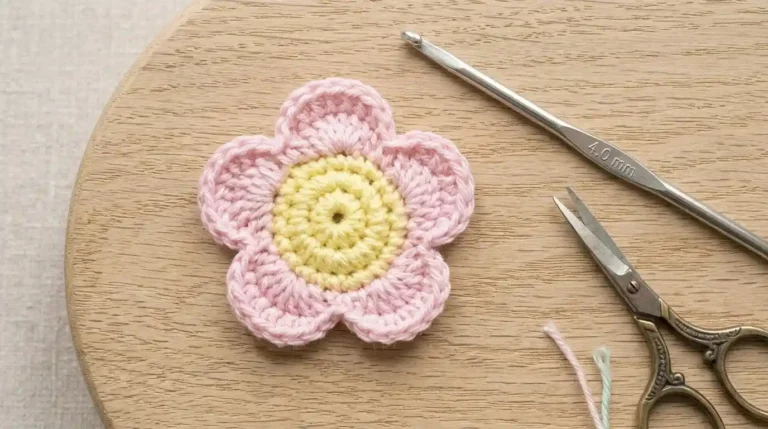
- Featured Inspiration: How to Crochet Small Crochet Flowers: Easy Beginner Tutorial (No Magic Ring)
- Buzzwords: Modular embellishment, micro-botanicals, scrap-busting appliqués, magic-ring alternatives, tactile accents.
- Deep Explanation: Small crocheted flowers are a great scrap-busting project that can be attached to scrunchies, hats, tote bags, and hair clips.
- Materials Needed: Scrap yarn (DK or Worsted), matching crochet hook, tapestry needle, craft scissors.
- Easy Step-by-Step Instructions:
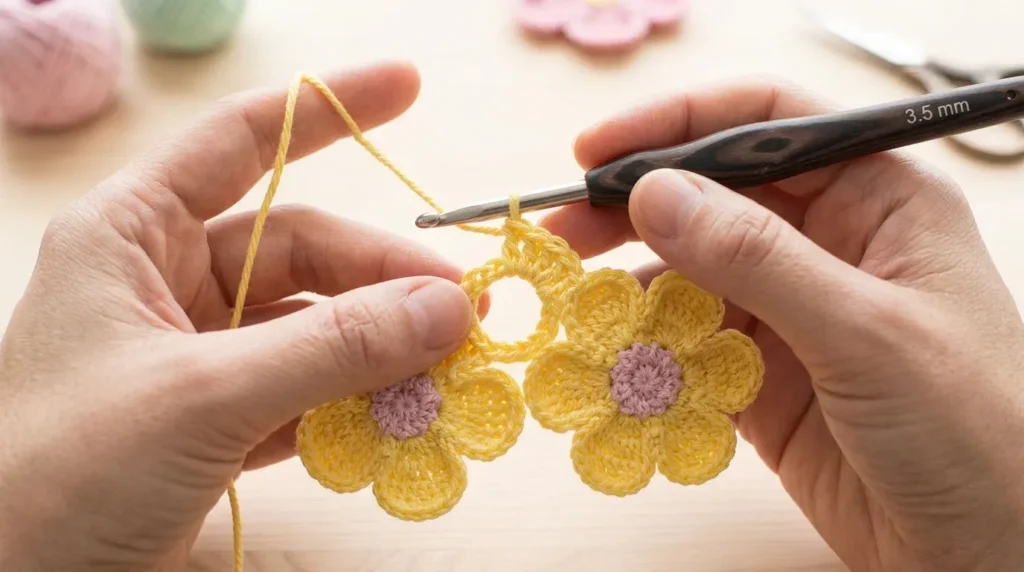
- Chain 4 and join with a slip stitch to form a starting ring (no magic ring needed!).
- Work single crochet stitches into the center ring.
- Create petals by working
[ch 2, 3 dc, ch 2, sl st]into each stitch around. - Fasten off leaving a long tail for sewing onto larger projects.
- Actionable Angles: Scrap yarn project ideas, garment embellishment walkthrough.
- Trend Support: Cottagecore aesthetic trends on Instagram highlighting botanical crochet patches and sweater edgings.
- Subtopics: Joining flower appliqués to garments, color-palette pairing for scrap yarn.
Topic 5: Custom-Fit Garment Architecture & Measured Yoke Collars
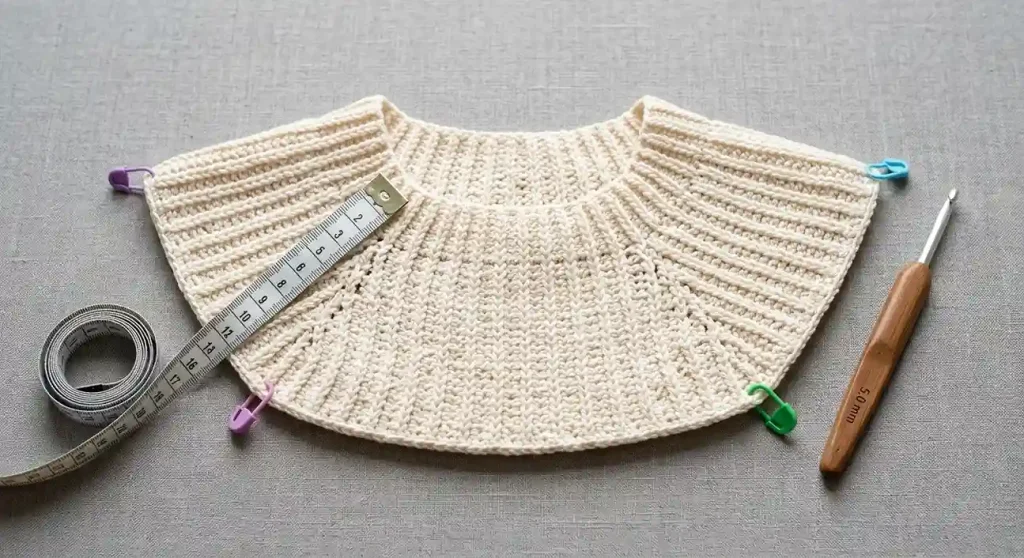
- Featured Inspiration: Custom Ribbed Yoke / Collar Wearable
- Buzzwords: Algorithmic garment shaping, custom-fit fiberware, ribbed yoke architecture, bespoke wearables, tactile minimalism.
- Deep Explanation: Transitioning from accessories to tailored garments relies on mastering ribbed collars and raglan increase math to fit any body type accurately.
- Materials Needed: Category 4 worsted weight yarn, 5.0 mm hook, flexible measuring tape, 4 stitch markers.
- Easy Step-by-Step Instructions:
- Measure neck circumference and chain corresponding length for the ribbing.
- Work single crochet stitches in the Back Loop Only (BLO) to create elastic ribbing.
- Join ribbing into a ring and work setup stitches along the long edge.
- Divide stitches into front, back, and shoulders using 4 markers for raglan expansion.
- Actionable Angles: Garment math tutorial, custom sizing breakdown.
- SEO Headline: How to Crochet a Custom Ribbed Neck Collar for Garments & Sweaters
- Trend Support: Growing DIY fashion community movement toward tailor-made, slow-fashion clothing patterns.
- Subtopics: Calculating ribbing stretch recovery, seamless raglan increase techniques.
Conclusion
This free crochet scrunchie pattern is the ideal 15-minute stash-buster for crafters of all skill levels. By working double crochets straight around an elastic hair tie and building ruffles in Round 2, you can make beautiful crocheted scrunchies for yourself, your shop, or your friends in no time!