
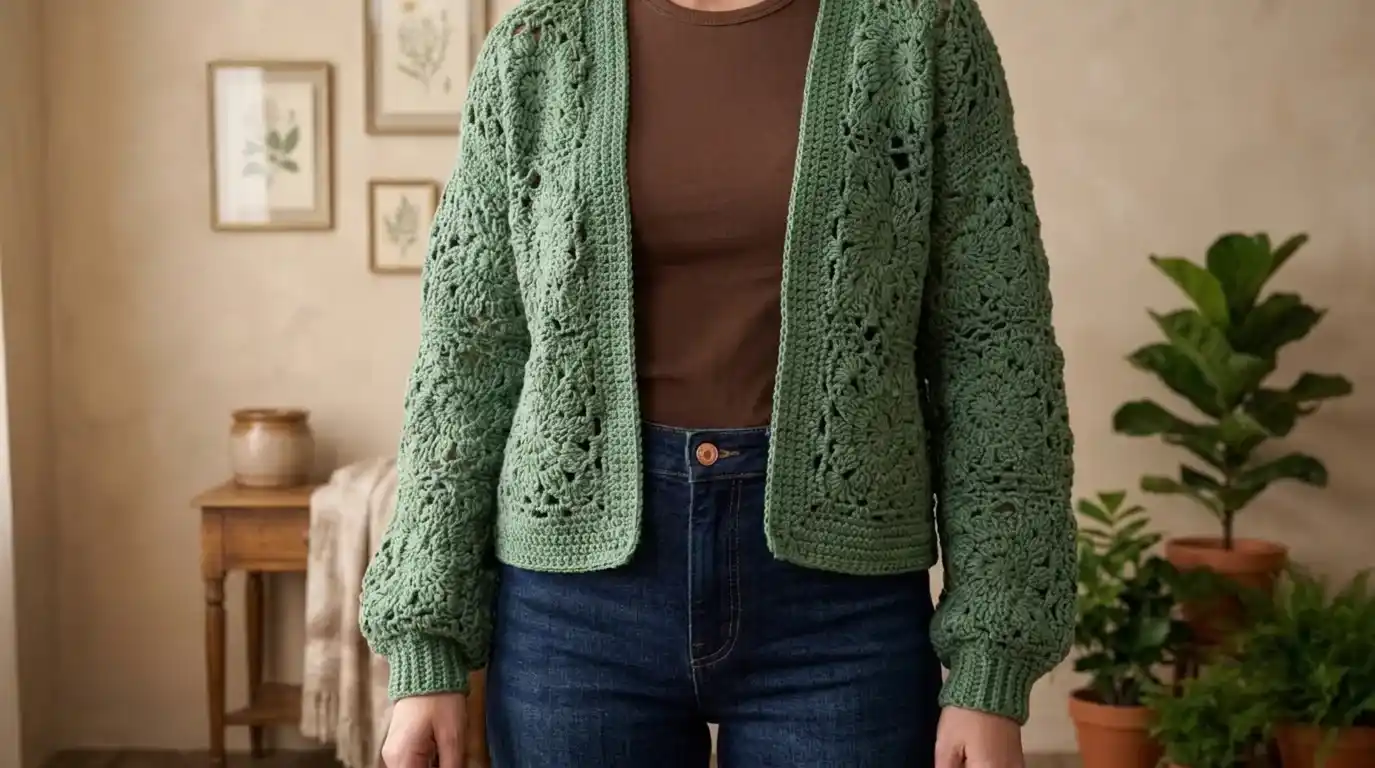
The Hydrangea Cardigan: Free Crochet Blouse Pattern
Learn how to make The Hydrangea Cardigan with our free step-by-step crochet pattern guide. Features floral motif strips, custom sizing, and button details.
The Hydrangea Cardigan: Complete Crochet Blouse & Cardigan Pattern

Elevate your handmade wardrobe with The Hydrangea Cardigan—a breathtaking, intermediate-level crochet garment that blends delicate floral motif strips with airy stitch patterns. Originally published using Nazli Gelin Garden 100% mercerized cotton yarn, this versatile piece functions as a lightweight blouse or open-front cardigan, making it an exquisite layering staple for any season.
Table of Contents
Pattern Overview & Specifications

- Pattern Name: The Hydrangea Cardigan
- Skill Level: Intermediate
- Available Sizes: X-Small (Small, Medium, Large, X-Large, 2X)
- Shown in Size: X-Small
- Finished Bust Measurements: 32 (36, 40, 44, 48, 52) inches
- Finished Length: 25 inches
- Sleeve Length to Underarm: 15 inches
Materials Needed
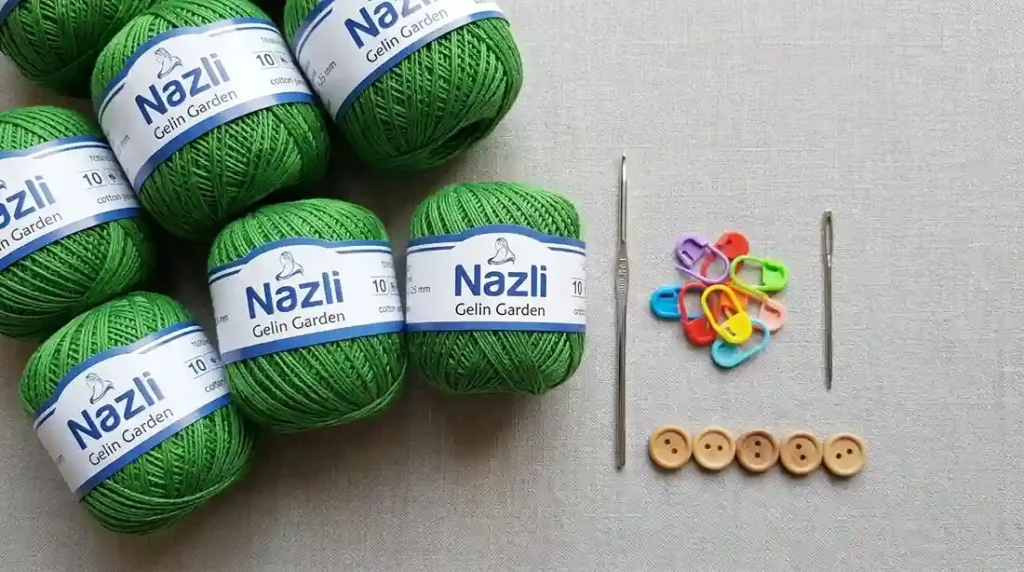
- Yarn: Nazli Gelin Garden #701-35 (100% Cotton, 308 yd / 50 g per ball) — 8 (9, 10, 11, 12, 13) balls.
- Crochet Hook: US 8 (1.25 mm) steel crochet hook, or size required to obtain correct gauge.
- Notions: Stitch markers, tapestry needle, five $\frac{1}{2}$-inch (13 mm) buttons.
Gauge & Measurements
- Single Crochet: 12 stitches = 1 inch.
- Motif Size: One 6-petal motif measures $1\frac{3}{4}$ inches wide by $1\frac{1}{2}$ inches tall.
- Pattern Repeat: One pattern repeat as shown on the chart equals $3\frac{1}{4}$ inches tall.
- Note: Taking time to check your gauge ensures your finished garment matches the specified dimensions.
Special Stitches & Abbreviations
- Extended Double Crochet (edc): Yarn over (yo), insert hook in stitch, yo and pull up a loop, yo and draw through 1 loop on hook, [yo and draw through 2 loops on hook] 2 times.
- Front Post Single Crochet (FPsc): Insert hook from front to back to front around the post of the specified stitch, yo and pull up a loop, yo and draw through 2 loops on hook.
- Abbreviations: beg (beginning), ch (chain), dc (double crochet), rep (repeat), rnd(s) (round(s)), sc (single crochet), sk (skip), sl st (slip stitch), sp(s) (space(s)), st(s) (stitch(es)), yo (yarn over).
Step-by-Step Construction Instructions
Step 1: Crafting the Motif Strips
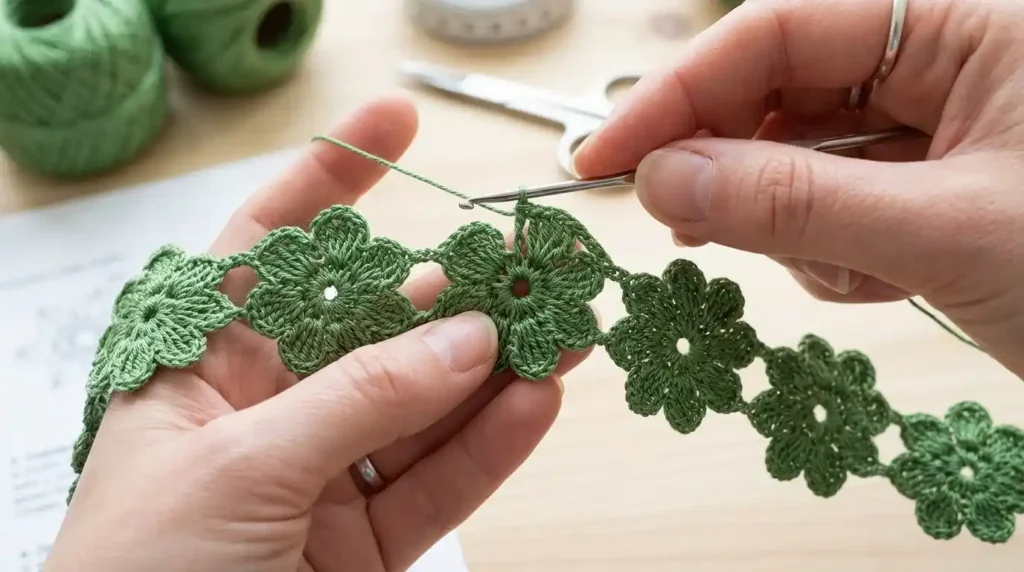
- First Motif: Work
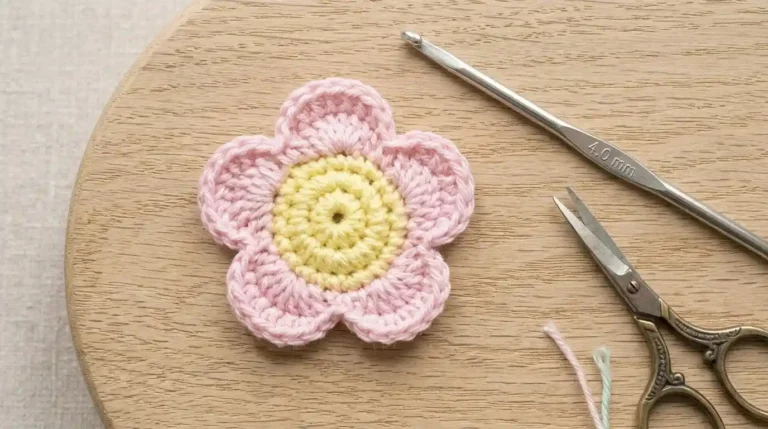
[Ch 9, dc in 3rd ch from hook, edc in each of next 5 ch, dc in last ch]5 times to form 5 petals, then join with a slip stitch in 1 ch to create a circle; fasten off. - Center Motifs: Join yarn with a slip stitch in the ch-2 space of a previous motif’s petal, repeat the 5-petal sequence to add 5 new petals (6 total), join to the same ch-2 space, and fasten off.
- Last Motif: Join yarn in the ch-2 space opposite the joined petal, work the petal sequence 4 times (4 new petals for a total of 5), join to the circle, and fasten off.
- Border Round: Work a border around each completed Motif Strip by joining yarn with an sc in the ch-2 space of the top right petal, working ch-10/ch-2/ch-13 sequences around the edges, and joining with a slip stitch.
- Foundation Row: Work
ch 5(counts as dc, ch 2), then work[dc, ch 2]across the top and bottom edges of each Motif Strip to establish ch-2 spaces.
Step 2: Working the Body Bottom Edge
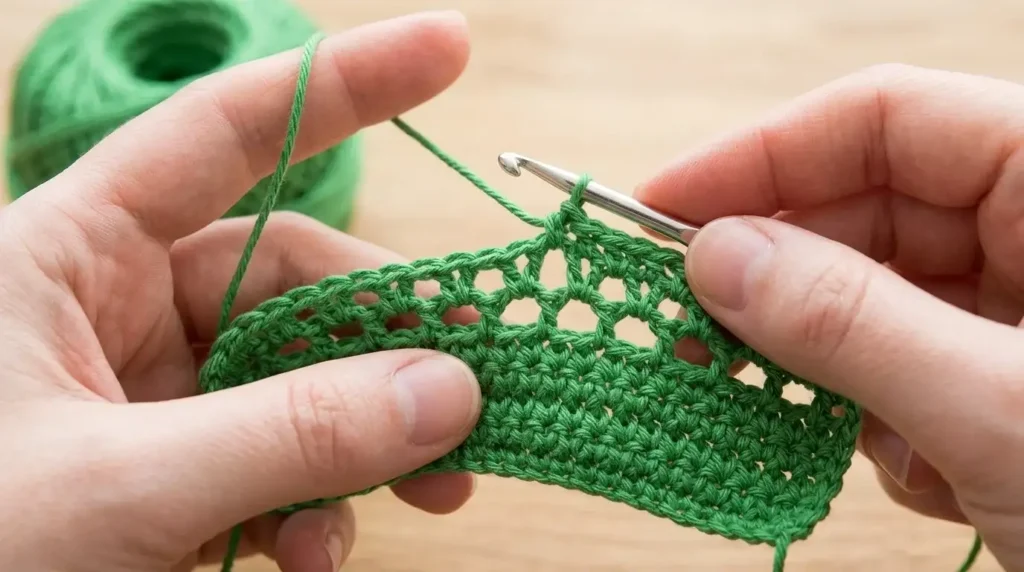
- Starting Chain: Chain 373 (421, 469, 517, 565, 613).
- Rows 1–5: Work sc in the 2nd chain from hook and in each chain across, turning and chaining 1 for each row.
- Row 6 (Picot Row): Chain 4 (counts as dc, ch 1), skip 1 sc, dc in next sc, work
ch 4 (picot), FPsc around the post of the just-worked dc, then repeat across to create124 (140, 156, 172, 188, 204)ch-1 spaces. - Rows 7–8: Chain 4 (counts as dc, ch 1), work
[dc in next ch-1 sp, ch 4 (picot), FPsc around post of dc, ch 1]across, turning at the end. - Row 9: Repeat Row 7, ending with a dc in the last ch-1 space (omitting the picot and sc), then fasten off.
- Joining Motif Strips: With Right Sides (RS) facing, join a Motif Strip to the Body using the Joining Row sequence (
ch 2, dc in 3rd ch, [ch 1, dc in picot, ch 1, sc in Motif sp, ch 1, FPsc]...). Repeat this joining process until all designated Motif Strips are attached.
Step 3: Armhole Division & Back Section

- Dividing for Armholes: Using the Foundation Row at the top of the last joined Motif Strip, place markers at the 30th (34th, 38th, 42nd, 46th, 52nd) ch-2 space from each edge to leave
64 (72, 80, 88, 96, 104)ch-2 spaces between markers. - Back Motif Strips: Work
2 (2, 3, 3, 3, 3)strips of16 (18, 20, 22, 24, 26)motifs. Join these between the stitch markers following the body joining pattern, complete Rows 6–9 along the top edge, and fasten off.
Step 4: Left & Right Front Panels

- Left Front Motif Strips: Work the 1st and 2nd Motif Strips (plus a 3rd strip for sizes Medium through 2X) with the specified motif and foundation counts.
- Shaping the Neck: Working across the Left Front only with Wrong Side (WS) facing, work Row 6 across
31 (35, 39, 43, 47, 51)ch-spaces. Follow Rows 7–9 while decreasing 1 ch-space at the neck edge every row (and every other row) as specified for your size. - Joining Front to Back: Work the Joining Row to connect the Left Front to the Back at the shoulder seam.
- Right Front: Repeat the Left Front steps for the Right Front panel with reverse shaping.
Step 5: Sleeves & Assembly
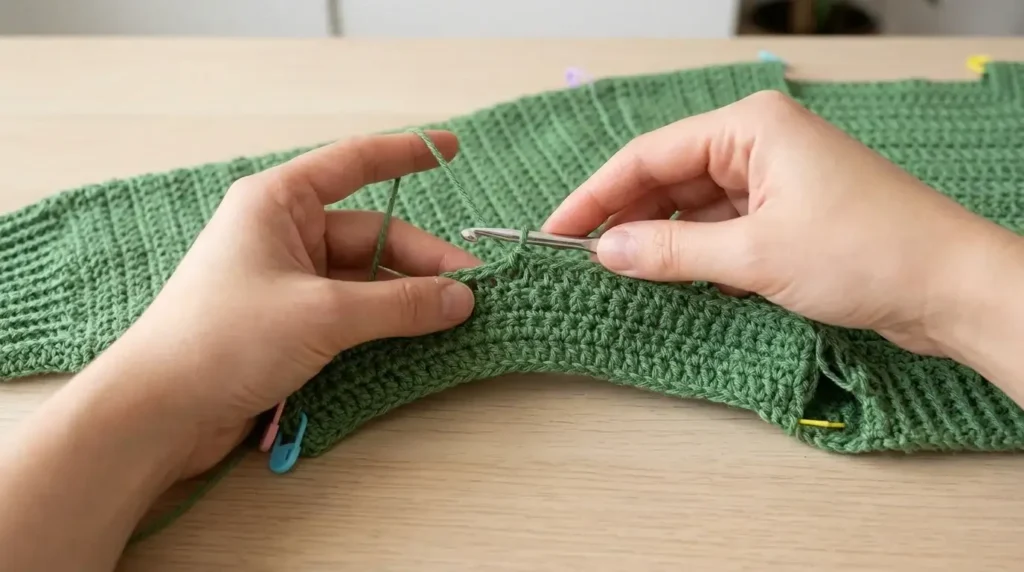
- Sleeve Motif Strips: Work 4 consecutive Motif Strips with increasing motif and foundation counts for each size.
- Sleeve Bottom Edge: Chain
121 (133, 145, 157, 169, 181), work Row 1 in sc, and work Rows 2–9 identical to the Body. Join the 1st Motif Strip and subsequent strips. - Joining Sleeves to Body: Place markers
7 (7½, 8, 8½, 9, 9½)inches down from each shoulder. With right sides held together and WS out, join the sleeve to the armhole by working through both layers with sc and ch-2 loops. - Seams: Sew side seams under the armholes (0 to 3 inches depending on size) and sew sleeve seams.
Step 6: Final Finishing & Neckband

- Sleeve Edging: Work one round of sc around the bottom edge of each sleeve.
- Neckband & Buttonholes: With RS facing, work a row of sc up the Right Front, around the back of the neck, and down the Left Front. On the WS, work an sc row, then place markers for 5 buttonholes along the Right Front.
- Buttonhole Row: Work the Buttonhole Row (
ch 3, sk 3 sc) at the markers on the RS, follow with 2 additional sc rows, and fasten off. - Final Touches: Sew the buttons opposite the buttonholes, weave in all loose ends, and block the garment as desired.
Conclusion
The Hydrangea Cardigan is an exquisite, intermediate-level crochet project that combines delicate floral motif strips with airy, textured stitch rows. Whether worn as a lightweight blouse or a stylish open-front layering piece, this versatile garment adds a touch of handmade elegance to any wardrobe. By carefully working through each step—from crafting the individual petal motifs and foundation rows to assembling the panels, sleeves, and final buttonband—you will create a professional, stunning heirloom garment to cherish for seasons to come.
One Comment