

Baby Grinch Crochet Pattern: Free Amigurumi Tutorial
Create your own 15-inch plush toy with our free Baby Grinch crochet pattern. Step-by-step amigurumi guide featuring facial sculpting, hair tufts, and assembly.
Baby Grinch Crochet Pattern: Free Amigurumi Step-by-Step Tutorial
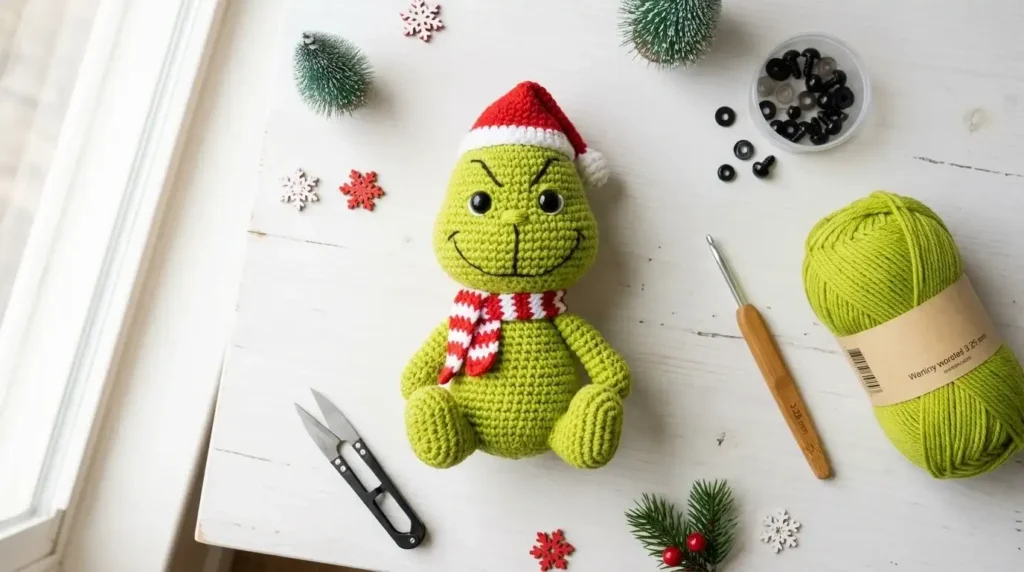
Bring iconic holiday magic into your plushie collection with this adorable Baby Grinch crochet pattern! Designed by Sweet Oddity Art, this intermediate-level amigurumi project features a cute 15-inch plush toy with characteristic expressive facial sculpting, tufted yarn hair, and a signature felt heart.
Whether you are crafting holiday gifts, adding to your craft fair inventory, or making a nostalgic keepsake, this clear step-by-step guide walks you through every round, sculpt, and assembly detail.
Table of Contents
Pattern Metadata & Specifications
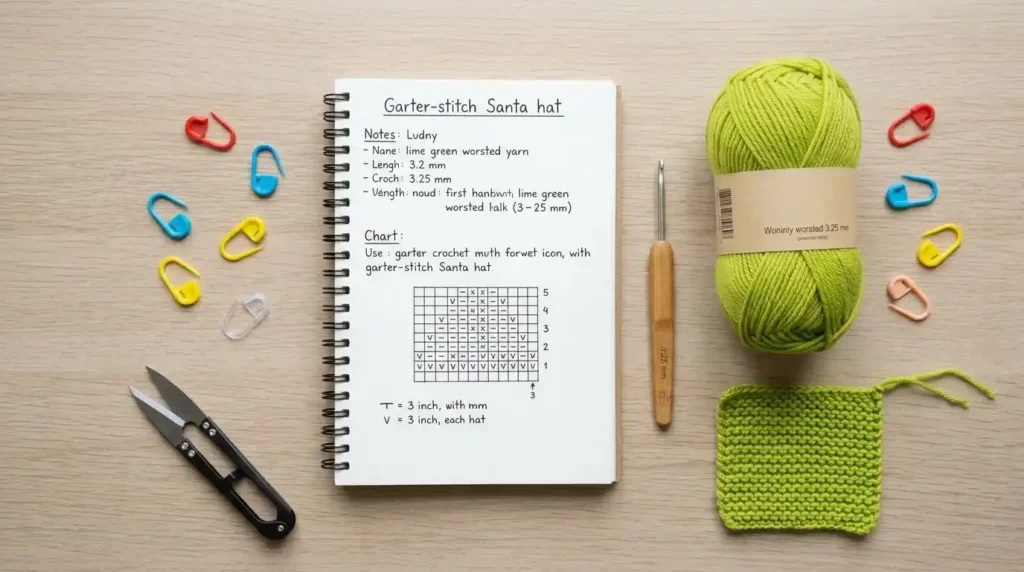
- Design Credit: Sweet Oddity Art
- Skill Level: Intermediate (suitable for novice crocheters with patience for assembly)
- Finished Size: Approx. 15 inches from feet to top of head (using worsted weight yarn and a 3.25 mm hook)
- Primary Focus Keyword:
baby grinch crochet pattern - Secondary Keywords:
crochet grinch amigurumi,free grinch crochet pattern,crochet holiday plushie
Materials Needed
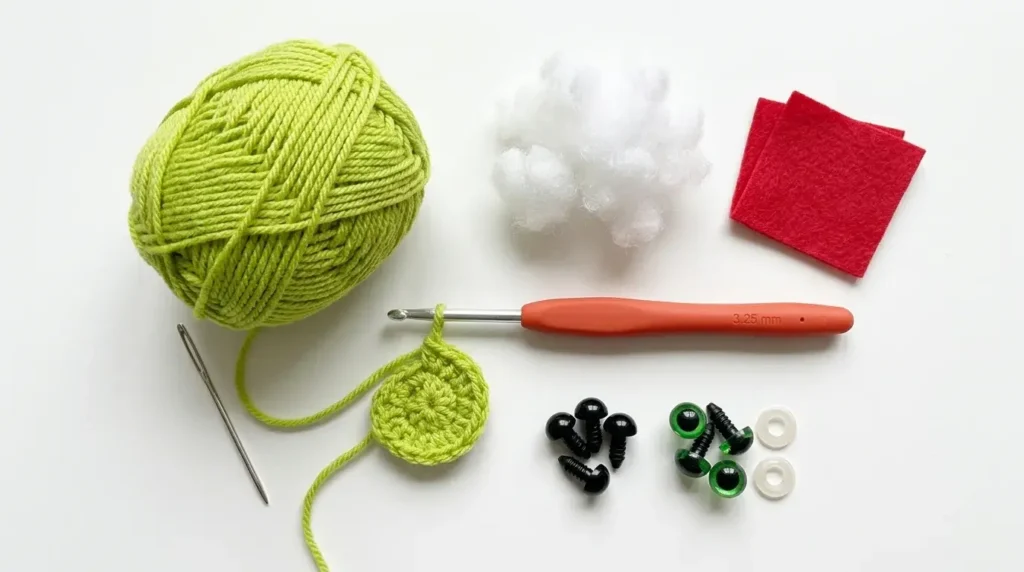
To craft your Baby Grinch, gather the following supplies:
- Yarn: Worsted Weight (#4) in Green (approx. 100g of I Love This Yarn! in Limelight).
- Crochet Hook: US D-3 / 3.25 mm crochet hook.
- Safety Eyes & Nose: Two 24 mm black safety eyes and one 21 mm green safety eye (or green painted eye).
- Stuffing: Fiberfill / Polyfil stuffing.
- Notions & Tools: Tapestry needle, scissors, stitch markers, wire pet brush (optional for fuzzy texture), black embroidery thread, red felt fabric, and fabric glue or hot glue.
Stitch Abbreviations (US Terms)
- mr = Magic ring
- ch = Chain stitch
- sc = Single crochet stitch
- hdc = Half double crochet stitch
- dc = Double crochet stitch
- inc = Increase (2 sc in same stitch)
- dec = Decrease (sc 2 stitches together)
- sl st = Slip stitch
- BLO = Back loops only
- F/O = Fasten off
Pattern Instructions
1. The Nose

Painted Safety Eye Method:
Lightly sand a 21 mm safety eye, paint it with green acrylic paint, and seal it with clear nail polish.
Crocheted Nose Alternative:
- 6 sc into a magic ring [6]
- Inc in each st around [12]
- Sc in each st around [12]
- Dec x 6 [6]. Stuff lightly, F/O, and leave a long tail for sewing.

2. Head & Body (Worked continuously from top to bottom)

With Green Yarn:
- Rnd 1: 6 sc in mr [6]
- Rnd 2: Inc x 6 [12]
- Rnd 3: (sc, inc) x 6 [18]
- Rnd 4: (2 sc, inc) x 6 [24]
- Rnd 5: Sc in each st around [24]
- Rnd 6: (3 sc, inc) x 6 [30]
- Rnd 7: (4 sc, inc) x 6 [36]
- Rnd 8: (5 sc, inc) x 6 [42]
- Rnd 9: (6 sc, inc) x 6 [48] (Place stitch markers on the 1st and last increase of Rnd 18 for eye reference)
- Rnds 10–16: Sc in each st around [48]
- Rnd 17: (inc, 7 sc) x 6 [54]
- Rnd 18: Inc x 3, 32 sc, inc x 3, 16 sc [60]
- Rnd 19: (inc, 9 sc) x 6 [66]
- Rnds 20–21: Sc in each st around [66]
- Rnd 22: (dec, 9 sc) x 6 [60]
- Rnd 23: Sc in each st around [60]
- Rnd 24: (dec, 8 sc) x 6 [54]
- Rnd 25: (dec, 7 sc) x 6 [48]
- Rnd 26: Sc in each st around [48]
- Rnd 27: (dec, 6 sc) x 6 [42]
- Rnd 28: Sc in each st around [42]
- Rnd 29: Dec x 3, 21 sc, dec x 3, 9 sc [36]
Eye Placement & Face Sculpting: Place 24 mm safety eyes between Rnds 16 and 17, spaced 11 stitches apart. Insert the green nose between the eyes. To indent the eyes, thread a tapestry needle with white yarn and pull back and forth through the eye holes to pull them inward slightly. Attach safety eye backings and stuff the head firmly.
- Rnd 30: (dec, 4 sc) x 6 [30]
- Rnd 31: (dec, 3 sc) x 6 [24]
- Rnds 32–34: Sc in each st around [24] (Neck area)
- Rnd 35: (3 sc, inc) x 6 [30]
- Rnd 36: (4 sc, inc) x 6 [36]
- Rnds 37–39: Sc in each st around [36]
- Rnd 40: (5 sc, inc) x 6 [42]
- Rnds 41–42: Sc in each st around [42]
- Rnd 43: (6 sc, inc) x 6 [48]
- Rnds 44–45: Sc in each st around [48]
- Rnd 46: (7 sc, inc) x 6 [54]
- Rnd 47: Sc in each st around [54]
- Rnd 48: (inc, sc) x 2, 42 sc, (inc, sc) x 4 [60]
- Rnds 49–56: Sc in each st around [60]
- Rnd 57: (dec, 8 sc) x 6 [54]
- Rnd 58: Sc in each st around [54]
- Rnd 59: (7 sc, dec) x 6 [48]
- Rnd 60: (6 sc, dec) x 6 [42]
- Rnd 61: (5 sc, dec) x 6 [36]
- Rnd 62: (4 sc, dec) x 6 [30]
- Rnd 63: (3 sc, dec) x 6 [24]
- Rnd 64: (2 sc, dec) x 6 [18]
- Rnd 65: (sc, dec) x 6 [12]
- Rnd 66: Dec x 6 [6]. F/O and weave end closed.
3. Arms (Make 2)
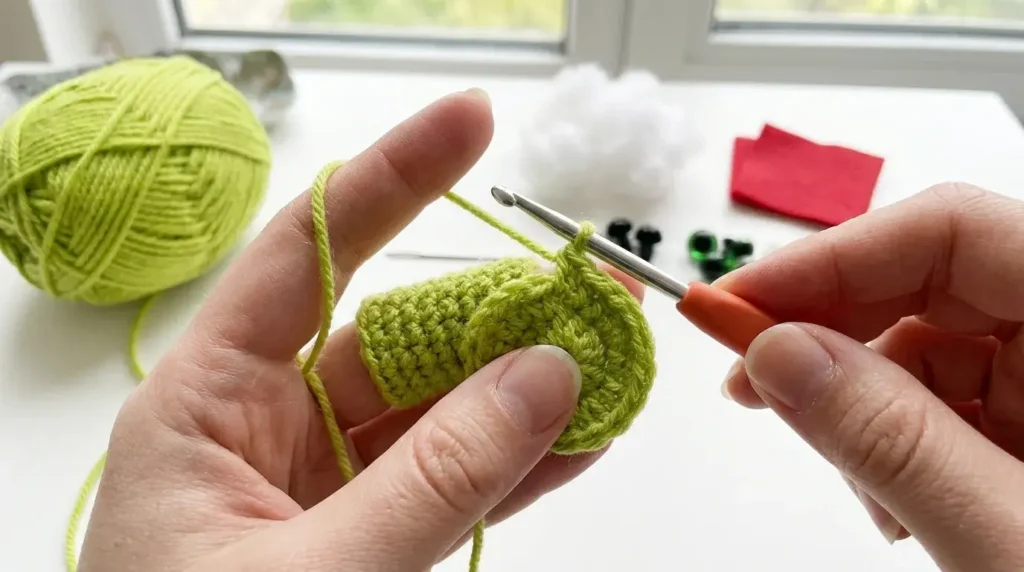
Fingers (Make 3 per arm):
- Rnd 1: 4 sc in mr [4]
- Rnd 2: Sc around [4]
- Rnd 3: (inc, sc) x 2 [6]
- Rnds 4–6: Sc around [6] (Do not stuff)
- Rnd 7: (inc, 2 sc) x 2 [8]
- Rnds 8–9: Sc around [8]. Do not fasten off the 3rd finger!
Joining Fingers:
- Rnd 1: Sc across 2nd finger, work 3 more sc on 2nd finger, sc on 1st finger, work 7 sc around 1st finger, work 4 sc on back of 2nd finger, work 8 sc around 3rd finger [24].
- Rnd 2: (6 sc, dec) x 3 [21]
- Rnd 3: (5 sc, dec) x 3 [18]
- Rnds 4–5: Sc around [18]
- Rnd 6: (4 sc, dec) x 3 [15]
- Rnd 7: (3 sc, dec) x 3 [12]
- Rnds 8–12: Sc around [12]
- Rnd 13: Dec, 10 sc [11]
- Rnds 14–17: Sc around [11]
- Rnd 18: Dec, 9 sc [10]
- Rnds 19–22: Sc around [10]. Fold flat and sc closed; leave a tail for sewing.
4. Legs (Make 2)

- Rnd 1: 4 sc in mr [4]
- Rnd 2: Inc, sc, dec [4]
- Rnd 3: Inc x 2, 2 sc [6]
- Rnd 4: Inc x 2, 4 sc [8]
- Rnd 5: Inc x 2, 6 sc [10]
- Rnd 6: Inc x 2, 8 sc [12]
- Rnd 7: Sc around [12]
- Rnd 8: (sc, inc) x 6 [18]
- Rnd 9: Sc around plus an extra 6 sc to shift start position.
- Rows 10–16 (Heel & Foot Shaping): Turn and work back-and-forth rows using decreasing sc and hdc stitches as specified in pattern diagram.
- Rnd 17: Rejoin round around foot opening [21].
- Rnds 18–32: Work decreasing leg rounds down to 12 sts; stuff foot firmly, leave top leg un-stuffed, and leave tail for sewing.
Assembly & Finishing Touches

- Eye Highlights & Expression: Embroider white yarn highlights along the outer edge of each eye. Use black embroidery thread to stitch a smile line across rounds 20–21, side smile creases, and angled eyebrows.
- Hair Tuft: Cut 12 strands of 8-inch green yarn, fold double, and knot onto the crown of the head. Brush with a wire pet brush and trim into a fluffy top knot.
- Attaching Limbs: Sew arms to sides angled forward between Rnds 32 and 36. Sew legs to the lower body between Rnds 5 and 6.
- Red Felt Heart: Cut a small heart out of red felt and glue or sew it over the chest area.
Conclusion
Creating your own amigurumi plush toy using this Baby Grinch crochet pattern is a rewarding and nostalgic holiday project. By carefully working through each step—from shaping the continuous head and body to crafting the jointed fingers, sculpted legs, and signature tufted hair—you can bring this iconic character to life. Whether crafted as a festive holiday keepsake or a popular craft fair item, this detailed guide ensures a professional and delightful finished plush.
One Comment