Free Crochet Baby Converse Shoes Pattern & Tutorial
Create adorable handmade Crochet Baby Converse booties with this detailed crochet pattern. Includes instructions for soles, high-top uppers, laces, and star patches.
Crochet Baby Converse: Free Step-by-Step Pattern & Tutorial
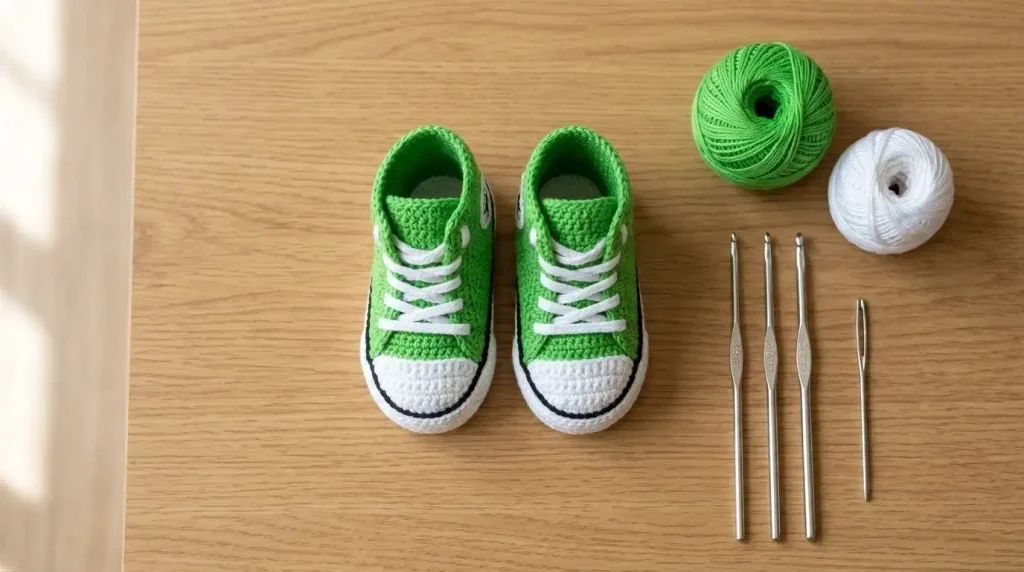
Bring classic sneaker style to tiny feet with this adorable Crochet Baby Converse pattern by loopysue! Designed to mimic iconic high-top canvas sneakers complete with realistic laces, toe caps, decorative side stars, and optional non-slip soles, this project makes an unforgettable handmade gift or baby keepsake.
Table of Contents
Pattern Overview & Specification
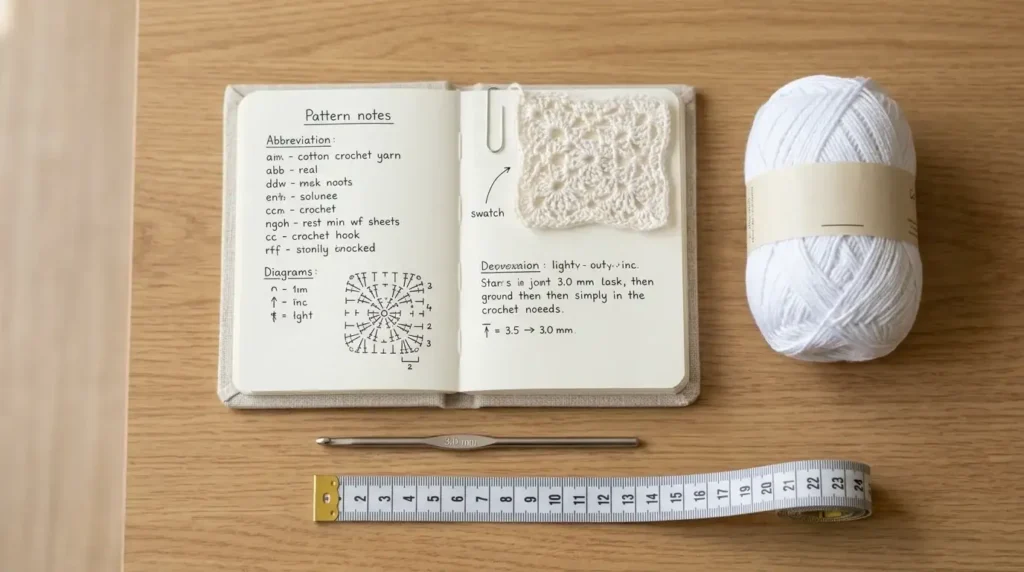
- Finished Measurements: Sole is approx. 11.5 cm long x 5.5 cm wide; height is 6 cm to 6.5 cm.
Materials Needed

To create a pair of these sneakers, gather the following supplies:
- Yarn:
- White worsted weight yarn (approx. 48m total / 24m per shoe).
- Bright color sport weight yarn (approx. 40m total / 20m per shoe).
- Optional black yarn (worsted or sport, approx. 8m) if making the black-trimmed version.
- Crochet Hooks: 4.0 mm, 3.0 mm, and 1.4 mm hooks (or sizes required to match tension).
- Notions: Tapestry needle for weaving ends/embroidery, stitch markers.
- Optional Materials: Non-slip fabric (like Unique Safe Tread) for toddler sizes, Fray Stop glue (e.g., Aleene’s Stop Fraying).
Tension & Gauge
- 4.0 mm hook & worsted weight yarn: 17 sts x 17 rows = 4 inches (approx.)
- 3.0 mm hook & sport weight yarn: 19 sts x 20 rows = 4 inches (approx.)
- Note: Work tightly to create a stiff, structured fabric that holds its shape like a real shoe.
Step-by-Step Instructions
Step 1: Crocheting the Sole

Using a 4.0 mm hook and white worsted yarn, make an unclosed slip knot and chain 12, turn.
- Rnd 1: Skip 1 loop, sl st next 6 sts, sc next 5 sts, 3 sc in next st (the unclosed slip knot), pivot 180 degrees, sc next 5 sts over the knot tail, sl st next 6 sts, join round with a sl st. Pull the tail snug. (26 sts)
- Rnd 2: Ch 2, sc in joining st, 2 sc in next st, sc next 10 sts, 2 sc in each of next 3 sts, sc next 10 sts, 2 sc in next st, join round. (32 sts)
- Rnd 3: Ch 2, sc next st, 2 sc in each of next 2 sts, sc next 8 sts, hdc next 2 sts, 2 hdc in each of next 2 sts, sc next 2 sts, 2 hdc in each of next 2 sts, hdc next 2 sts, sc next 8 sts, 2 sc in each of next 2 sts, join round. (40 sts)
- Rnd 4 (Without non-slip fabric): Ch 2, sc next st, 2 sc in each of next 3 sts, sc next 12 sts, 2 sc in each of next 3 sts, sc next 2 sts, 2 sc in each of next 3 sts, sc next 12 sts, 2 sc in each of next 3 sts, join round. (52 sts) (Do not break yarn).
Step 2: Sole Sides & Color Stripe
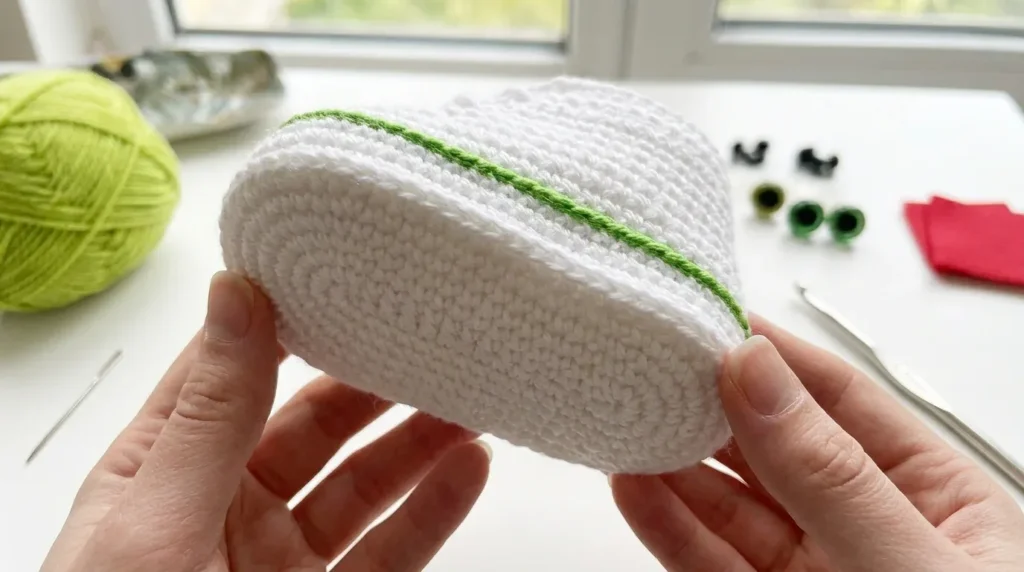
- Switch to 3.0 mm hook and continue with white yarn.
- Rnd 5: Ch 2, sc all sts around by looping through the loop behind the back loop, join. (52 sts)
- Rnd 6: Ch 2, sc all sts around through both loops normally, join. (52 sts)
- Rnd 7: Ch 2, sc all sts around through the back loops only (this creates the horizontal ridge line on the right side), join. Fasten off white.
- Color Stripe: Using a 3.0 mm hook and color sport weight yarn, join at the center back just above the horizontal line. Slip stitch loosely into each space around the sole side back to the center back. Cut yarn and weave in ends securely on the wrong side.
Step 3: Crocheting the Toe Cap

- Hold the sole with the toe pointing toward you. Locate the center front stitch and place a marker; count back 7 stitches on each side and place markers (13 stitches total between pins).
- Rnd 1: Starting at the right pin, insert hook through the loop behind the back loop, pull through white worsted yarn. Ch 2, dc next st through the loop behind the back loop. Continue working through the loop behind the back loop:
(dc2tog) twice, dc3tog, (dc2tog) 3 times, chain 2, turn. - Rnd 2:
dc6tog, cut yarn leaving a 20cm tail. Pull through last loop, thread through the gathered loops to pull tight, and weave in ends.
Step 4: Crafting the Tongue

- Using a 1.4 mm hook and color sport weight yarn, pick up and sc 9 stitches evenly across the top edge of the toe from right to left, ch 1, turn.
- Switch to a 3.0 mm hook and work the following rows (turning ch counts as a stitch):
- Rnd 2: Sc in turning ch, sc next 8, ch 1, turn. (10 sts)
- Rnd 3: Sc in turning ch, sc next 9, ch 1, turn. (11 sts)
- Rnds 4–5: Sc next 10, ch 1, turn. (11 sts)
- Rnd 6: Sc in turning ch, sc next 10, ch 1, turn. (12 sts)
- Rnd 7: Sc in turning ch, sc next 11, ch 1, turn. (13 sts)
- Rnd 8: Sc next 12, turn. (13 sts)
- Rnd 9: Skip 1 st, sc next 2, hdc next 2, dc next 3, hdc next 2, sc next 2, sl st last st. (13 sts) Fasten off and weave in ends.
Step 5: Working the Upper (High-Top Bootie)

- Rnd 1: With sole facing down and toe facing you, join color sport weight yarn to the first available stitch base next to the left side of the toe. Chain 2, sc around the back through the loop behind the back loop to the other side of the toe. (41 sts)
- Rnds 2–4 (Heel & Toe Decreases): Ch 1, turn. Skip turning st,
sc2tog, sc to center back,sc2tog, sc to last 2 sts,sc2tog, ch 1, turn. (Rows decrease down to 32 sts). - Rnds 5–9 (Ankle Height Rows): Ch 1, turn. Skip turning st,
sc2tog, sc to last 2 sts,sc2tog, ch 1, turn. Rows decrease progressively down to 22 stitches by Row 9. Fasten off and weave in ends.
Step 6: Laces & Tongue Anchoring
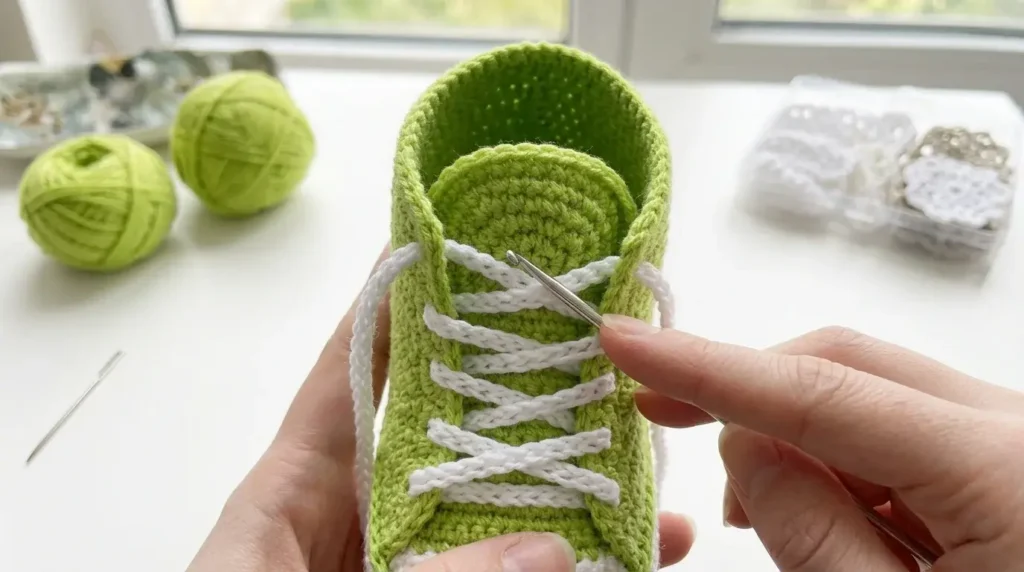
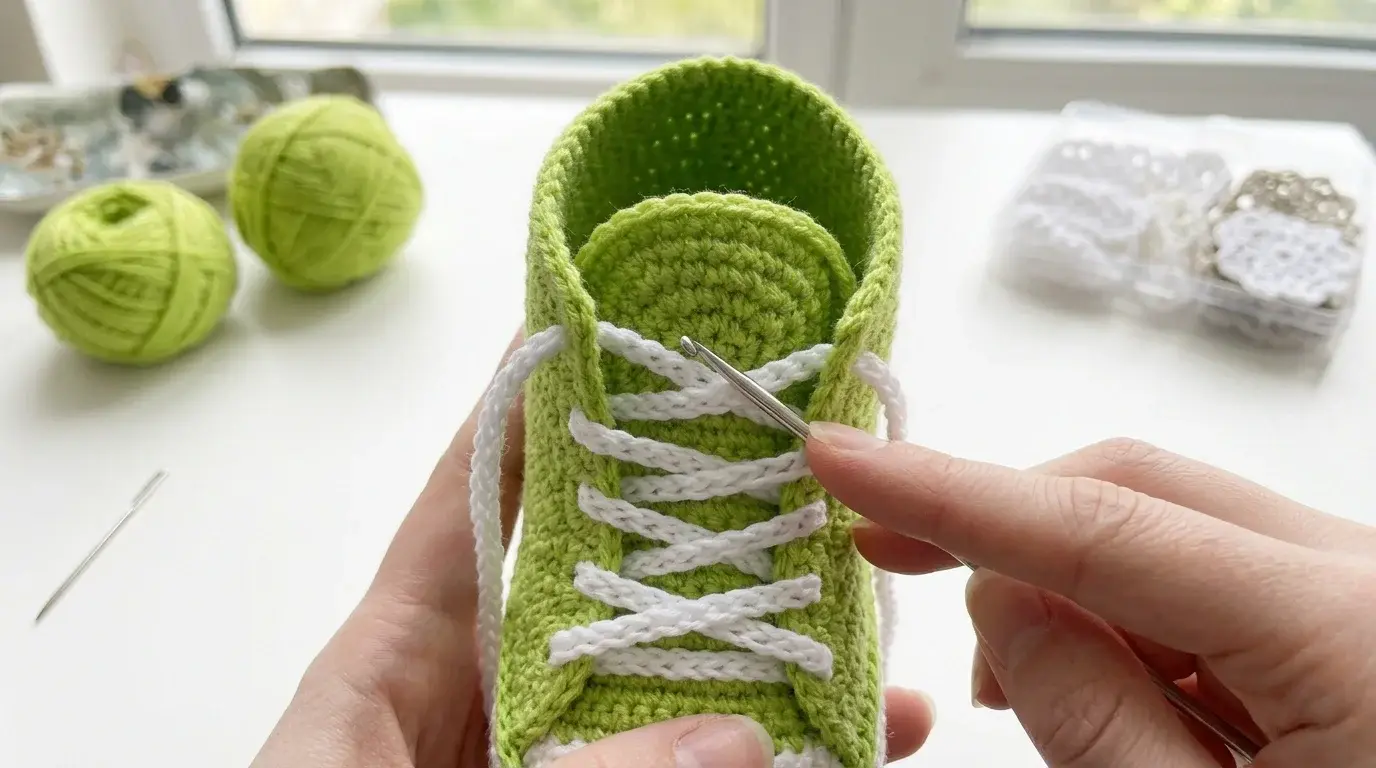
- Making Laces: Using a 3.0 mm hook and white worsted yarn, make a tight slip knot with a 2-inch tail, then chain 70 stitches very tightly. Fasten off with a 2-inch tail.
- Attaching Laces: Thread the chain through the lowest eyelet spaces of the upper from outside to inside, slip stitch across, and lace up the sneaker.
- Pro Tip: Before finishing the final X-cross, pull the laces through the center 2 stitches of the second-to-last row of the tongue to anchor it securely in place. Treat lace ends with Fray Stop glue, let dry for 24 hours, and trim to 1/2 inch.
Step 7: Star Circle Appliqué

- Circle Base: Using a 3.0 mm hook and white worsted yarn, create an unclosed slip knot (magic loop style), chain 1 in the center hole, make 9 hdc in the center hole, pull tail to close, and join with a sl st to form 10 outer chains. Fasten off.
- Embroidering the Star: Thread a needle with 1m of color/black sport yarn doubled (approx. 50cm), and embroider a 5-pointed star across every other outer chain.
- Attaching: Sew the completed star circle onto the outer side of the shoe upper (making sure to reverse placement for the second shoe).
Conclusion
By following these step-by-step instructions, you can craft a pair of stylish, handmade Crochet Baby Converse sneakers that capture all the charm of the iconic original. Whether you’re gifting them to an expectant parent or adding a standout item to your handmade collection, these miniature shoes are sure to be cherished.