
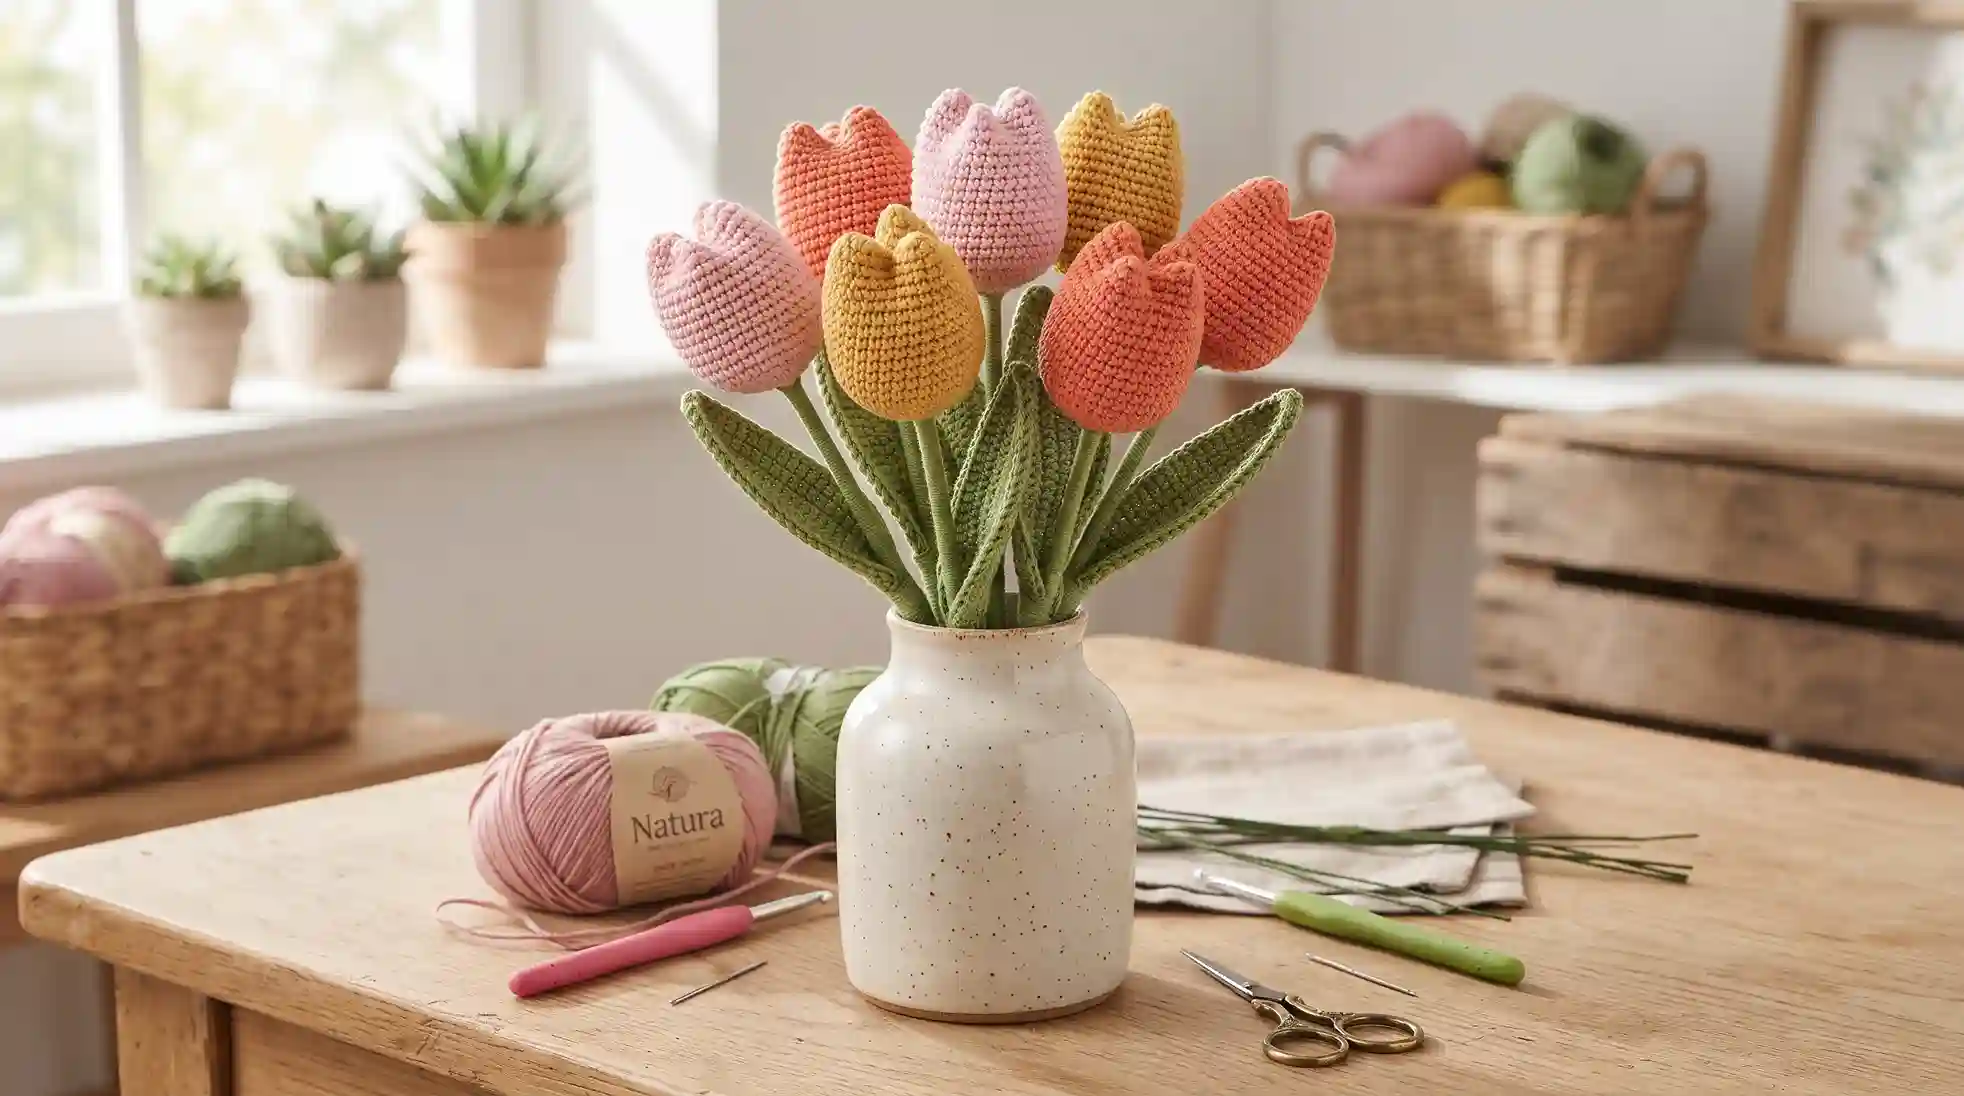
How to Crochet Tulips – Easy Flower Pattern with Step-by-Step Guide
Learn how to crochet tulips with this easy step-by-step guide. Discover essential yarn choices, shaping techniques, and assembly tips for your handmade floral arrangements.
How to Crochet Tulips – Easy Flower Pattern with Step-by-Step Guide

There’s something truly magical about crochet flowers—they never wilt, never need watering, and bring year-round colour to your home. These crochet tulips are the perfect project whether you’re a beginner looking for a quick weekend craft or an experienced crocheter wanting to create a lasting spring bouquet. With soft pink and white petals, realistic green leaves, and sturdy wire stems, they look almost too real to be handmade!
This pattern uses simple stitches and cotton yarn to create delicate, poseable flowers that make wonderful gifts, home décor accents, or even wedding bouquet alternatives. The best part? You can make them in any colour you like—pastel pinks, bold reds, sunny yellows, or even rainbow tulips for a playful twist!
Table of Contents
What You’ll Need

- Cotton yarn (size 3) in pink, yellow, and green — you can substitute any DK or light worsted weight cotton
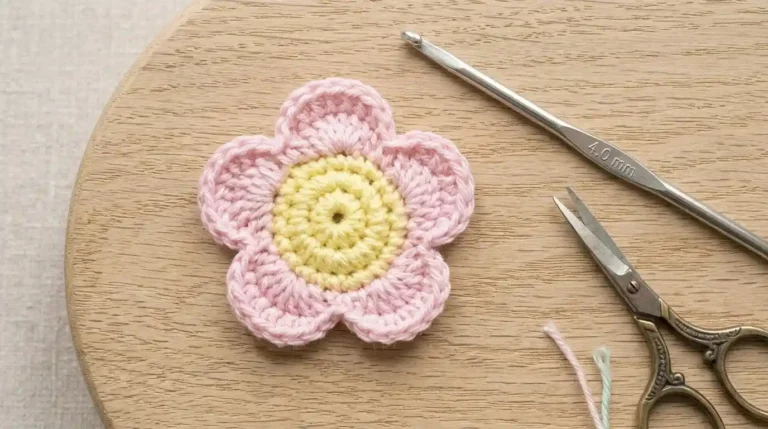
- 2.5 mm crochet hook (adjust according to your yarn weight)
- Stainless steel soft wire 0.4mm for the petals and leaves (available at craft stores or online)
- Floral wire for the stems (thicker gauge, usually 18-20)
- Tapestry needle for weaving in ends
- Scissors
- Pliers to cut and twist wire
- Hot glue gun and glue sticks
- Optional: Green floral tape as a substitute for wrapping yarn around stems
💡 Tip: If you can’t find 0.4mm soft wire, you can use very thin floral wire or even thread wire from craft stores. The key is that it’s flexible enough to bend but strong enough to hold the petal shape.
Abbreviations (US Crochet Terminology)
This pattern is written in US terminology.
- ch = chain
- st/s = stitch / stitches
- rnd = round
- sc = single crochet
- hdc = half double crochet
- dc = double crochet
- sl = slip stitch
- (…) = crochet (…) in one stitch
- […]× = repeat […] × times
Step 1: Small Floral Petals (Make 3)
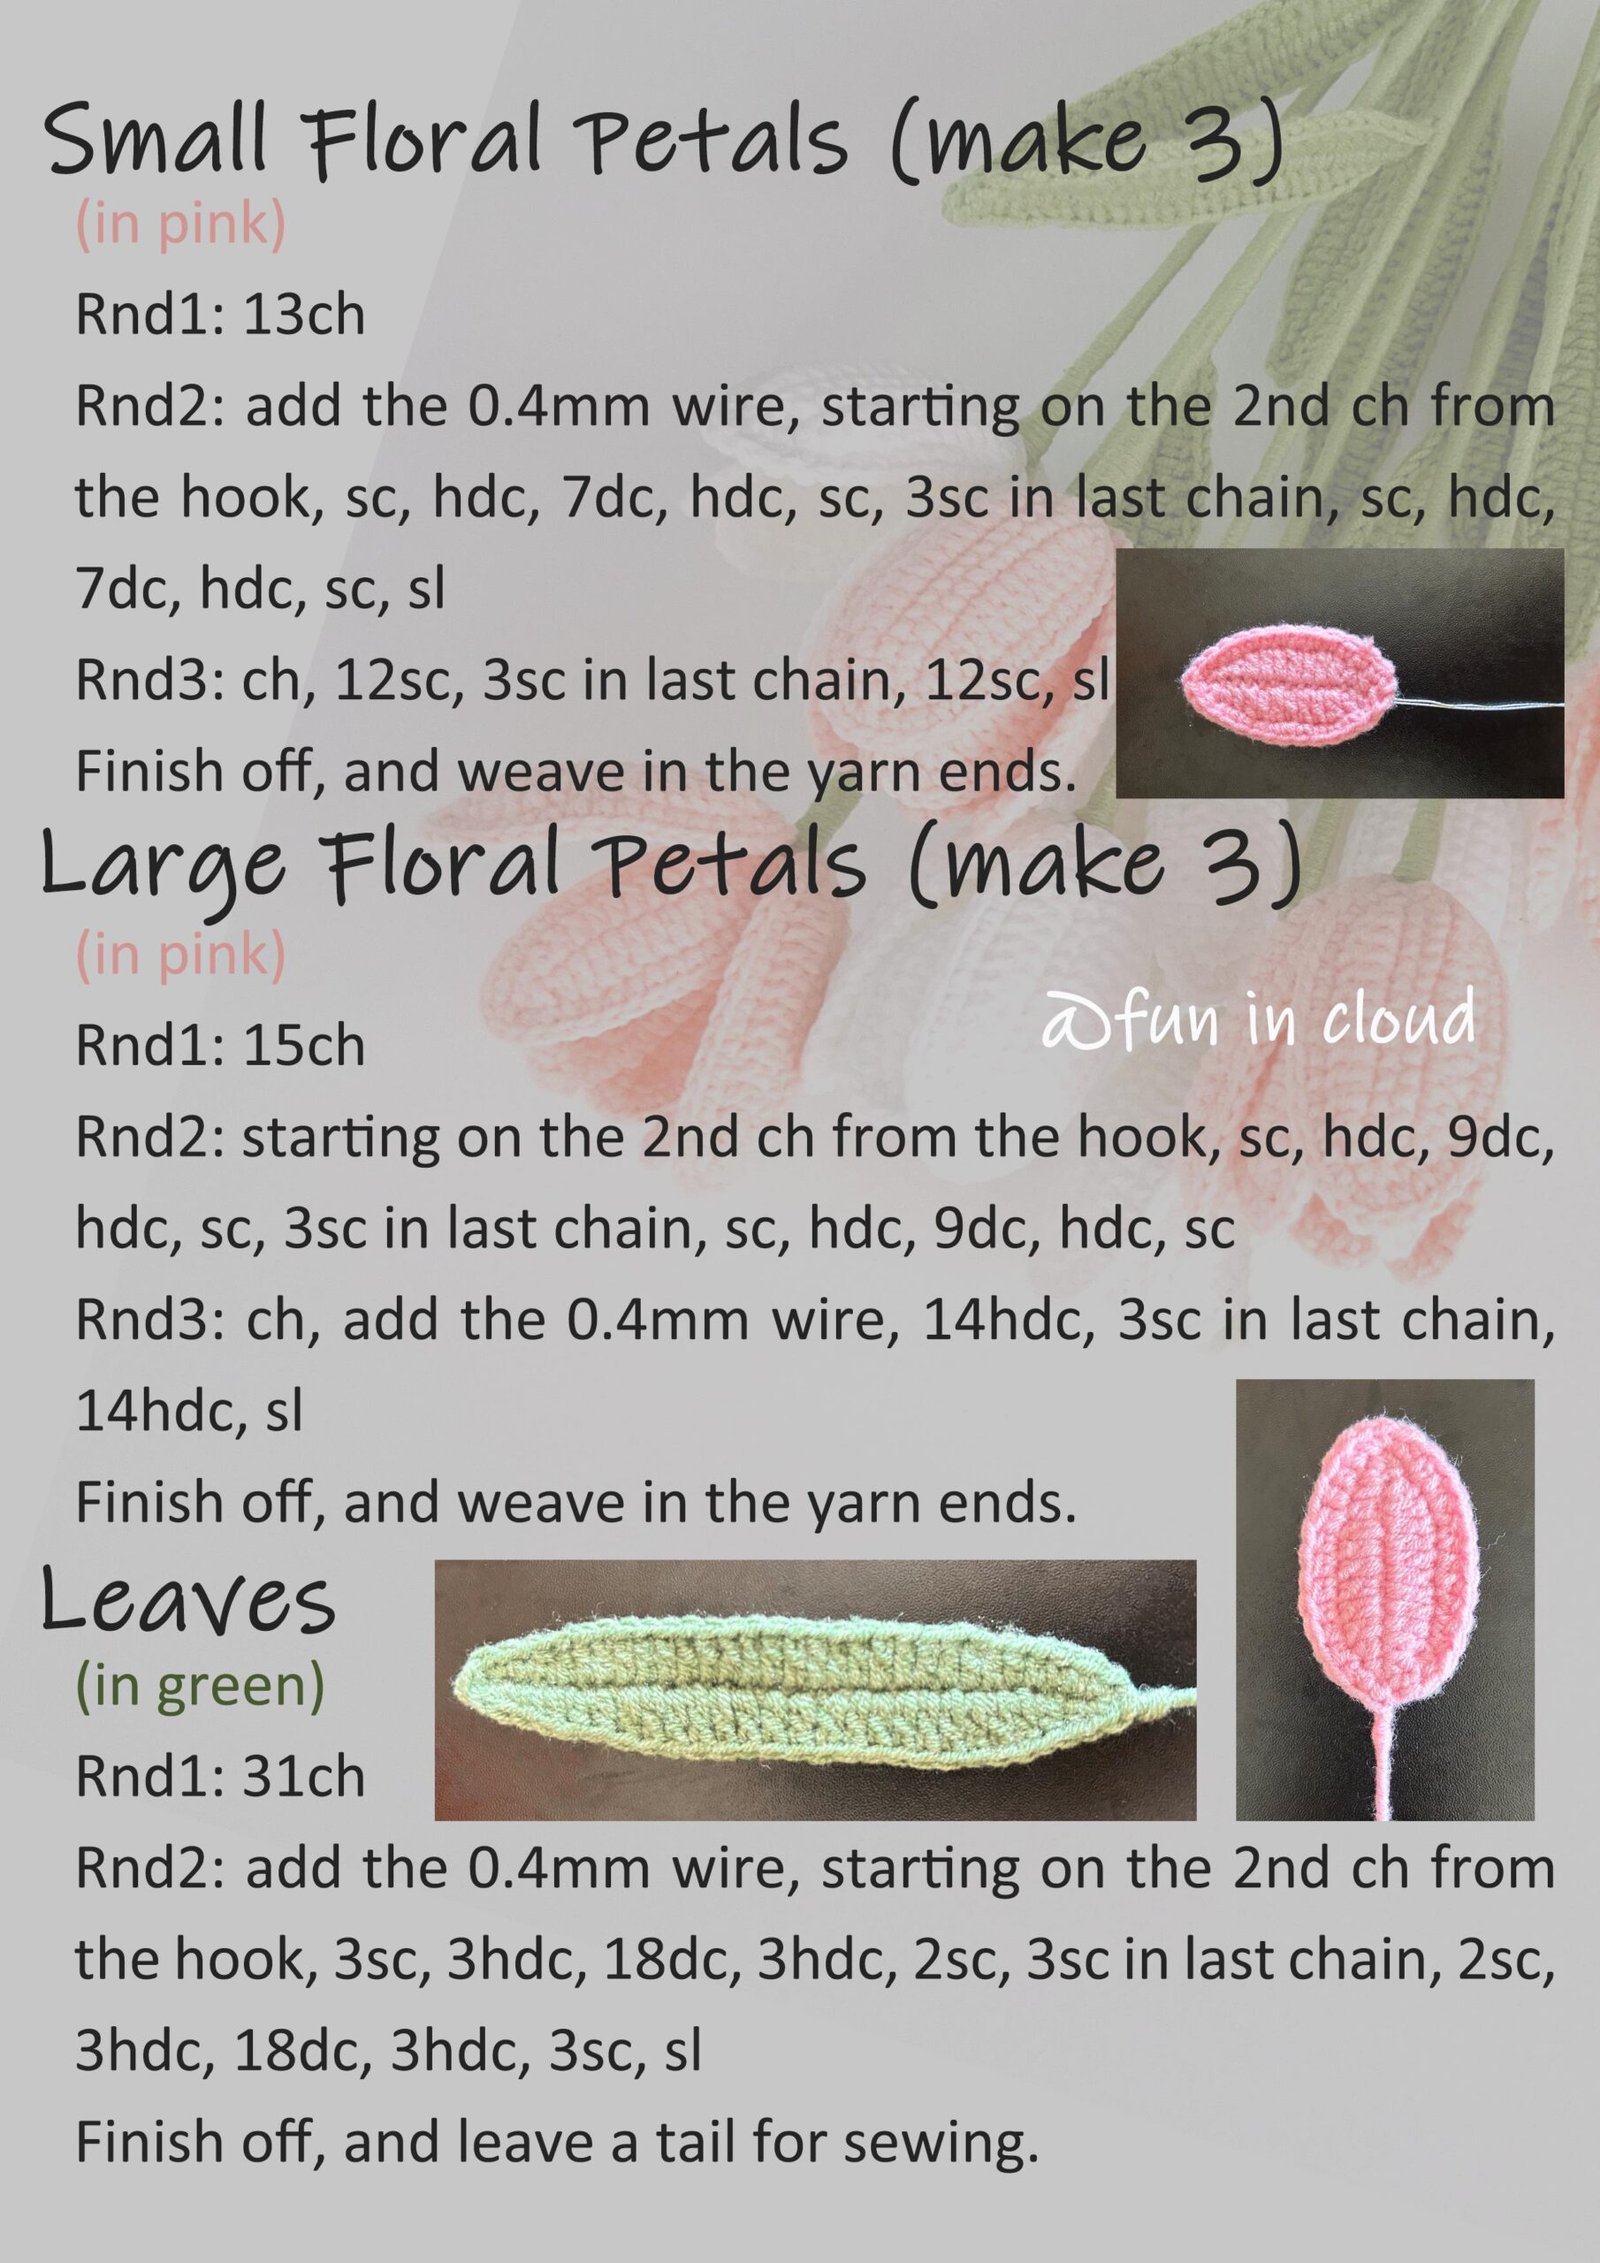
You’ll need: Pink yarn, 2.5mm hook, 0.4mm wire
Rnd 1: Ch 13.
Rnd 2: Add the 0.4mm wire by laying it along the top of your foundation chain. Starting in the 2nd ch from the hook, work: sc, hdc, 7dc, hdc, sc. When you reach the last chain, work 3sc in the last chain to turn the corner. Continue working down the other side of the foundation chain: sc, hdc, 7dc, hdc, sc, sl st to join.
Rnd 3: Ch 1, work 12sc down one side, 3sc in the corner stitch, then 12sc back up the other side. Slip stitch to join.
Finishing: Fasten off and weave in yarn ends, leaving the wire tails for assembly later.
💡 Note: As you crochet over the wire, hold it gently along the back of your stitches. This gives the petal structure so it can be shaped and posed later.
Step 2: Large Floral Petals (Make 3)
You’ll need: Pink yarn, 2.5mm hook, 0.4mm wire
Rnd 1: Ch 15.
Rnd 2: Starting in the 2nd ch from the hook, work: sc, hdc, 9dc, hdc, sc. In the last chain, work 3sc to turn the corner. Continue down the other side: sc, hdc, 9dc, hdc, sc.
Rnd 3: Ch 1, add the 0.4mm wire. Work 14hdc down one side, 3sc in the corner stitch, then 14hdc back up the other side. Slip stitch to join.
Finishing: Fasten off and weave in ends, leaving wire tails.
Repeat to make a total of 3 large petals.
Step 3: Crochet the Leaves
You’ll need: Green yarn, 2.5mm hook, 0.4mm wire
Rnd 1: Ch 31.
Rnd 2: Add the 0.4mm wire. Starting in the 2nd ch from the hook, work: 3sc, 3hdc, 18dc, 3hdc, 2sc. In the last chain, work 3sc to turn the corner. Continue down the other side: 2sc, 3hdc, 18dc, 3hdc, 3sc, sl st to join.
Finishing: Fasten off and leave a long tail for sewing the leaf to the stem later.
Make as many leaves as you like—typically 2-3 per tulip stem looks natural.
Step 4: Create the Stamen (Flower Center)
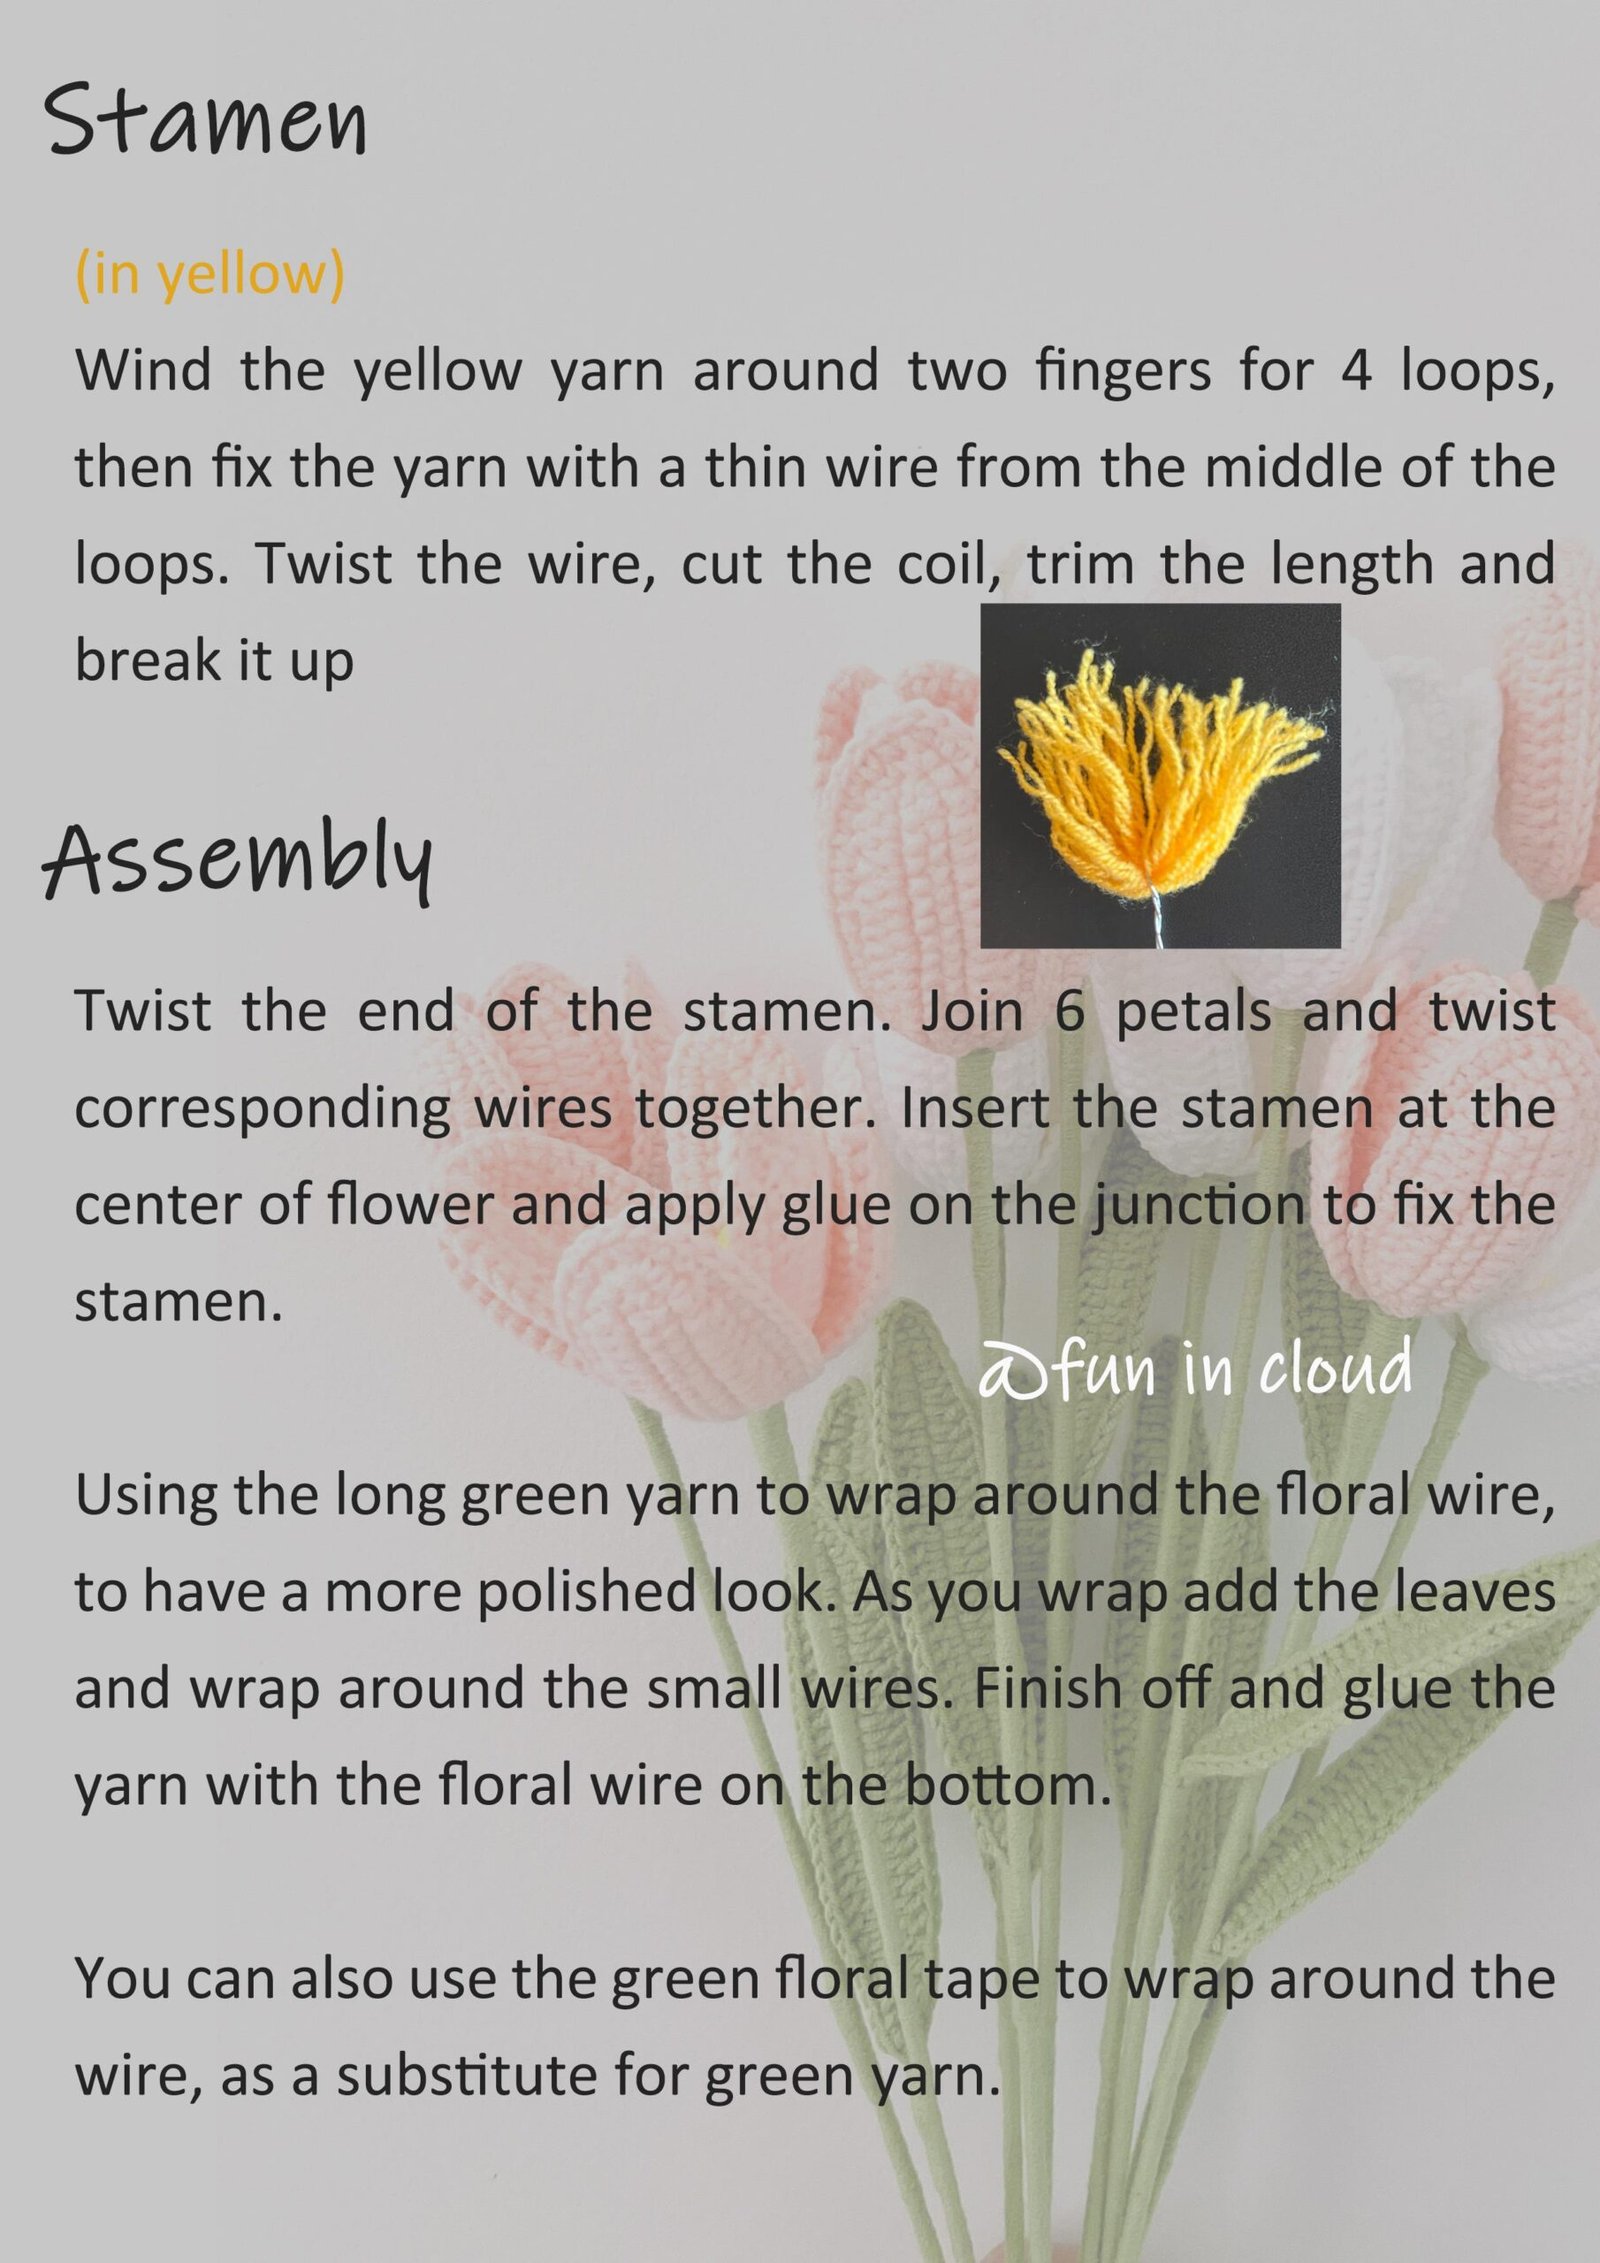
You’ll need: Yellow yarn, thin wire, scissors
- Wind the yellow yarn around two fingers about 4 times to create loops.
- Carefully slide the loops off your fingers.
- Use a piece of thin wire to tie the loops tightly in the middle.
- Twist the wire to secure it.
- Cut through the loops on both sides.
- Trim the yarn ends to your desired length and fluff them up to create a fuzzy stamen center.
Set this aside—you’ll attach it in the final assembly step.
Step 5: Assemble the Tulip Flower
Now comes the fun part—putting it all together!
- Arrange the petals: Take your 3 small petals and 3 large petals. Alternate them in a circle (small, large, small, large, small, large) to create a realistic tulip shape.
- Twist the wires together: Gather all the wire tails from the petals and twist them tightly together. This creates the base of the flower.
- Add the stamen: Insert the yellow stamen you made earlier into the center of the flower.
- Secure with glue: Apply a small amount of hot glue at the junction where the petals meet to hold everything in place. Be careful not to use too much—a little goes a long way!
- Attach the floral wire stem: Take a piece of floral wire (about 30-40 cm long) and attach it to the twisted wire base of the flower. Secure with hot glue.
Step 6: Wrap the Stem
To give your tulip a polished, realistic look, you’ll wrap the stem with green yarn or floral tape.
Method 1: Green Yarn Wrapping
- Starting at the base of the flower (where the petals attach), hold the end of your green yarn against the wire.
- Begin wrapping the yarn tightly around the floral wire, working your way down the stem.
- Add the leaves as you go: When you reach the point where you want a leaf, hold the leaf’s wire tail against the main stem and wrap over it to secure it in place.
- Continue wrapping all the way to the bottom of the stem.
- Secure the end of the yarn with a small dab of hot glue.
Method 2: Floral Tape
If you prefer a quicker method, you can use green floral tape instead of yarn. Simply stretch the tape slightly as you wrap it around the stem—the heat from your hands will activate the adhesive. Add leaves the same way by wrapping over their wire tails.
Tips for Success
- Colour variations: Tulips come in every colour imaginable! Try red, yellow, purple, orange, or even variegated yarn for a unique look.
- Shape your petals: Once assembled, gently bend and shape each petal to create a realistic cupped tulip shape. The wire inside allows you to pose them however you like.
- Make a bouquet: Create 5-7 tulips in coordinating colours and arrange them in a vase. They make stunning centrepieces!
- Gift idea: Wrap a single tulip in tissue paper and ribbon for a sweet handmade gift that lasts forever.
- Add variety: Mix different stages of blooming—some tightly closed, some partially open, and some fully open—for a more natural bouquet.
Frequently Asked Questions
Can I make these without wire?
Technically yes, but the wire is what gives the petals and leaves their structure and allows them to hold their shape. Without it, the petals will be floppy and won’t look as realistic. If you want to skip the wire, consider stuffing the petals lightly with fiberfill instead, though this will create a different look.
What if I can’t find 0.4mm wire?
You can use any thin, flexible wire—jewellery wire, craft wire, or even very thin floral wire will work. Just make sure it’s thin enough to crochet over comfortably but strong enough to hold a shape when bent.
How long does it take to make one tulip?
Once you get the hang of it, each tulip takes about 30-45 minutes to complete, including assembly. Your first one might take a bit longer as you learn the technique, but they get much faster with practice!
Can I use acrylic yarn instead of cotton?
Yes, but cotton yarn gives a crisper, more defined stitch that looks more realistic for flowers. Acrylic can work, especially if you use a mercerized or silk-finish acrylic, but cotton is recommended for the best results.
How do I display my finished tulips?
Place them in a vase just like real flowers! You can also create floral arrangements mixed with other crochet flowers, use them in wreaths, attach them to gift packages, or even create a permanent spring display in a decorative pot filled with floral foam.
Final Thoughts
These crochet tulips are the perfect way to bring a touch of spring into your home any time of year. They’re beginner-friendly, endlessly customizable, and make wonderful gifts for anyone who loves handmade crafts. Whether you make a single stem or an entire bouquet, you’ll love how realistic and beautiful they turn out!
Once you’ve mastered tulips, why not try other crochet flowers like roses, daisies, or sunflowers? The wire technique you learned here can be applied to almost any flower pattern, opening up a whole world of everlasting blooms.
Happy crocheting, and may your yarn never tangle!
One Comment