
Luffy Hat Keychain Crochet Pattern: Easy Anime Amigurumi Tutorial
Learn how to crochet your own miniature Luffy Hat Keychain Crochet with this step-by-step amigurumi guide, perfect for anime fans and quick yarn crafts.
Luffy Hat Keychain Crochet Pattern – Free One Piece Straw Hat DIY
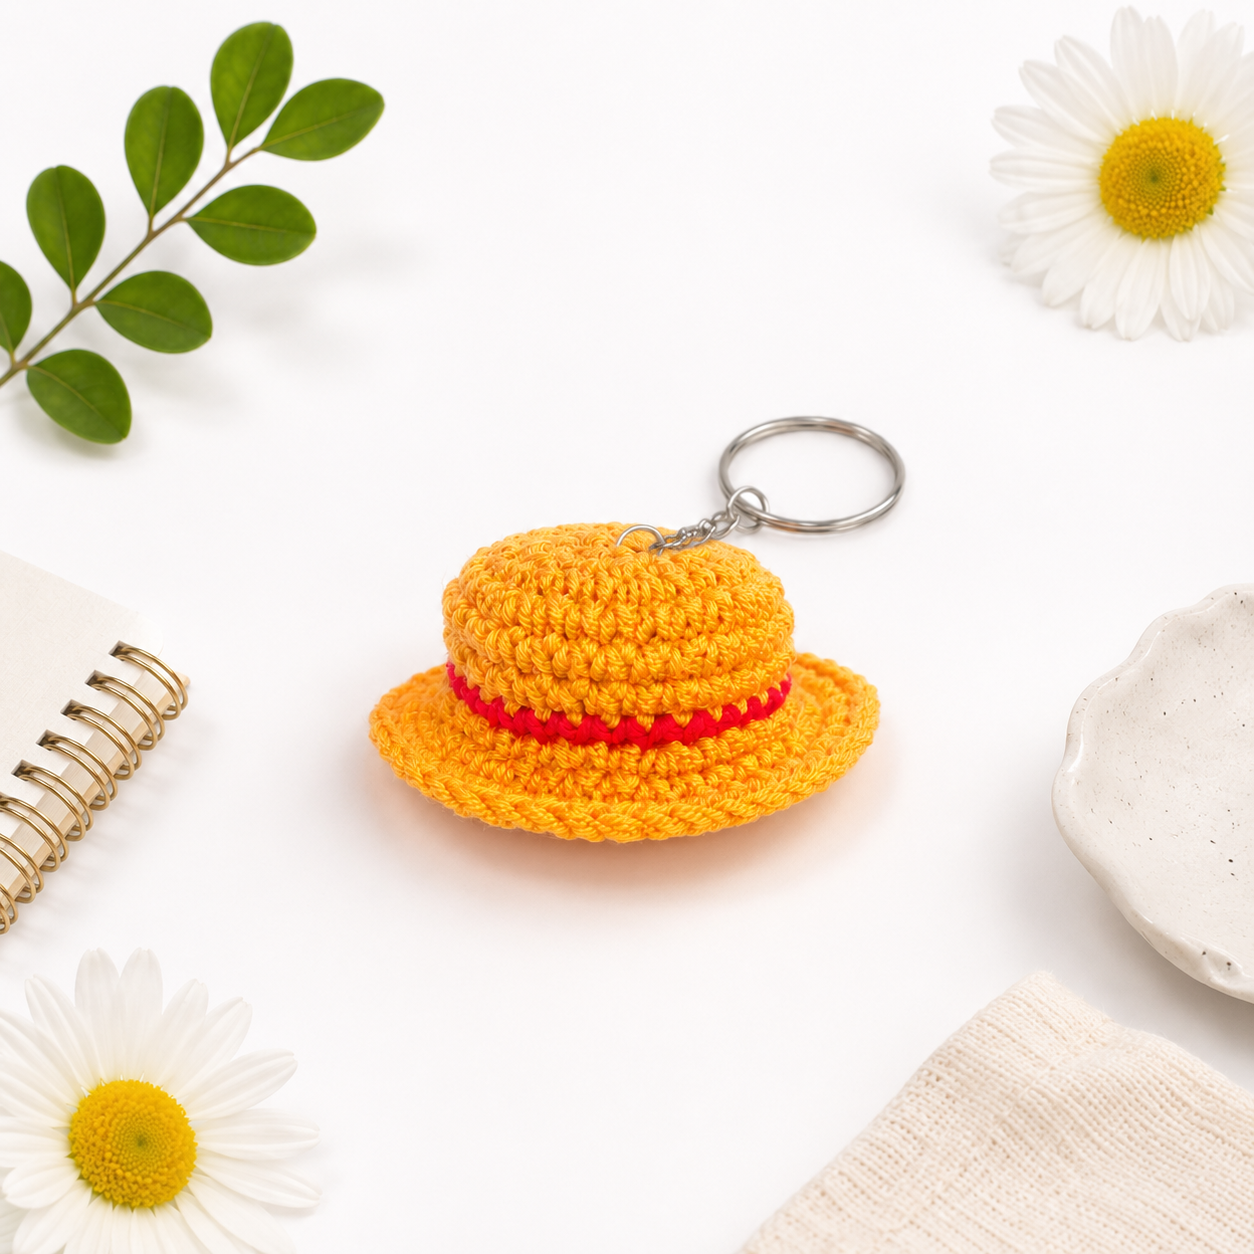
Want to carry a piece of the Grand Line with you everywhere you go? This free Luffy Hat Keychain Crochet pattern lets you crochet a tiny version of Monkey D. Luffy’s iconic straw hat — perfect as a keychain, bag charm, or One Piece collectible! It’s small, quick to make, and uses just a few materials.
This mini amigurumi hat is made in two simple parts: the gold straw crown with the red ribbon band, then finished with a silver keyring. Whether you’re a fan of the anime or just love cute crochet keychains, this pattern is beginner-friendly and works up in under an hour.
Table of Contents
What You’ll Need
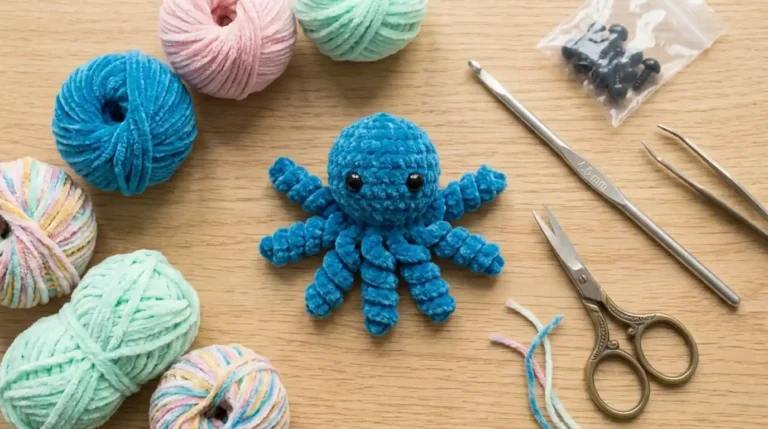
- Yarn: Gold and red (Alize Baby Best or any DK/size 3 cotton yarn)
- Crochet hook: 2.5 mm
- Silver keyring for the keychain
- Scissors
- Tapestry needle for weaving in ends
Abbreviations (US Crochet Terminology)
| Abbreviation | Meaning |
|---|---|
| MR | Magic ring |
| sc | Single crochet |
| inc | Increase (2 sc in one stitch) |
| dec | Decrease |
| sl st | Slip stitch |
| FLO | Front loop only |
| FO | Fasten off |
| (…) x N | Repeat the contents in parentheses N times |
💡 Tip: The number in parentheses at the end of each round is your total stitch count. Use a stitch marker to mark the beginning of each round so you don’t lose your place!
Step 1: Crochet the Hat Crown (Gold Yarn)
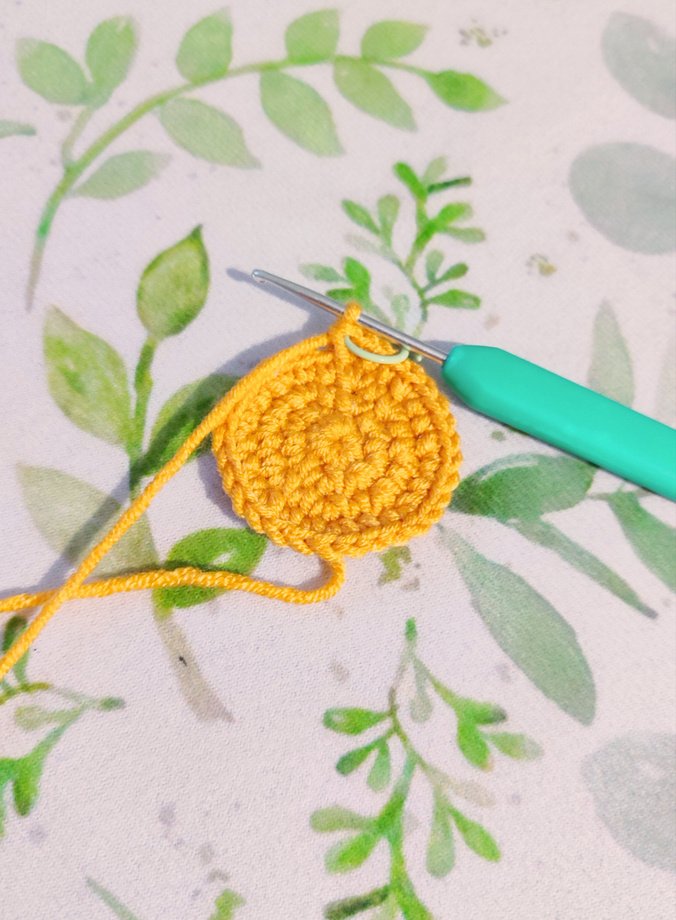
Work in continuous spiral rounds. Use a stitch marker to track the start of each round.
| Round | Instruction | Stitch Count |
|---|---|---|
| R1 | MR, 8 sc | 8 |
| R2 | inc in each st around | 16 |
| R3 | (sc, inc) x8 | 24 |
| R4 | (2 sc, inc) x8 | 32 |
| R5–R7 | 32 sc (3 rounds, no increase) | 32 |
After Round 7, you should have a small dome-shaped crown in gold yarn. Don’t fasten off — keep going to the next step.
Step 2: Add the Red Band

Switch to red yarn.
| Round | Instruction | Stitch Count |
|---|---|---|
| R8 | 32 sc | 32 |
This creates the signature red ribbon band around the base of Luffy’s hat. You can fasten off the red yarn and weave in the end, or keep it attached if you plan to add the brim in gold next.
Step 3: Crochet the Brim (Gold Yarn)
Switch back to gold yarn.
| Round | Instruction | Stitch Count |
|---|---|---|
| R9 | FLO (7 sc, inc) x4 | 36 |
| R10 | (4 sc, inc, 4 sc) x4 | 40 |
| R11 | (9 sc, inc) x4 | 44 |
R9 uses front loop only (FLO) to create a clean transition line where the brim flares out. This gives the hat its classic shape with a defined brim edge.
Step 4: Attach the Keyring
Before closing up the hat, thread the silver keyring through the center of the magic ring at the top of the crown. This is the best time to add it since the center hole is still accessible.
If the center has already closed, you can sew the keyring to the top of the crown using the yarn tail and tapestry needle.
Step 5: Fasten Off and Finish
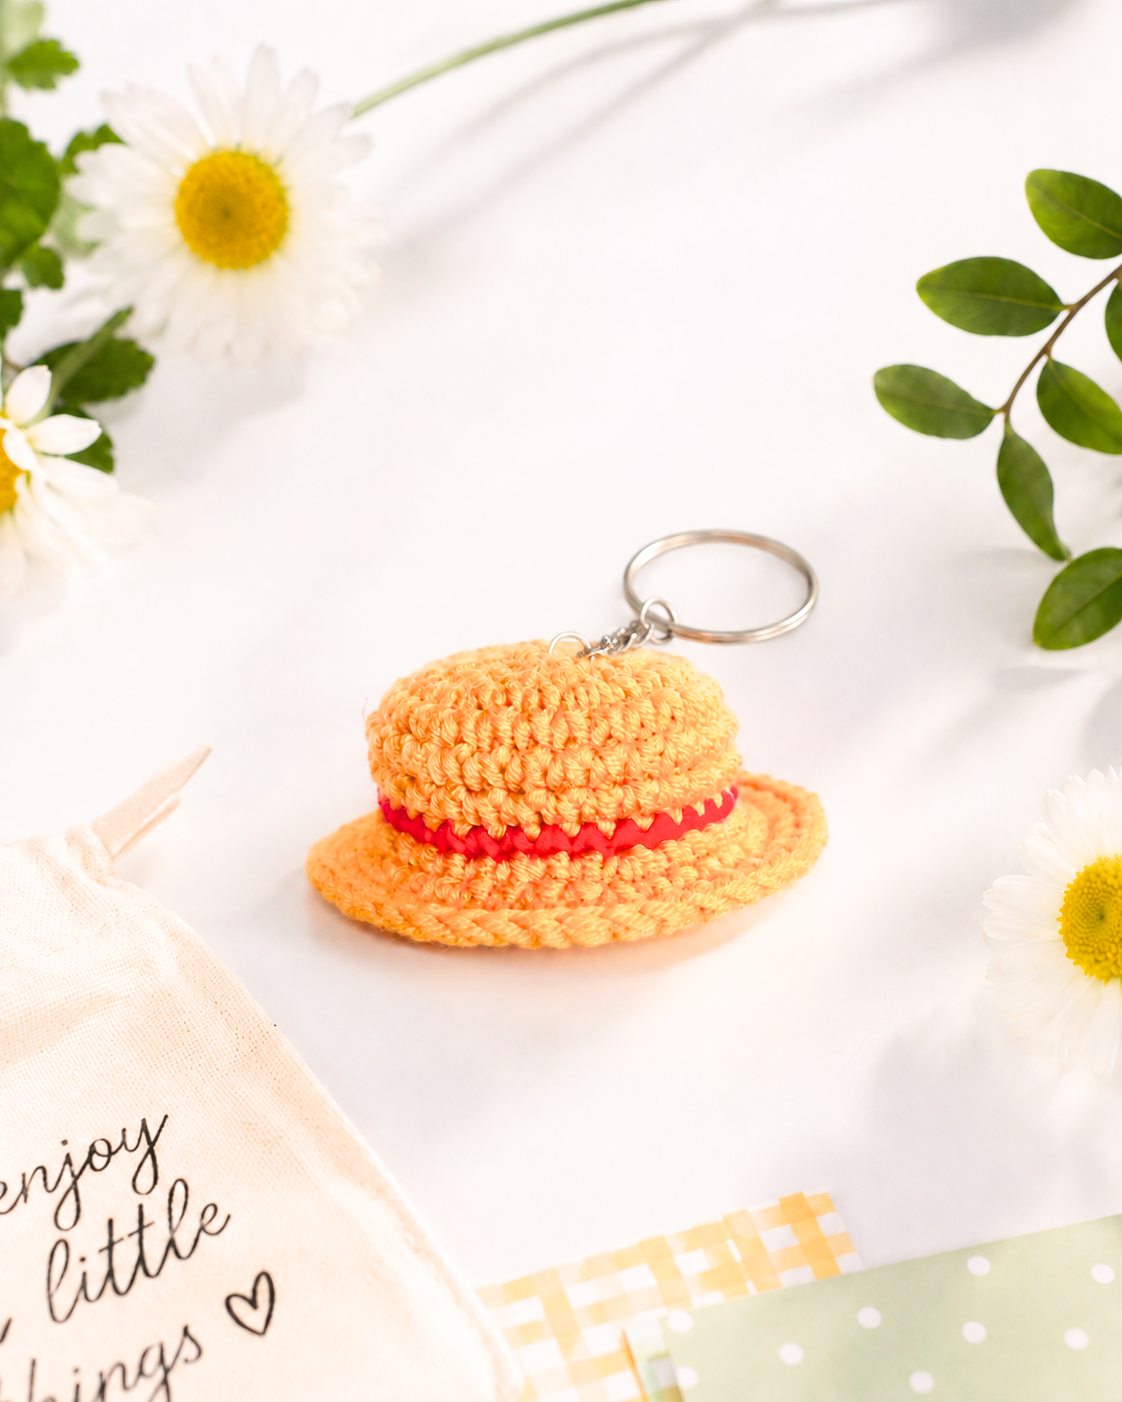
FO and weave in all yarn ends neatly with your tapestry needle. Make sure the red band sits evenly around the base of the crown, and the brim flares out nicely from Round 9 onwards.
Your Luffy Hat Keychain is now complete! Attach it to your keys, backpack, or give it as a gift to a fellow One Piece fan. 🏴☠️
Tips for Success
- Keep your tension even: Amigurumi looks best with tight, consistent stitches so the stuffing doesn’t show through.
- Use a stitch marker: Since you’re working in spiral rounds, a stitch marker helps you track where each round begins.
- Count your stitches: The stitch counts in parentheses are your guide — if they don’t match, you may have missed an increase.
- FLO creates a clean edge: Working Round 9 in front loop only gives the brim a neat separation from the crown.
- Add the keyring early: It’s much easier to thread the keyring through the magic ring center before the hole closes up.
Frequently Asked Questions
What size will the finished hat be?
With 2.5 mm hook and DK weight yarn, the finished hat is approximately 3–4 cm across — small enough to be a cute keychain but detailed enough to be instantly recognizable as Luffy’s hat.
Can I use different yarn?
Yes! Any yarn weight will work — just adjust your hook size accordingly. Thicker yarn = bigger hat, thinner yarn = smaller hat. The key is using a hook size that gives you a tight, dense fabric.
Is this suitable for beginners?
Absolutely! This pattern uses only basic stitches (single crochet, increase, slip stitch, magic ring) and works up quickly. It’s a great first amigurumi project.
Can I sell items made from this pattern?
This is a free pattern by @mia.croset. Finished items may be sold in small quantities with credit to the designer. Please do not copy, resell, or redistribute the pattern itself.
Final Thoughts
This little Luffy Hat Keychain Crochet is a fun, fast project that brings a bit of pirate adventure to your everyday carry. Whether you’re headed to an anime convention, want a unique keychain, or just love crocheting miniatures, this pattern is sure to be a hit. Happy crocheting, and may your adventures be as grand as Luffy’s!
One Comment