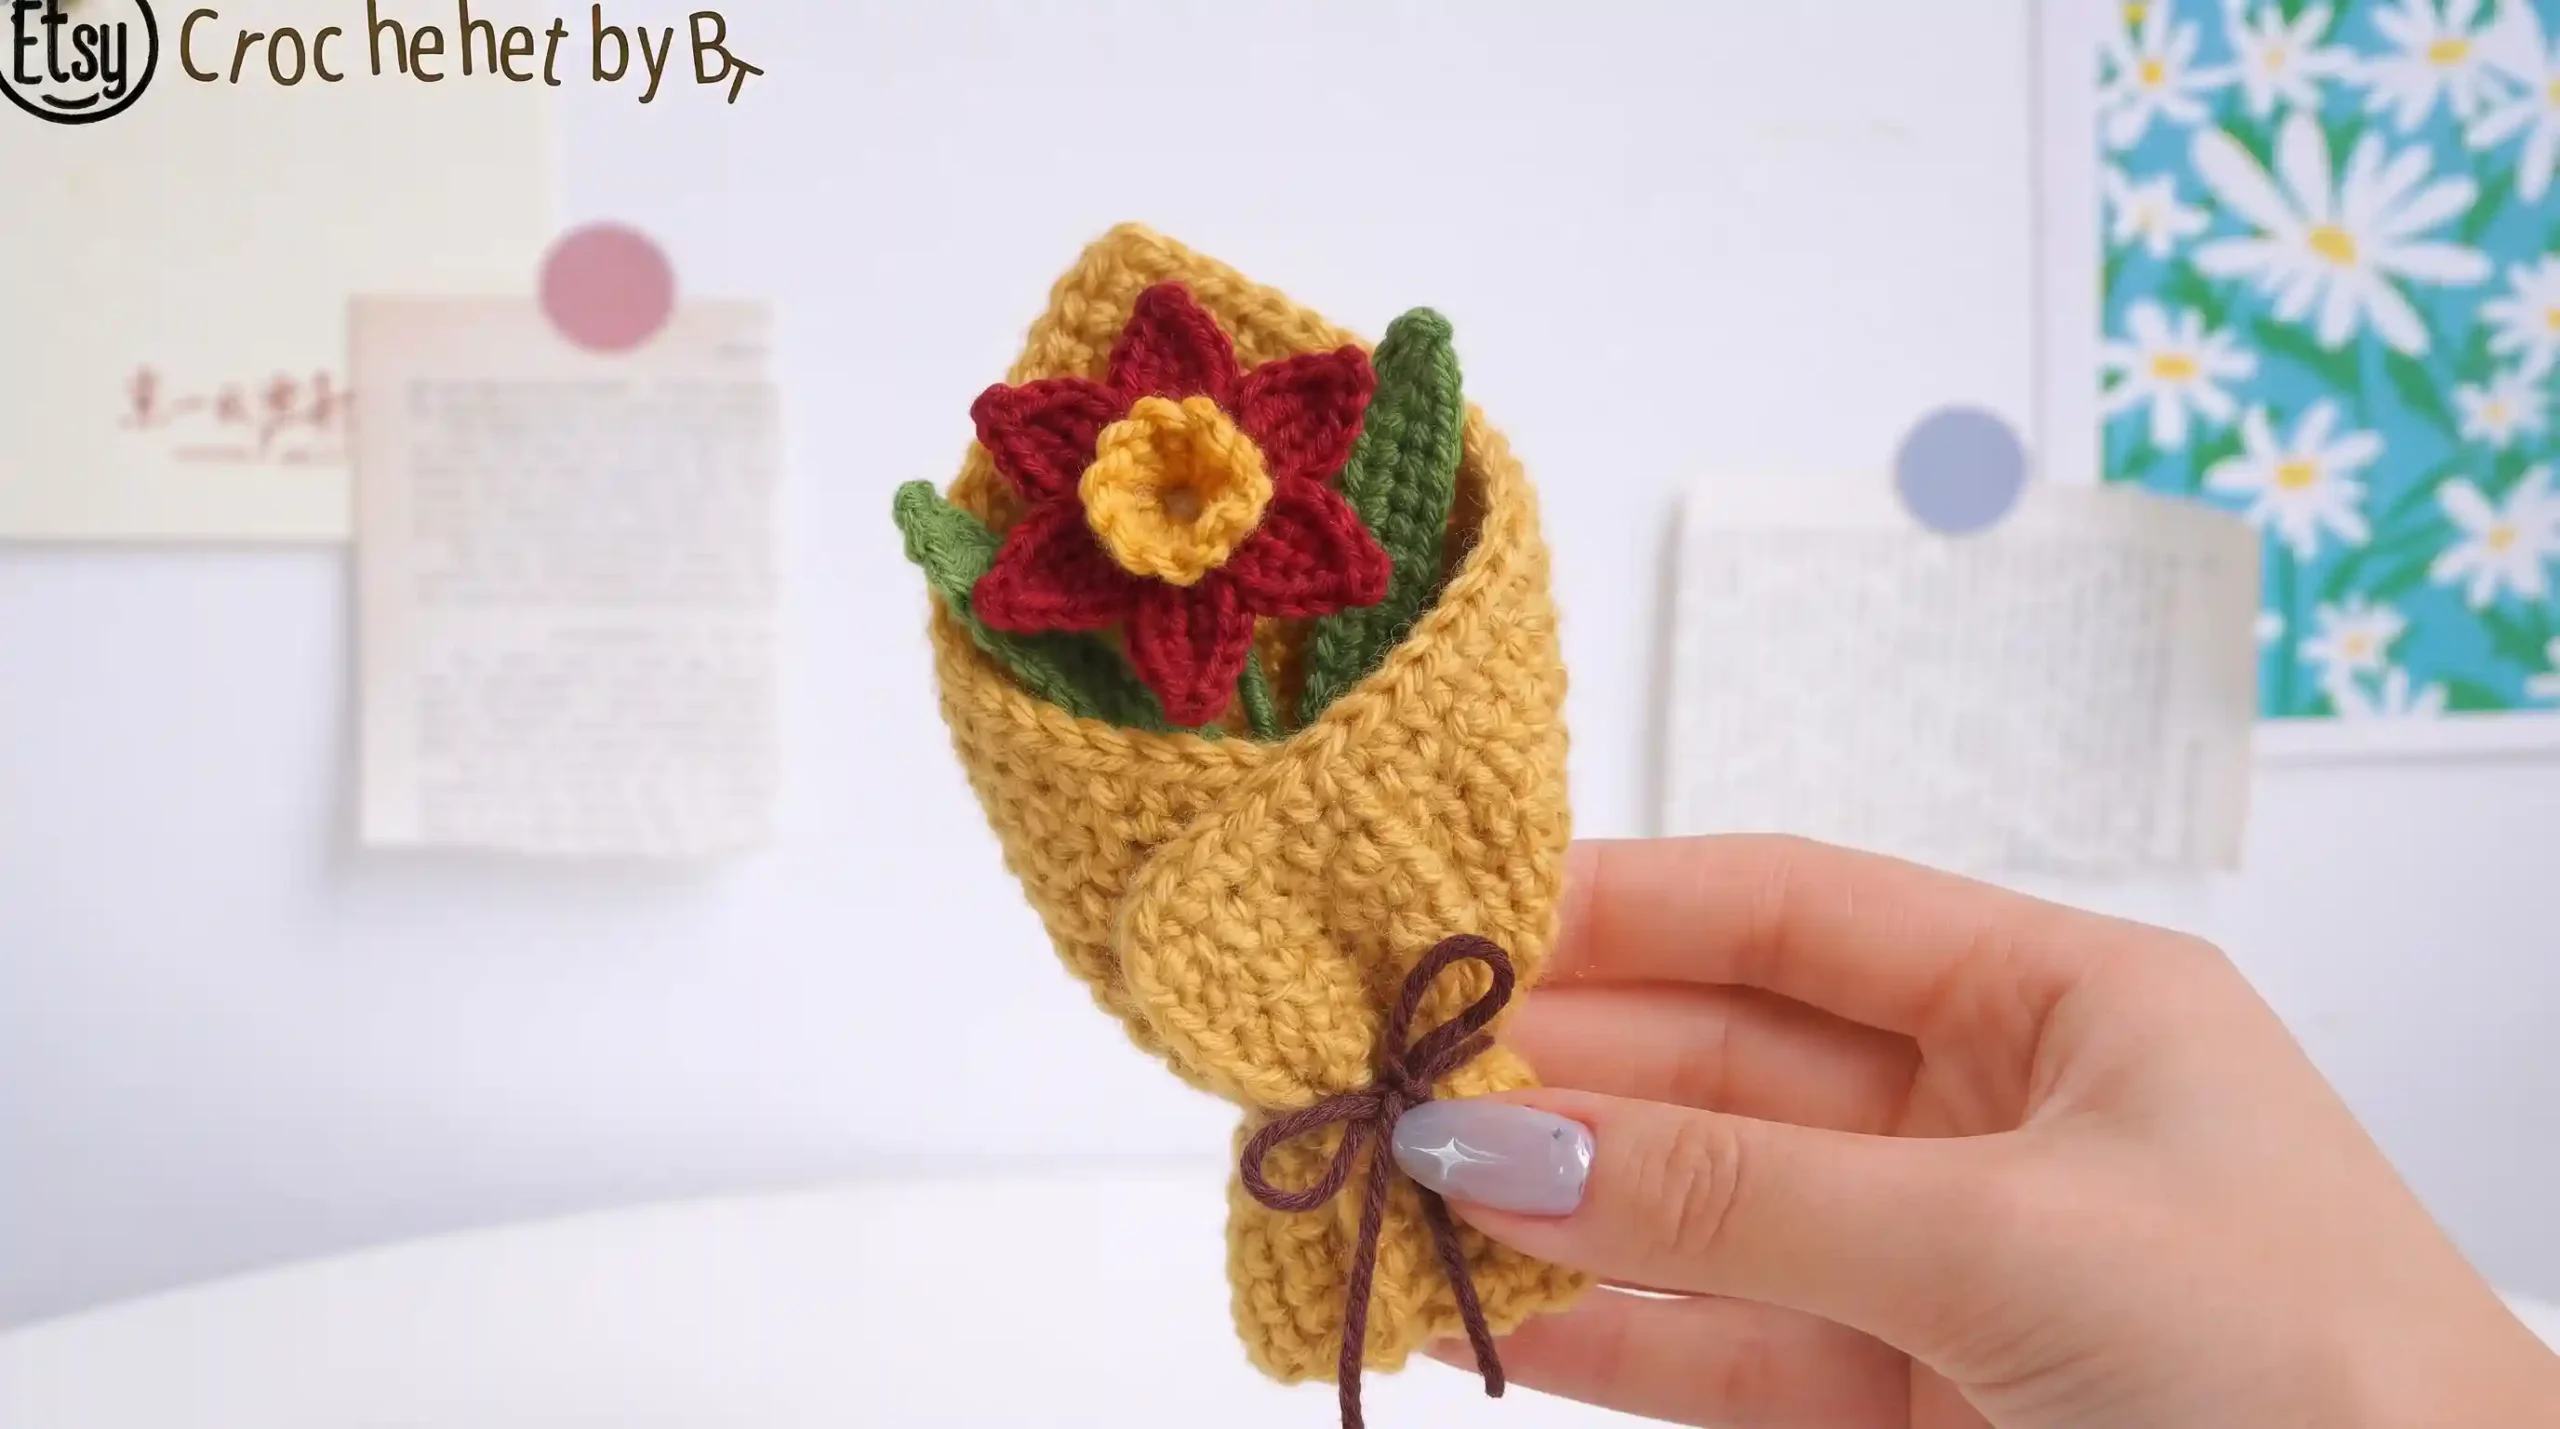
Narcissus Bouquet Crochet Pattern & Guide
Create a stunning handmade Narcissus Bouquet crochet with this step-by-step crochet pattern. Perfect for beginners and advanced crafters alike, this detailed guide includes material lists, stitch instructions, wire assembly, and flower wrapping techniques to bring your floral creation to life.
Narcissus Bouquet Crochet Pattern & Guide
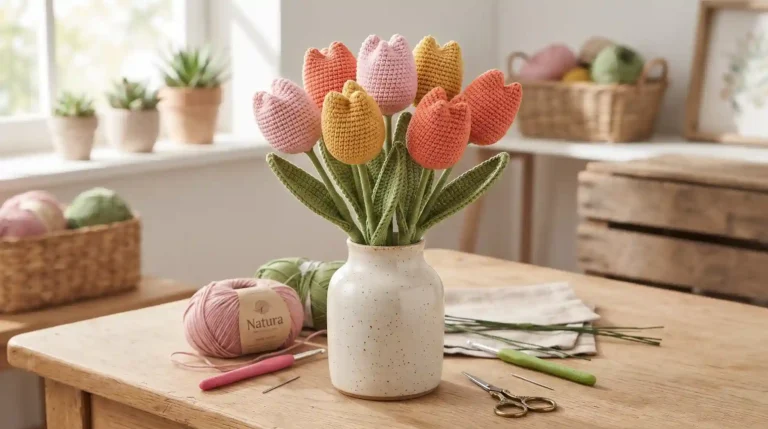
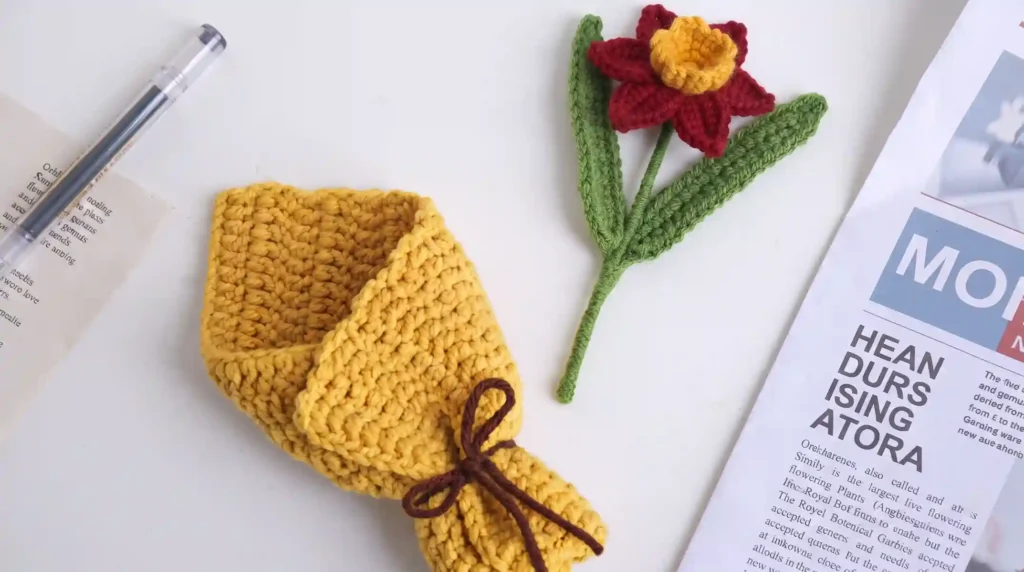
Bring a touch of perpetual springtime into your home with this exquisite, handmade Narcissus Bouquet Crochet! Featuring a vibrant red and yellow daffodil blossom nestled within a charming, textured wrapper, this delightful crochet project makes for a wonderful keepsake, gift, or decorative accessory.
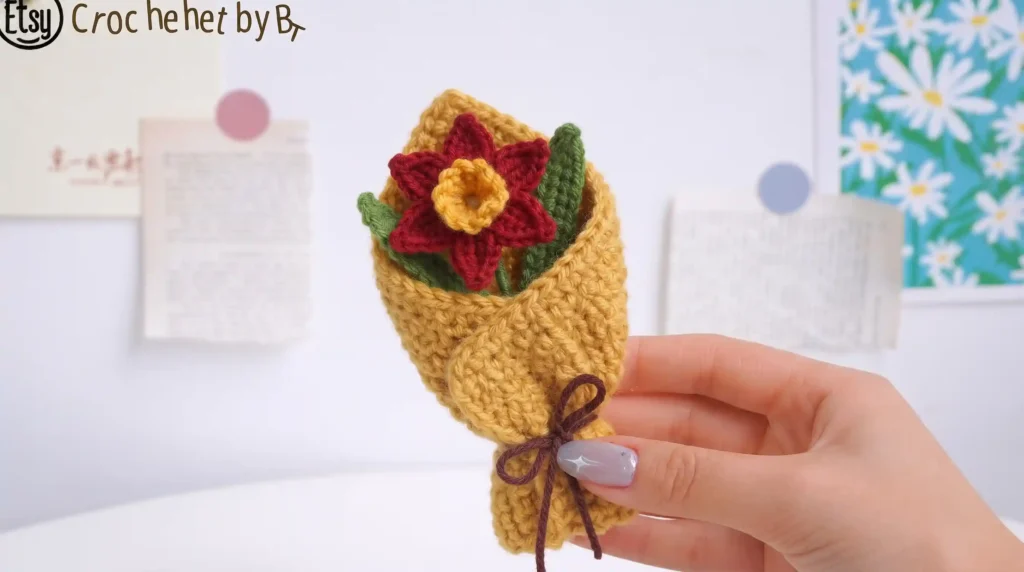
Table of Contents
Introduction & Community Welcome
Welcome, crochet enthusiasts! Thank you for exploring this wonderful pattern created by Digital Zone. As a vibrant community of crafters, we celebrate creativity and the joy of crafting together. Whether you are just starting out or have years of experience under your belt, there is always something fresh and exciting to learn. Please remember to respect designer copyrights by giving proper credit to creators. Happy crocheting, and be sure to share your finished projects, tips, and inspiration with fellow makers!
Materials & Tools Needed
- Yarn Colors: White, Yellow, Green, Beige, Red, and a little Dark Brown (you’ll need roughly one 50g ball per color depending on usage).
- Crochet Hook: $2.5\text{ mm}$ (C) hook.
- Notions: Stitch marker, sewing needle, scissors.
- Hardware/Extras: Craft wire ($0.5\text{ mm}$).
Important Notes Before Starting
- Terminology: The pattern utilizes crochet terminology that is standard in the US.
- Stitch Markers: It is highly advisable to use a stitch marker to indicate the first stitch of each round to keep track easily.
- Finished Size: The final piece measures approximately $15\text{ cm}$ (about $5.9\text{ inches}$), though sizing may vary depending on your chosen yarn and individual stitch tension.
Pattern Instructions for Narcissus Bouquet Crochet
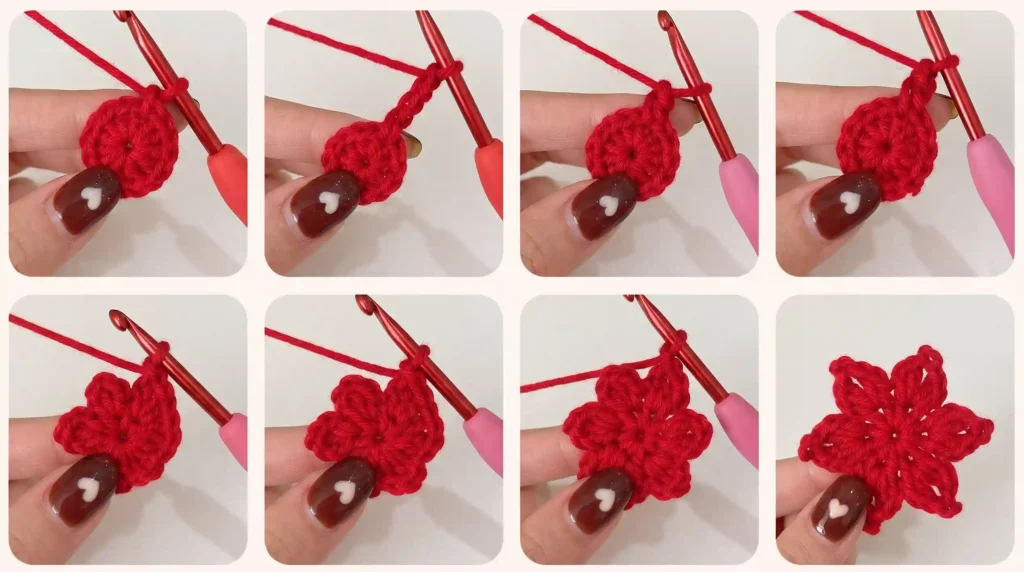
1. Flower (Red & White)
- Row 1: Using white yarn, work $6\text{ SC}$ in a Magic Ring ($6$).
- Row 2: Working in the BLO (Back Loop Only) in all stitches: $((3\text{CH}, \text{DC}, \text{picot}, 3\text{CH})$ in one st, $\text{slst}$ in next st) $6$ times.
- Weave in the ends and cut. (Note: Attach red yarn to petals as illustrated in the photo guide to build the outer petals).
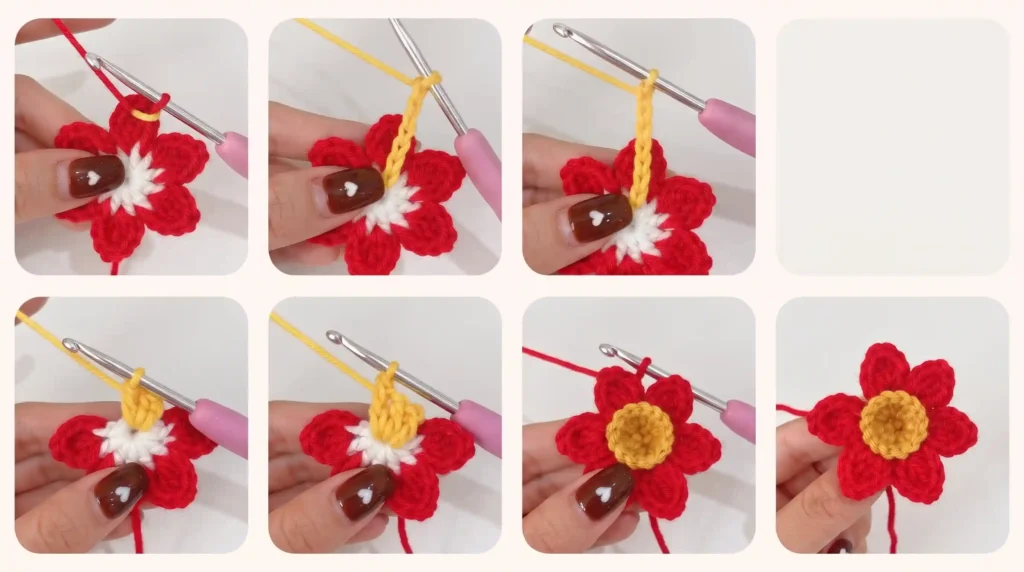
2. Pistil (Yellow)
- Working in the FLO (Front Loop Only): Attach yellow yarn to the FLO st of Round 1, and work across all FLO sts: $(5\text{CH}, \text{slst}$ in next st) $6$ times.
- Weave in the end and cut.
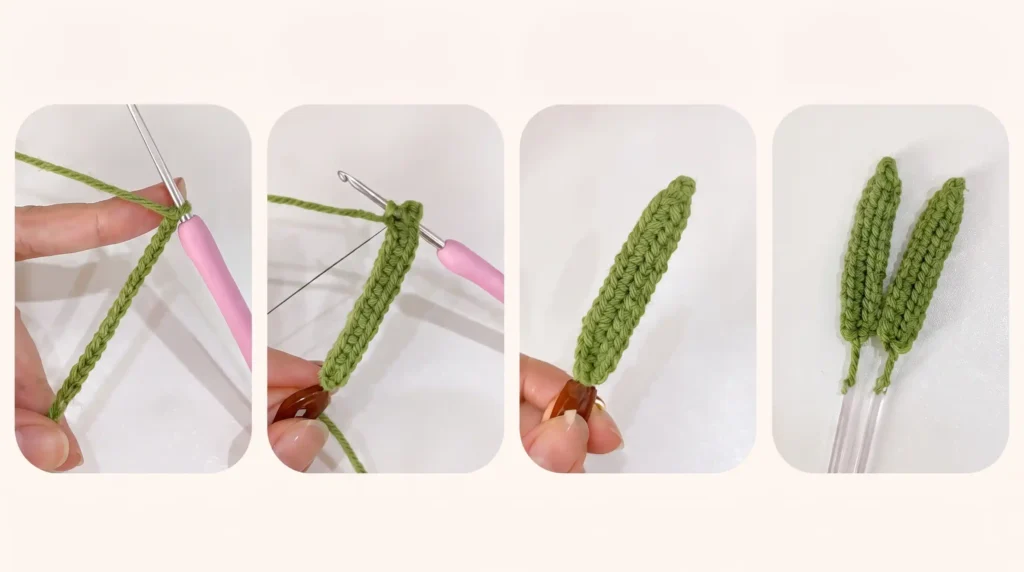
3. Leaves $\times 2$ (Green)
- Chain $17$, start in the $2^{\text{nd}}\text{ CH}$ from the hook (working on both sides of the chain):
- Row 1: Attach the craft wire, $15\text{ SC}$, $(2\text{SC}, \text{picot}, \text{SC})$ in one st, $15\text{ SC}$ ($34$). Wrap green yarn around the excess wire. Cut the yarn.
4. Flower Wrapping Paper (Beige)
- Chain $32$, start in the $3^{\text{rd}}\text{ CH}$ from the hook:
- Rows 1–15: $30\text{ DC}$, $2\text{ CH}$, turn ($30$) — $15$ rows total.
- Row 16: $30\text{ DC}$ ($30$).
- Weave in the end and cut.
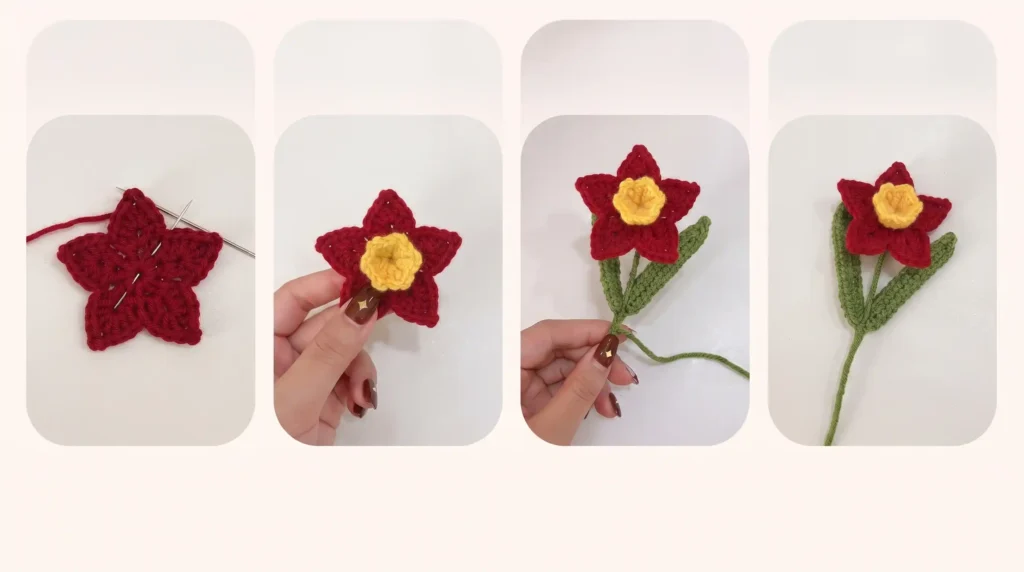
Assembly Instructions
- Stem Formation: Insert craft wire through the center of the flower base. Use green yarn to wrap tightly around the wire stem. Secure the leaves onto the wire stem and continue wrapping until the end (recommended flower stem length is $10\text{ cm}$).
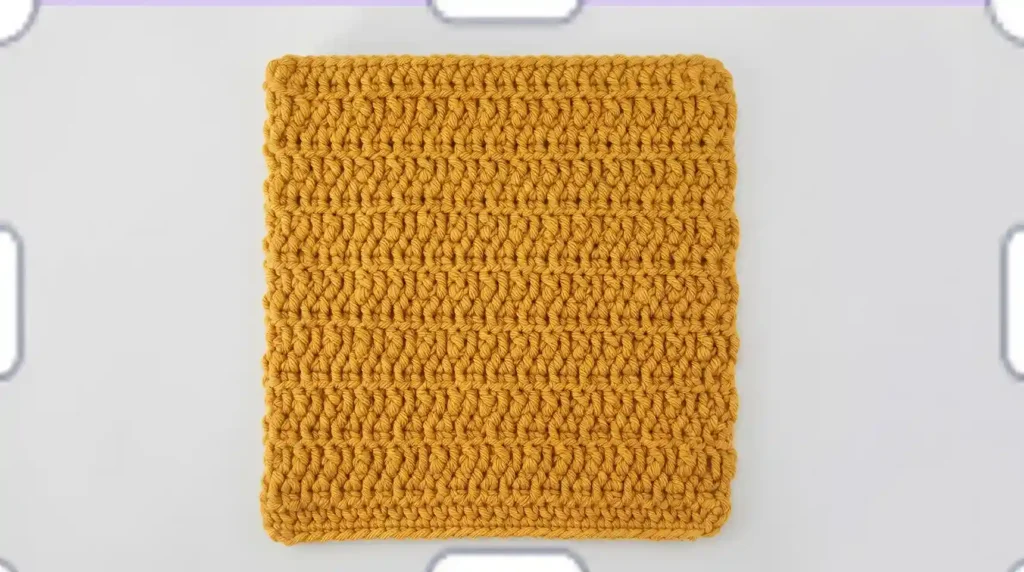
- Wrapping the Bouquet: Rotate the flower wrapping paper diagonally, then place the finished flower in the center of the wrapping sheet.
- First, fold the bottom edge of the wrapping sheet upward, then fold both sides inward around the stem.
- Use dark brown yarn to tie the bottom of the wrapping sheet together ($3\text{ cm}$ from the base) and create a neat little bow. Cut the excess yarn.
Frequently Asked Questions (FAQ)
1. What skill level is recommended for this project?
This pattern is suited for intermediate crocheters or confident beginners who are comfortable working with wire shaping, changing colors, and standard stitches like single and double crochet.
2. Why do we use craft wire in the leaves and stem?
The $0.5\text{ mm}$ craft wire provides structural support, allowing you to bend and pose both the leaves and the flower stem realistically inside the wrapper.
3. Can I sell items made from this pattern?
You may sell finished items made with this pattern, but only in small quantities, provided you give proper credit to Digital Zone as the original designer.
Conclusion
Congratulations on completing your handmade Narcissus Bouquet Crochet! Be sure to snap a photo and showcase it on your social media story—we love seeing your creativity come to life. Keep up the amazing work, and happy crocheting!