
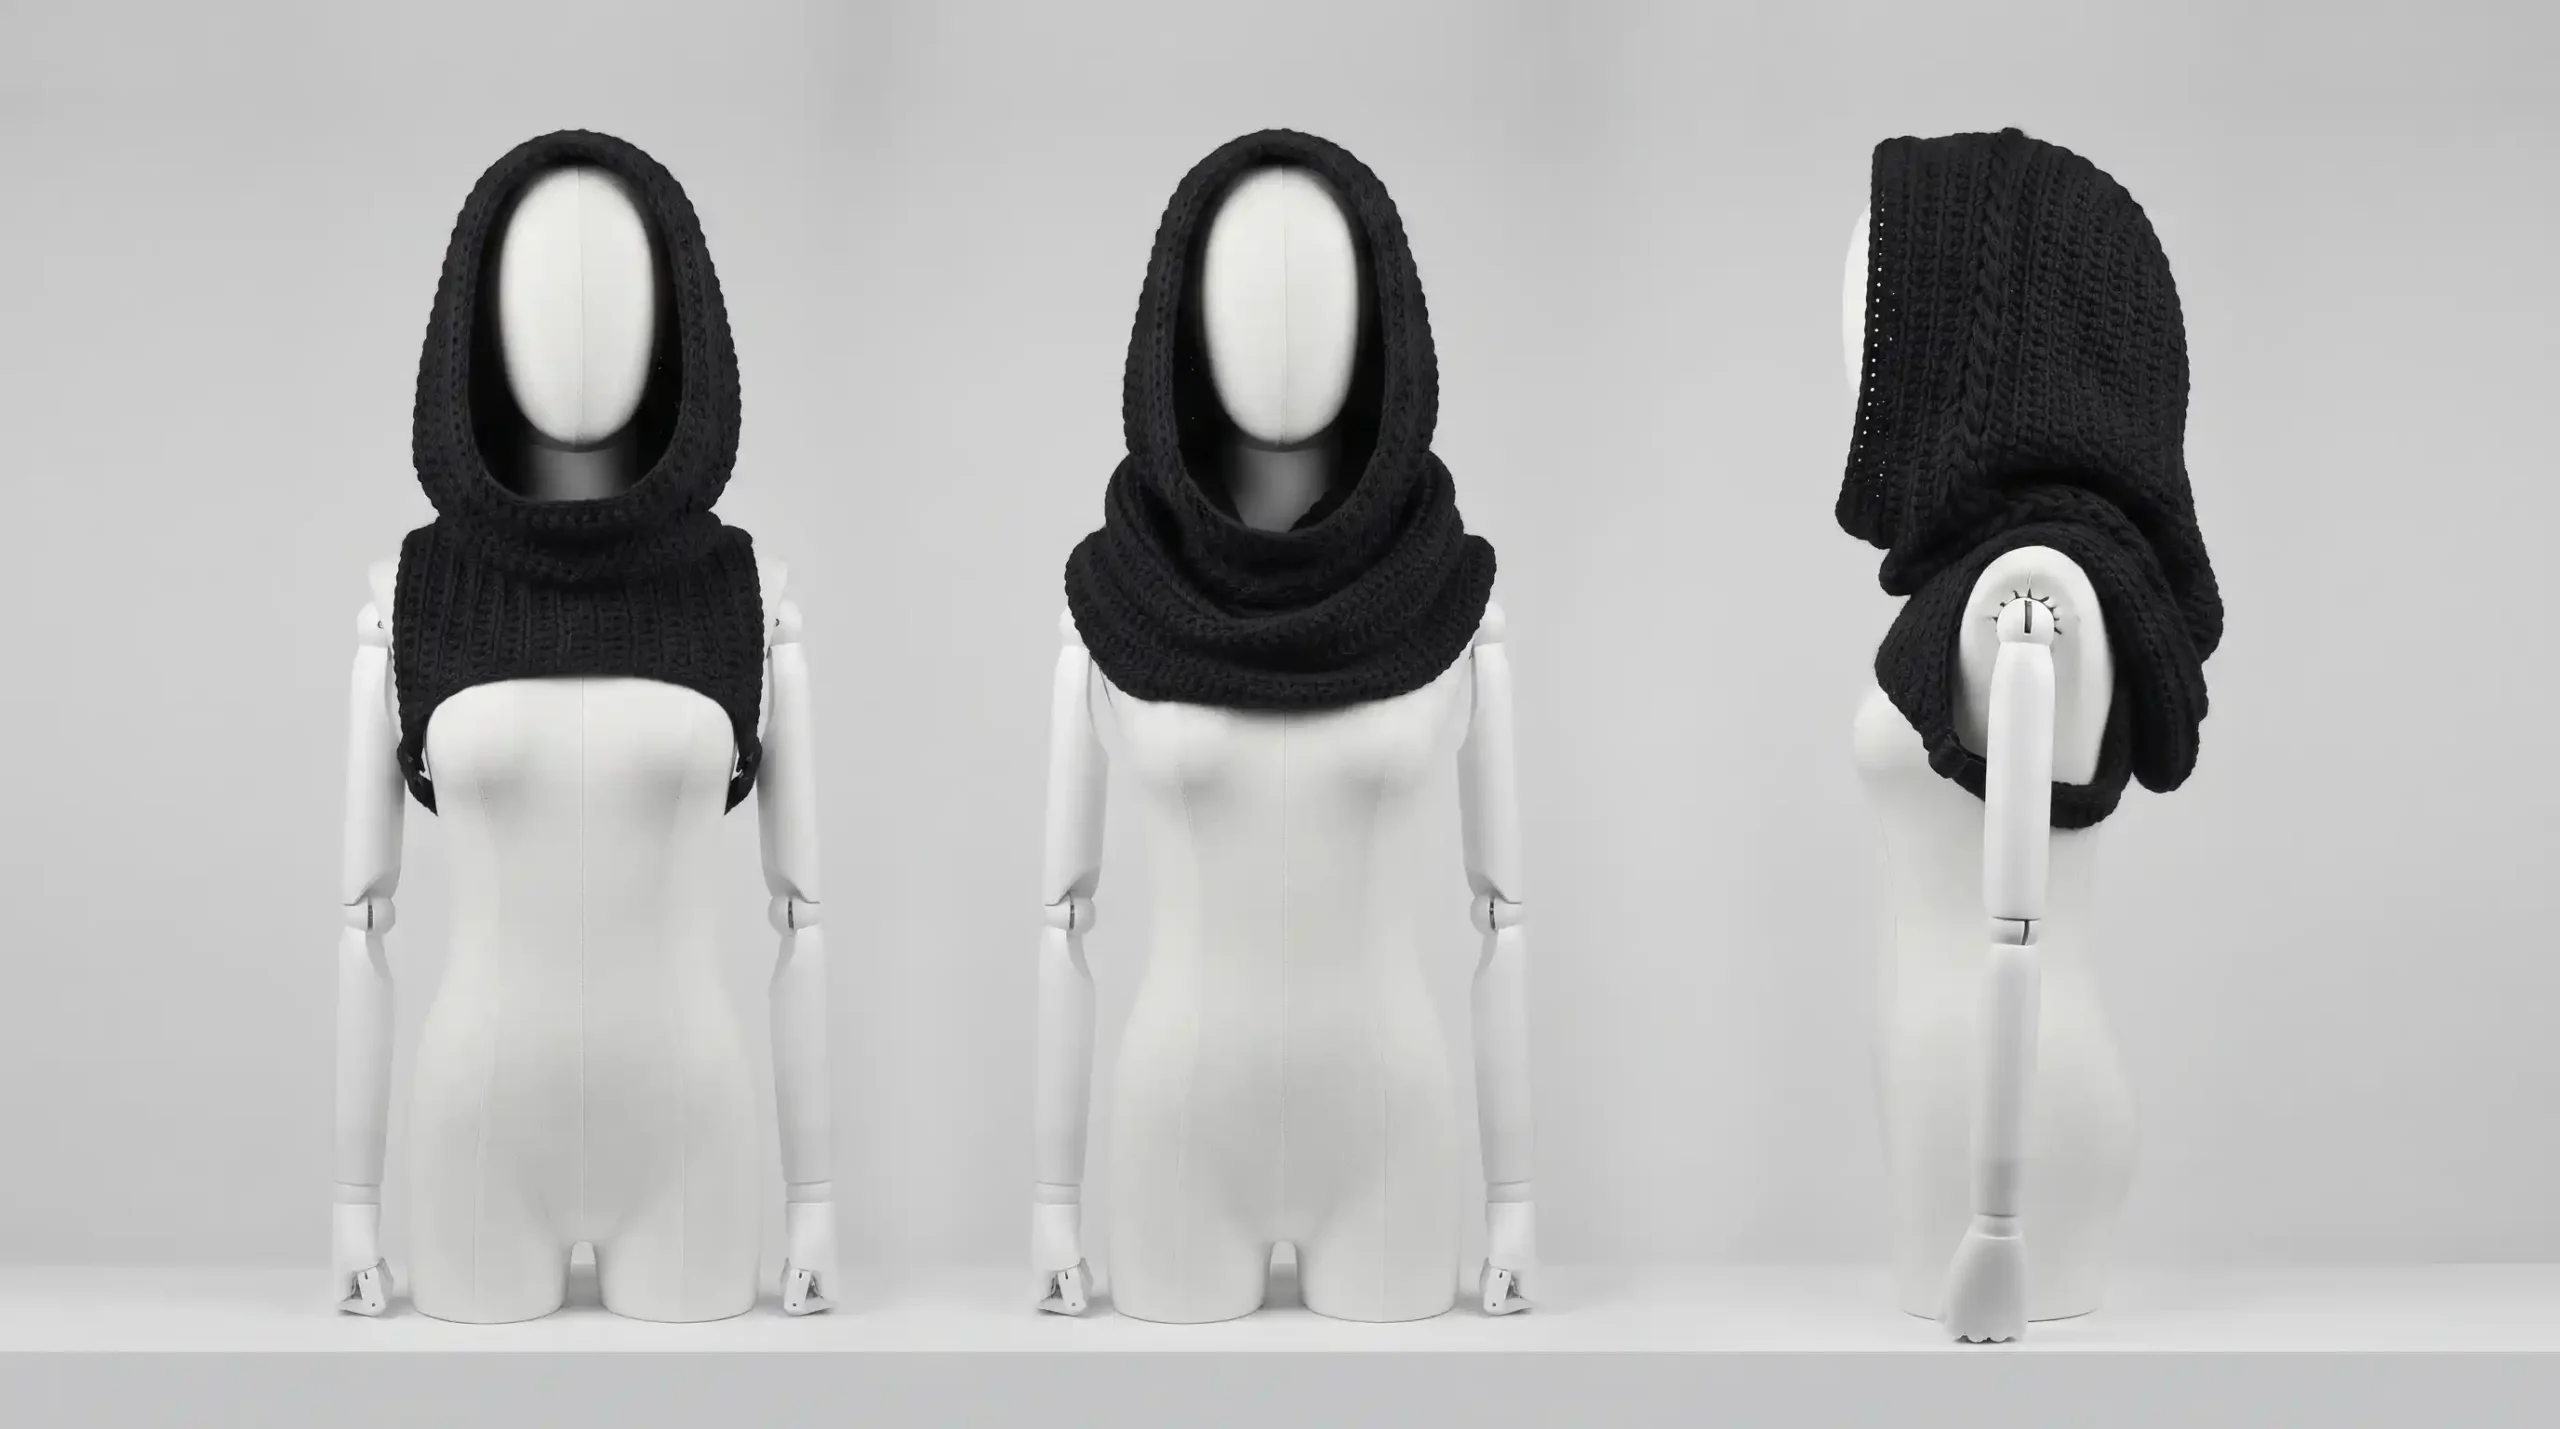
The Matrixx Hood – Free Crochet Pattern with Tactical Buckles & Ribbed Texture
Channel your inner Neo with The Matrixx Hood — a futuristic, tactical-inspired crochet hood that blends streetwear edge with cozy warmth. This intermediate-level pattern creates a structured hood with extended chest coverage, distinctive ribbed texture, and functional side-release buckle closures for that authentic Matrix-inspired look.
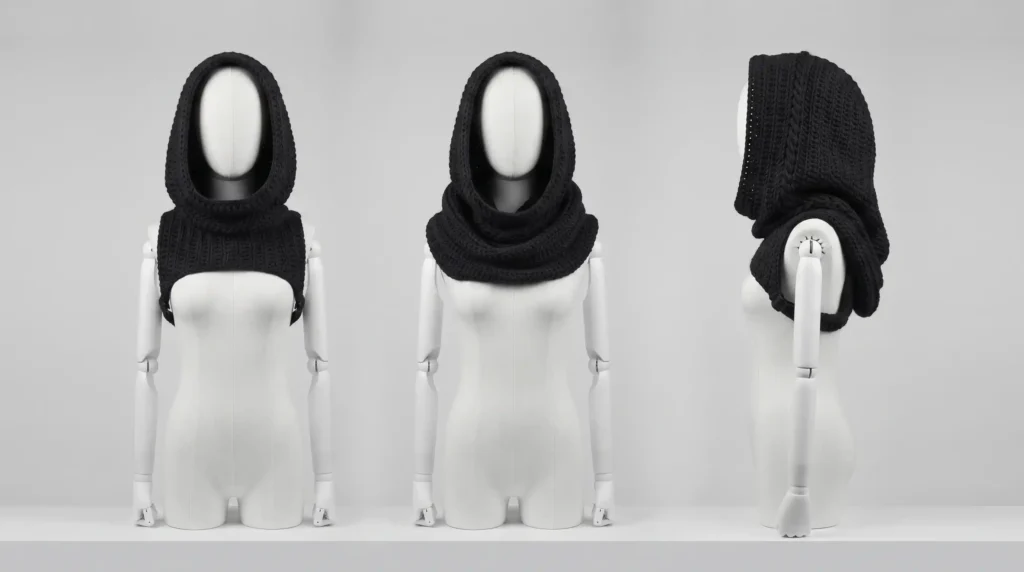
Made with super bulky (weight 6) yarn and an 8mm hook, this works up surprisingly fast despite its substantial size. The hood features front and back post half double crochet stitches for a pronounced ribbed fabric, adjustable sizing, and removable buckles that let you customize the fit and style.
Whether you’re cosplaying, hitting the streets on a chilly day, or just love unique, architectural crochet wearables — this hood delivers both statement-making style and practical wearability.

💡 Pro Tip: The pattern is designed to be size-adjustable — increase or decrease the width by adding or removing rows in increments of 2. This lets you customize the hood for anything from a snug teen fit to an oversized adult style.
Table of Contents
Materials & Tools
- Super Bulky yarn (weight 6) — approximately 200-300 yards (solid black recommended for the classic Matrix look)
- 8mm crochet hook
- 2 × 3/4 inch side-release buckle clips (black plastic)
- Stitch marker
- Yarn/darning needle
- Scissors
Abbreviations (US Terms)
| Abbreviation | Meaning |
|---|---|
| Ch | Chain |
| St | Stitch |
| Slst | Slip Stitch |
| Sc | Single Crochet |
| Hdc | Half Double Crochet |
| Inc | Increase (2 sc in one stitch) |
| Dec | Invisible Decrease |
| Fphdc | Front Post Half Double Crochet |
| Bphdc | Back Post Half Double Crochet |
| CC | Colour Change |
| ( ) | Repeat the indicated number of times |
Gauge
4×4 Gauge: 7 rows by 9 stitches using Hdc turning rows
Note on Sizing: The hood increases in width by 2 rows at a time. Refer to the chest span measurements in the pattern to adjust size as needed.
Step 1: Crochet the Front & Back Panels

The hood is built from two identical rectangular panels that are later sewn together at the shoulders. Work each panel separately in rows, turning at the end of each row.
Front Panel (Rows 1-23)
- Row 1: Ch 9, turn. (Foundation row)
- Rows 2-7: Hdc across, turn (establishing width)
- Row 8: Inc, Hdc across (beginning widening for chest)
- Rows 9-10: Inc, Hdc across, turn (continued widening)
- Row 11: Inc, Hdc across, turn
- Rows 12-16: Hdc across, turn (main chest width)
- Row 17: Dec, Hdc across, turn (beginning shoulder taper)
- Rows 18-19: Dec, Hdc across, turn
- Row 20: Dec, Hdc across, turn
- Rows 21-23: Hdc across, turn (maintaining shoulder width)
- End: Fasten off
Back Panel (Identical to Front)
Work the back panel exactly the same as the front panel (Rows 1-23). This ensures perfect symmetry when the panels are sewn together.

Shoulder Seaming
- Place the two panels together with right sides facing (or wrong sides, depending on preferred seam appearance).
- Using yarn and a yarn needle, sew the top 2 inches of each panel together (approximately 8-10 stitches per side, leaving the center 8-10 inches open for the neck).
- This creates the basic hood shape with a approximately 10-inch neck opening at the bottom.
Step 2: Construct the Cowl (Body)
Now you’ll work around the neck opening to create the elongated cowl/bib portion that covers the chest.
Attaching Yarn to Begin the Cowl
With the hood shape positioned so the neck opening is facing you, attach your yarn with a standing single crochet into any stitch along the neck opening edge.
📌 Standing Single Crochet: Begin with a slip knot on your hook. Enter the stitch, pull up a loop. YO and pull through both loops on your hook. This avoids a starting chain and gives a clean edge.
Working the Cowl Rows
- Option A (Continuous Rounds): Work Hdc in each stitch around the neck opening. Do not join or turn — continue in a spiral. Work until desired length is reached (typically 12-15 rows for standard coverage).
- Option B (Joined Rows): Join with Slst to first St, Ch 2 (counts as first Hdc), Hdc in each St around, join with Slst to top of Ch-2. Repeat for desired length.
Fasten off when cowl reaches desired length.
Step 3: Add Body Edging

Edging is worked in single crochet around the entire outer perimeter of the hood+cowl piece.
Edging Instructions
- Attach yarn with a standing single crochet into the side of the front panel near the shoulder seam.
- Work down the last row of the panel, placing one single crochet in each stitch.
- When you reach the last stitch, work 2 single crochet stitches in that stitch (corner increase).
- Work 2 single crochet stitches in the next stitch, then single crochet in the next 2 stitches (shaping the corner).
- Continue working single crochet stitches evenly along the row edge of the front panel.
- At the front corner, place 2 single crochet stitches in the corner stitch to create a smooth turn.
- Work evenly along the bottom edge of the front panel, placing one single crochet in each stitch.
- Repeat the corner treatment at the opposite corner by working 2 single crochet stitches in the corner stitch.
- Work up the opposite side edge, placing single crochet stitches evenly along the row ends.
- When you reach the top shoulder area on the opposite side, work the final stitches to meet where you began.
- Join to the first standing single crochet with a slip stitch to close the round.
- Fasten off by cutting the yarn, leaving a 6-inch tail, and pulling the tail through the final loop. Weave in the end.
Step 4: Construct the Hood Crown

The hood crown creates the rounded top portion that fits on the head. It’s worked separately in a U-shape, then attached to the cowl.
Hood Crown Rows (R1-R26)
- Round 1: 31 Hdc in a magic circle (or ch 2, 31 Hdc in ch ring, join)
- Round 2: 37 Hdc (Inc, 31 Hdc, Inc)
- Round 3: 43 Hdc (Inc, 37 Hdc, Inc)
- Round 4: 49 Hdc (Inc, 43 Hdc, Inc)
- Round 5: 55 Hdc (Inc, 49 Hdc, Inc)
- Round 6: 61 Hdc (Inc, 55 Hdc, Inc)
- Round 7: 67 Hdc (Inc, 61 Hdc, Inc)
- Round 8: 73 Hdc (Inc, 67 Hdc, Inc)
- Round 9: 79 Hdc (Inc, 73 Hdc, Inc)
- Round 10: 85 Hdc (Inc, 79 Hdc, Inc)
- Round 11: 91 Hdc (Inc, 85 Hdc, Inc)
- Round 12: 97 Hdc (Inc, 91 Hdc, Inc)
- Round 13: 103 Hdc (Inc, 97 Hdc, Inc)
- Round 14: 109 Hdc (Inc, 103 Hdc, Inc)
- Round 15: 115 Hdc (Inc, 109 Hdc, Inc)
- Round 16: 121 Hdc (Inc, 115 Hdc, Inc)
- Round 17: 127 Hdc (Inc, 121 Hdc, Inc)
- Round 18: 133 Hdc (Inc, 127 Hdc, Inc)
- Round 19: 139 Hdc (Inc, 133 Hdc, Inc)
- Round 20: 145 Hdc (Inc, 139 Hdc, Inc)
- Round 21: 151 Hdc (Inc, 145 Hdc, Inc)
- Round 22: 157 Hdc (Inc, 151 Hdc, Inc)
- Round 23: 163 Hdc (Inc, 157 Hdc, Inc)
- Round 24: 169 Hdc (Inc, 163 Hdc, Inc)
- Round 25: 175 Hdc (Inc, 169 Hdc, Inc)
- Round 26: 181 Hdc (Inc, 175 Hdc, Inc)
Fasten off, leaving a long tail for sewing.
Step 5: Attach Hood Crown to Cowl
Now join the U-shaped hood crown to the top of the cowl.
Attachment Process
- Fold the cowl edge (where you finished off) backward so it lies flat against the outside of the hood crown.
- Find the center back of the hood crown (this will align with the center back of the cowl).
- Using the long tail from the hood crown, sew the bottom edge of the hood crown to the first round of the cowl, working from the center outward toward each side.
- Continue sewing until the hood crown is fully attached to the cowl around the entire circumference.
Step 6: Add Ribbed Edging (Optional but Recommended)
Add a ribbed edging around the face opening for extra structure and a polished finish.
Ribbed Edging Instructions
- Round 27: *Fphdc, Bphdc* repeat around, Ch 1, Turn
- Fasten off: Leave a long tail for sewing in the next step.
Step 7: Create Straps and Attach Buckles

Creating the Straps
- Single crochet across the side of the panels where you want the straps to attach (typically at the top corners of the hood crown).
- Create a chain of 16 stitches to form the strap base.
- Work half double crochet stitches back along the chain to give the strap thickness and strength.
- Join the end of the strap to the corresponding point on the other side of the panel.
- Tip: Try the piece on at this stage to ensure the strap length is correct before proceeding.
Attaching the Buckles
- Position the black plastic side-release buckle where you want it on the strap (typically near the end for adjustment).
- Sew the buckle securely onto the strap using yarn and a yarn needle.
- Repeat for the second strap and buckle.
Finished!
Your Matrixx Hood is now complete! Adjust the buckles to your preferred fit, and you’re ready to rock this futuristic, functional crochet masterpiece.
Frequently Asked Questions
How big is the finished hood?
The finished hood is highly adjustable. The base pattern creates a medium-large size that fits most teens and adults. To increase size, add rows in increments of 2 throughout the pattern. To decrease size, remove rows in increments of 2. Measure the chest span as you go to achieve your desired fit.
Can I use a different weight yarn?
While the pattern is designed for super bulky (weight 6) yarn, you can experiment with bulky (weight 5) using a 7mm or 6.5mm hook. The fabric will be less substantial but still structurally sound. Always make a gauge swatch first to check the drape and fit.
Are the buckles functional or just decorative?
The side-release buckles are fully functional! They allow you to adjust the tightness of the hood around your neck or chest, and can be completely removed if you prefer a pullover style. Testers have found them particularly useful for achieving a customized, secure fit.
Is this pattern beginner-friendly?
The pattern is rated as “Easy Intermediate” — it assumes familiarity with basic stitches (Sc, Hdc, Slst, Inc, Dec) and introduces slightly more advanced techniques like Fphdc/Bphdc for ribbing and standing stitches for clean edges. Adventurous beginners can tackle it with careful attention to the instructions.
Conclusion for The Matrixx Hood
Ultimately, The Matrixx Hood isn’t just about making a statement—it’s about redefining modern streetwear through a blend of futuristic edge and everyday wearability. With its distinctive silhouette, meticulous attention to detail, and undeniable attitude, it bridges the gap between avant-garde fashion and practical comfort. Whether you’re looking to elevate your everyday rotation or make a bold impression on the streets, The Matrixx Hood proves to be a standout investment for anyone willing to lean into the next wave of style.
One Comment