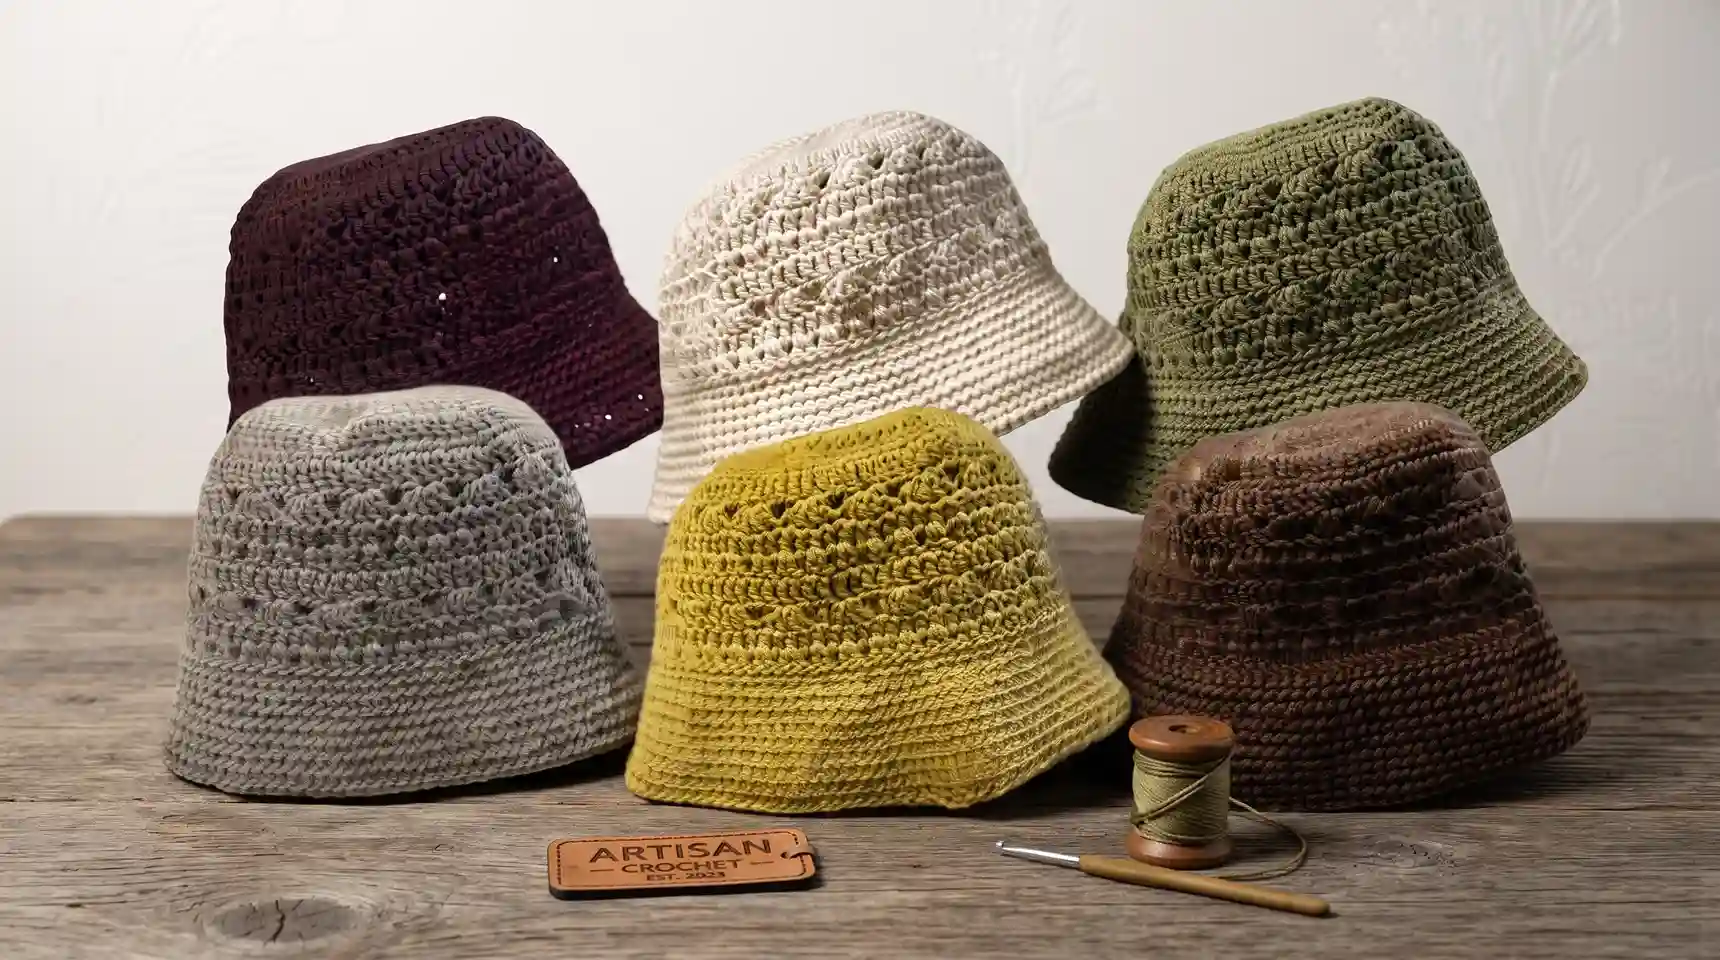
Easy Textured crochet bucket hat pattern – Free Pattern with Step-by-Step Instructions
If you’ve been looking for a stylish, beginner-friendly crochet bucket hat pattern, this is the one. This Easy Textured Crochet Bucket Hat combines simple stitches with gorgeous texture — shell rounds, crossed double crochets, and a structured BLO brim — to create a hat that looks far more complex than it really is.
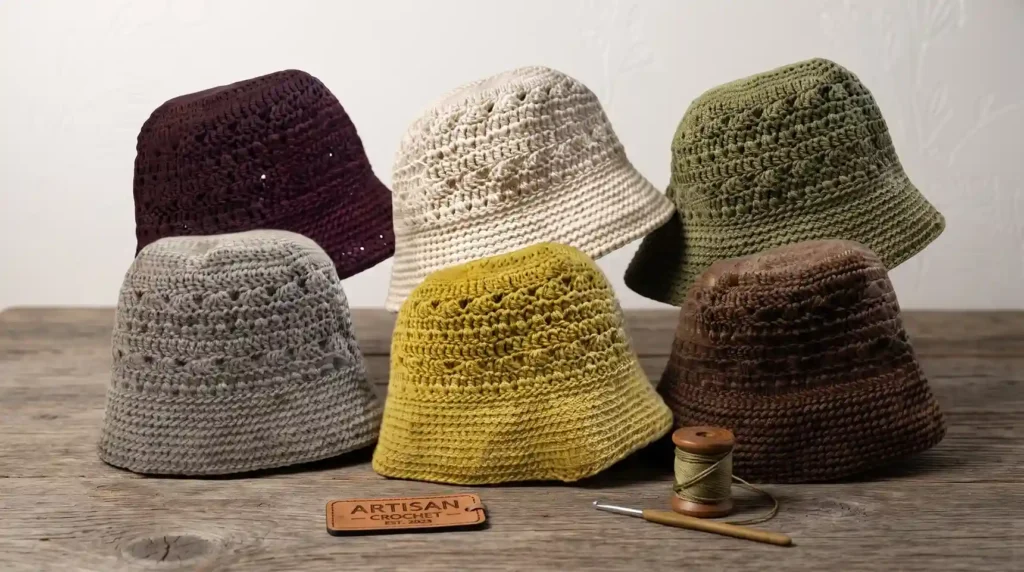
Works up in 100% cotton yarn for a breathable summer hat, or switch to wool for cozy autumn vibes. One size fits most adults (head circumference 56–58 cm / 22–23 inches). You can also customize the brim width to your liking — wider for more sun protection, narrower for a snappier streetwear look.
Table of Contents
Materials & Tools
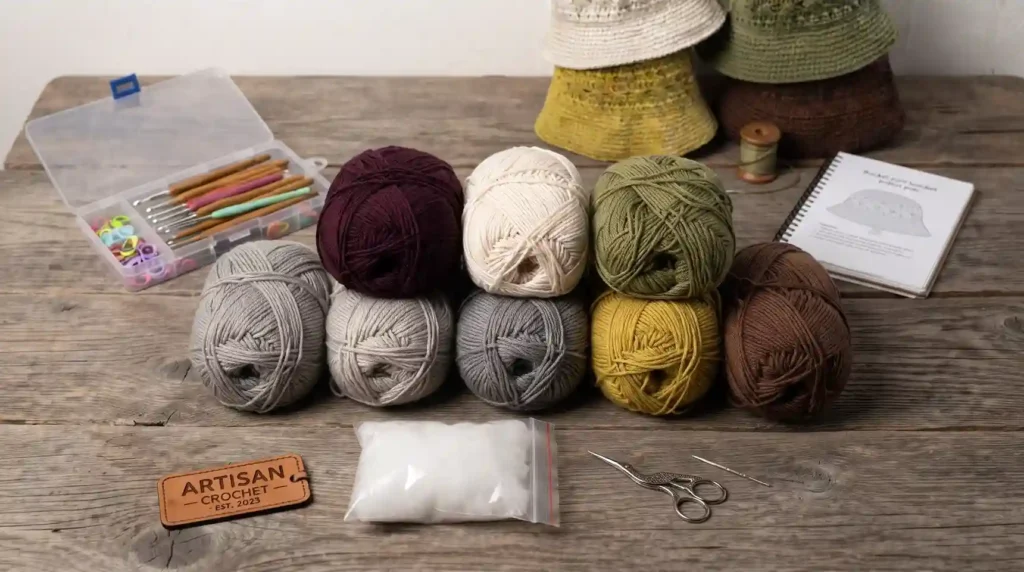
- Yarn: 100% Cotton Worsted Weight (Medium 4) — approx. 104g / 3 skeins
Recommended: Keito Pierrot 100% Cotton Worsted, 40g / 55m per skein (Made in Japan) - Crochet Hook: 4.0 mm (US G/6)
- Tapestry needle
- Scissors
- Stitch markers (at least 4)
- Measuring tape
🧶 Yarn Tip: Any worsted weight cotton yarn will work here. Look for something with good stitch definition so the shell and crossed DC textures really pop. Avoid fuzzy yarns — they’ll hide the beautiful stitch details.
Gauge
- Hook: 4.0 mm (US G/6)
- In Single Crochet (SC): 16 sts × 19 rows = 10 × 10 cm (4″ × 4″)
- In Double Crochet (DC): 16 sts × 9 rows = 10 × 10 cm (4″ × 4″)
Always check your gauge before starting! If your swatch is too small, go up a hook size. Too large, go down a hook size.
Finished Size
- Size: One Size — Adult Medium
- Head Circumference: Approx. 56–58 cm (22–23 inches)
- Crown Diameter: Approx. 17 cm (6.7 inches)
- Side Height: Approx. 8.5 cm (3.3 inches)
- Brim Depth: Approx. 6 cm (2.4 inches)
Abbreviations & Special Techniques
| Abbreviation | Meaning |
|---|---|
| ch | Chain |
| sl st | Slip stitch |
| sc | Single crochet |
| hdc | Half double crochet |
| dc | Double crochet |
| inc | Increase (2 sc in one stitch) |
| BLO | Back Loop Only |
| CSDC | Chainless Starting Double Crochet |
| st(s) | Stitch(es) |
Starting Rules
- SC / HDC rounds: Start with Ch 1 (SC) or Ch 2 (HDC). Note: Ch 2 counts as a stitch for HDC; Ch 1 does NOT count for SC.
- DC / Shell / Crossed DC rounds: Always start with a CSDC (Chainless Starting Double Crochet) for a seamless, professional look.
Joining Rules
- Seamless / Invisible Join: Use ONLY when the next round starts with a CSDC.
- Standard Join (Sl St): Use for all other rounds.
💡 The CSDC and Invisible Join are the two techniques that make this hat look truly professional — no seam, no bump, just smooth continuous texture. Watch the video tutorial for a clear demonstration of both.
Part 1: The Crown (Rounds 1–11)
Work in joined rounds. The crown alternates SC and DC rounds to build the beautiful textured top.
- Rnd 1: Make a Magic Ring. SC 8 into the ring. Sl st to first sc to join. (8 sts)
- Rnd 2: Ch 1, [inc] 8 times. Invisible Join. (16 sts)
- Rnd 3: CSDC, [dc 1, inc] 8 times. Invisible Join. (24 sts)
- Rnd 4: Ch 1, [sc 2, inc] 8 times. Sl st to join. (32 sts)
- Rnd 5: Ch 1, [sc 3, inc] 8 times. Invisible Join. (40 sts)
- Rnd 6: CSDC, [dc 4, inc] 8 times. Invisible Join. (48 sts)
- Rnd 7: Ch 1, [sc 5, inc] 8 times. Sl st to join. (56 sts)
- Rnd 8: Ch 1, [sc 6, inc] 8 times. Invisible Join. (64 sts)
- Rnd 9: CSDC, [dc 7, inc] 8 times. Invisible Join. (72 sts)
- Rnd 10: Ch 1, sc 2, inc, [sc 8, inc] 7 times, sc 6. Sl st to join. (80 sts)
- Rnd 11: Ch 1, [sc 9, inc] 8 times. Invisible Join. (88 sts — Crown diameter approx. 17 cm / 6.7″)

Part 2: The Sides (Rounds 12–19)
The sides are where the magic texture happens! You’ll repeat a 4-round cycle twice: a plain DC round, a Shell round, an HDC round, and a Crossed DC round.
Round 12 — Plain DC Round
CSDC, dc 87. Invisible Join. (88 sts)
Round 13 — Shell Round ✨
CSDC, 2 dc in same stitch (first half-shell). [Skip 3 sts, 4 dc in next st] 21 times. To finish: dc 1 in same st as starting CSDC. Sl st to CSDC to join. (22 shells — each shell = 4 dc)
This creates the beautiful fan/shell texture along the sides of the hat.
Round 14 — HDC Round
Ch 2 (counts as hdc), hdc 87. Invisible Join to top of ch 2. (88 sts)
Round 15 — Crossed DC Round ✨
Skip 1st st, dc in next st. Working in front of the dc just made, dc in the skipped st (first Crossed DC complete). [Skip 1 st, dc in next st, dc in skipped st] 43 times. Invisible Join. (44 X-sts / 88 sts total)
Crossing in front creates the gorgeous raised 3D texture!
Rounds 16–19 — Repeat the Cycle
- Rnd 16: Repeat Rnd 12 (Plain DC Round)
- Rnd 17: Repeat Rnd 13 (Shell Round)
- Rnd 18: Repeat Rnd 14 (HDC Round)
- Rnd 19: Repeat Rnd 15 (Crossed DC Round)
Target side height: approx. 8.5 cm (3.3 inches) after completing Round 19.
Part 3: The Brim (Rounds 20–29)
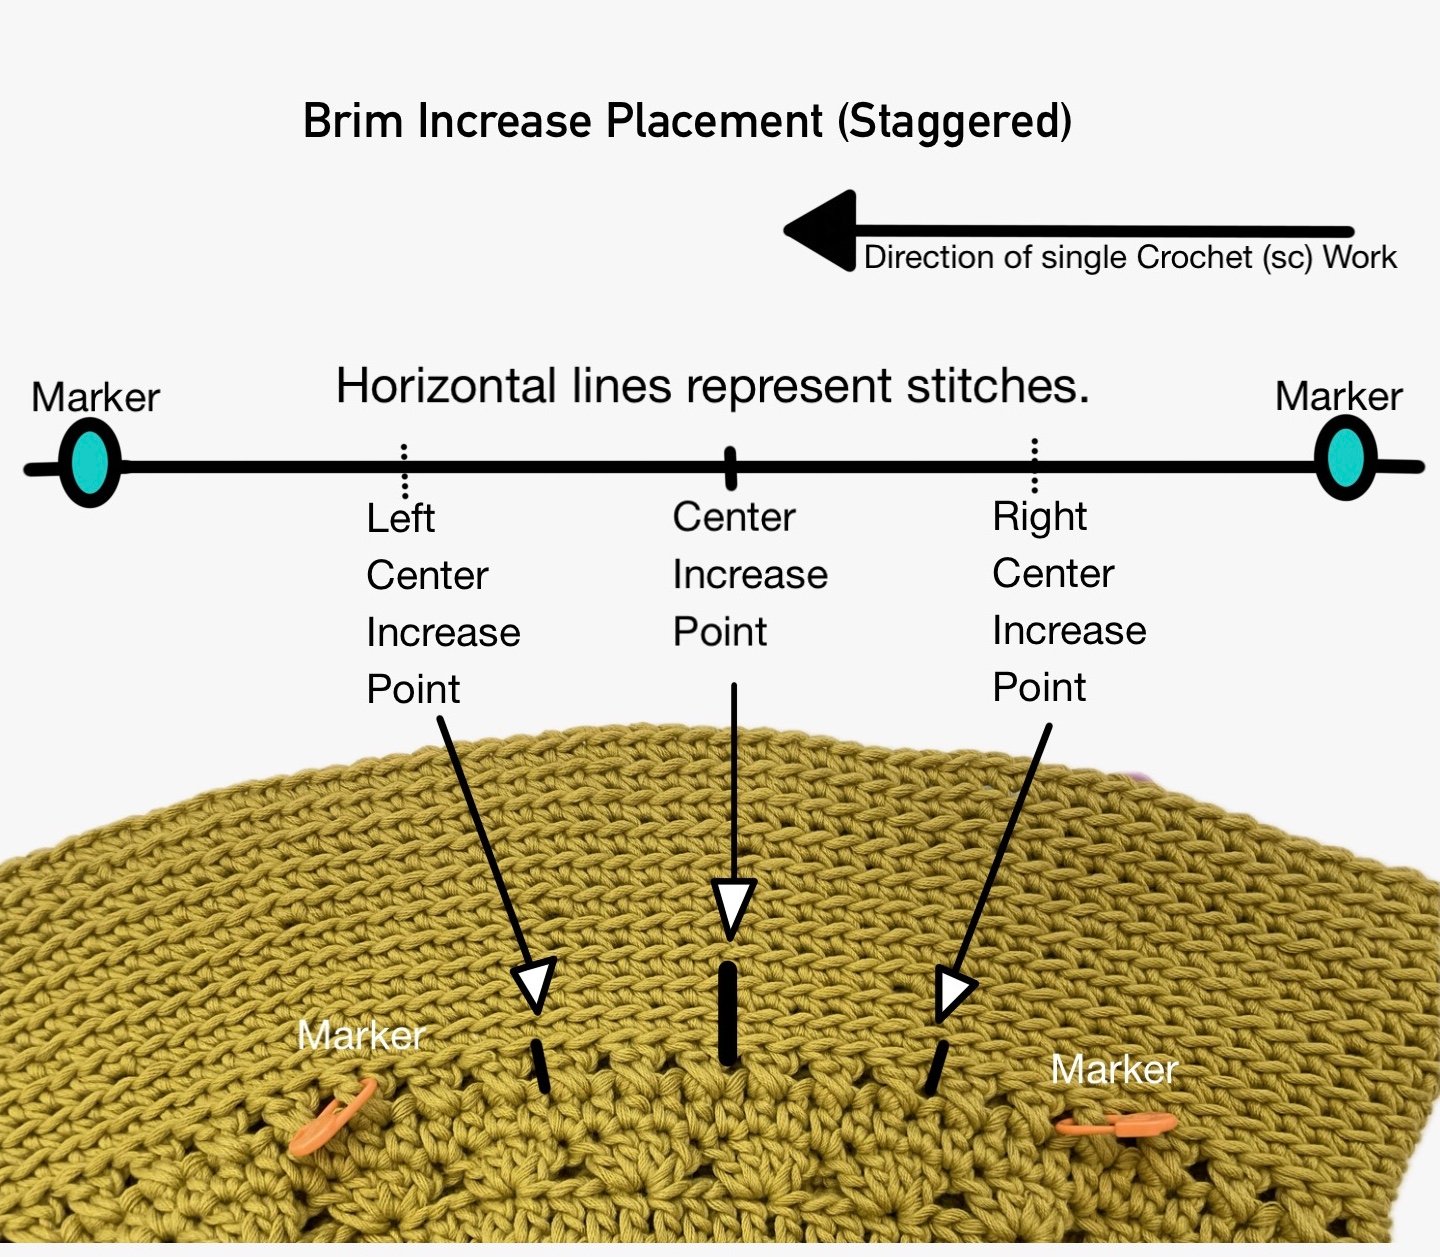
The brim is worked entirely in Back Loop Only (BLO) single crochet, with 4 increases per increase round. The increase cycle is: 3 increase rounds → 1 even round, repeated.
Place 4 stitch markers evenly around the hat to mark your increase points. Stagger the positions slightly each cycle (as shown in the video) to keep the brim perfectly round with no wavy edges.
Brim Rounds
- Rnd 20 (BLO — Transition Round): Ch 1, BLO sc 1. [BLO sc 21, inc] 4 times. Sl st to join. (92 sts) — Working in BLO here creates a clean fold line between the side and brim.
- Rnd 21 (Increase): Ch 1, BLO sc around, inc at 4 marked points. BLO sl st to join. (96 sts)
- Rnd 22 (Increase): Ch 1, BLO sc around, inc at 4 marked points. BLO sl st to join. (100 sts)
- Rnd 23 (Even — no increase): Ch 1, BLO sc 100. BLO sl st to join. (100 sts)
- Rnd 24 (Increase): Ch 1, BLO sc around, inc at 4 marked points. BLO sl st to join. (104 sts)
- Rnd 25 (Increase): BLO sc around, inc at 4 points. (108 sts)
- Rnd 26 (Increase): BLO sc around, inc at 4 points. (112 sts)
- Rnd 27 (Even): BLO sc 112 around. (112 sts)
- Rnd 28 (Increase): BLO sc around, inc at 4 points. (116 sts)
- Rnd 29 (Increase): BLO sc around, inc at 4 points. (120 sts)
Final brim depth: approx. 6 cm (2.4 inches)
📏 Customize your brim: Want more sun protection? Keep going! Add more rounds following the same 3-increase / 1-even cycle. Always end on an even round to help the brim hold its flat shape. A longer brim can also be rolled up for a different style!
Finishing
Fasten off and weave in all ends. For a truly professional finish, join the final round using an invisible/seamless join with your tapestry needle to create a “false stitch” — this makes the edge look perfectly continuous with no visible join point.
Block lightly if needed to open up the texture and set the shape. Cotton yarn responds beautifully to a light wet block!
Tips for Success
- Always use a CSDC to start DC rounds — it eliminates the ugly “starting chain gap” and makes your hat look store-bought.
- Use 4 stitch markers in the brim and stagger their positions each increase cycle — this is the secret to a perfectly flat, non-wavy brim.
- Count your stitches at the end of every round, especially during the crown increases.
- Tension matters most on the Shell and Crossed DC rounds — keep it relaxed so the texture can pop fully.
- Try different yarn colors for completely different looks: earthy terracotta for boho, classic cream for minimalist, olive green for outdoorsy vibes.
Frequently Asked Questions
Can I make this hat in wool instead of cotton?
Absolutely! The pattern works beautifully in any worsted weight yarn. Wool will give a warmer, softer hat great for autumn and winter. Cotton is ideal for spring and summer. Just match the gauge and you’re good to go.
How do I make it smaller or larger?
For a smaller hat, go down a hook size or use lighter weight yarn. For a larger hat, go up a hook size or add one more increase round to the crown before starting the sides. The brim can also be widened by simply adding more rounds.
What is the CSDC and why do I need it?
CSDC stands for Chainless Starting Double Crochet. It’s a technique that replaces the traditional “ch 3 = 1 dc” start — which always leaves a visible gap. The CSDC is taller than a ch 1 and perfectly mimics a dc stitch, giving you seamless transitions. Watch the video tutorial for a clear visual demonstration.
My brim is wavy — how do I fix it?
Wavy brims are caused by increases clustering too close together. The solution is to stagger your 4 increase points slightly with each cycle rather than stacking them in the exact same spot every round. Check the video for the exact staggering technique.
Can I sell hats made from this pattern?
Yes! You’re welcome to sell finished items made from this pattern. Please credit Sumee as the original designer. The pattern itself (text and photos) may not be resold or redistributed.
Conclusion
Whipping up your own handmade crochet bucket hat pattern is one of the most rewarding and stylish accessories projects you can take on. Whether you are crafting a lightweight cotton sun hat for warm summer beach days or a cozy textured version for cooler transitional weather, this versatile staple lets you showcase your creativity with every stitch. By following this step-by-step guide and customizing your hat with your favorite yarn colors and trims, you will end up with a durable, fashionable piece that turns heads wherever you go. Grab your hook, pick out your favorite shades, and start crafting your new favorite wardrobe accessory today!