

Free Mini Christmas Stocking Knitting Pattern & Tutorial
Learn how to knit an adorable mini Christmas stocking with this free step-by-step pattern. Perfect for tree ornaments, garlands, or an advent calendar!
How to Knit a Mini Christmas Stocking Ornament: Free Pattern & Step-by-Step Guide
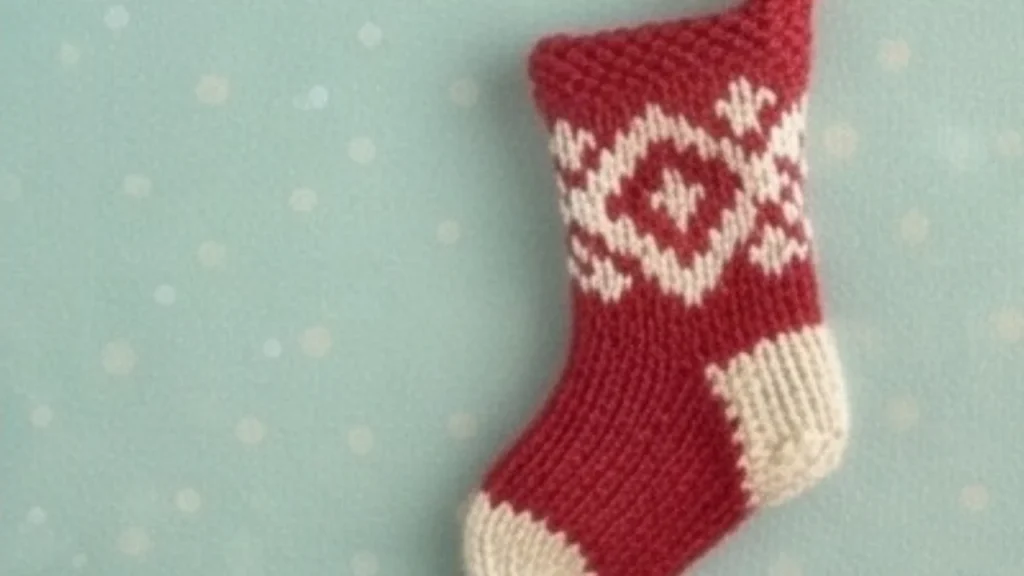
Bring handmade charm to your holiday decor with this adorable mini Christmas stocking knitting pattern. Measuring approximately 10cm (4 inches) from top to the tip of the toe, these miniature stockings are perfect for hanging on a Christmas tree, stringing together as a festive garland, or using as a charming advent calendar countdown.
Designed by Julie Williams of Little Cotton Rabbits, this project is worked flat on double-pointed needles and features classic Fair Isle or textured colorwork options.

Table of Contents
Materials & Notions of Mini Christmas Stocking
To complete this project, you will need the following supplies:
- Yarn: 4-ply yarn in Main Colour (Yarn A) and Contrast Colour (Yarn B).
- Needles: A pair of 2.75mm Double-Pointed Needles (DPNs). (Note: While worked flat, DPNs are helpful for managing heel shaping, though single points can also be used).
- Notions: Tapestry needle for seaming, and a tiny button for the hanging loop.
- Gauge: 7 stitches x 10 rows to 1 inch.

Pattern Overview & Abbreviations
- Finished Size: Approx. 10cm (4 inches) from top to tip of toe.
- Technique: Knitted flat and seamed afterwards in stocking stitch (Knit on right side, Purl on reverse), with a garter stitch top.
- Key Abbreviations:
- SSK (Slip, Slip, Knit): Slip two stitches knitwise one at a time, transfer them back to the left-hand needle, and knit them together through the back loops.
- K2tog: Knit 2 stitches together.
- P2tog: Purl 2 stitches together.
- P2tog tbl: Purl 2 stitches together through back loops.
Step-by-Step Instructions of Mini Christmas Stocking
Step 1: The Hanging Loop & Leg

- Hanging Loop (Optional min-end method): Cast on 35 stitches and immediately cast them off. Use the last cast-off stitch as your starting point to cast on for the stocking.
- Cast On: For a plain or striped stocking, cast on 25 stitches using 2.75mm needles and Yarn A. If knitting a charted Fair Isle design from the pattern charts, cast on 27 stitches.

- Cuff: Work rows 1–3 in knit to create a garter stitch top.
- Leg: Work rows 4–16 in stocking stitch, following either stripes or your chosen colorwork chart. On row 17 (purl row), decrease 1 stitch at either end if using a chart to return to 25 stitches.
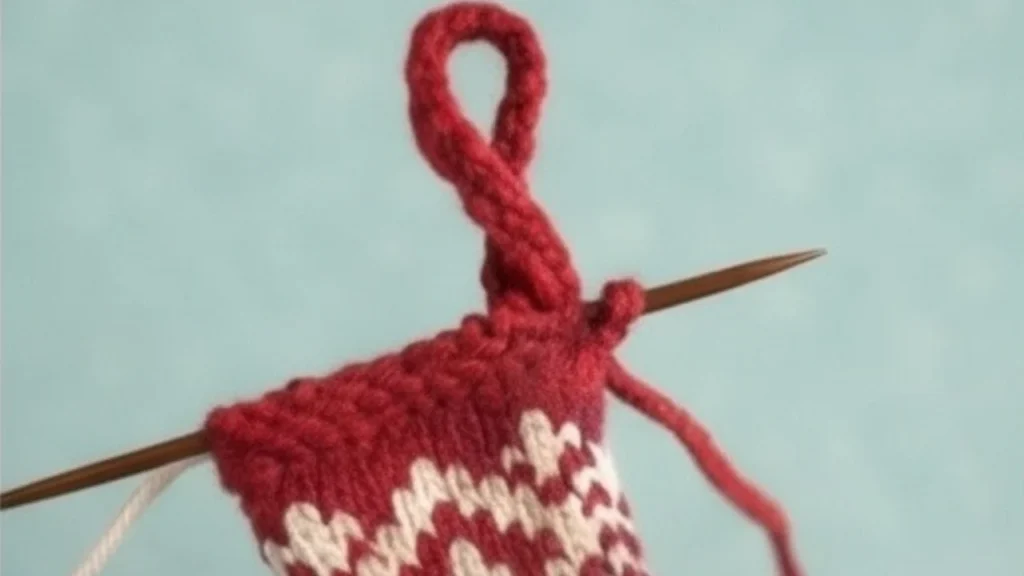
Step 2: Heel Shaping (First Half)
The heel is worked in two halves. Cut a separate 110cm (44″) length of your contrast yarn to keep ready for the second half.

- With the right side facing, join your contrast yarn, knit 7 stitches, and turn, leaving the remaining 18 stitches resting on the needle.

- Work 8 short rows utilizing slip stitches and targeted decreases (K2tog/SSK) to shape the first side of the heel cup, leaving 4 active heel stitches.
Step 3: Heel Shaping (Second Half)
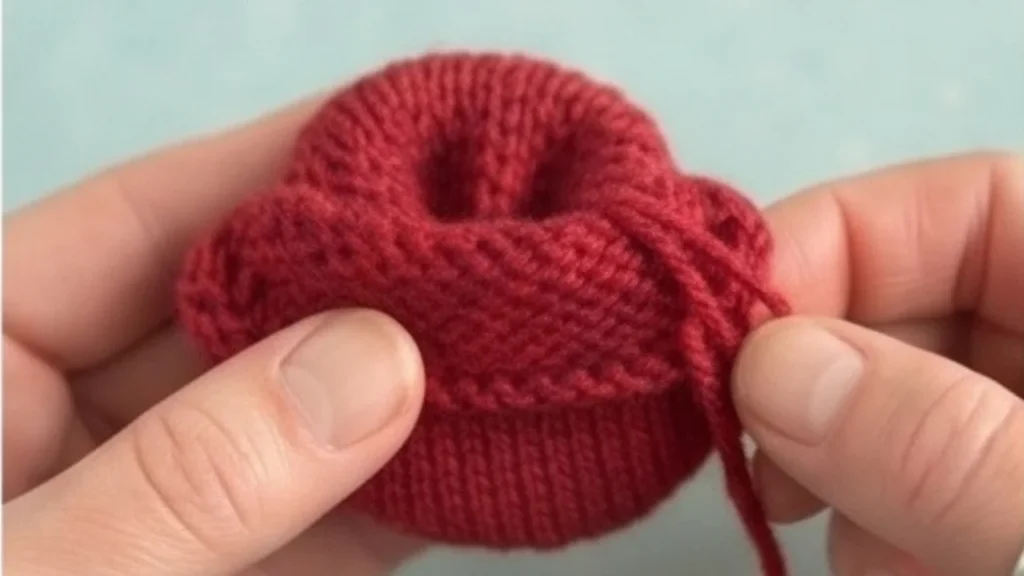
- Switch to the wrong side facing and use your pre-cut 110cm length of contrast yarn.
- Purl 7 stitches and turn, mirroring the short-row shaping steps with purl-side decreases (P2tog tbl / P2tog) to form the second symmetrical side of the heel.
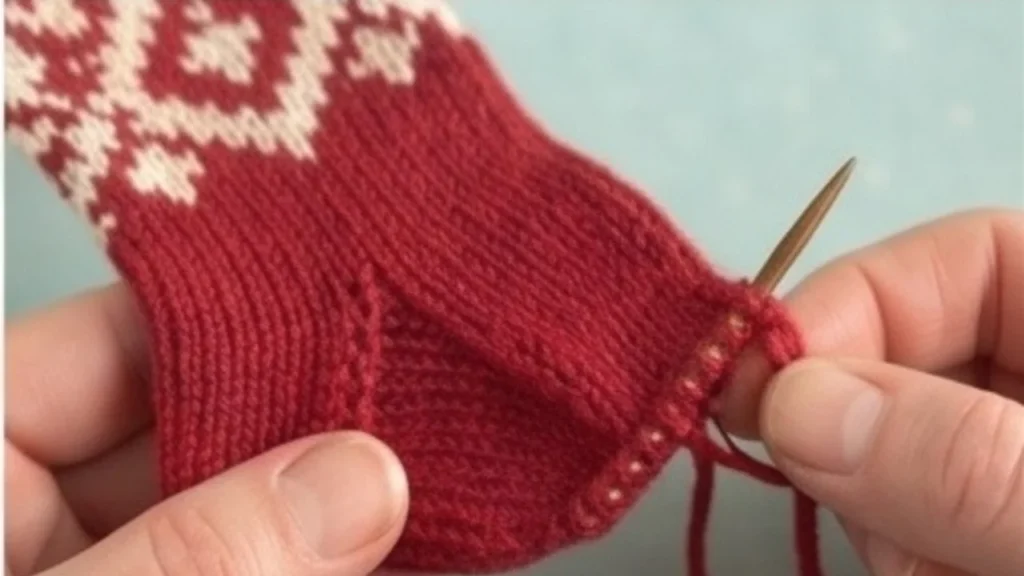
Step 4: Foot Shaping and Toe Cap
- Joining and Gusset (Row 32): Rejoin Yarn A, knit across the 4 heel stitches, pick up and knit 5 stitches along the inner edge of the heel, pick up loops to prevent gaps, work across the main instep, and pick up the opposite side. Complete decrease rounds (rows 33–37) to shape the sides of the foot back down to 23 stitches.
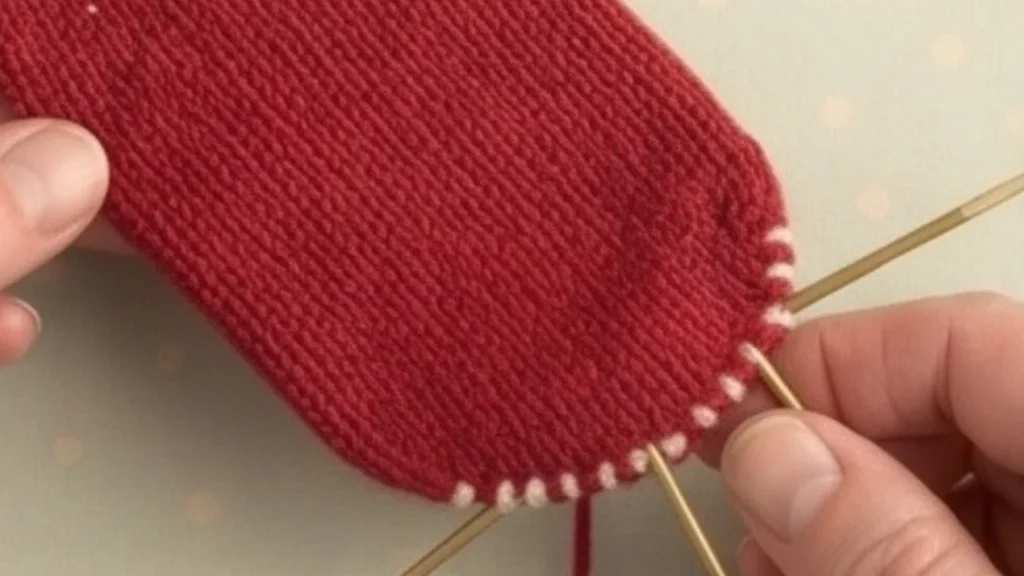
- Foot Length: Work 6 straight rows of stocking stitch (rows 38–43).
- Toe Cap: Switch to your contrast color for the toe cap on row 44, cutting away Yarn A. Work decrease rows 45–48 to taper the toe down to 15 remaining stitches.

Step 5: Finishing and Assembly
- Cut a 9-inch tail, thread your tapestry needle, and pass it through the remaining 15 stitches, pulling tightly to close the toe.
- Seam the bottom and back of the stocking using clean mattress stitch.
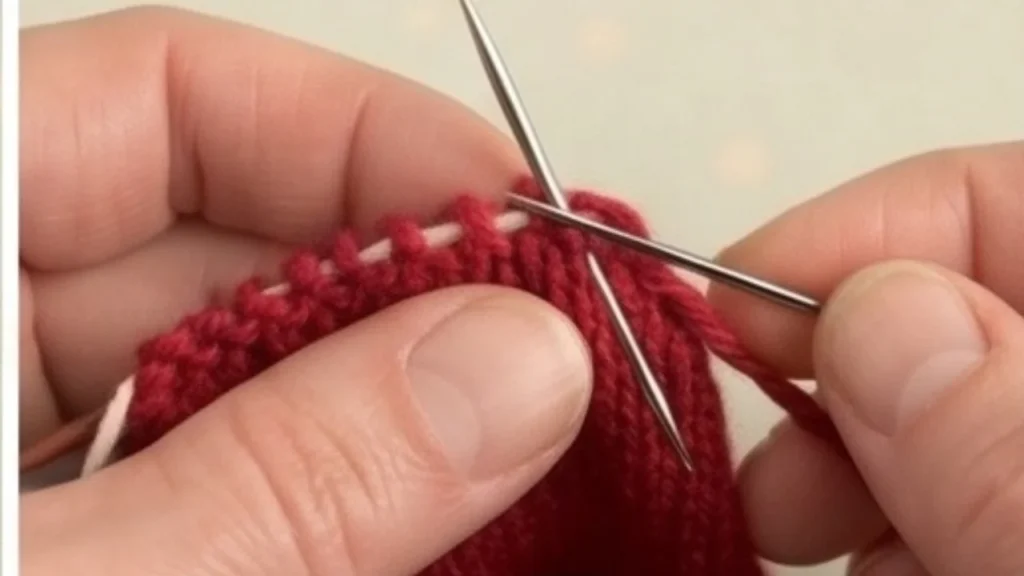
- Turn the stocking inside out to secure and weave in loose ends, then turn right side out.
- Attach your hanging loop to the back seam alongside a tiny decorative button for a polished finishing touch.
Frequently Asked Questions (FAQ)
Can I knit this pattern in the round instead of flat? Yes! While the original pattern is written to be worked flat and seamed afterwards to suit flat-knitting preferences, experienced knitters can easily adapt the stitch counts to work in the round on DPNs.
What yarn is best for these mini stockings? A traditional 4-ply fingering weight yarn paired with 2.75mm needles yields the ideal 10cm miniature size. Using heavier DK or Aran yarn with larger needles will result in a bigger stocking.
How can I personalize these stockings for Christmas? You can easily customize them by grafting duplicate stitch initials onto the leg section or utilizing them as pockets for an interactive fabric advent calendar.
Conclusion
Creating these Mini Christmas Stocking is a delightful, quick holiday project that makes wonderful handmade gifts or festive tree decorations. Grab your scrap yarn and 2.75mm needles to stitch up a whole collection of charming mini stockings this season!


One Comment