Buttercup Top – Free Crochet Pattern for a Lacy Summer Crop Top (Any Size)
The Buttercup Top is a light, lacy crochet summer crop top that pairs beautifully with cutoff shorts, capris, or a flowy skirt. It features a gorgeous open shell stitch body, a delicate V-neckline, flouncy cap sleeves, and a stunning lace border along the hem. The sage green colourway gives it a romantic, bohemian feel — but it works in any colour you love.
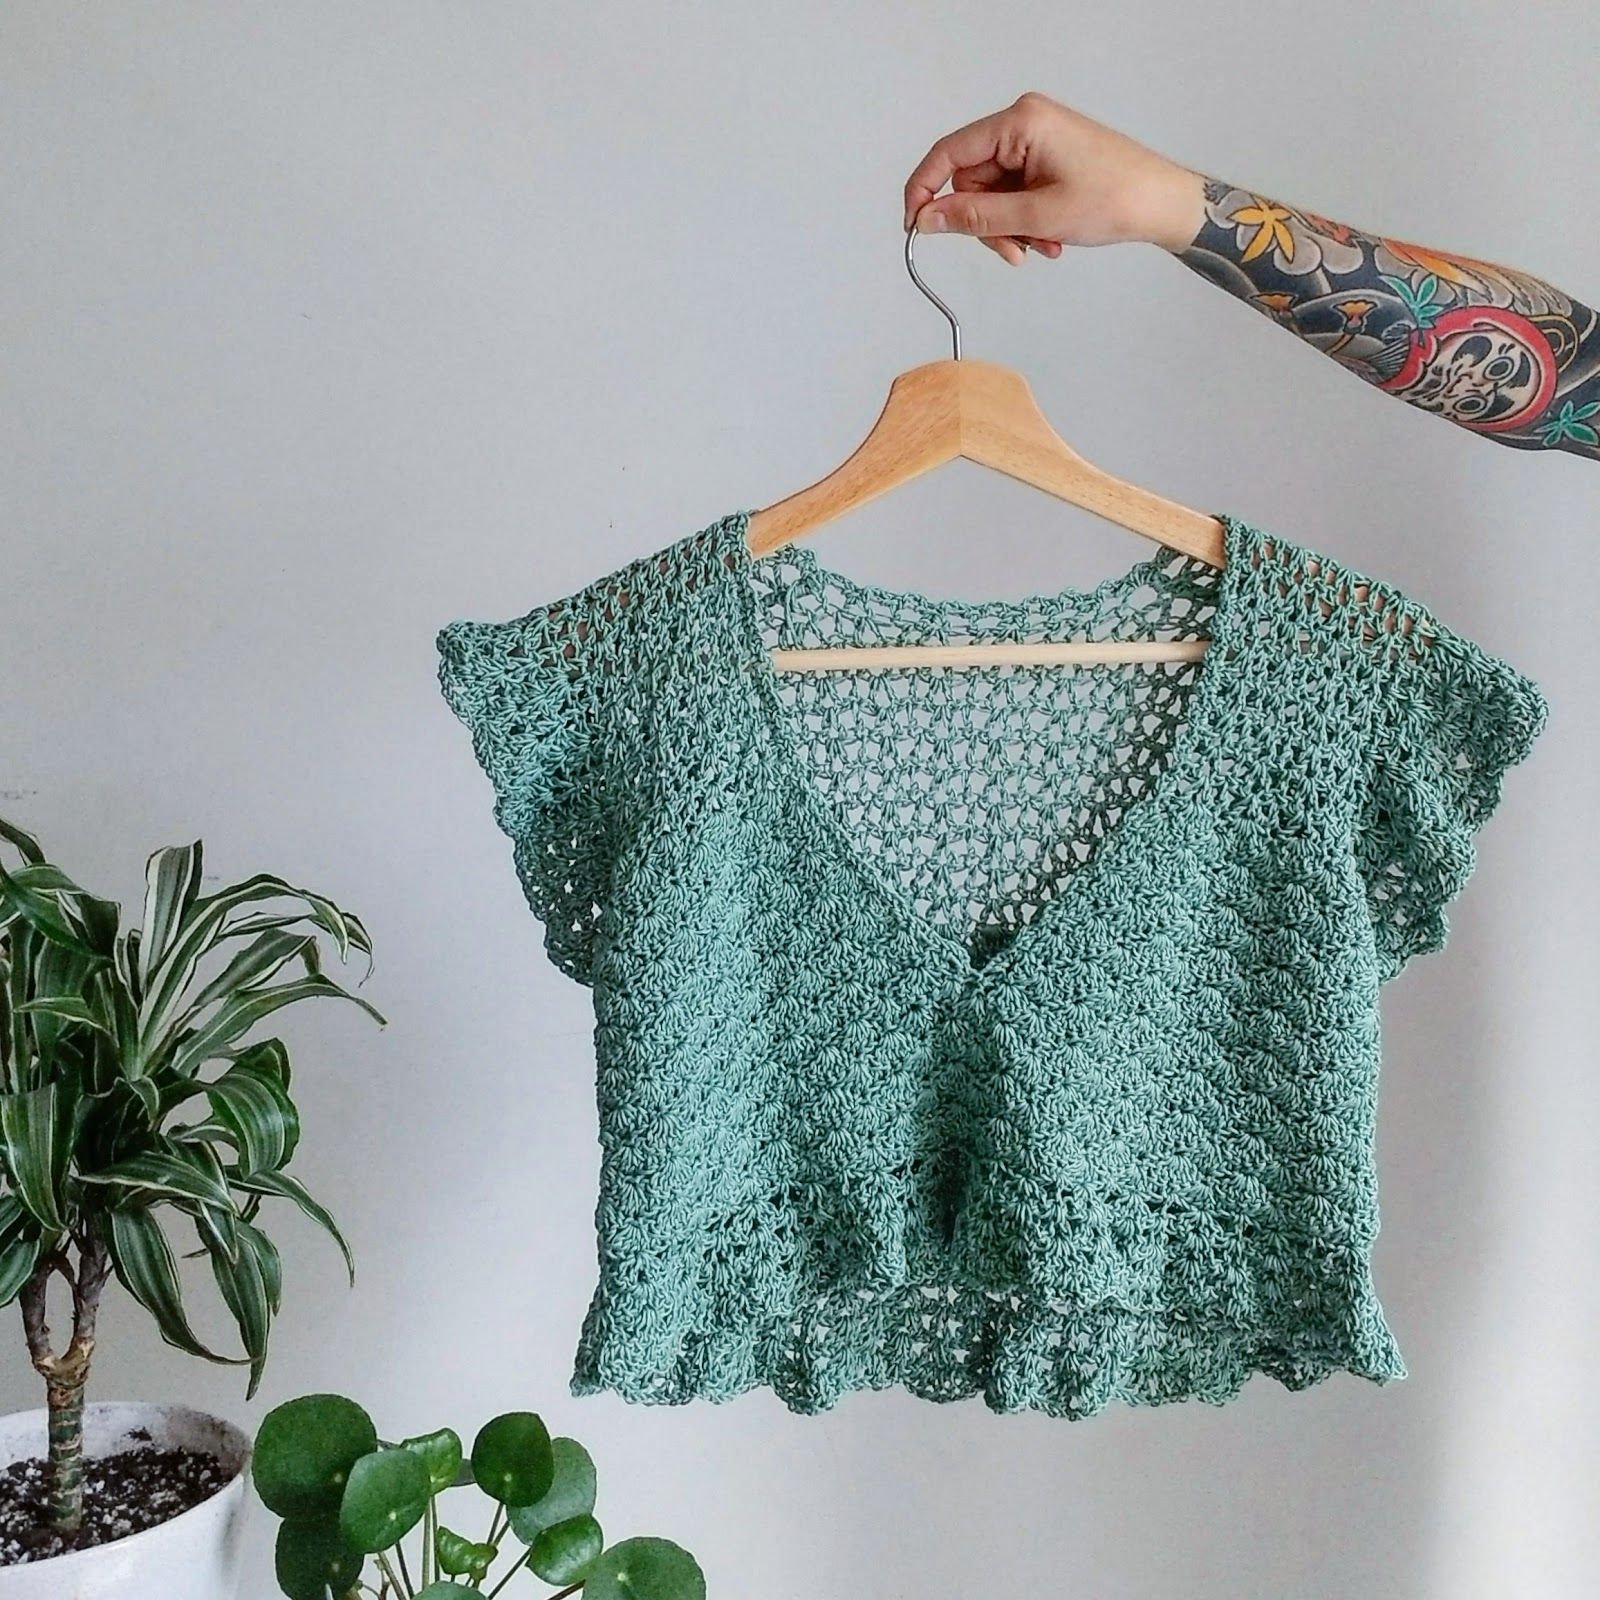
This is an intermediate-level pattern written in a size-free tutorial style, meaning you can customise it to fit any body. There are no rigid stitch counts or gauges to follow — you build the top to your own measurements as you go. The pattern was originally designed by Rebecca Dagmar of Daisy and Dime Crochet.
Table of Contents
At a Glance
| Skill Level | Intermediate |
| Sizing | Size-free — fits any size, built to your measurements |
| Hook | 4.25 mm (or size to suit your yarn) |
| Yarn | DK or sport weight — cotton, bamboo, silk, or linen recommended |
| Yarn Used | ~550 g sport weight cotton/silk blend |
| Construction | Flat pieces (front & back), joined at sides, sleeves and hem worked in the round |
| Neckline | V-neck |
| Sleeve | Short cap sleeve with lace edge |
Materials
- Yarn: DK or sport weight in a natural fibre (cotton, bamboo, silk, or linen). Natural fibres give the best drape and really let the lacy stitch work shine. Avoid thick or fluffy yarns — they will hide the detail.
- Hook: 4.25 mm, or go one size up from what your yarn label recommends to get a nice open fabric.
- Scissors and yarn needle for finishing.
- Stitch markers — helpful for tracking which side you are increasing on during neckline shaping.
Tip: Use a larger hook than the yarn label suggests. This opens up the stitches and gives the lace pattern the airy, flowing quality this top is known for.
Abbreviations (US Terms)
| ch | chain | sc | single crochet |
| dc | double crochet | sl st | slip stitch |
| st | stitch | sp | space |
| prev | previous | sc2tog | single crochet 2 stitches together |
| v st | (dc, ch 1, dc) in same stitch | cluster v st | (2dc, ch 1, 2dc) in same stitch |
| Shell | 5dc in same stitch | Half shell | 3dc in same stitch |
How to Work the Closed Shell Stitch
The closed shell stitch looks impressive but has a simple rule: shells go in the sc stitches of the previous row; sc stitches go on top of the 3rd dc of each shell. That’s it.
To keep your edges even (except on increase rows), your rows will always begin and end with either a sc or a half shell (3dc):
- If the previous row starts or ends with a sc → work a half shell (3dc) into that stitch.
- If the previous row starts or ends with a half shell → work a sc into the top of that half shell.
Step 1: Left Front Panel
We start with the left front shoulder. The lace foundation section creates the open yoke you can see across the shoulders and upper chest of the finished top.

Foundation Row: Chain a multiple of 6 + 1 — this length should reach from your neck to your shoulder. Add 3 more chains. Dc in the 6th st from hook. Ch 1, dc in the same st (v st made). *Skip 2 ch, dc in next ch, skip 2 ch, v st in next ch* across.
Row 2: Ch 3. *V st in the ch sp of each v st from previous row, dc in each single dc* across.
Repeat Row 2 until the piece measures from the top of the shoulder down to 1.5 inches below the underarm. The example used 11 rows total. The more rows you work here, the deeper your armhole will be.
Step 2: Begin the Shell Stitch Body

Row 3 (Transition to Shell Stitch): Ch 1, sc in same st. *5dc in the ch-1 sp of the v st from previous row, sc in the dc of the previous row* across. You’ve just created your foundation for the solid shell stitch pattern!
Step 3: Shaping the Armhole
We increase on both sides to shape the armhole opening. These increases also set up the width for the V-neckline shaping that follows.
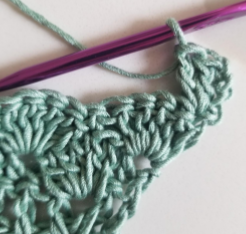
- Row 4 (Increase row): Ch 3, 4dc in same st (increase made at start). Continue in solid shell pattern across until you reach the last sc. 5dc in that last sc (increase made at end).
- Row 5: Ch 3, 2dc in same st. Continue in solid shell pattern until you reach the last shell. Sc in the 3rd dc of that shell, 3dc in the 5th dc of that shell (half shell at end).
- Row 6: Ch 1, sc in same st. Continue in solid shell pattern across.
Step 4: Shaping the V-Neckline
The V-neckline is shaped by increasing on one side only — every two rows — until the panel is about half your chest circumference (one quarter of your full chest measurement). Place a stitch marker on the increase side so you don’t lose track.
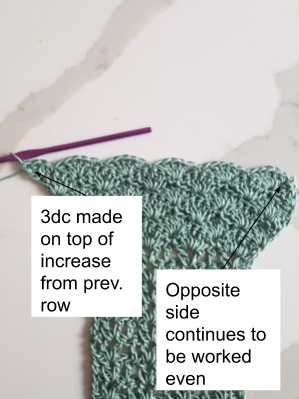
- Row 7 (Increase row): Ch 3, 4dc in same st (increase on one side only). Continue solid shell pattern across.
- Row 8: Continue in solid shell pattern until the last shell. Sc in the 3rd dc of that shell, 3dc in the 5th dc (half shell).
- Row 9: Ch 1, sc in same st. Continue solid shell pattern across.
Keep repeating rows 7–9, placing your increase on the same side every two rows, until the piece is the right width. It does not matter which row of the increase sequence you finish on, but make sure your final row ends on the non-increased side. Fasten off.
Increase side pattern summary: Shell increase (5dc in 1 sc) → Half shell (3dc) in last dc of inc + sc on 3rd dc of inc from previous row → Sc in top of half shell.
Even side pattern summary: Sc in top of half shell from previous row → Half shell (3dc) in sc from previous row.
Step 5: Right Front Panel
Repeat Steps 1–4 to make the right front panel. The only difference: do NOT fasten off when the neckline shaping is complete. You will continue directly into the join.
Step 6: Joining Right and Left Front Panels
With the right panel still on your hook, continue in solid shell pattern until you reach the last stitches. Then join the two pieces together by inserting your hook through both layers and continuing the shell pattern:
- If the final rows of both panels ended with a half shell (3dc) → insert hook through both layers at the top of the half shell, place a sc.
- If they ended with a single crochet → insert hook through both layers at the sc, place 5dc (full shell).
- If they ended with an increase (5dc) → insert hook into the final stitch of the increase through both layers, place 5dc.
Continue solid shell stitch across the rest of the row to finish joining the panels.
Step 7: Completing the Front Panel

Continue working solid shell stitch rows across the now-joined front panel until it reaches 1–2 inches above your belly button. Make sure your final row starts and ends with a sc (not a half shell). Fasten off.
Step 8: The Back Panel

Count the full shells across your completed front panel. Subtract one. Multiply by 6 and add 1 — this is your starting chain count.
Example: 13 shells across → 13 − 1 = 12 → 12 × 6 = 72 → + 1 = 73 chains.
Add 3 more chains. Work the foundation row the same as the front: dc in the 6th st from hook, ch 1, dc in same st (v st). *Skip 2 ch, dc in next ch, skip 2 ch, v st* across. Then follow the same lace rows and transition to shell stitch as you did for the front (Steps 1–3), matching the same number of lace rows. Work in solid shell stitch until the back is the same length as the front. Do NOT fasten off.
Step 9: Joining the Side Seams
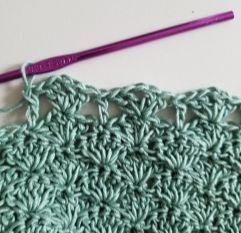
Align the front and back pieces with wrong sides together. Working through both layers, sc up one side edge — placing one stitch in each dc post and each sc base — until you reach the first increase shell just below the underarm. Fasten off.
Attach yarn at the same point on the opposite side and sc down the other side seam in the same way. Do NOT fasten off on this second side — you will continue directly into the bottom lace trim.
Step 10: Bottom Lace Trim (Worked in the Round)
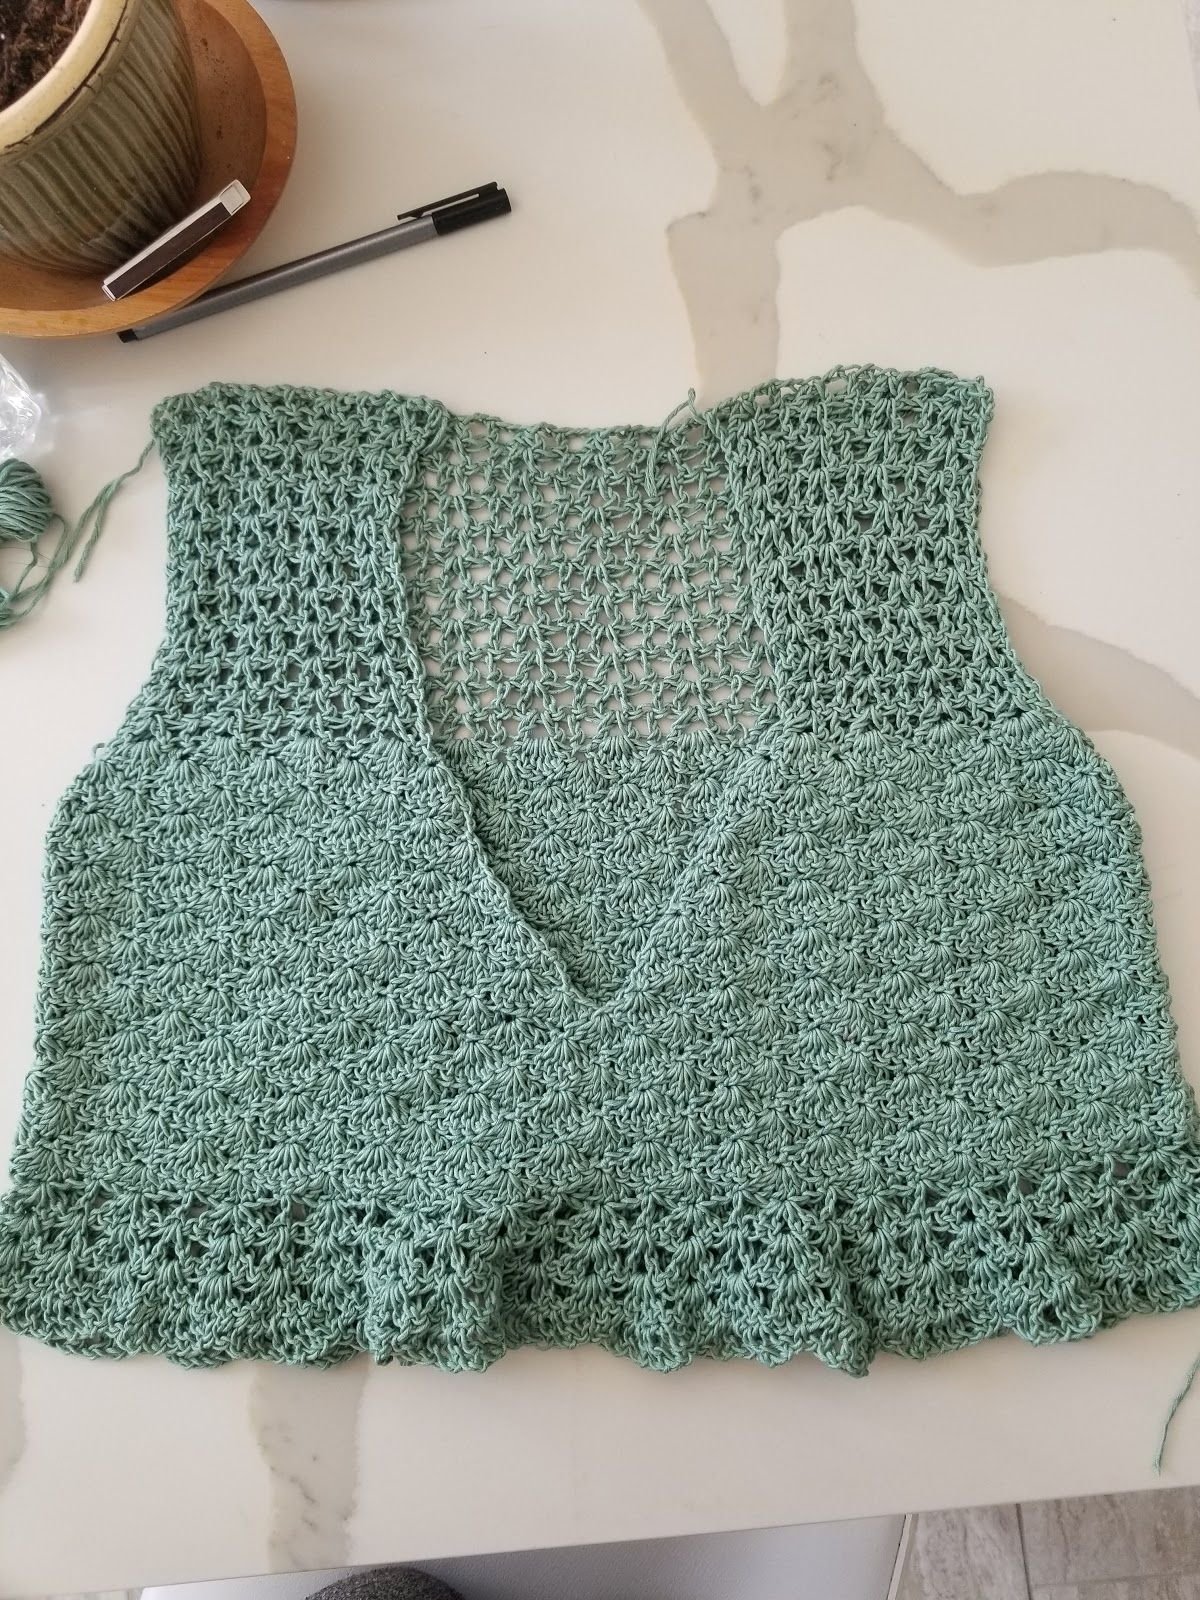
You are now working in the round along the entire bottom edge of the joined top.
- Round 1: Ch 3 (counts as dc), cluster v st in the 3rd dc of the next shell. *Dc in next sc sp, cluster v st in 3rd dc of next shell* across. Sl st into top of ch 3.
- Round 2: Ch 4, dc in same st (counts as a v st). Cluster v st in the ch-1 sp of each cluster v st from previous round. *V st in next dc, cluster v st in ch-1 sp of next cluster v st* across. Sl st into top of ch 4.
- Round 3: Ch 3, dc, ch 1, 2dc in same st (counts as cluster v st). Cluster v st in each ch-1 sp around. Sl st into top of ch 3.
- Round 4: Ch 4 (counts as dc + ch 1). *Dc in next st, ch 1, dc in ch sp, ch 1, dc in next st, ch 1, dc in next st, sc in ch-1 sp of next cluster v st. Dc in 1st dc of next cluster v st, ch 1, dc in next st, ch 1, dc in ch sp, ch 1, dc in next st, ch 1, dc in next st, sc in ch sp of next cluster v st* across. Sl st into 3rd ch of starting ch 4. Fasten off.
Step 11: Sleeves (Make 2, Worked in the Round)
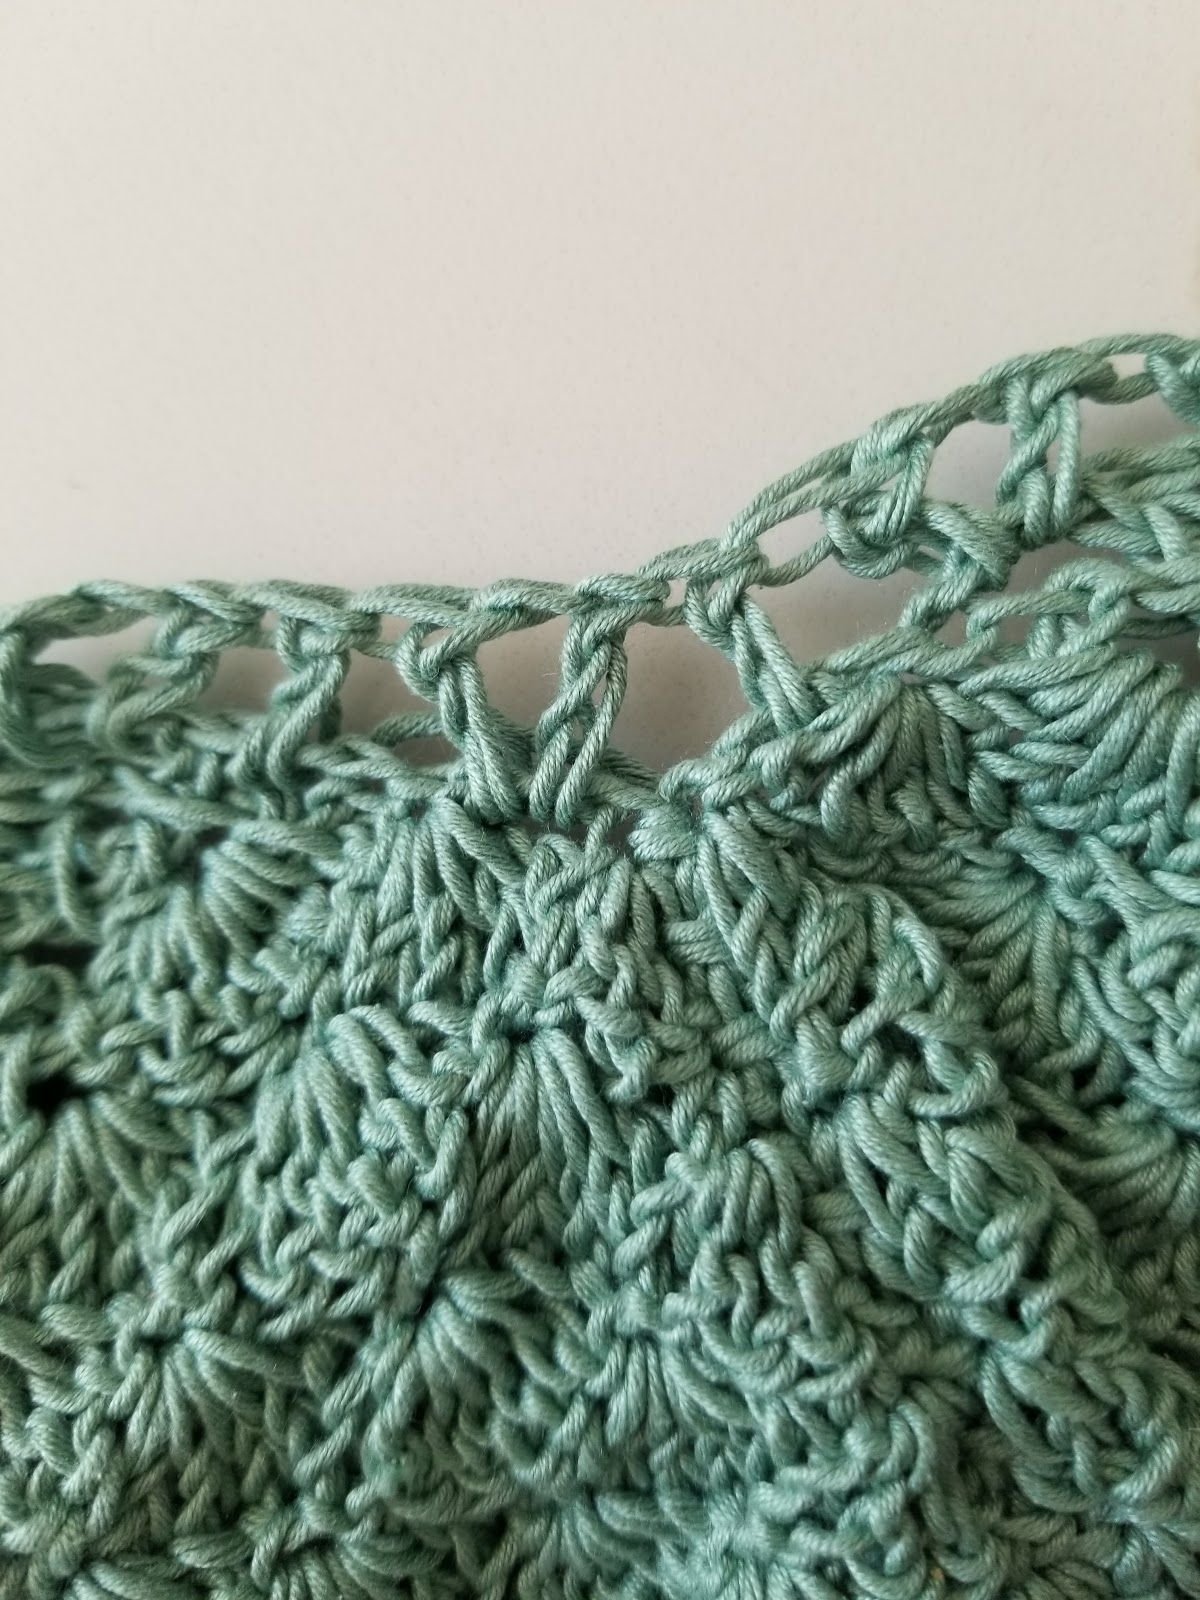
First, join the shoulder seams: sc the front and back pieces together across each shoulder, lining up the stitch patterns on both sides. We now work each sleeve in the round, picking up stitches along the armhole edge.
- Round 1: Starting at the neckline, sl st into the dc post along the side of the armhole. Ch 3 (counts as dc), v st in next post. *Dc in next post, v st in next post* across. Sl st into ch 3.
- Round 2: Ch 3, cluster v st into the ch sp of the next v st. *Dc in next single dc from previous round, cluster v st in ch sp of next v st* across. Sl st into ch 3.
- Rounds 3–4: Repeat the same lace trim sequence as Rounds 2–4 of the bottom lace trim (Steps 2–4 of the trim). Fasten off.
Repeat for the second sleeve.
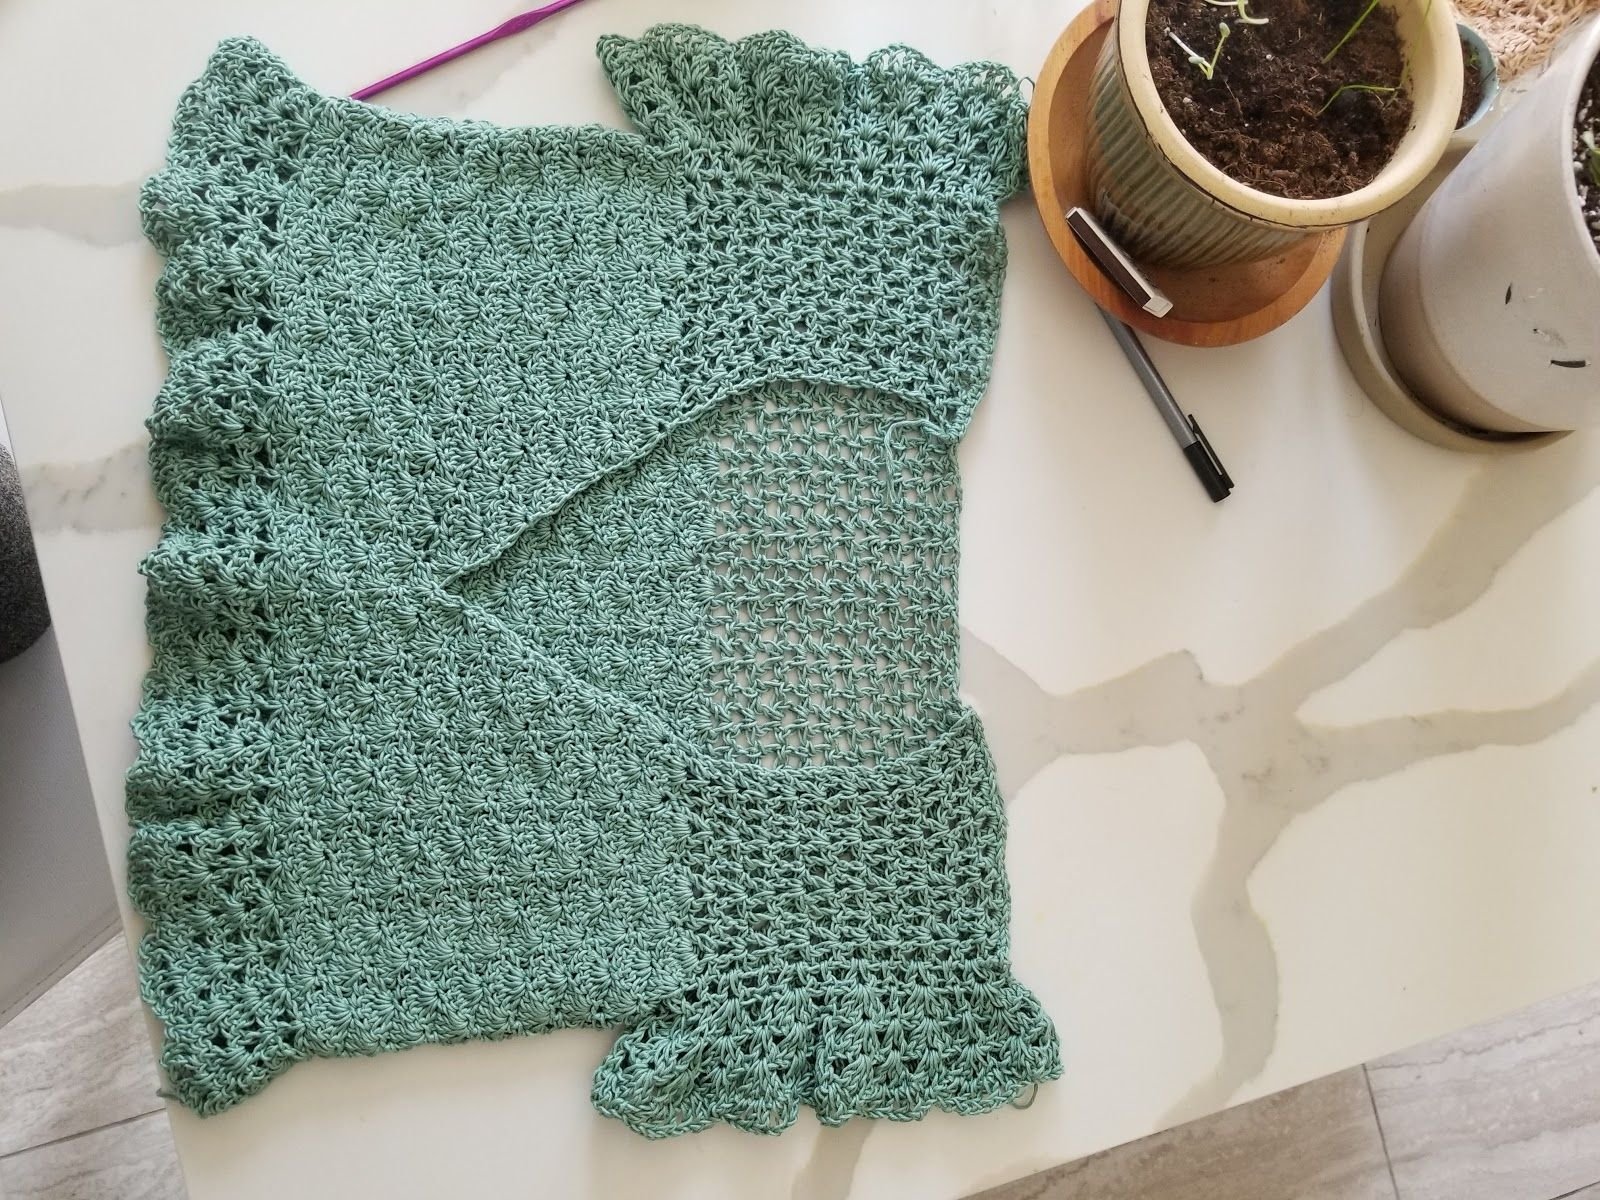
Step 12: Neckline Edging
The neckline is finished with a simple picot-style edging that frames the V beautifully without adding bulk.
- Attach yarn at the first dc post below the shoulder seam.
- Ch 1, sc, ch 3, sc in the same post. *Sc, ch 3, sc* in each post across one side of the V-neck until you reach 1 post before the bottom point.
- Sc2tog at the two centre posts (this creates the V point).
- *Sc, ch 3, sc* in the next post and each post across the other side.
- Sl st into first sc. Fasten off.
Finishing
Weave in all ends, then turn the top right side out to hide your shoulder and side seams on the inside. Give it a gentle hand wash and lay flat to block — blocking really opens up the lace stitches and gives the top that polished, professional finish.
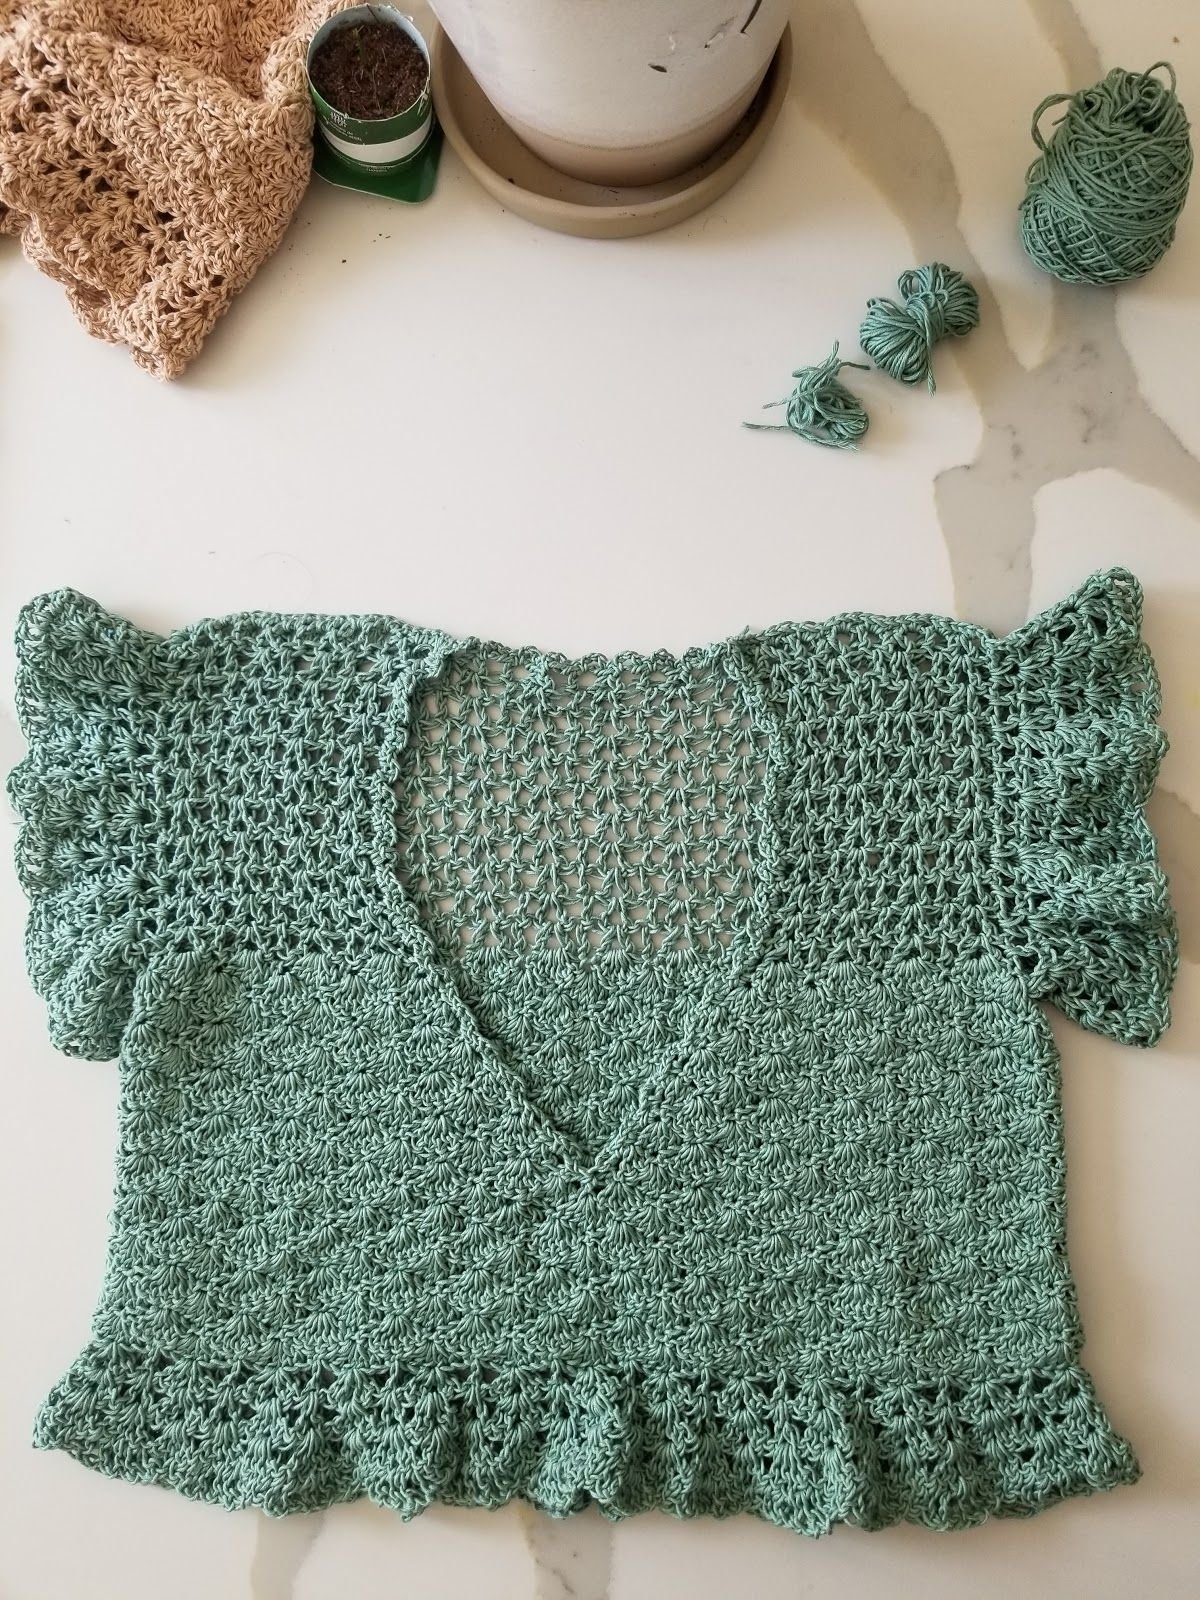
Enjoy your new Buttercup Top! Tag @magicinkitchen when you share your make — we’d love to see your version. 🌼
Frequently Asked Questions
Why is there no stitch count or gauge?
This pattern is intentionally size-free. You build the top to fit your own measurements as you go, so it works for any body size or yarn weight. The example used a 4.25 mm hook and 550 g of sport weight cotton/silk blend yarn.
What yarn works best?
Natural fibres like cotton, bamboo, silk, or linen are highly recommended. They drape beautifully and keep the lacy shell stitch open and airy. Acrylic or chunky yarns will produce a stiffer, less flattering result.
Can beginners make this?
This is rated intermediate. You should be comfortable with double crochet, working in the round, increasing and decreasing, and reading your stitches before attempting this top.
How wide should each front panel be?
Each front panel (left or right) should be about half your front chest measurement — or roughly one quarter of your full chest circumference — when the neckline shaping is complete.
Can I sell tops made from this pattern?
Yes! The original designer (Rebecca Dagmar, @ShopDaisyAndDime) allows you to sell finished handmade items, as long as you credit her for the design. Distribution of the pattern itself is not permitted.
Conclusion
Ultimately, the Buttercup Top is the quintessential handmade garment for effortless, warm-weather style. By combining a breezy, lightweight drape with delicate stitch details, it strikes the perfect balance between comfortable everyday wear and charming handmade elegance. Whether you’re styling it for a sunny day out or layering it for a breezy evening, this versatile piece adds a touch of timeless, crafted beauty to any handmade wardrobe.